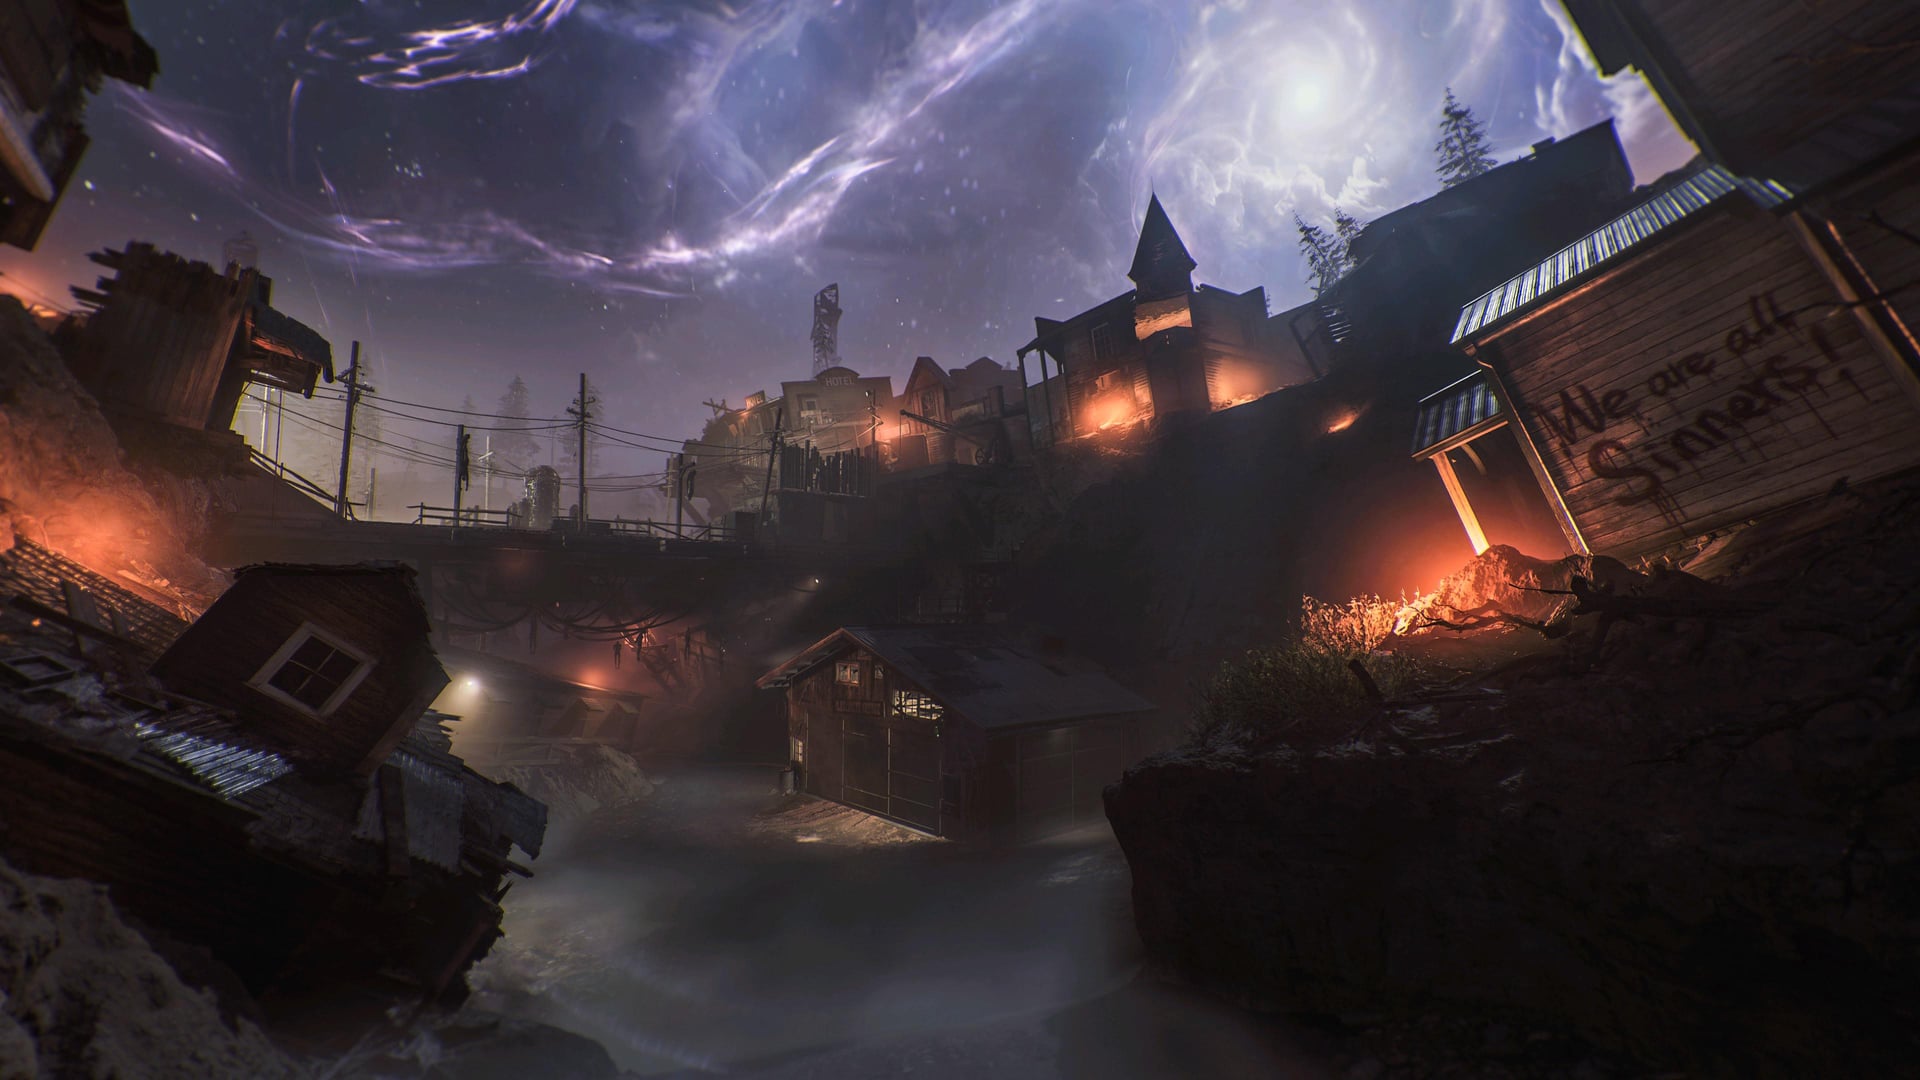
A new world, a new enemy and some strangely familiar allies. Uncover the secrets of the Dark Aether's most dangerous corner and face the primordial power of its ancient guardian.
Key Features
This is a walkthrough of the key features of the map, such as Pack-a-Punch, Wonder Weapons, etc.
- Starting at Round 8, go to Janus Towers Plaza, and check the wreckage opposite of the Warden 308 wall-buy. A Uber Klaus will spawn. Killing it will drop the Stabilizer Chip.
- Bring the Stabilizer Chip to Sherrif's Office at Ashwood and place it on the cell panel. It will say "Update requires restart".
- Throw rapidly several Stun Grenades inside the cell to bring Klaus back online. Klaus will break free, and the Klaus Remote Control will become available. You can get a free Stun Grenade inside the Server Room at Janus Towers and on a shelf next to Juggernog in The Ruby Rabbit at Ashwood.
- Bring Klaus to the Zarya Cosmodrome and send it in front of the panel in Support Systems, next to one of the purchasable doors. Klaus will reactivate the panel which will trigger a scanner next to it. Stay inside the scanner and survive until it is completed. If done correctly, the Aether Barrel will be available to be picked up.
- Bring the Aether Barrel to the Power Pump at either of the three locations (Ashwood, Blackwater Lake, Vandorn Farm) and place it inside. The barrel will be charged with Refined Energy. Once it is charged, pick the barrel up again and bring it to the Power Pumps at the other two locations. You will have a limited time to do it, and the timer resets with every charge.
- Bring the fully charged Aether Barrel next to the cube in the Cellar of Vandorn Farm to make it absorb the Aether energy.
- Use a Jump Pad to see three alchemical symbols on the rooftops around Vandorn Farm. Input the symbols on each side of cube then interact with the red eye on the fourth side of the cube to receive the Necrofluid Gauntlet. This will trigger a short lockdown where you need to shoot the green orbs around you and reload the wonder weapon to acquire them.
- Once all the orbs are collected, the Necrofluid Gauntlet is fully usable.
Ol' Tessie is the primary vehicle to move around the map. The truck is first found in Janus Towers Plaza and requires to place T.E.D.D.'s Head in the truck to power it up. The head can be found in the Server Room. Once the truck is powered-up, several upgrades are available.
Pack-a-Punch Upgrade
- Drive through the Collapsed Tower to reach Vandorn Farm, destroy the growth infestation around the Power Pump. Once done, interact with the power switch in the Barn.
- Drive through the Grounded Ship to reach Ashwood, destroy the growth infestation around the Power Pump at Ashwood Bridge. Once done, interact with the power switch on the Market Square side of Ashwood.
- Drive Ol' Tessie next to the garage door in Ashwood to open it. Interact with the Vehicle Upgrade Station to upgrade Ol' Tessie and install the Pack-a-Punch Machine to it. This will unlock the Pack-a-Punch for the rest of the match.
Abomination Beam Upgrade
- Kill the Cook zombie in Reba's Diner at Exit 115 to drop the Freeze Key.
- Open the freezer in the same location to find the Abomination Carcass.
- Bring the Abomination Heads to the Ashwood garage to upgrade Ol' Tessie.
DG-2 Turret Upgrade
Complete the Serum step from the Main Quest. This is needed to spawn the Seal of Sorrow as well as the keys required to open it.
- Find several keys hidden in the various locations in the Fog. To obtain the keys, use the Necrofluid Gauntlet to pull them out to the ground to be picked up. Each key grants the holder a negative effect when held. There are also several spawns for each key:
- Bruin Key (Crashed Rocket; Yellow) - This key will force you to use a Knife while holding it.
- Nightbird Key (Orda Graveyard; Red) - This key will put you at extremely low health while holding it.
- Terrapin Key (Grounded Ship; Green) - This key will slow you down significantly while holding it.
|  Nightbird Key Nightbird Key |  Terrapin Key Terrapin Key |
 Bruin Key
- Bring each key to the Seal of Sorrow in Ruby Alley at Ashwood to remove the chains. Note that you cannot use the Jump Pads, as they will make you drop the key at the pad location.
- If done correctly, a cinematic will play and the DG-2 Turret Barrel will be available. Bring it back to the Ashwood garage to upgrade Ol' Tessie.
"Dust to Dust" Main Quest
① Prerequisites
- Build the Necrofluid Gauntlet (Stabilizer Chip → Klaus → Aether Barrel → cube at Vandorn Farm).
- Upgrade Ol' Tessie: PaP (2 power pumps), Abomination Beam (Cook zombie → Freeze Key → carcass).
- DG-2 Turret barrel optional for the challenge step.
② Create the Serum
- Wisp Tea at Tailor Shop → spirit into mirror → shoot with Gauntlet → Powder of the Forgotten.
- Yuri’s Lab: match the three chalkboard words from top to bottom.
Serum Ingredient Order Open helper
Open full-page tool ↗Match the chalkboard in Yuri’s Lab top to bottom. Select a row, then its Pigpen word.
Interact with these ingredients- 1—
- 2—
- 3—
Where to collect the ingredients
Widow’s Lantern: Jar of Spores: Blackwater cabin → mushroom-covered horse at Vandorn Farm → wait three rounds.
Mysterious Limb: Kill a Zursa with Ol’ Tessie’s Abomination Beam.
Ravager Eyes: Kill a Ravager with a Saw Trap.
Hoard Hunk Chunks: Destroy purple Aether Flora with the Abomination Beam.
Human Bones: Tomahawk the hanging corpse’s foot in Vandorn Barn, then burn the fallen foot with a Molotov.
The Powder of the Forgotten reveals the chalkboard. Collection order does not determine this sequence.
Saved on this device - Interact ingredients top→bottom → add your blood (lockdown, heal via Gauntlet kills) → fill serum with zombie souls → Serum.
③ Purple Gauntlet
- Freeze Ashwood clock tower with DG-2 Turret → shoot clock face with Gauntlet → purple charges (3 per round, 1 per frozen face).
④ Challenges — Vandorn Farm
- Stand on floor numeral matching the farmhouse clock → look at Pa → shoot his head → 4 orbs fly.
- Find 4 ritual items (Tasty-Face, Junior's Fun-Face, Pa's Pigsticker, Ma's Chalice) → place on glowing circles → defend lockdown.
⑤ Challenges — Zarya Cosmodrome
- Shoot 2 radar dishes (purple) → monitors light up, 3 souls float.
- Monitors spell LAUNCH / WEAPON / ENGINE / ROCKET (pigpen) → use helper below → lock numbers left to right by shooting red buttons.
- Souls vanish → Soyuz rocket launches.
⑥ Challenges — Exit 115
- Trigger colored lightning (round start or shoot 3 spark poles with DG-2 turret).
- Shoot service station clock with purple Gauntlet → freeze time 1 min.
- Revive 3 corpses: trucker (ram container), mechanic (Klaus, garage), waitress (melee cash register).
- Lead each zombie to its colored lightning bolt before timer ends.
⑦ Challenges — Blackwater Lake
- Interact with floating soul at the pier.
- Shoot projector (purple) → 4 images = film reel order → shoot reels in order (wrong = jumpscare, next round retry).
- Open the box with Speed Cola → soul flies → Klaus takes Hellion Horn.
⑧ Veytharion Boss
- Klaus blows the horn → red orbs with white mist at 4 locations: Monolith Forest, Collapsed Tower, Grounded Ship, Lost Cabins (3 each) — collect by driving over them (timed).
- Teleported (with Tessie) to Veytharion's Sepulcher.
- P1: missiles, green barnacles heal, spin immunity → beam → overcharge → ram to stun → shoot weak point.
- P2: heavier barrages, fewer heals, faster immunity cycles.
- P3: tracking laser — counter with boost or ram during charge-up; maximize burst on short weak-point windows.
- Defeat → final cinematic. Continue the game! Then interact with the Mysterious Object at Blackwater Lake to unlock Relics.
The prerequisites for the Main Quest is to obtain the Necrofluid Gauntlet and get all the upgrades for Ol' Tessie (minus the DG-2 Barrel as noted above). Note that many of the following steps and items can be completed and acquired while doing those prerequisites.
- Buy Wisp Tea and travel to the Tailor Shop at Ashwood. Activate the Wisp Tea's spirit and it will go inside the mirror, revealing the Seal of Sorrow. Shoot the mirror with the Necrofuild Gauntlet to drop the Powder of the Forgotten. Alternatively, you can acquire all the ingredients first, see after the table.
- Travel to the Zarya Cosmodrome and reach Yuri's Lab. Interact with the powder on the table to reveal three pigpen ciphers on the chalkboard above the table. The ciphers indicate which ingredient will need to be acquired. Read the rows from top to bottom.
Serum Ingredient Order Open helper
Open full-page tool ↗Match the chalkboard in Yuri’s Lab top to bottom. Select a row, then its Pigpen word.
Interact with these ingredients- 1—
- 2—
- 3—
Where to collect the ingredients
Widow’s Lantern: Jar of Spores: Blackwater cabin → mushroom-covered horse at Vandorn Farm → wait three rounds.
Mysterious Limb: Kill a Zursa with Ol’ Tessie’s Abomination Beam.
Ravager Eyes: Kill a Ravager with a Saw Trap.
Hoard Hunk Chunks: Destroy purple Aether Flora with the Abomination Beam.
Human Bones: Tomahawk the hanging corpse’s foot in Vandorn Barn, then burn the fallen foot with a Molotov.
The Powder of the Forgotten reveals the chalkboard. Collection order does not determine this sequence.
Saved on this device
| FUNGI | Widow's Lantern |  |
| LIMBS | Mysterious Limb | |
| OCULI | Ravager Eyes | |
| CONCH | Hoard Hunk Chucks | |
| TALUS | Human Bones |
- Acquire the required ingredients:
- Hoard Hunk Chucks: Destroy a purple Aether Flora with Ol' Tessie Abomination Beam.
- Widow's Lantern: Get the Jar of Spores from under Cabin's kitchen cabinet at Blackwater Lake. Interact with the horse corpse covered with mushrooms at Vandorn Farm. Wait 3 rounds then interact again.
- Ravager Eyes: Kill a Ravager with a Saw Trap.
- Human Bones: Throw a Tomahawk at the foot of the hanging corpse dripping blood in the middle of the Barn at Vandorn Farm. If done correctly the foot will drop. Throw a Molotov Cocktail to burn it. You can get a free Tomahawk at the diner in Exit 115, or by triggering the Axe Throwing easter egg at Blackwater Lake (see Side Quests and Easter Eggs section). There is also a free Molotov Cocktail on a barrel next to the Ashwood garage.
- Mysterious Limb: Kill a Zursa with the Ol' Tessie Abomination Beam.
- Interact with each ingredient following the order shown on the chalkboard (top to bottom).
- Interact with the central equipment to add your Blood. This will trigger a lockdown. Your health will be reduced and you can only heal yourself with kills with the Necrofluid Gauntlet.
- Kill the zombies to gather their souls inside the Serum. If done correctly, the room will be filled with a purple gas and the lockdown will end.
- After upgrading Ol' Tessie with the DG-2 Turret, use the turret and shoot at the clock tower floating above Ashwood. Doing so will freeze the clocks on the tower.
- With the Necrofluid Gauntlet, shoot at any of the clock faces and pull back. This will turn the Gauntlet into a purple and transparent version. The effect is limited in time, you can have three purple charges per round (1 for each side with a frozen clock face). Additionally, shooting the Gauntlet will remove the effect.
Vandorn Farm
- Travel to the Farmhouse at Vandorn Farm and check the clock on the wall. On the ground, all around the dining table, there will be Roman numerals scratched on the floor.
- Stand above the numeral corresponding to the one on the clock then look at Pa at the end of the table. If done correctly, Pa's head will turn towards you with his eyes turning red. Shoot Pa's head with the purple Gauntlet to spawn four energy orbs that will fly away.
- Find four ritual items around Vandorn Farm:
- Tasty-Face: On a bunk bed, near Stamin-Up in Farmhouse
- Junior's Fun-Face: Upstairs at the Barn, on a toy horse
- Pa's Pigsticker: In the Garage
- Ma's Chalice: In the bathtub in the Cellar.
- Place the ritual items on the corresponding glowing circles around the farm, then interact with the last item placed to trigger a lockdown where you will have to defend the items from getting damaged. Survive until the end of the lockdown.
Zarya Cosmodrome
- Shoot the two spinning radar dishes with the purple Gauntlet (requires two charges). If done correctly, the monitors inside the Control Room will light up and three souls will float above the chairs. You have a limited time to do so, and you need to shoot the radar dishes again if you fail.
- The first two monitors will spell a word using the pigpen characters, two letters at a time: LAUNCH, WEAPON, ENGINE, ROCKET.
Rocket Launch Codes Open helper
Open full-page tool ↗Match the Pigpen word on the two clue monitors.
Monitor values · left → rightChoose the matching word to reveal all six values.
Setup and retry
Slow both radar dishes with purple Gauntlet shots. If you lock a wrong value, stop all six monitors, then shoot the dishes again to retry. Avoid explosive shots near the buttons.
Saved on this device - The other six monitors will cycle through numbers. Use the selector above to reveal the correct sequence, then lock each number from left to right by shooting the red button.
- If done correctly, the souls will disappear and the Soyuz rocket will launch.
Exit 115
- Travel to Exit 115 with Ol' Tessie and wait for the colored lightning strikes to appear at the beginning of a round. Alternatively, you can manually trigger the lightning strikes by shooting at three light poles with lightning sparks around the area using the DG-2 Turret on Ol' Tessie. Shooting at one pole will cause another random pole to have sparks.
- Go to the McDougal's Service Station and shoot at the clock with the purple Gauntlet to freeze time for one minute.
- You will need to revive three corpses:
- Using Ol' Tessie, ram into the cargo container opposite of the service station to open it and revive a trucker, glowing red.
- Summon Klaus and send him to revive the mechanic inside the garage, glowing yellow.
- Melee the cash register several time to open it and revive the waitress, glowing blue. Melee Macchiato reduces the amount of melee hits required.
- Lead each zombie to its corresponding colored lightning, and they will be stunned and disappear afterwards. If the timer runs out while doing this, the lightning will despawn and players have to wait until the next round to manually trigger the lightning again, or for them to naturally spawn. Players also have to shoot at the clock with the purple Gauntlet again to trigger the time stop. Once all three zombies are led to their lightning bolts, the process will be completed, as noted by the Entity's dialogue.
Blackwater Lake
- Travel to Blackwater Lake and reach the pier. A soul will be floating around, interact with it to make it fly away.
- Go inside the Cabin and shoot the projector with the purple Gauntlet. The projector will show four images corresponding to locations inside Blackwater Lake and in the order in which you will need to shoot film reels. Note that if you shoot in the wrong order, a jumpscare will be triggered, and you will have to wait until the next round to retry.
- Toolshed: On a shelf near the Sprayer spawn location.
- Front of Cabin: Upstairs near the gramophone.
- Back of Cabin: Beneath the stairs next to the Ammo Box.
- Boat house: On a wood beam when looking above.
- If done correctly, the soul will appear inside the room with Speed Cola, on top of a box. Interact with the box to open it and the soul will fly away.
- Summon Klaus and send him in front of the box. Klaus will take the Hellion Horn inside the box and travel to the back of the Cabin and stand next to the Ammo Box while inspecting the horn. Note: if you Save & Quit after this step, you will need to redo it again.
- Interact with Klaus to start the boss fight process. He will blow the horn, which will summon red orbs with white mists that fly all over the map.
- Drive Ol' Tessie and collect the orbs by driving over them at each of the following locations: Monolith Forest, Collapsed Tower, Grounded Ship, Lost Cabins. Each location has three orbs in total. This process has an unspecified time limit, after which the orbs will despawn, and players will have to restart the process by interacting with Klaus again.
- If all orbs are collected you are teleported (with Ol' Tessie) into Veytharion's Sepulcher. The encounter progresses through three distinct phases:
- Constant missile volleys; moderate density.
- Green barnacles spawn regularly — drive through to heal Tessie.
- Spin immunity triggers periodically: a light beam appears.
- Charge Tessie through the beam to overcharge → ram boss to stun.
- Stun exposes underside weak point for high critical damage.
- Max Ammo & Armor drop after successful weak point damage cycle.
- Missile barrages increase in size & impact radius.
- Barnacle heal spawns slightly less frequent — prioritize routes.
- Immunity cycles shorten; beams appear closer to arena edge.
- Stun + weak point loop identical; damage threshold higher.
- Resource pulls (Max Ammo/Armor) with Gauntlet become critical.
- Laser charge attack: continuous tracking beam at Tessie.
- Counter by: sustained boosting OR ram during charge-up.
- Missile + laser overlap punishes stationary aiming.
- Immunity + spin persists; stun loop unchanged.
- Weak point window slightly shorter; maximize burst damage.
- Late-phase barnacle heals critical; plan a loop path.
- Once Veytharion is defeated, the final cinematic will play.
IMPORTANT: AFTER THE CUTSCENE, CONTINUE THE GAME TO BE ABLE TO INTERACT WITH THE MYSTERIOUS OBJECT AT BLACKWATER LAKE AND UNLOCK THE RELICS FOR CURSED MODE.
Side Quests and Easter Eggs
- In Server Room at Janus Towers, near the original T.E.D.D. Head location.
- In Judgement Square at Ashwood near the VS Recon wall buy.
- At Exit 115, inside a vehicle.
- Find a Fertilizer Canister around the map
- Several Aether Flora growth can also be found around the map. Interact with one of them to fertilize it. This will attract zombies and you'll need to defend it as you continue to interact with it. Once it has fully grown, interact with it again to obtain random loot, including Essence and Salvage.
Note: Using Toxic Growth on the Aether Flora appears to accelerate the growth and increase the value of the dropped loot, which could include Aetherium Crystals, Aether Tools and perk cans.
- Play as "Tank" Dempsey
- Travel to Crashed Rocket.
- Look for the corpses and interact with the Dog Tag, hidden in the snow. This will trigger a scripted sequence where Dempsey will be alone in a forest and zombies will spawn, attacking him.
- Follow the black orb and kill zombies until the story progresses. Eventually, Dempsey will be turned into a Disciple, and you will be tasked with killing 3 zombies as the Disciple.
- Once done, the Dempsey player will return to the main map, and rewards will spawn at the location, including a legendary killstreak and additional loot. The "Good Soldiers" trophy/achievement will also pop here.
- Full Power: Zarya Cosmodrome
- Insta-Kill: In the opening at the top of the silo in Vandorn Farm
- Nuke: Top of the bell tower in Ashwood.
- Open all the location barriers with Ol' Tessie and use all the Jump Pads
- After a few rounds, the most left light above the Janus Tower Reception will start blinking. It will display a 7-digit code, with digits going from 1 to 7. Those numbers correspond to the number seen on the back of the Jump Pads around the map. Use each Jump Pad in the order displayed by the blinking light.
- Janus Towers: 1
- Vandorn Farm: 2
- Ashwood (Double Tap): 3
- Blackwater Lake: 4
- Exit 115: 5
- Zarya Cosmodrome: 6
- Ashwood (Juggernog): 7
- If done correctly, a portal will appear in the sky between two Jump Pad locations. Find the correct Jump Pad to reach it. You will be teleported back to Ashwood and loot will drop from the portal there. Doing it above Round 18 will guarantee a Ray Gun Mark II to be dropped.
- Find a remote controller in the Fog:
- Next to a briefcase in the cabin leading to Blackwater Lake at Lost Cabin.
- Behind a tree at Crashed Plane.
- Above the window where the Terrapin Key can be found at Grounded Ship.
- This will trigger an ARC-XD race at the Zarya Cosmodrome.
- Once the race is done, Mr Peeks will appear before spawning a trophy (one for each player) containing loot.
- Interact with the trophy inside the Toolshed at Blackwater Lake.
- Get a Tomahawk outside, stuck in a log.
- Find the floating target near the road. Throw the Tomahawk at the target. It will disappear and a new one will spawn. The target will start to move after several throws. Repeat until all the targets are done.
- Once done, Mr Peeks will appear before spawning a trophy (one for each player) containing loot. Note that the rewards scale in value with higher rounds.
- Travel to the Farmhouse at Vandorn Farm, and interact with the TV near Stamin Up. Keep interacting with it until you see two human shapes.
- Continue to interact with the TV until only one human shape is visible. A laugh will play.
- Reach the Cellar and find the blue spirit drawing a figure on the ground.
- Return to the TV and keep interacting with it until no human shapes are visible.
- Find the two girl spirits dancing near the Jump Pad. After a few seconds they will disappear and drop some loot including a guaranteed Wisp Tea perk can.
- Every other round, the girls will respawn at random areas around Vandorn Farm dancing, and approaching them will result in additional random loot drops.
- Equipped with Death Perception, check Crashed Rocket or Orda Graveyard for highlighted bear footprints.
- Follow the footprints until it triggers a cutscene. This will start the fight against a Zursa named Maldruk.
- Within the arena, you'll find a Ray Gun, a Legendary weapon and some equipment and Essence. Killing Maldruk will also drop additional loot.
Killing Maldruk only using your melee weapon will drop the Claw Talisman. Picking up the talisman will give a permanent Double Points for melee kills.
Collect a specific trio of ingredients then mix them at the soda machine in Reba's Diner (Exit 115) to claim the perk. Crafting any recipe completes Soda Sommelier; crafting all four unlocks the Mixologist achievement. Only one drink per player. Picking up ingredients for multiple recipes causes a failed mix.
- Fish – Blackwater Lake
- Toilet Cleaner – Server Room (Janus Towers)
- Stim Shot – Control Room (Zarya Cosmodrome)
- Box of Potatoes – Cellar (Vandorn Farm)
- Bag of Beans – Hargrove's Mercantile (Ashwood)
- Jerrycan – Dumpster area (Exit 115)
- Plant – Under truck (Blackwater Lake)
- Cut Tomatoes – Crate near door (Hargrove's Mercantile)
- Sugar Box – Counter (Reba's Diner)
Relics
The nine Relics modify gameplay in Cursed Mode. They are grouped by difficulty: Grim (entry), Sinister (mid), Wicked (high). Slot combinations raise your Cursed Tier:
- Tier I: Any 3 Grim — Unlocks Golden Armor (45,000 Essence)
- Tier II: 2 Sinister + 2 Grim (example loadout) — Unlocks Ultra Rarity (weapon upgrade cost scaling)
- Tier III: 3 Grim + 2 Sinister + 1 Wicked (example) — Unlocks Pack‑a‑Punch IV (100,000 Essence)
You can mix other combinations; higher tier requirements demand total difficulty value equal to target tier fill (Grim≈1 • Sinister≈2 • Wicked≈3).
Grim Relics
Sinister Relics
- Activate Cursed Tier I
- Give to Chompy a weapon of each Rarity (Common/Grey, Uncommon/Green, Rare/Blue, Epic/Purple, Legendary/Orange)
- Reach Round 40 and give to Chompy either the Ray Gun or the Ray Gun Mark II
- Travel to Zarya Cosmodrome and interact with the yellow portal in front of the Exfil cabine near Yuri's Lab to start the Relic Trial
- Survive 5 waves of HVTs and zombies while all Max Ammo Power-Ups and Ammo Caches are disabled
Wicked Relics
Wall-Buys and Perk-a-Colas
| Code 9 Reception | JANUS TOWERS |
| Warden 308 Plaza | |
| Echo 12 | VANDORN FARM |
| MK. 78 Cellar | |
| Peacekeeper Mk1 Farmhouse | |
| Ryden 45K Barn | |
| M8A1 | BLACKWATER LAKE |
| Dravec 45 Cabin | |
| M34 Novaline The Ruby Rabbit | ASHWOOD |
| X9 Maverick Ruby Alley | |
| VS Recon Judgement Square | |
| Akita Sherrif's Office | |
| M15 Mod 0 | ZARYA COSMODROME |
| XR-3 ION | |
| DS20 Mirage Support System | |
| AK-27 | EXIT 11 |
| XM325 | |
| Shadow SK | |
| AK-27 Reba's Diner |
Mister Peeks · Cursed mode: Check his possible spawn locations. Shoot him when he appears to drop an egg that can contain perks and other loot.
Note: Der Wunderfizz appears after purchasing or acquiring 4 Perk-a-Colas.
Juggernog - The Ruby Rabbit | ASHWOOD |
| Vulture Aid - Market Square | |
| Double Tap Root Beer - Judgement Square | |
| Stamin Up - Farmhouse | VANDORN FARM |
| Death Perception - Barn | |
| Quick Revive - Server Room | JANUS TOWERS |
| Der Wunderfizz - Reception | |
| Speed Cola - Cabin | BLACKWATER LAKE |
| Melee Macchiato - Cabin | |
| Wisp Tea | ZARYA COSMODROME |
| PhD Flopper - Flame Trench | |
| Elemental Pop - Reba's Diner | EXIT 115 |
| Deadshot Daiquiri - McDougal's Service Station |
Miscellaneous Features
- Vandorn Farm - Garage
- Ashwood - Hargrove's Mercantile
- Ashwood - Ruby Alley
- Blackwater Lake
- Exit 115 - McDougal's Service Station
- Zarya Cosmodrome - Control Room
- Vandorn Farm - Barn
- Blackwater Lake - Toolshed
- Ashwood - Shops
- Zarya Cosmodrome - Support Systems
- Exit 115 - McDougal's Service Station
Sources and review
Guide text is adapted from the r/CODZombies community wiki with AI assistance. The references below also informed the map and puzzle helpers. Source and software checks do not replace an in-game playthrough.