Key Features
Open the carrier and prepare equipment
- Collect an Exo Suit and open the Armory, Cargo Deck, Lift, Moon Pool, Hangar, Bio Lab and Gun Deck routes needed below. Identify upgrade stations and the Armory Teleport Grenade wallbuy. Ordinary bomb-defusal rounds are map objectives, separate from the tablet sequence.
Teleport Grenade wallbuy in the Armorymmmrkennedy; game imagery Activision and the relevant game studio · Source ↗
Main Quest
Power both disposal machines
- Activate Chompy in Cargo Deck. As its wall door opens, throw a Teleport Grenade into the small room before the door closes. Once inside, activate the generator; the room soon returns you to the deck.
- The generator activates Weapon Disposal and the special Grenade Disposal puzzle in the Armory. Confirm their lights/power before spending weapons or beginning the icon sequence.
Build the Gun Deck fishing rod
- Feed Weapon Disposal distinct weapons; repeating a weapon already submitted does not advance its item payout. Its early rewards are the bottle, reel, line and hook. Install each rod part on the Gun Deck rod immediately before claiming another: a new part replaces an uninstalled held part.
Gun Deck fishing-rod part mountsmmmrkennedy; game imagery Activision and the relevant game studio · Source ↗ - After all three parts are fitted, interact with the rod to fish. Rewards are random. Keep the bottle available for the maze and fish for the shovel needed by the island tablet. If aiming for gold, obtain the Red Fish BEFORE completing the maze.
Completed Gun Deck fishing rodmmmrkennedy; game imagery Activision and the relevant game studio · Source ↗
Tablet 1: grenade-icon rows
- Send a Teleport Grenade into Grenade Disposal to start its icon cycle. Throw actual Contact Grenades into the machine while the required icon is displayed. The names below are machine icons, not a shopping list of different grenades.
Frag iconmmmrkennedy; game imagery Activision and the relevant game studio · Source ↗ Distraction Drone iconmmmrkennedy; game imagery Activision and the relevant game studio · Source ↗ Nano Swarm iconmmmrkennedy; game imagery Activision and the relevant game studio · Source ↗ Explosive Drone iconmmmrkennedy; game imagery Activision and the relevant game studio · Source ↗ - Complete the rows in order. Each completed row turns green; use that visual confirmation before starting the next. The original tutorial uses Frag as each endpoint; the modern reference also documents Nano Swarm as an endpoint alternative.
- Row 1: Distraction Drone → Frag.
- Row 2: Explosive Drone → Distraction Drone → Explosive Drone → Frag.
- Row 3: Explosive Drone → Nano Swarm → Explosive Drone → Distraction Drone → Explosive Drone → Frag.
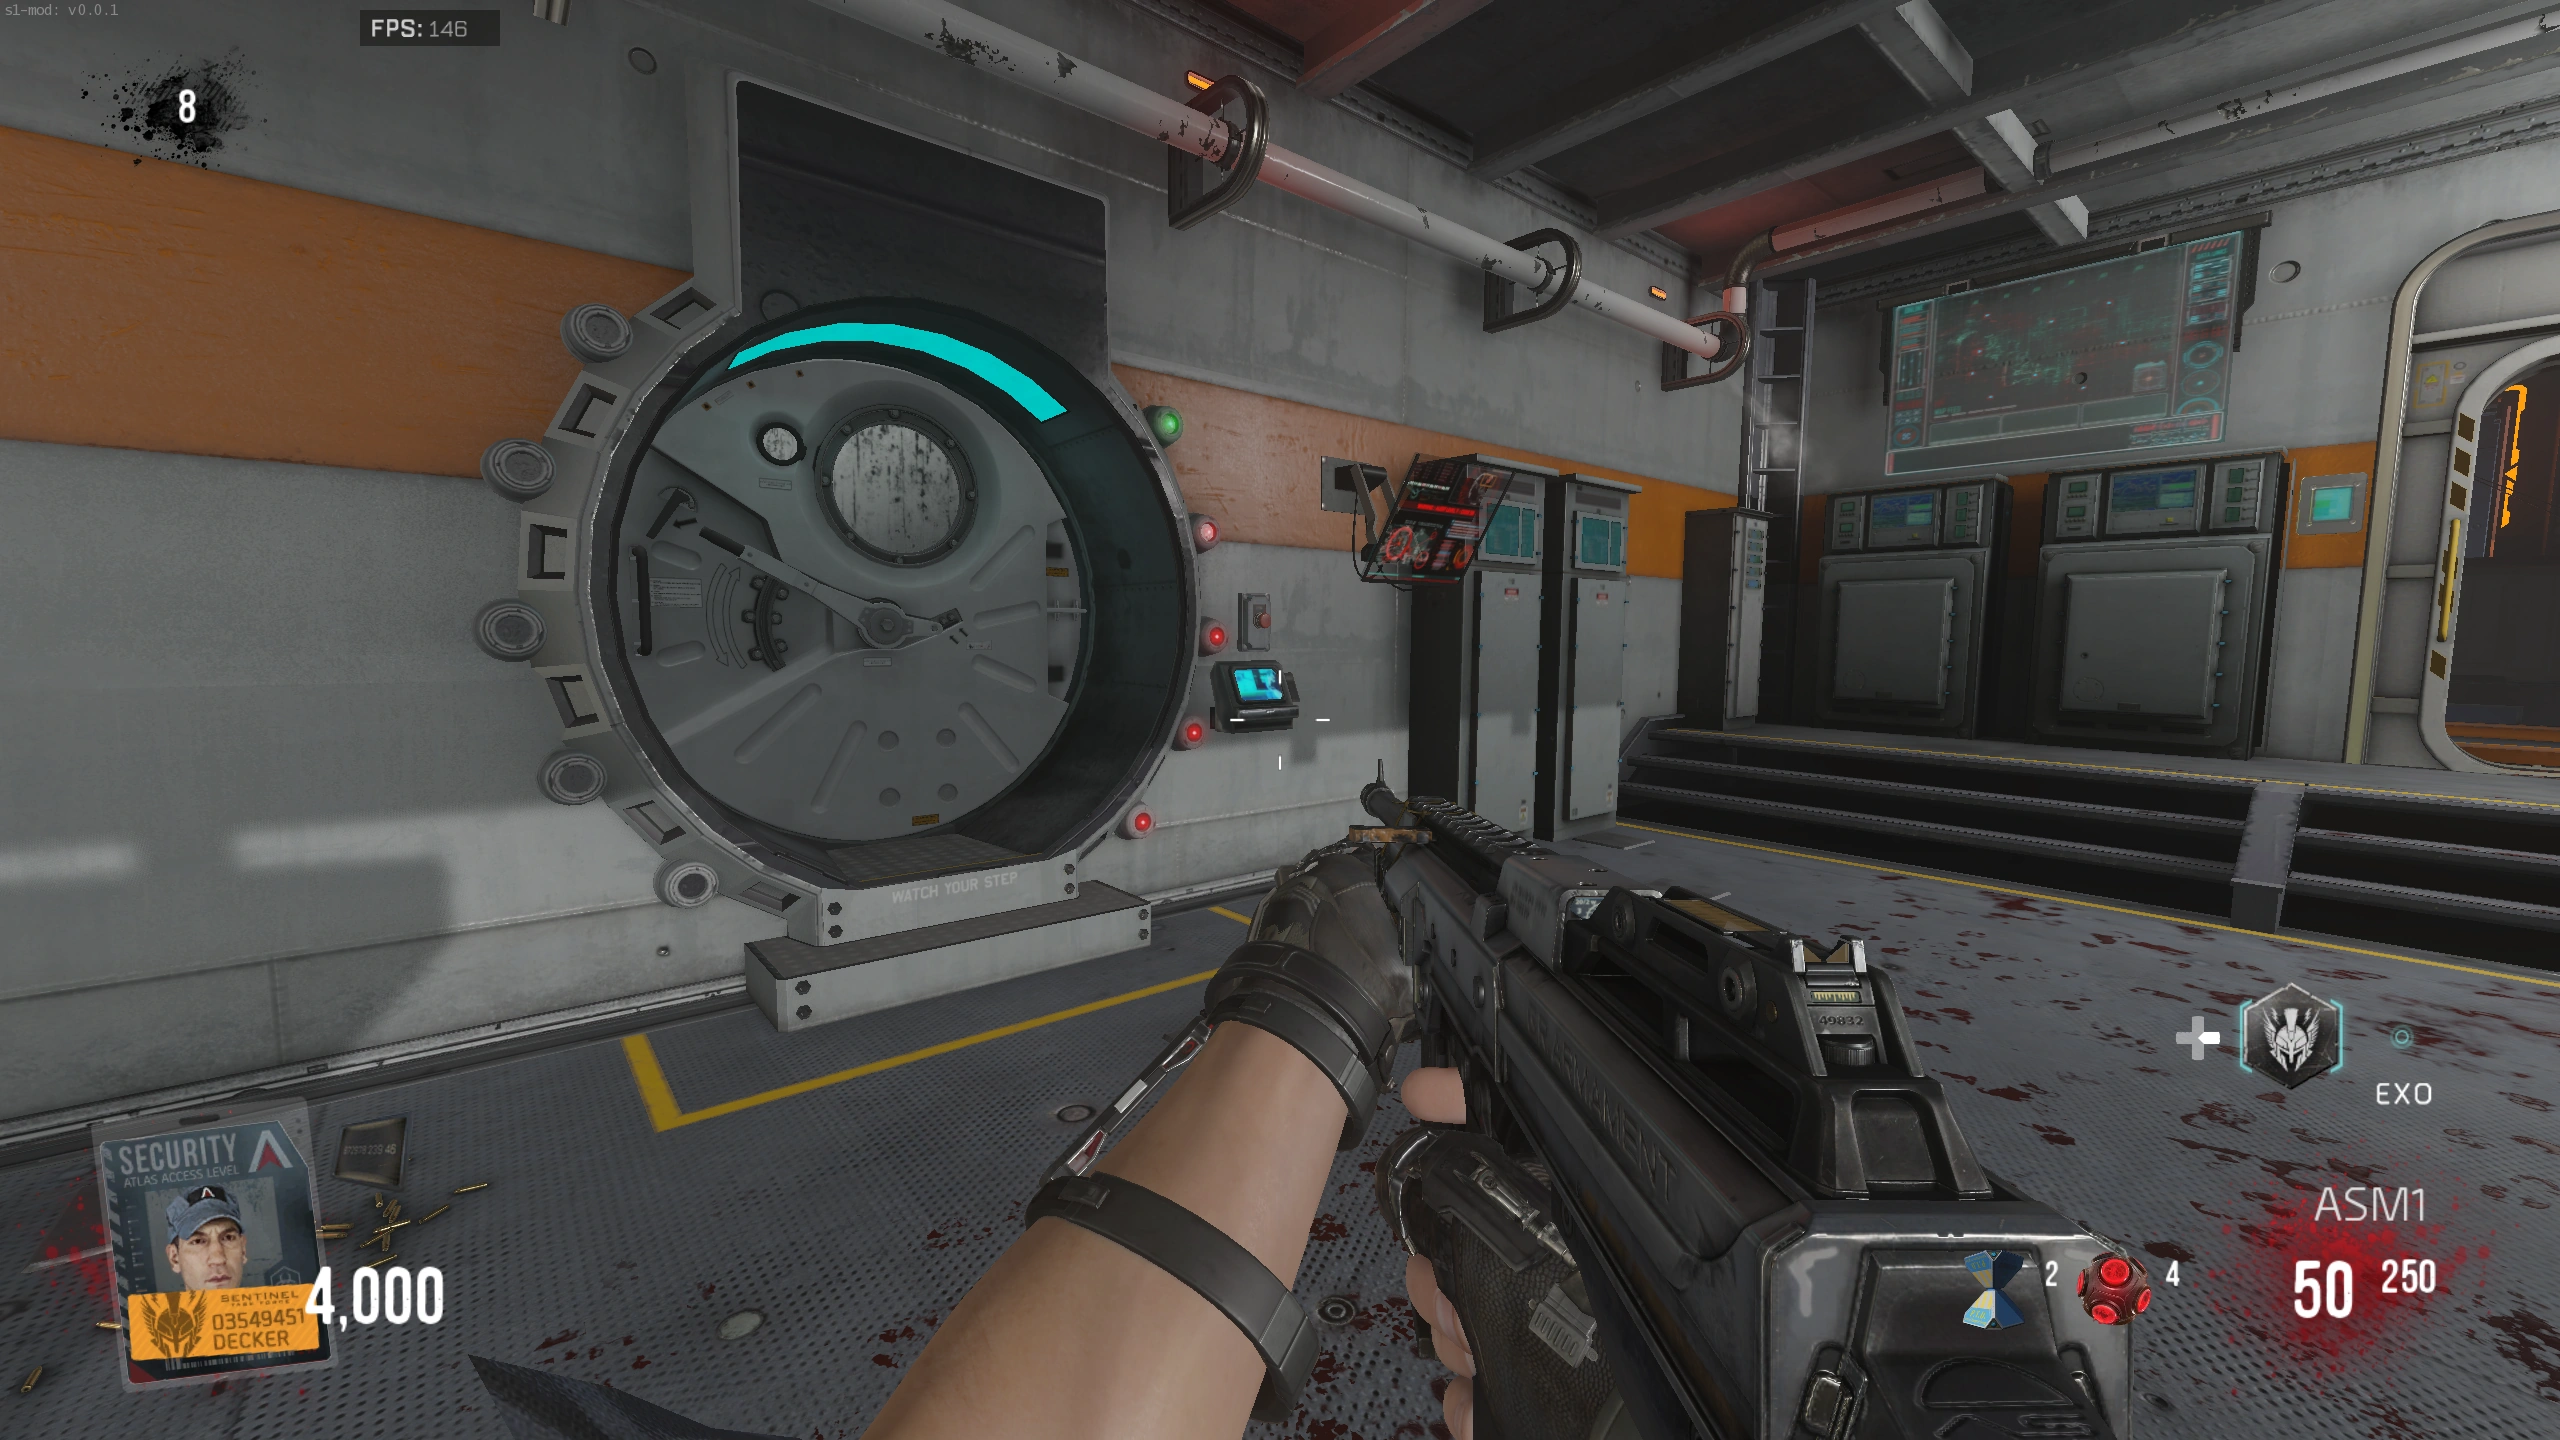
- Take the tablet from the right-hand slot and deposit it at the Gun Deck vault door. If it will not accept the tablet, wait for Oz’s dialogue to finish and interact again.
Tablet 2: drunk laser maze
- Open every doorway along Cargo Deck → Lift → Moon Pool → Hangar before starting. If attempting gold, have the Red Fish and plan a sub-one-minute run. Drink from the disposal bottle, then activate the keypad outside Cargo Deck.
- All players cross Cargo Deck, Lift, Moon Pool and Hangar without touching a laser. A laser hit cancels the timer and removes the maze; reactivate the keypad to try again. At the Hangar teleporter, collect the floor tablet and deposit it at the vault.
For the gold attempt, deliberately fail before collecting if the one-minute window will be missed; this preserves another timed attempt in the same match.
Maze tablet on the Hangar floormmmrkennedy; game imagery Activision and the relevant game studio · Source ↗
Tablet 3: repair Bio Lab and dig the island
- Kill teleporting zombies or dogs and collect their telefrag pieces promptly; floor drops expire. Carry one piece at a time and install it at the inactive Bio Lab teleporter. After 20 installed pieces the teleporter is usable. Their availability increases later in the match; wait for the relevant enemies instead of assuming every kill can drop one.
- Obtain the random fishing shovel, then use the repaired teleporter. Dig around the island until the buried tablet box appears. If forced back before finding it, wait for the teleporter to recharge and repeat. Deposit the tablet at the vault; this unlocks the Gun Deck Mk 25 station.
Tablet 4: Captain DJ’s eye scanner
- Inspect Captain DJ’s locker near Hangar Exo Medic to hear the eye-scanner clue. After this, a pair of treasure drones can spawn over later rounds. Shoot the EMPTY drone to recover its lever; a normal filled loot drone does not provide this quest item.
- Install the lever in the Moon Pool electrical box beside the printer. Kill zombies around the three floor grates until their blood attracts the swimming shark. When it passes beneath the central opening, pay the box’s 1,000-credit activation and jump onto the cage to descend.
- While the shark attacks the lowered cage, interact with it to collect Captain DJ’s eye. Return to the locker, scan the eye, take the final tablet and deposit it at the Gun Deck vault.
Plant the final C4
- After all four tablets have been deposited, continue submitting weapons to Weapon Disposal until it provides C4. Collect it and interact with the vault to plant it. This immediately commits the squad to the ending and ends the match.
Point of no return: finish optional challenges and upgrades before planting.
Final C4 supplied by Weapon Disposalmmmrkennedy; game imagery Activision and the relevant game studio · Source ↗
Side Quests
Optional Carrier gold trophy
Mars, the Bringer of War music
Mad Hops shark jumps
- Feed the Moon Pool grates with kills to attract the swimming shark. As it passes the grate nearest Lift, Exo-jump over it; immediately run into Lift and jump over each of its three shark tanks. Each tank needs its own jump. If the achievement does not trigger, retry while the swimming shark remains or feed the grates again.
Sources and review
Source-reviewed on 8 October 2026, using the references below and the research handoff. These instructions and puzzle calculations have software checks; they have not been verified in a complete in-game playthrough. Record symbols, sequences and completion cues from your match. Screenshot and community-chart creators are credited with each illustration.
- mmmrkennedy illustrated guide ↗
- r/CODZombies community guide (2) ↗
- youtube.com reference (3) ↗
- escapistmagazine.com reference (4) ↗
Select any reference image to enlarge it. Screenshot and symbol sources are credited in the linked walkthroughs; this guide uses local copies for reliable access.