Key Features
Power, landers and Pack-a-Punch
- Climb from Spawn to the upper power platform and flip the switch to restore colour. Locate the three outer landers at PhD Flopper, Stamin-Up and Speed Cola. Jugger-Nog is on the lower route beside the stairs from Spawn; buy it before risking long lander calls.
Power Switch PhD Flopper - On the right when coming from spawn, on the way to Power Stamin Up - On the left when coming from spawn, at the back of that path Speed Cola - In the buildings past the power switch, toward the rocket - At each of the three outer stations, call the lander and ride it back to spawn. Once the launch panel shows all routes complete, press the launch button beside power. Wait for the rocket to leave, enter its launch area and use Pack-a-Punch in the side room below the pad.
control panel button beside the power switch side room, below where the rocket was
Main Quest
Casimir Mechanism: activate the first three nodes
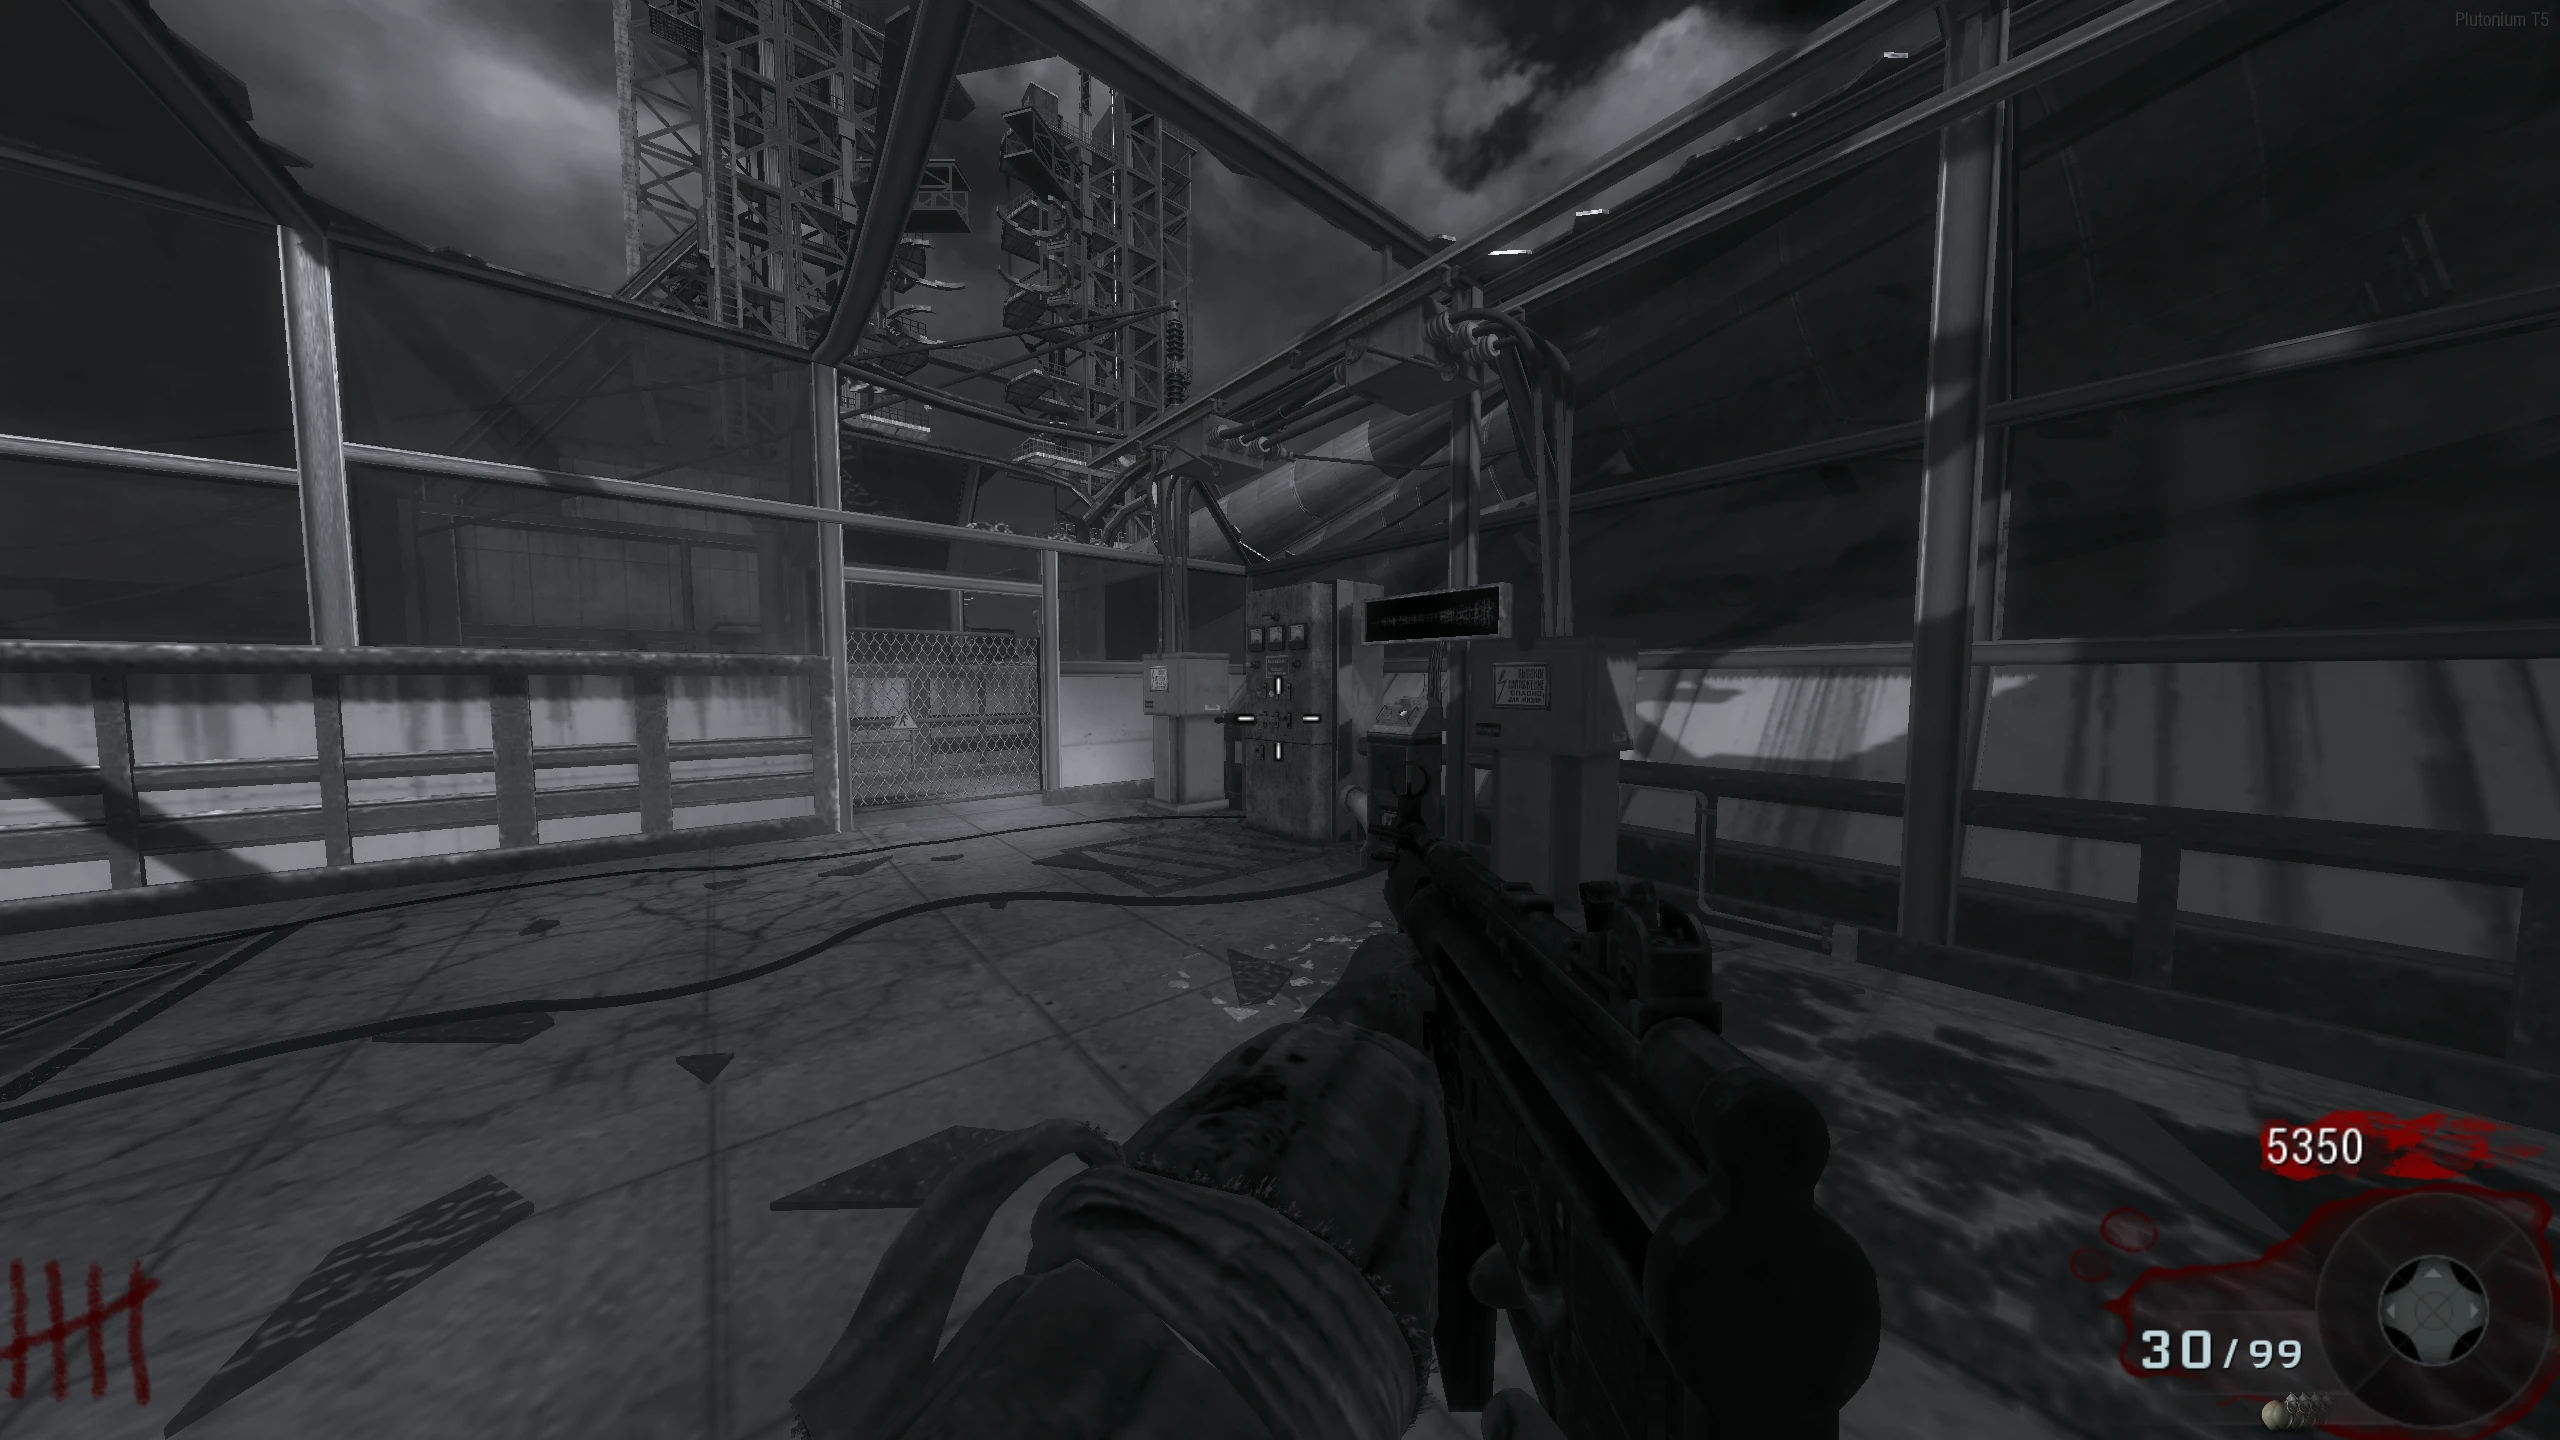
- Prepare four players, Gersh Devices, Matryoshka Dolls, a Thundergun and a Ray Gun. Upgrade the damage weapons before the finale. Throw a Gersh beside the sparking generator beyond the PhD Flopper lander, outside the playable fence near the MP5K, so it is pulled away. Activate the small television under the stairs in the flooded Stamin-Up area; its screen lights up.
sparking generator TV - During a Space Monkey round, station one player at each button beside Jugger-Nog, PhD Flopper, Speed Cola and Stamin-Up. On a shared countdown, press all four together. Listen for the completion cue before leaving. These buttons are a quest step, separate from defending perk machines.
Juggernog - In front of the machine PhD Flopper - Left of the machine Speed Cola - On the otherside of the doorway, to the right of the machine Stamin-Up - On the wall just to the left of the machine - All four players stand within the circular pressure plate under the rocket. Remain inside for about two minutes while the wall clock completes a full turn. You may shoot and move within the circle; stepping off interrupts the attempt. The reward/cue confirms the node is finished.
pressure plate (circular area) clock on the wall
Spell LUNA with the lander
- Choose one rider; teammates call the lander from the destination controls. Collect the floating letters with these four journeys in order: Spawn → Stamin-Up (L), Stamin-Up → Spawn (U), Spawn → Speed Cola (N), Speed Cola → Stamin-Up (A). The rider stays aboard for each letter.
- L: a teammate at Stamin-Up calls the rider from Spawn.
- U: a teammate at Spawn calls the rider back.
- N: a teammate at Speed Cola calls the rider from Spawn.
- A: a teammate at Stamin-Up calls the rider from Speed Cola.
letters - Check the crashed rocket module near Stamin-Up after the letters. All four indicators should now be lit. If one is missing, review the corresponding node before spending your finale ammunition.
crashed rocket module
Free Gersh
- Find the white light on the ground near the crashed rocket module. Throw a Gersh Device onto it, then have the team fire the upgraded Thundergun and upgraded Ray Gun into the trapped light while detonating Matryoshka Dolls there. Coordinate the damage inside the same Gersh window.
white orb on the ground - If Gersh asks for more power, repeat the concentrated damage with fresh equipment. His light rising into the sky and final dialogue confirm completion. Each player receives a Death Machine for about 90 seconds. The BO1 quest does not award permanent perks; the match continues.
Side Quests
Space Monkeys and the launch bonus
- After perks have been purchased, Space Monkey rounds can attack those machines. Defend them before the monkeys reach them. Finishing a monkey round without any machine being touched earns a random perk bottle along with the Max Ammo; merely preventing a perk loss is not enough.
- When launching the rocket for Pack-a-Punch, destroy it with sufficient weapon damage while it rises to reveal a Double Points pickup at the launch area. This is an optional launch bonus, not a required quest node.
Abracadavre and the character dolls
- Interact with three teddy bears: on the upper floor of Spawn beside the Olympia, against the wall near the Sickle/Speed Cola lander approach, and behind the fence to the left of the Stamin-Up lander. Listen for a cue from each; the third starts Abracadavre.
Spawn Room - On the upper level, left of the Olympia wallbuy Speed Cola Lander Station - On top of the wall, left of the hallway between the station and Speed Cola Stamin-up Lander Station - Behind the fence, left of the lander when facing the station - Interact with four small character dolls for dialogue: Takeo beside PhD Flopper, Richtofen on the desk on the floor above Jugger-Nog, Nikolai beside Speed Cola, and Dempsey by the Claymore wall buy near Stamin-Up. Each is a separate voice interaction.
Takeo - Next to the PhD Flopper perk machine Richtofen - On a desk on the floor above Juggernog Nikolai - On the machine left of Speed Cola Dempsey - Next to the Claymore wallbuy in the Stamin Up lander station area
Six story radios and the ringing telephones
- Use the six story radios in this order, allowing each message to finish before visiting the next. They tell Yuri and Gersh’s story independently of the main quest.
- 1. Left of the stairs to PhD Flopper, between the concrete barricades.
- 2. Past Stamin-Up, in the crate behind the truck.
- 3. Downstairs in Spawn, between the barrel and cart beside a window.
- 4. In Pack-a-Punch, on the pipe beyond the left railing when facing away from the machine.
- 5. On the equipment immediately left of Speed Cola.
- 6. Behind the leaning debris beside the window opposite Stamin-Up.
- Listen for ringing at the red phones near the Spawn lander, beside PhD Flopper, and in the room below power beside a Box location. Interact while one is ringing to hear a Five character. Community claims about forcing calls conflict, so follow the audible ring rather than repeating a supposed guaranteed trigger.
Sources and review
Written for Black Ops (2010), with its title updates; mobile editions and modded maps can differ. Community guides and illustrated references were cross-checked on 3 October 2026. Gameplay: Activision / Treyarch; photographs: the credited community authors below. Reused photographs may show a remaster of the same location; the instructions describe this edition. Source review and software checks are not an in-game playthrough.
- r/CODZombies community guide ↗
- mmmrkennedy illustrated guide (2) ↗
- COD Zombies Guides illustrated walkthrough (3) ↗
- callofduty.fandom.com reference (4) ↗
- r/CODZombies community guide (5) ↗
Select any reference image to enlarge it. Screenshot and symbol sources are credited in the linked walkthroughs; this guide uses local copies for reliable access.