Key Features
Unlock Dead Ops and learn the controls
- At the Black Ops main-menu interrogation chair, use the break-free controls repeatedly until your character stands up. Walk behind the chair to the computer terminal, interact, type DOA and submit. This unlocks Dead Ops Arcade and its Insert Coin achievement/trophy. Return through the Zombies menu for later games.
- Play alone or with up to four players. Movement and aiming are independent: move with one stick/control set while firing with the other. Check your platform’s controls for Speed Boost and Nuke before starting. Your ordinary gun has unlimited ammunition; weapon pickups replace it temporarily.
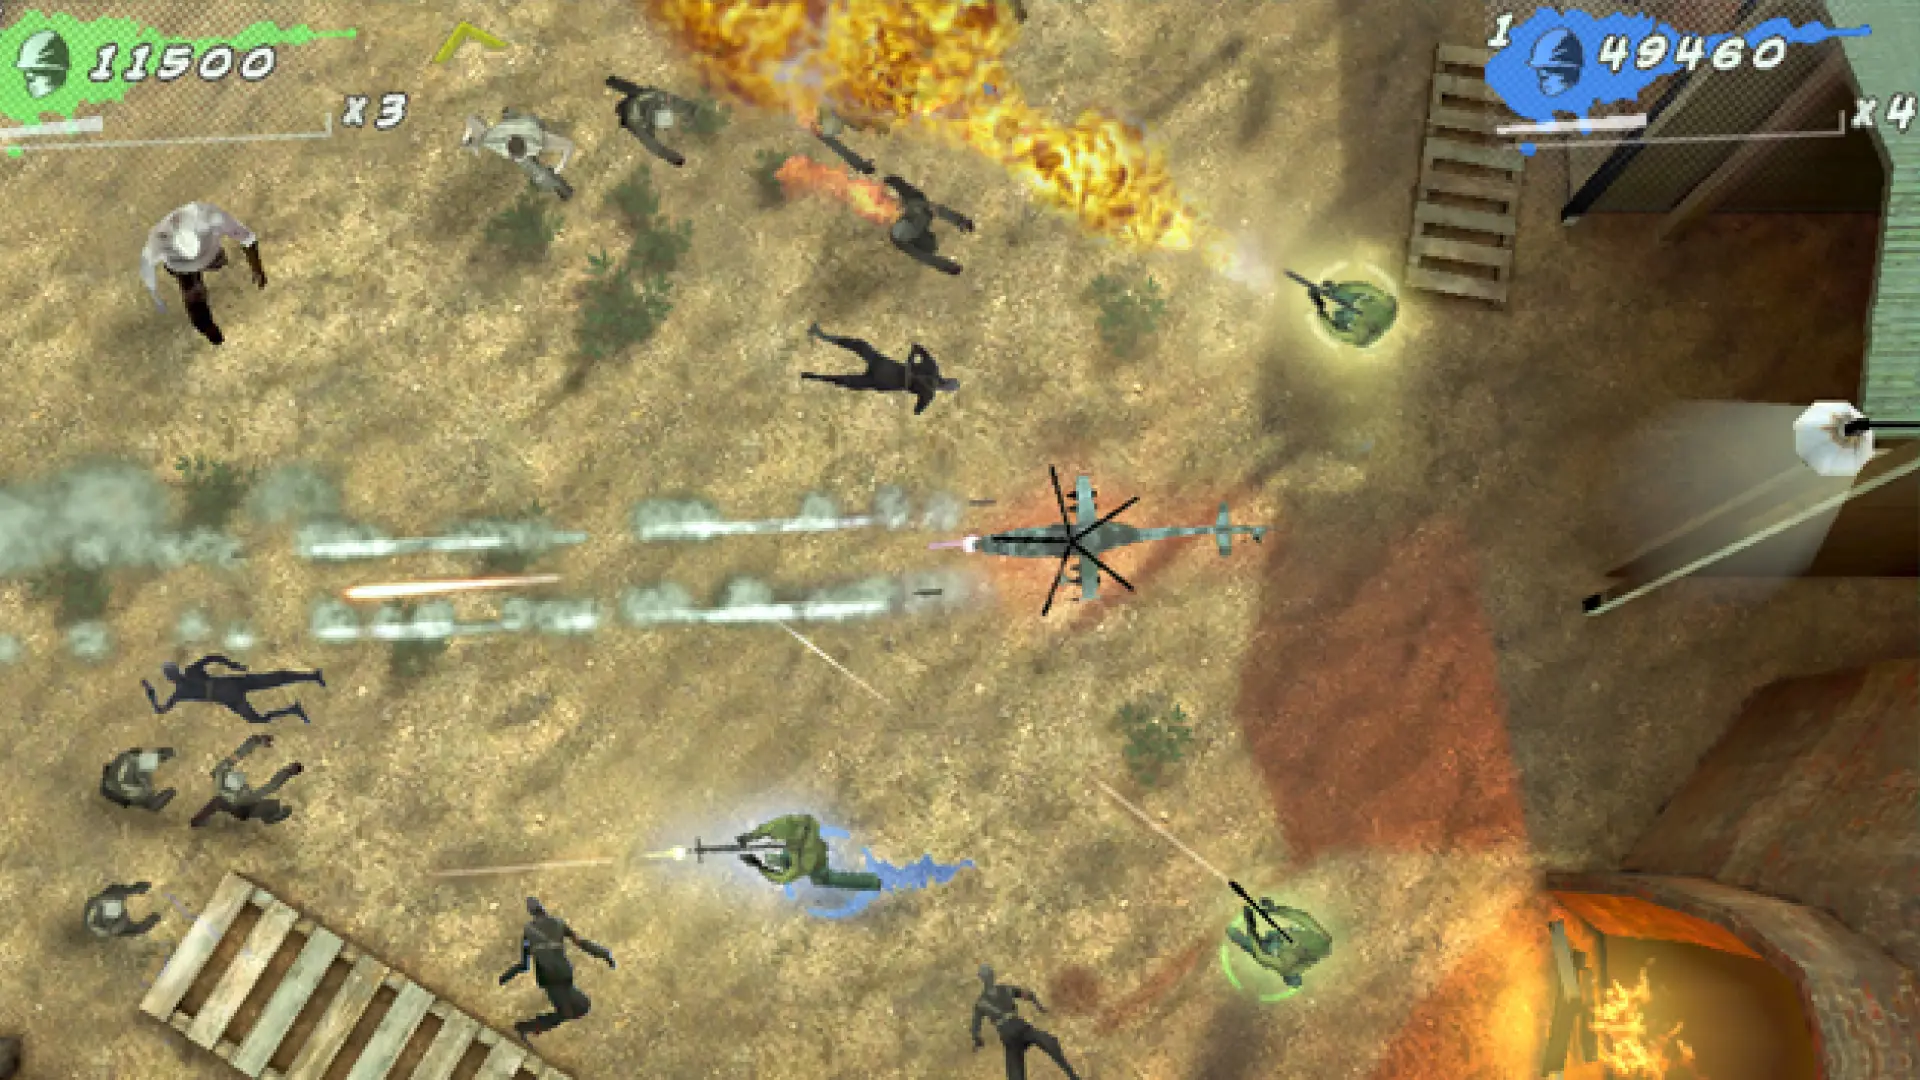
- Watch your own coloured character and the lives, nukes and lightning-bolt boosts below your name. Most ordinary zombie contact kills immediately. A boost clears a short straight path, while a nuke gives emergency space across the arena. Spend one before you are completely surrounded.
Original Dead Ops Arcade: each player has a coloured HUD; a helicopter pickup provides a temporary damage and protection window.
Treasure, weapons and temporary protection
- Collect coins and gems when the approach and exit are clear. Treasure grows the score multiplier, and every 200,000 points earns an extra life. Dying breaks your scoring momentum; do not trade a life for a single distant gem when the route is closing.
- Death Machine provides sustained fire; the RPG and China Lake clear concentrated groups, while shotguns require a closer lane. A pickup’s timer limits the temporary weapon. Choose one that fits the next approach instead of automatically replacing a powerful weapon with the nearest drop.
- A chicken follows and adds supporting fire with your weapon. Boots improve movement; barrels, Tesla balls and other defensive items help clear close threats. Tanks and helicopters provide a strong protected damage window. In co-op, announce useful pickups so the player who benefits most can take them.
- A player without spare lives returns after the co-op revival timer if someone survives. Keep moving until they return; the team loses when nobody can stay in the arena. Before entering the Room of Fate, wait for everyone to be alive so a knocked-out teammate does not miss the selection.
Room of Fate: choose your permanent bonus
- During the early cave rounds, before round 17, the route can enter the Room of Fate. Each of its four exits awards a different permanent bonus. Walk to your chosen exit and wait for its reward to drop before leaving. The directions change; a fixed “always go north” instruction is unreliable.
- Choose a bonus that fits your role. Firepower simplifies sustained defence; Furious Feet gives more escape control; Friendship strengthens weapon pickups; Fortune and Fortitude stretches their duration. In co-op, discuss the choice before the room loads.
- Fortune and Fortitude: longer weapon/item duration and a minimum ×2 multiplier.
- Firepower: the Death Machine becomes your default weapon.
- Friendship: a permanent chicken provides supporting fire.
- Furious Feet: faster movement and at least three boosts at the start of each round.
- In solo, stay still and do not fire as the room loads. Watch the exit arrows appear: first is Fortune and Fortitude, second Firepower, third Friendship, fourth Furious Feet. Remember the direction of the arrow for your desired bonus. In co-op, the camera may hide an arrow; an unseen arrow is not a confirmed direction.
Read the arena as the rounds change
- Rounds 1–8 teach entrances and item timing. Leave space from doors so a fresh spawn cannot touch you immediately. When the early catwalk arenas arrive, avoid committing to a narrow upper lane without a way out; the lower floor usually gives more room to reposition.
- The cave/crawler arenas around rounds 13–16 are cramped and darker. Sweep the next corner while moving and use a boost across open floor if both sides close. After Fate, watch for the arena’s roaming hazards as well as zombies; a clear firing lane can still cross a cow’s path.
- Later rounds introduce enemies falling into the arena and stronger special waves. Look at the landing area and your escape route, not only the doorway you are firing into. A co-op hold needs one player watching the flank and an agreed direction for leaving it.
- On the Abominable Marty and dog-heavy waves, keep distance and conserve enough space for a sideways escape. Let the team know before crossing someone else’s firing lane. Do not rely on an old safe corner once a different enemy type enters the arena.
Round 40: defeat the Cosmic Silverback
- Bring boosts and nukes into round 40. Shoot the Cosmic Silverback while circling with a clear lane to either side. Its roar/chest-pounding warns of a rush: move sideways out of the line or spend a boost before it reaches you.
- Use nukes to clear zombies that close your escape. A tank, helicopter or strong explosive pickup creates a damage opportunity; teammates keep the surrounding horde off the shooter. Surviving the rush is more valuable than holding still for another burst.
- Defeating the Silverback completes the first boss cycle. The game continues into harder arenas from round 41; round 80 brings two Silverbacks. Maintain the same spacing and resource habits rather than expecting a fixed ending after the first victory.
Side Quests
Bonus rooms and small secrets
- Bonus treasure rooms can appear on the route between arenas. Sweep the available treasure before following the next exit. Their appearance is not guaranteed by a particular compass direction or by entering an exit with a specific number of boosts.
- In the cow arena, a rare glowing golden cow can release gems when destroyed with explosive or vehicle damage. Keep the ordinary hazards in view while lining up the hit; this is a score opportunity, not a required boss step.
- For Easy Rhino, allow a long group of zombies to line up across a clear lane, then use one Speed Boost through at least 20 of them. Aim the dash along the crowd instead of into an obstacle, and keep a second escape available at the far end.
Sources and review
Written for Black Ops (2010), with its title updates; mobile editions and modded maps can differ. Community guides and illustrated references were cross-checked on 3 October 2026. Gameplay: Activision / Treyarch; photographs: the credited community authors below. Reused photographs may show a remaster of the same location; the instructions describe this edition. Source review and software checks are not an in-game playthrough.
- GameFAQs original-game walkthrough and community research ↗
- Steam Community walkthrough (2) ↗
- hxchector.com reference (3) ↗
- callofduty.fandom.com reference (4) ↗
- hobbyconsolas.com reference (5) ↗
Select any reference image to enlarge it. Screenshot and symbol sources are credited in the linked walkthroughs; this guide uses local copies for reliable access.