Key Features
Power and the three teleporter routes
- Open either side from the mainframe at Spawn and work toward the rear central courtyard. Activate the power switch beside the original Box location; the bridge lowers and the perk machines and electric traps become available.
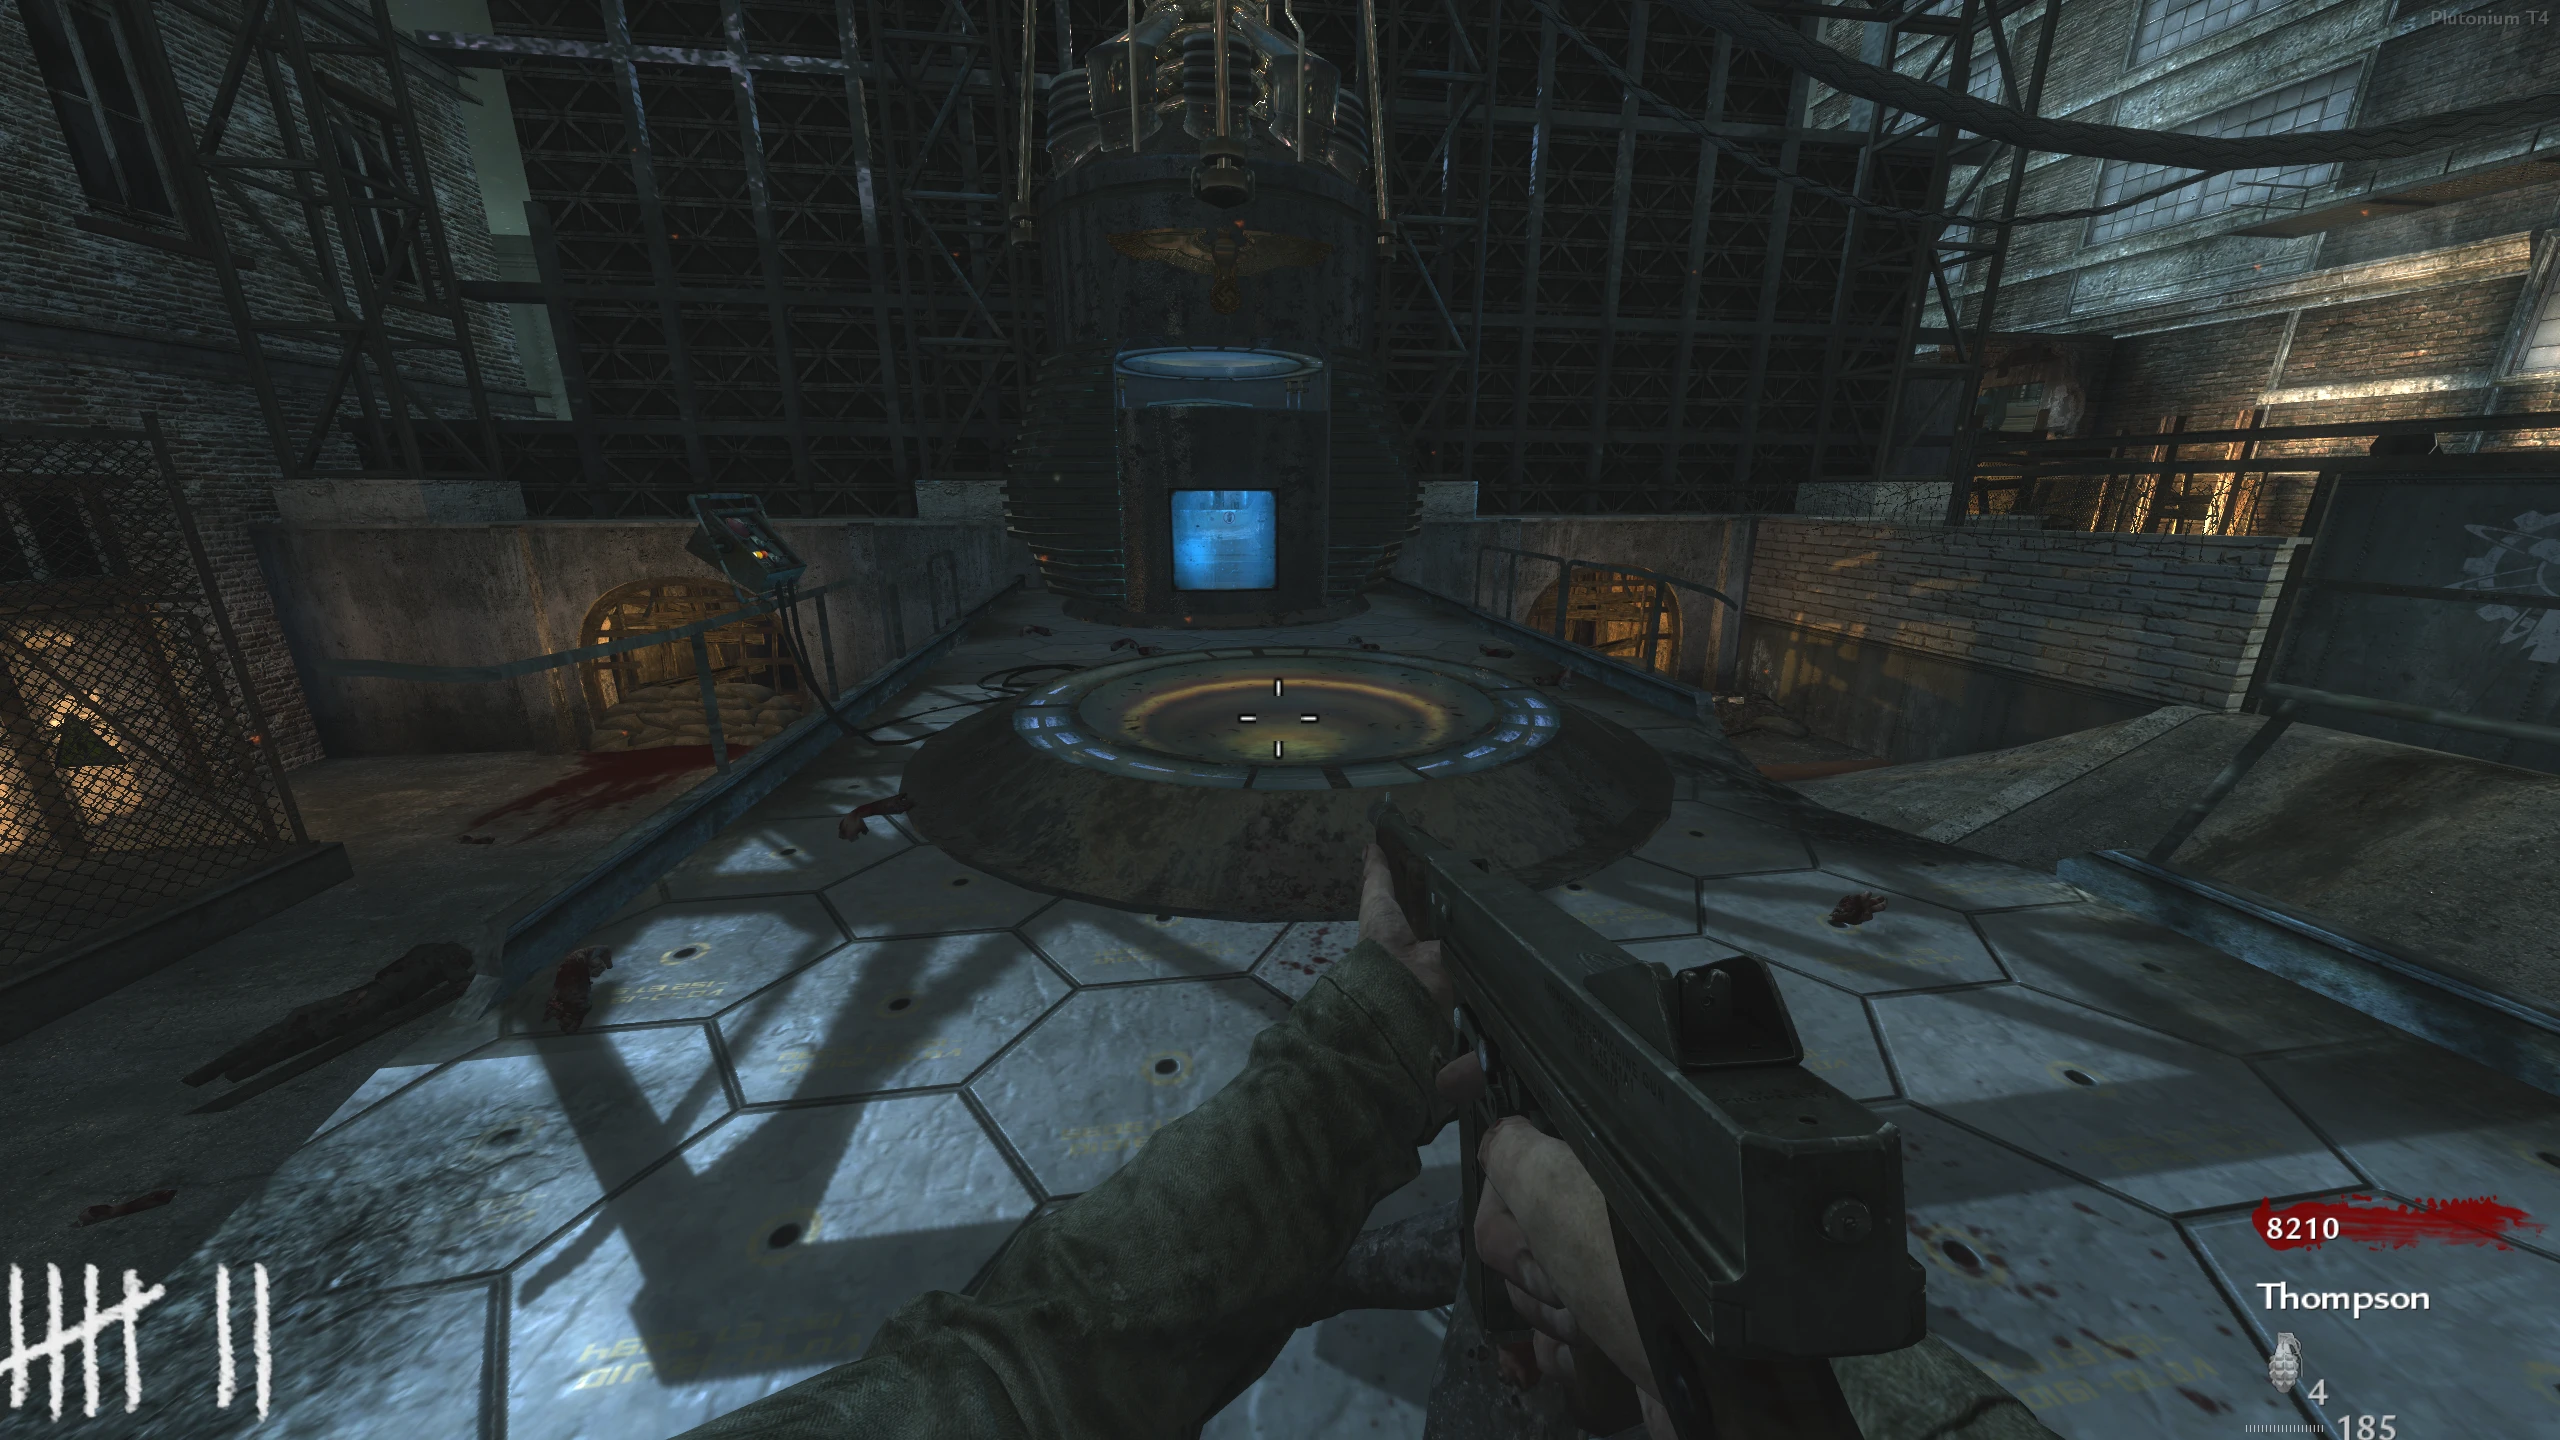
Power Switch - Find Teleporter A through Animal Testing on the left route, B through the Thompson/Automobile Garage route on the right, and C at the back by the catwalk/Bowie Knife area. At each teleporter, hold interact to start a link, then reach the mainframe in Spawn and interact within 30 seconds. A teammate may finish the link for you.
Teleporter A - Left of spawn Teleporter B - Right of spawn Teleporter C - Power Switch Area mainframe - Every successful link lowers the barrier around the Pack-a-Punch machine. After all three, upgrade a gun at Spawn for 5,000 points. Linked teleporters can return you to the mainframe for 1,500 points, but check the pad is clear before arriving.
- The key purchases are Jugger-Nog on the raised Animal Testing side, Speed Cola near the courtyard, Double Tap above the Thompson route and Quick Revive by the catwalk area. In solo, Quick Revive costs 500 and provides up to three self-revives. In co-op it speeds up revives instead. Double Tap increases fire rate; it is not Double Tap II. Mule Kick is available with the BO1 title update.
Wunderwaffe, Monkey Bombs and factory survival
- The Box has BO1 weapons plus the Wunderwaffe DG-2, Ray Gun and Monkey Bombs. Pack-a-Punch upgrades the Wunderwaffe to the DG-3 JZ. The Thundergun listed in some copied weapon tables is not the wonder weapon on Der Riese.
- The rear catwalk makes a straightforward co-op hold when each player has ammunition and an assigned lane. At higher rounds, prepare the courtyard/trap route before the hold collapses. Monkey Bombs give time to revive or leave, but throw onto reachable floor and allow the lure to start.
- Hellhound rounds finish with Max Ammo; dogs later join ordinary waves. Reload before the final dog dies and announce the pickup. Bouncing Betties and a loaded secondary help cover the time spent reloading a heavy weapon.
Side Quests
Fly Trap: original three-target hunt
- Bring a Pack-a-Punched bullet weapon to the zombie window beside the M1 Carbine near Spawn. Aim through it at the distant control panel on the concrete pillar and shoot. Green objects rise and Samantha speaks when the shot registers.
control panel zoomed-out view - Damage all three original-version targets in any order. Listen for Samantha after each hit. Use these photographs rather than The Giant’s different hiding places.
- Thompson/Teleporter B route: the monkey in the open furnace beneath the stairs.
- Spawn: the teddy in the broken upper window above the M1 Carbine, toward Teleporter A.
- Teleporter A/Animal Testing: the teddy inside the lower-left cage beside the Trench Gun area.
Teleporter B Thompson Room - In the furnace below the stairs Spawn - In a broken window above the M1 Carbine wallbuy (toward Tele A) Teleporter A - In the bottom left cage, right of the M1897 Trench Gun wallbuy - Samantha’s final scream confirms that all targets were found. In World at War this also earns Elevate Your Senses. The original hunt provides no weapon pickup or permanent perks; the Annihilator reward belongs to BO3’s The Giant.
Beauty of Annihilation
- Interact with three jars containing nervous tissue. Two sit opposite one another in Animal Testing near the stairs toward Jugger-Nog; the third is on a table by the chalkboard in the side room beside Teleporter B. Stand close and face each jar. After all three register, Beauty of Annihilation plays.
Animal Testing (left side) - On a shelf near the bottom of the stairs to Jug Animal Testing (left side) - Across from the previous locations, directly to the right of the stairs to Jug Teleporter B - In the side room, right of the teleporter, on a table beside the chalkboard
Factory recordings and environmental secrets
- There are four handheld radios and three larger recording devices. Activate one at a time and let its clip finish. The larger devices play the experiments in narrative order regardless of which physical unit you use first. These recordings have no combat reward.
- Spawn: beside the barrels to the right of the stairs descending from the mainframe.
- Animal Testing: above the cabinet/door opposite the Trench Gun, near its Box location.
- Teleporter C: at the closed end of the low tunnel beneath Quick Revive, behind the boards.
- Teleporter B: low down on the ladder of the first large tank; look down into it.
- Large device: on the shelf at the foot of the Teleporter C catwalk stairs.
- Large device: on the tilted filing cabinet above the main furnace, before the bridge.
- Large device: inside the open furnace/recess beneath Teleporter A, beside the stairs.
- Beside the Thompson wall buy, inspect the brickwork just to its right. Interact with the small differently coloured brick to slide it and reveal the note beneath. It is a story clue; no further weapon-upgrade recipe follows from it.
- Throw a Monkey Bomb into the open furnace below the nearby stairs for the special burning-monkey reaction and Samantha’s response. This consumes a bomb and gives no confirmed damage upgrade. The book visible through the vent near Double Tap is another environmental detail.
Sources and review
Written for Black Ops (2010), with its title updates; mobile editions and modded maps can differ. Community guides and illustrated references were cross-checked on 3 October 2026. Gameplay: Activision / Treyarch; photographs: the credited community authors below. Reused photographs may show a remaster of the same location; the instructions describe this edition. Source review and software checks are not an in-game playthrough.
- r/CODZombies community guide ↗
- mmmrkennedy illustrated guide (2) ↗
- strategywiki.org reference (3) ↗
- GameFAQs original-game walkthrough and community research (4) ↗
- eeggs.com reference (5) ↗
- jeuxvideo.com reference (6) ↗
Select any reference image to enlarge it. Screenshot and symbol sources are credited in the linked walkthroughs; this guide uses local copies for reliable access.