Key Features
Reach the laboratories and switch on power
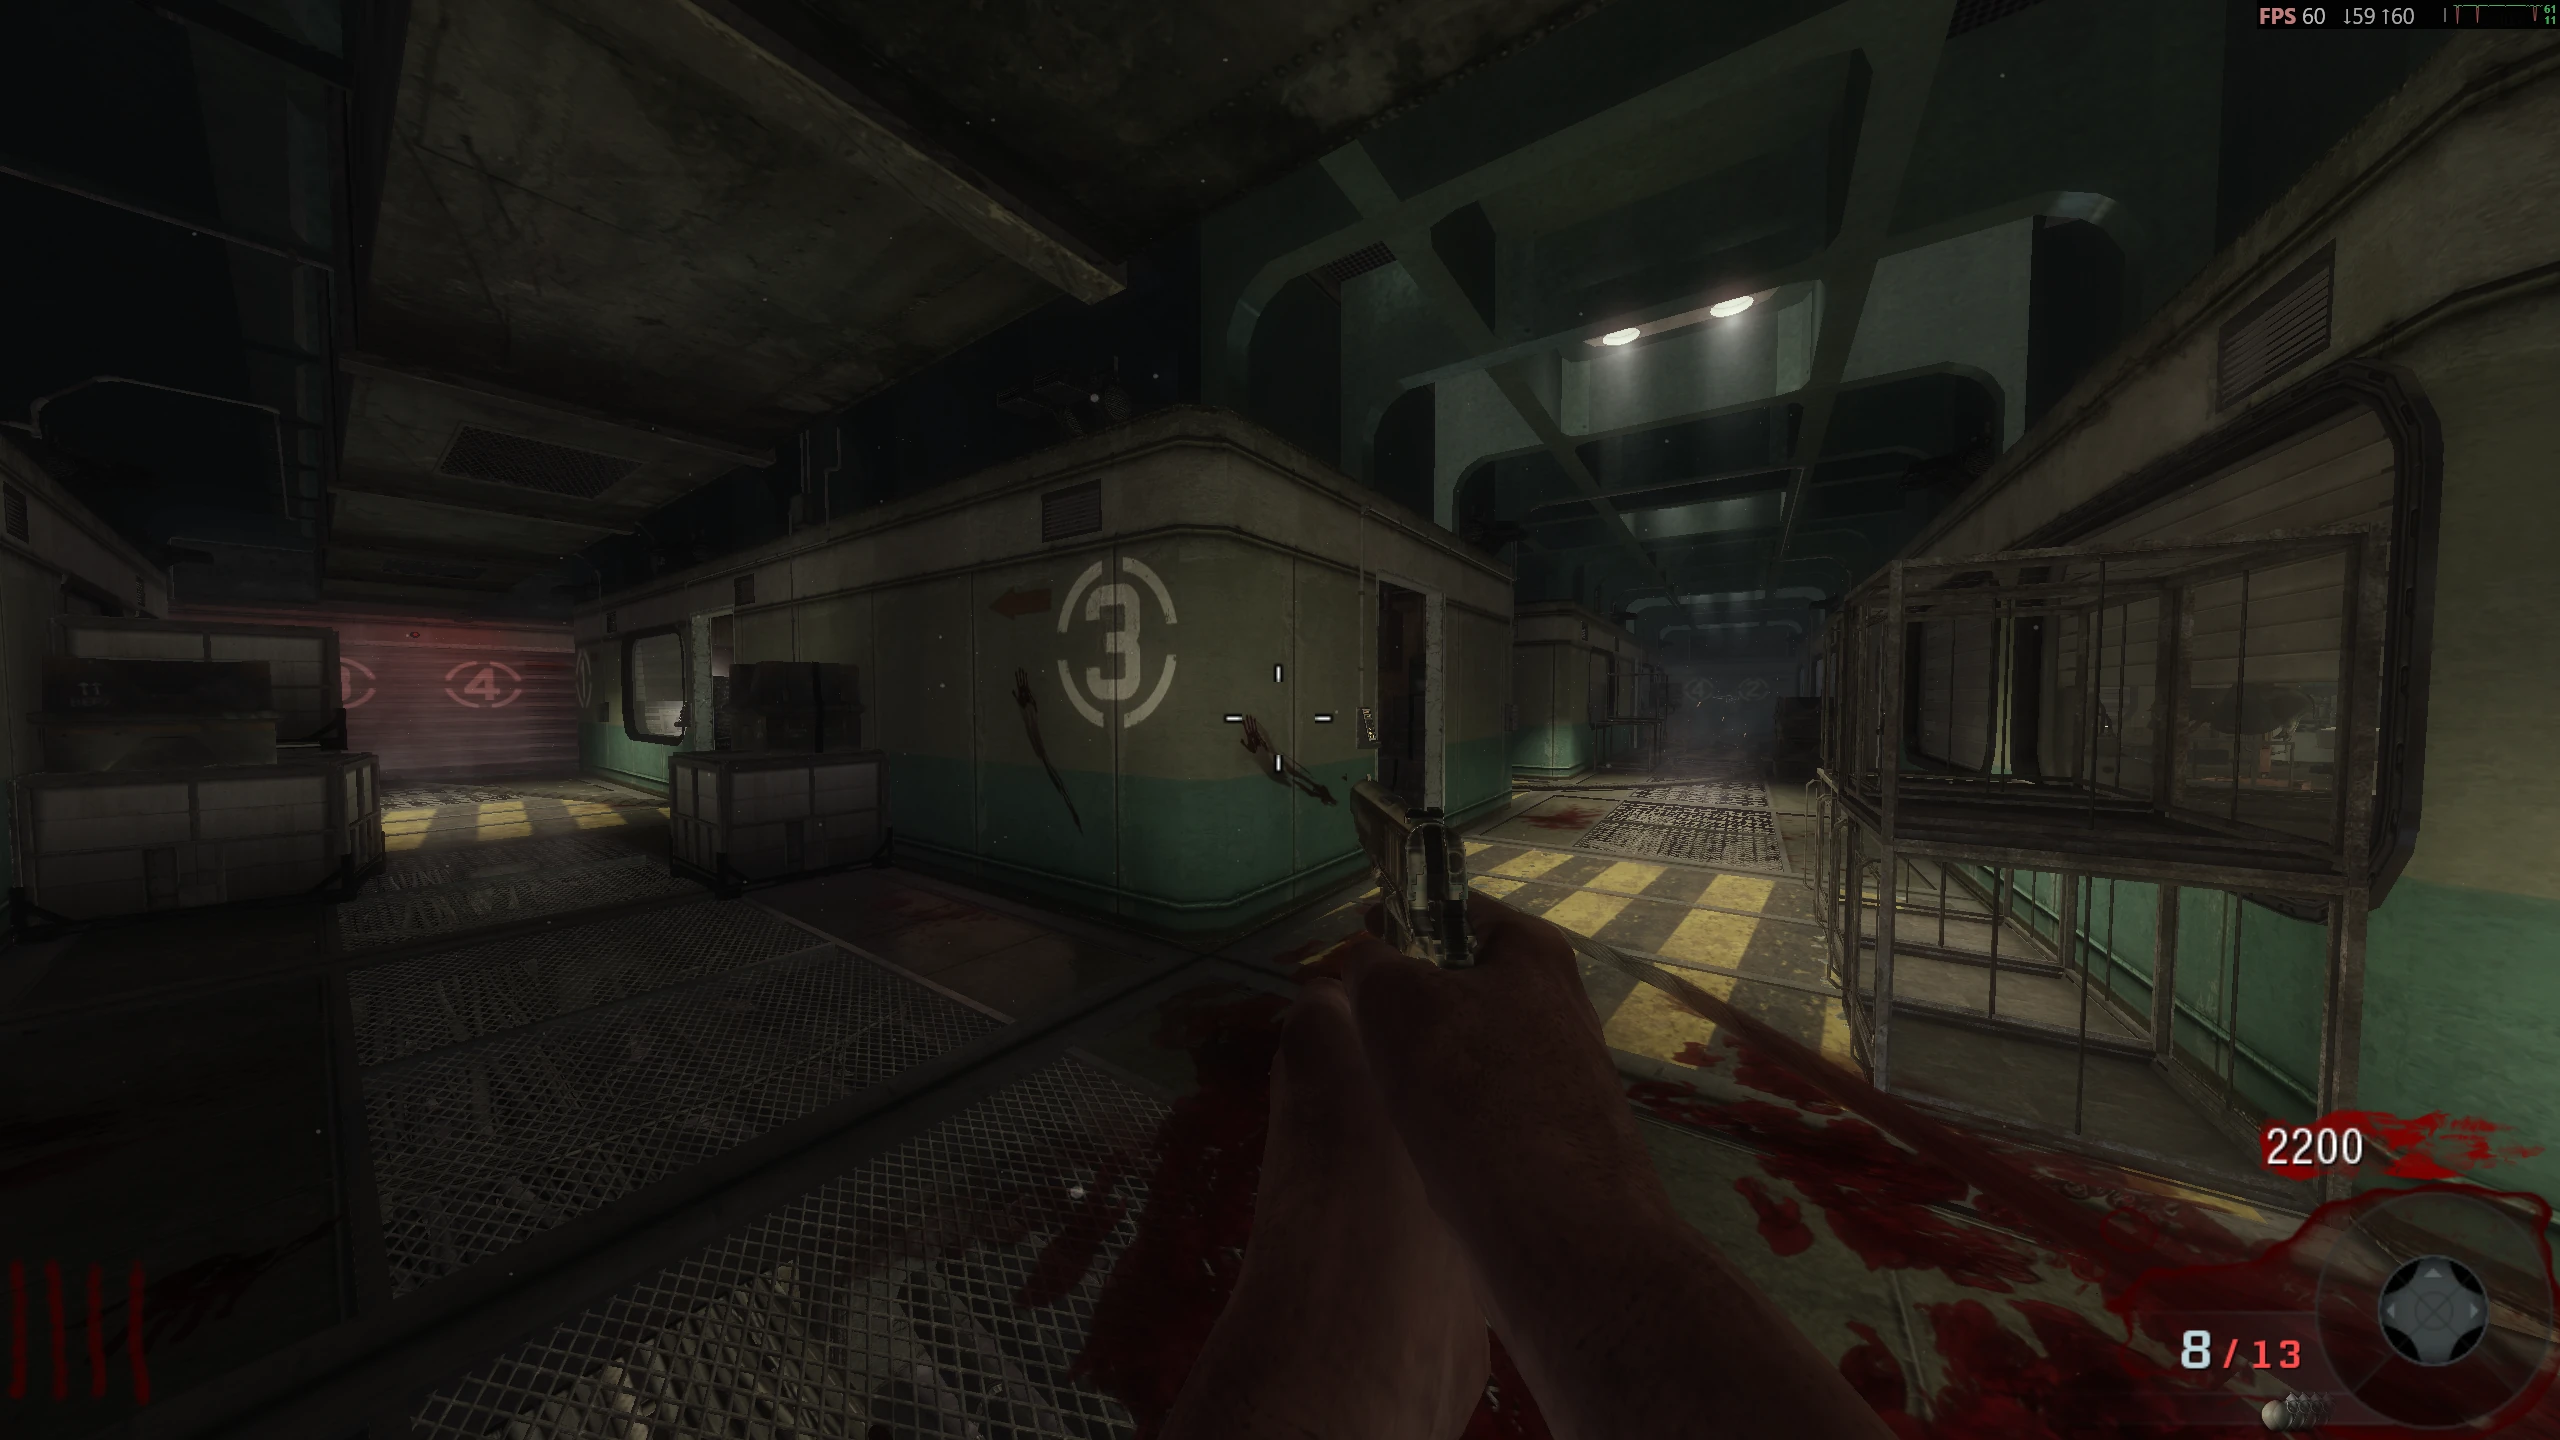
- Open the ground-floor offices and take the first elevator to the War Room. Clear the route to its larger freight elevator and ride to the lowest floor, the laboratories. Coming out of that elevator, the power switch is in the second room on the left, marked with a large 3.
room with the large "3" on the wall in the Labs - Power activates the red teleporters. Ordinarily they move you among the map’s destinations; do not assume a pad will return you to the floor you just left. Elevators have costs and can separate the team, so announce the trip before closing their doors.
teleporters - Buy Jugger-Nog in the lower War Room and keep a weapon with ammunition available nearby. The Box supplies the Winter’s Howl, Ray Gun and Monkey Bombs. Upgrading Winter’s Howl produces Winter’s Fury; there is no build or free-weapon quest for it here. Quick Revive gives three solo self-revives, while co-op use speeds up reviving teammates.
DEFCON switches and the Panic Room
- DEFCON begins at 1. Use the four switches in the War Room, in any order, to reach 5. Two are upstairs on the catwalk and two downstairs. Once DEFCON 5 is active, enter a teleporter to reach the Panic Room.
- Upper: to the left as you leave the first elevator.
- Upper: at the far end of the catwalk from that elevator.
- Lower: near the freight elevator to the laboratories.
- Lower: between Jugger-Nog and the later Mule Kick location.
On the left when coming out of the first Elevator On the far side of the catwalk from the first Elevator Left of the Elevator down to the lower level Between the Juggernog and Mule Kick machine - Pack-a-Punch costs 5,000 points in the Panic Room. The closed doors give a short window of roughly 30 seconds; finish and collect your weapon before they open and the machine closes. When everyone leaves, the room resets and the switches must be used again for another visit.
Pack-a-Punch machine
Pentagon Thief and the Bonfire Sale
- After power, special rounds can bring the Pentagon Thief instead of zombies. He pursues one player at a time. His target and players already targeted can see him; others see a red trail and can still shoot it. If he touches you, he steals the gun currently in your hands and teleports away.
Pentagon Thief - Elevators are disabled during his visit, so use the teleporters and open floor space. Focus damage before he reaches his target. If contact is unavoidable, switch to the less valuable weapon first. Keep firing after a theft to recover the stolen guns before he escapes through enough teleporters.
- Kill him before anyone loses a weapon for Bonfire Sale. While it is active, teleporters go to Pack-a-Punch without the DEFCON setup and upgrades cost 1,000 points. Killing him after a theft instead returns the stolen weapons and gives Fire Sale plus Max Ammo. If he escapes, those stolen weapons are lost.
Bonfire Sale powerup
Side Quests
Repair the two electric traps
- Look for the small red electrical trap boxes on the lower War Room floor and in the laboratory room containing the Bowie Knife. They are separate pickups: take one back to an incomplete metal-detector trap in the ground-floor office corridors and fit it, then fetch the other for the remaining trap. Check the corners, equipment and locker by the Bowie Knife when searching.
- With the component fitted and power on, the trap costs 1,000 points. Draw a horde through it while you take a clear alternative path. Tell teammates before activating it; the current is dangerous to players too. Wait for its cooldown before planning another pass.
Won’t Back Down
- Interact with three red telephones: on the table left of Quick Revive at Spawn, on the desk facing the power switch in the labs, and on the table beside a barrier inside the Panic Room. Use DEFCON to reach the last one. Listen for the registration sound; the third starts Won’t Back Down.
On the table left of the Quick Revive machine On the desk "in front" of the power switch In the Panic Room, on a table next to a barrier
Sources and review
Written for Black Ops (2010), with its title updates; mobile editions and modded maps can differ. Community guides and illustrated references were cross-checked on 3 October 2026. Gameplay: Activision / Treyarch; photographs: the credited community authors below. Reused photographs may show a remaster of the same location; the instructions describe this edition. Source review and software checks are not an in-game playthrough.
Select any reference image to enlarge it. Screenshot and symbol sources are credited in the linked walkthroughs; this guide uses local copies for reliable access.