Key Features
Survive until your perks arrive
- Open a house and its yard to create a usable route. The house doors cost 750; some debris and backyard access cost 1,000. Upper windows let you drop into a yard, but check the landing before committing. Keep one yard for your train instead of repeatedly crossing the narrow house stairs.
- Quick Revive is available immediately in solo. Jugger-Nog, Speed Cola, Double Tap and Pack-a-Punch arrive as randomly ordered drops as rounds progress. Listen for the incoming-machine sound, look for its landing and move away from the impact. There is no switch to power them and no guaranteed early Jugger-Nog.
- Buy solo Quick Revive early, secure a refillable wall gun and buy Jugger-Nog as soon as it becomes available. Until then, play as a two-hit map: recover after a hit before passing another zombie. In co-op, announce which machine arrived and its location so the team can shop between rounds.
- Once Pack-a-Punch lands, upgrades cost 5,000. Make the purchase with a clear exit and a teammate holding the final zombie away. Do not confuse the 3,000-point backyard shed with the upgrade machine: the shed provides its cycling power-up, not a route to Pack-a-Punch.
Truck weapons and Galvaknuckles
- The central truck can be opened for 3,000. Inside are the AK74u, Semtex, Claymores and Bowie Knife. Break the boxes with melee attacks to expose the Galvaknuckles purchase. This is an optional expensive detour, so secure a safe route and core perks before buying everything at once.
- Use the Mystery Box for a stronger secondary while retaining a weapon with wall ammunition. Without PhD, explosives can down you at close range. Before a Max Ammo pickup, reload when safe and call it out for teammates. Save a weapon-and-perk recovery fund instead of spending every point on random rolls.
Separate the yards in co-op
- Train in a backyard with a consistent circuit around its obstacles. Watch zombies emerging from ground spawns and the house doorway before turning. The upper-window drop is an escape, not a place to camp indefinitely. Re-enter the house only when its stairs are visibly clear.
- Give each main yard to a different player or pair. Call out before crossing the central street so one train does not collide with another. During a revive, pull the horde into the other yard and approach the body from the cleared side. Random perk arrivals make a replacement-loadout plan especially useful.
Side Quests
Three hidden songs
- Samantha’s Lullaby: interact with three teddy bears—inside the yellow bus in the centre, on the top bunk inside the yellow house, and beyond the fence in the green house’s backyard. Listen for each activation sound. The out-of-bounds bear can still be activated from the fence; you do not need to leave the playable area.
samanthas lullaby — teddy bus samanthas lullaby — teddy bed samanthas lullaby — teddy backyard - 8-bit Coming Home: shoot the heads off all 28 mannequins in the match. They occupy a random subset of possible locations, including outside the playable boundaries. Check house windows, truck/couch clutter and distant shed sightlines before assuming one is missing. Each mannequin head must actually break off.
8bit coming home — mannequin shed 8bit coming home — mannequin sofa 8bit coming home — window - 8-bit Re-Damned: bring the population counter to 15 by killing zombies, then collect the backyard shed power-up. The shed door costs 3,000, so prepare access and money before setting the counter. Community walkthroughs often demonstrate the clock at 1 with population 15; the newer illustrated reference identifies the 15 counter and pickup as the activation. Have teammates stop killing while you collect it.
The clock and population counter are not controls for forcing Jugger-Nog or Pack-a-Punch to drop.
8bit mp theme — pop counter
Marlton, radios and the round 25 change
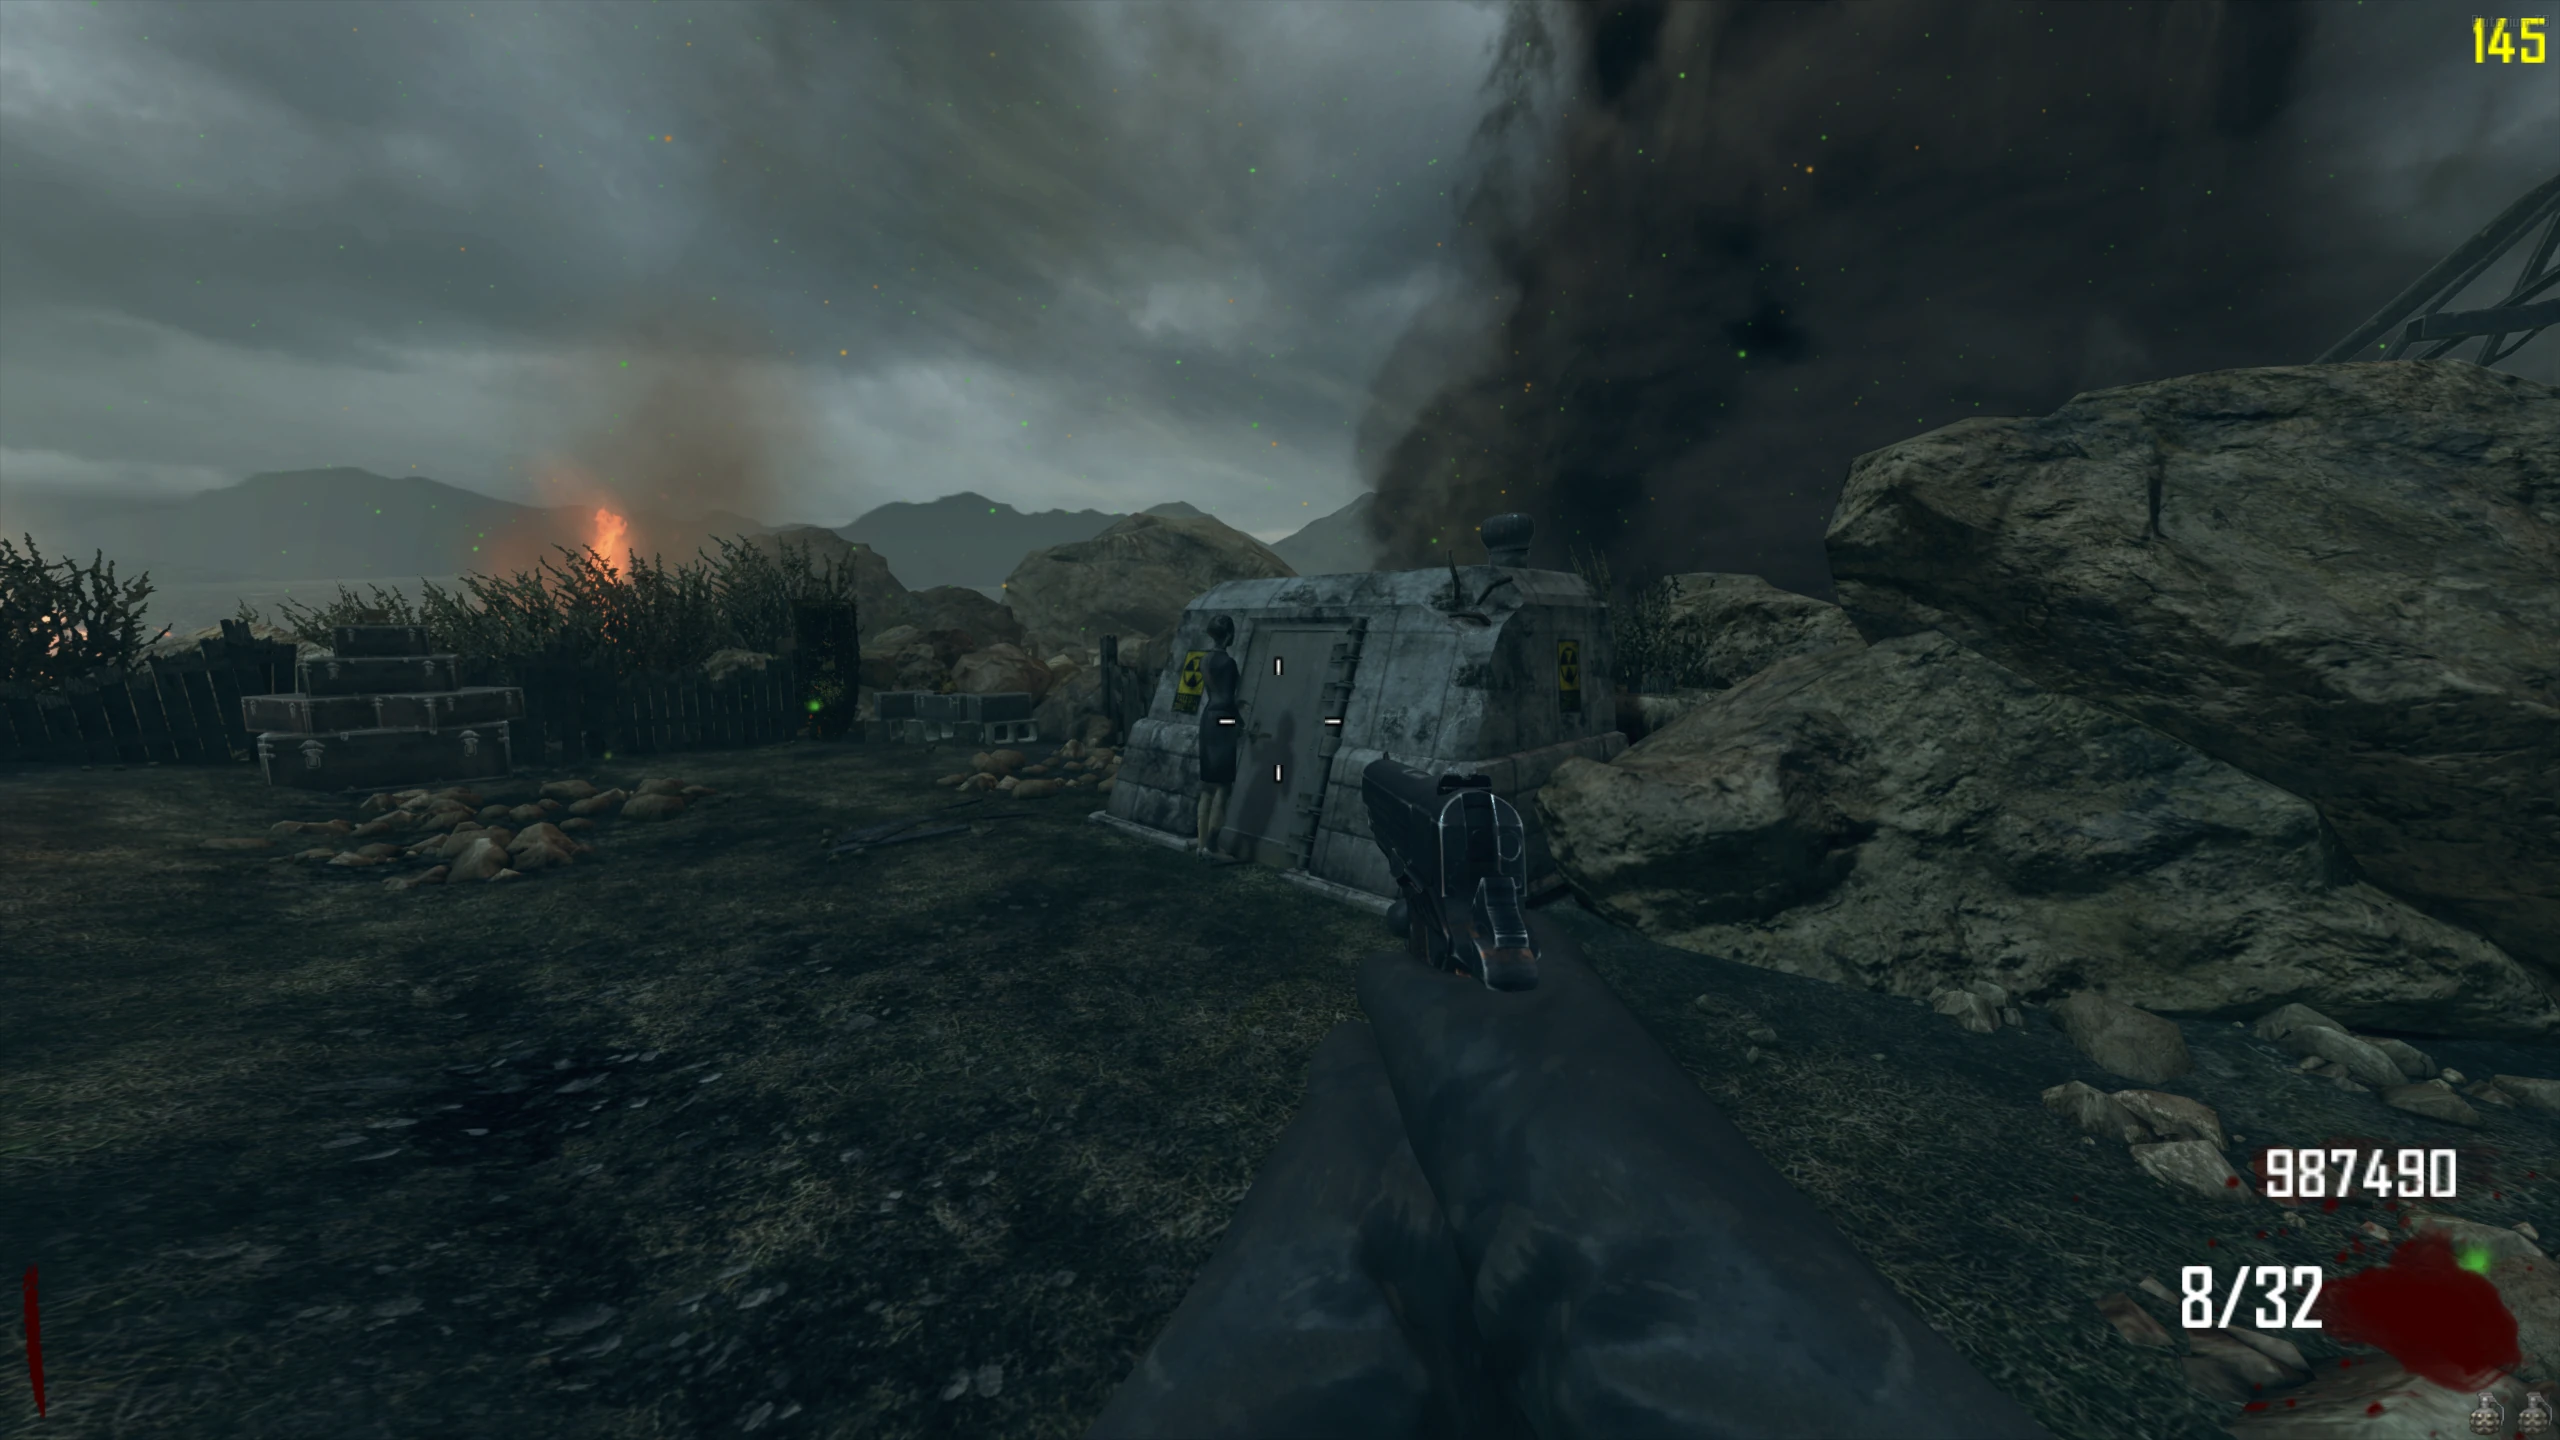
- Melee the backyard bunker door to hear Marlton’s dialogue. Return after rounds advance for more lines. The bunker never opens into a playable room; interacting with it is an audio secret rather than an unlock step.
marlton bunker — bunker - Listen to the television in the green house for Richtofen transmissions as the match progresses. After the round 25 transition, the zombies’ eyes and announcer change to reflect the events of Moon. This occurs with round progression; you do not have to complete the music secrets to trigger it.
richtofen radios — tv - A bus horn can be heard outside the map during the early rounds. It is a story connection to TranZit; there is no boardable bus or escape route here. The match remains a survival run after these events.
Sources and review
Written for the original Black Ops II release, on Original difficulty unless a mode is specified. Instructions were cross-checked against the linked community sources on 3 October 2026. Gameplay: Activision / Treyarch; photographs and charts: COD Zombies Guides, its credited contributors, mmmrkennedy and other sources named below. Shared-layout images may show another edition; follow the BO2 instructions. Source review and website checks are not an in-game playthrough.
- r/CODZombies community guide ↗
- JokerAlex21 illustrated guide (2) ↗
- mmmrkennedy illustrated guide (3) ↗
Select any reference image to enlarge it. Screenshot and symbol sources are credited in the linked walkthroughs; this guide uses local copies for reliable access.