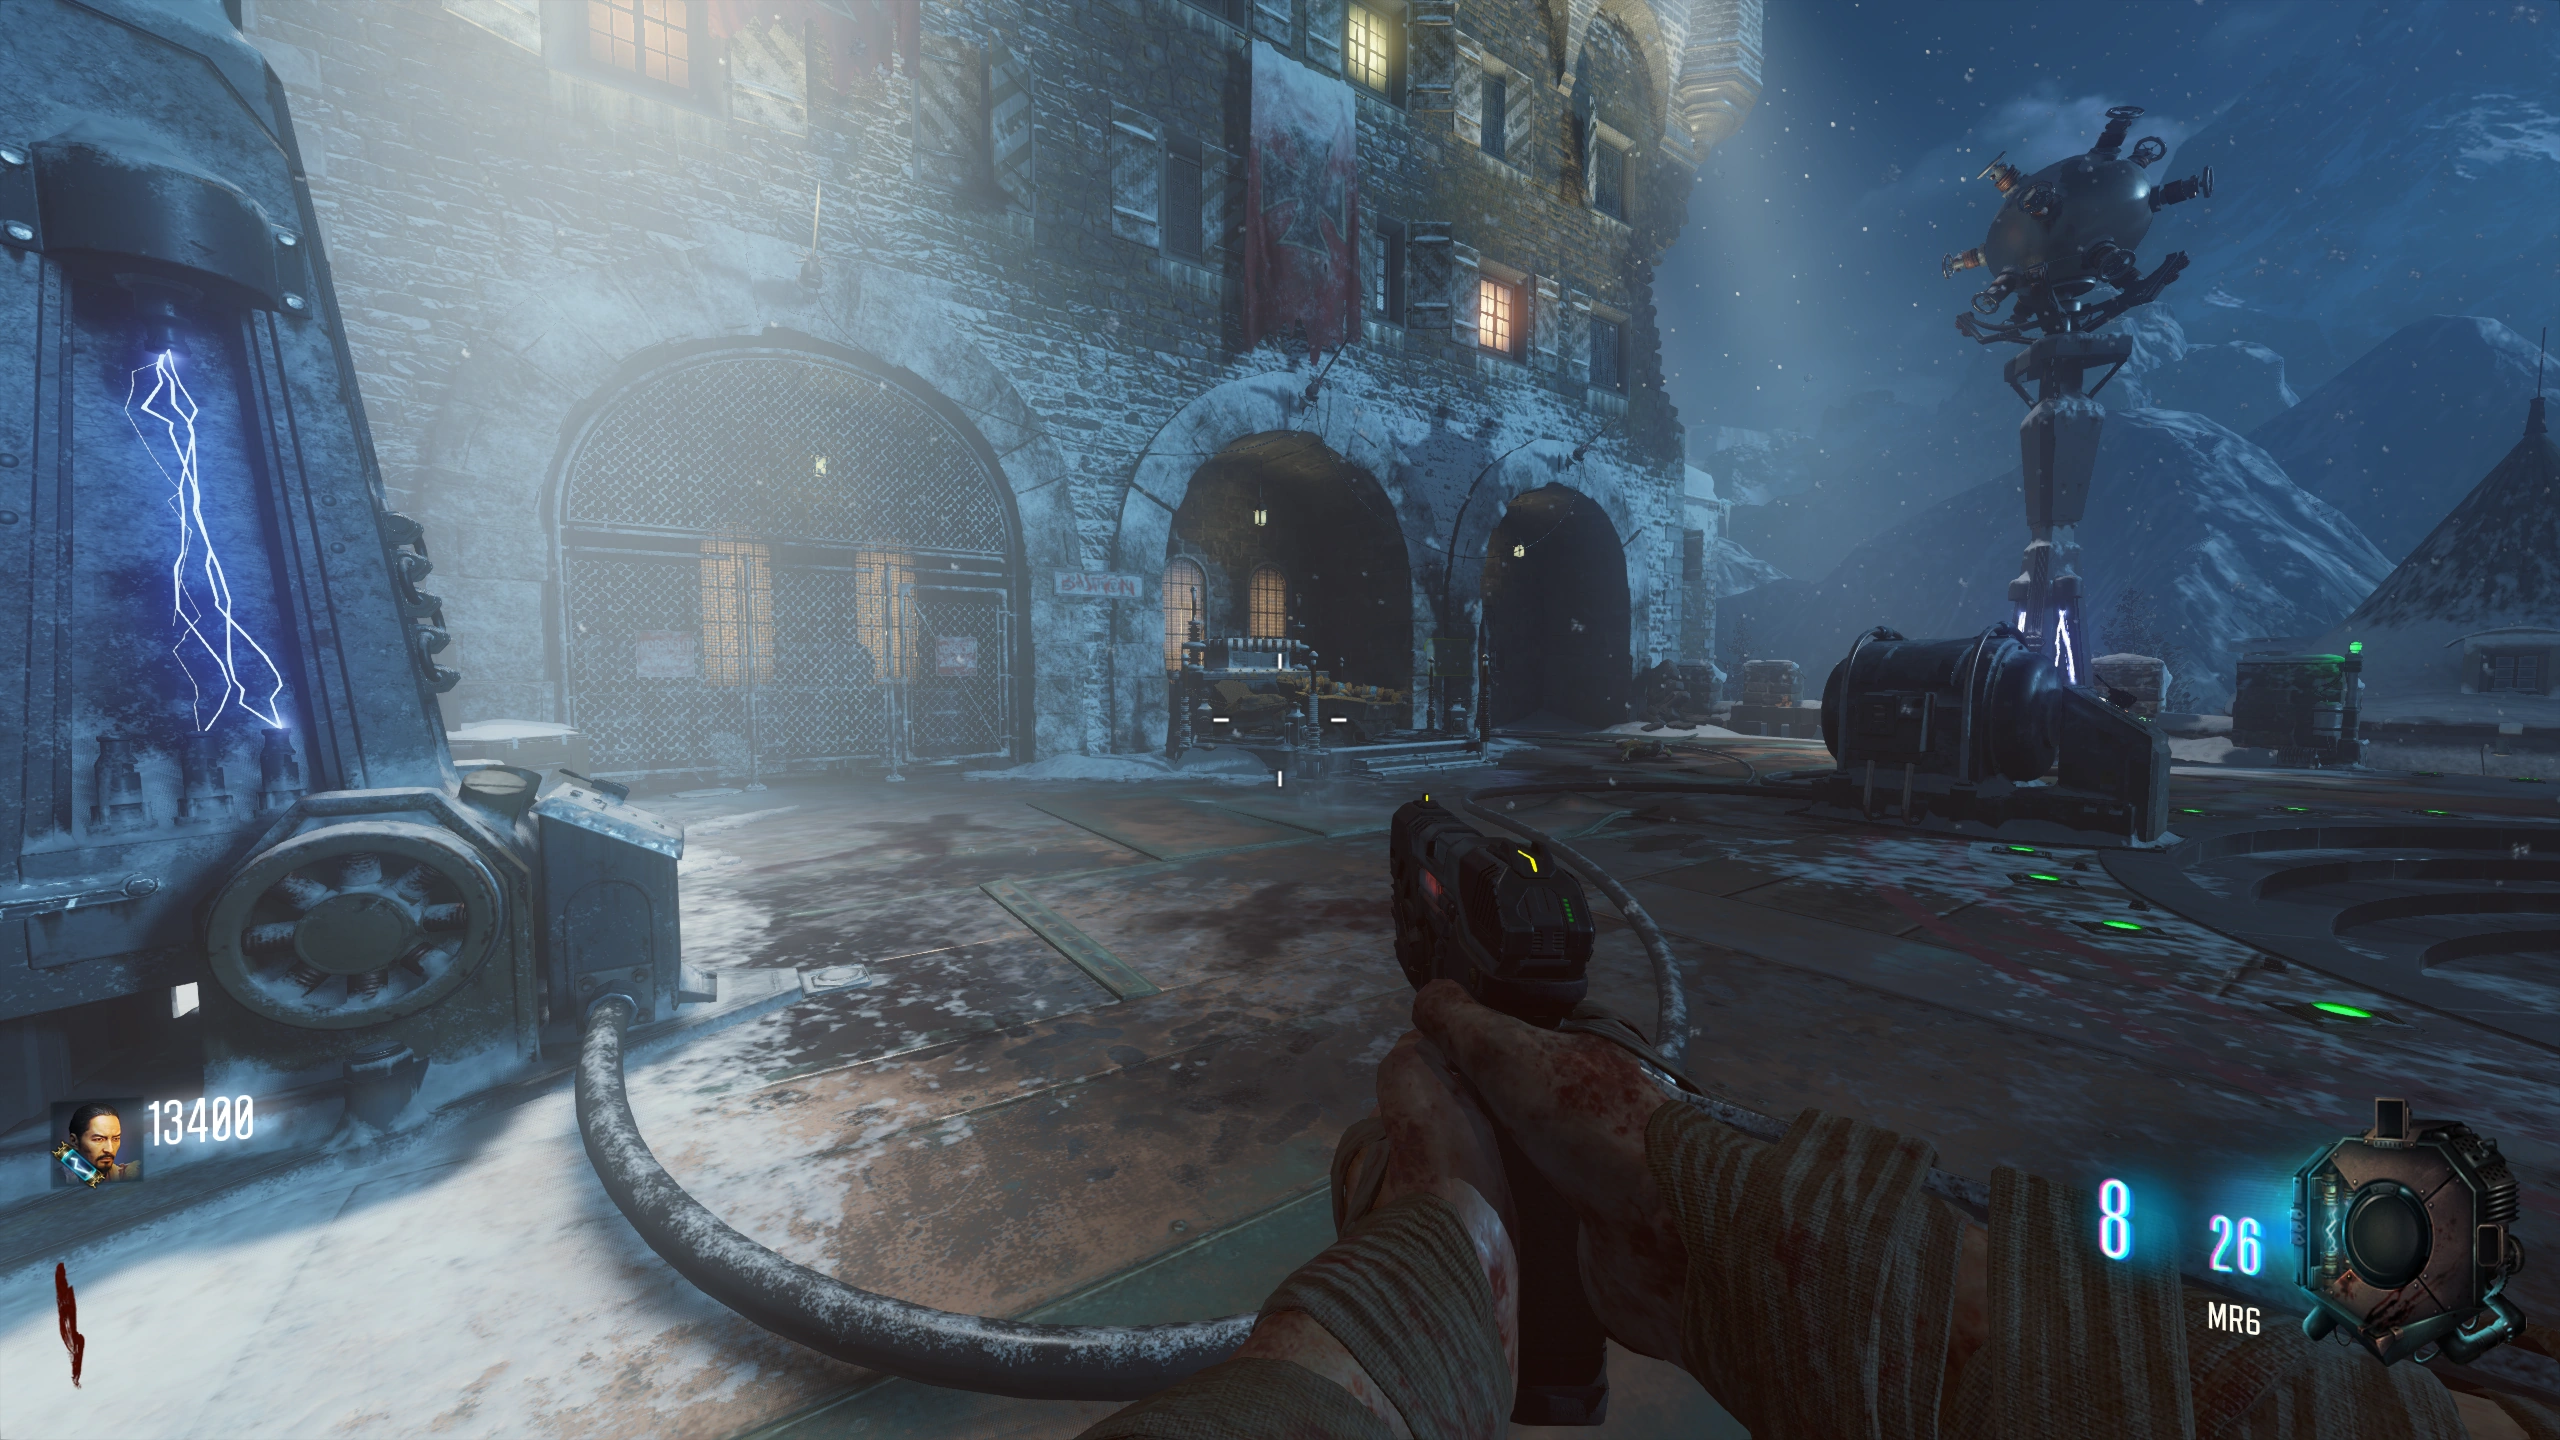
Key Features
Power, Pack-a-Punch, dragons and Ragnarok DG-4
- Open the courtyard route to the power switch in the Armory near Stamin-Up. In the Undercroft, stand on each of the four plates around the pyramid until it lights. After all four are active, low gravity cycles on and off, allowing wall-running. Activate Wundersphere landing pads when passing them so the launchers can be used later.
The castle power switch. Stand on each of the four plates until it stays lit. - Teleport two Pack-a-Punch components by interacting with them; the machine assembles at the third location. Check the Death Ray platform, Undercroft and Rocket Pad. The indicator signs track its current location after it moves. Feed the three stone dragons at the lower courtyard, Church and Undercroft with nearby zombie kills, one at a time; wait until each finishes eating before the next kill. When all three crumble, collect Wrath of the Ancients behind the Knight’s Tomb.
Feed one zombie at a time beneath the Church dragon. Every player can collect a bow behind the Knight’s Tomb. - Build the Ragnarok DG-4 from the three parts below. Any workbench can assemble it; each player needs to collect and charge their own specialist for the boss. Also build a shield: rockets around the lower courtyard stairs, base around the Clock Tower/upper courtyard, and window high on the Undercroft wall during low gravity.
- First Panzer: kill it and pick up the dropped part.
- Death Ray: activate the trap, then use the Wundersphere whose flight passes through the floating part. Look for it over the platform/near the orb before launching; another trap activation restores a missed part.
- Rocket test: when the countdown starts, flip the switch below the rocket stairs and immediately retreat behind the blast doors. Inside, wait for all three lights on the teleporter-side panel to turn green, activate the panel and collect the part from the teleporter.
Never stay outside during a rocket test. The exterior blast can kill you outright.
Flip this exterior switch during the test countdown, then run inside. Wait for three green lights before using the indoor panel.
Choose your required bows
- In Solo Game, one upgraded bow is enough if it is the only one completed. In ranked co-op, prepare at least one distinct upgraded bow per player. An unranked or offline game requires all four. Extra completed upgrades can enter the Keeper’s requirements, so do not build extra bows unless the team can use them.
Lightning bow walkthrough ↗ · Wolf bow walkthrough ↗ · Fire bow walkthrough ↗ · Void bow walkthrough ↗
- Each bow has its own broken arrow and quest. Pick up the chosen arrow to work on that branch; swapping to another arrow switches your active upgrade. Lightning provides area control, Wolf clears a line, Fire traps enemies, and Void sends homing skulls. Complete the branch instructions below before starting wisps.
- For Void, the spoken names and the six glyphs are different clue sets. Interact with the named knights to discover this match’s pairings; the visual helper records those pairings without assuming a fixed translation.
- All branches end the same way: place the reforged arrow in its colored chest at the pyramid, take the Max Ammo and kill zombies on the nearby stairs/lower floor until souls stop flowing. Give the chest your base bow and retrieve the completed upgrade. Return an upgraded bow to its chest when you need the base bow again.
Main Quest
Wisps, first time travel and the safe code
- Once at least one bow is upgraded, use the unupgraded Wrath of the Ancients to shoot the six prongs above the teleporter until the start sound. Switch to an upgraded bow and find the active electrical wisp. Shoot it, then locate the next. Complete four wisps before the failure buzzer. Only shoot an object when it is sparking.
- Church clock above the dragon; radio by the M8A7.
- Clock by the upper courtyard/Barracks stairs; phone in the power room.
- Globe near Samantha’s room; boxes above Double Tap.
- Car near Double Tap; object by Quick Revive in spawn.
A wrong target or timeout fails the attempt. Wisps return next round with the start sound.
A valid target has a visible electrical wisp. Check the globe near Samantha’s room. - Gather everyone in the purple teleporter and travel to the past. Pick up the fuses on the left and the blue Soul Canister on the right. Watch Groph use the safe and record its three symbols from top to bottom. You return automatically; deal with the Panzer before using the code.
Take the fuses while in the past. Collect the blue canister on the opposite side. Read the safe code top to bottom; this photograph is an example. - Make sure the Death Ray has been used once, insert the fuses in its console and switch it to Protect. At the Clock Tower terminal, enter the three recorded symbols. Retrieve the coils and floppy disk from the now-open safe in the present-day teleporter room. Put the coils into the two Death Ray pylons, then switch the console back to Destroy.
A wrong safe code blows the fuses. Redo wisps and time travel, and record the new code instead of reusing the old one.
Use Protect to open the safe; return to Destroy for the pylons. Install a coil at each of the two Death Ray pylons.
Safe code & terminal memory Open helper
Keep the safe’s top-to-bottom code separate from the four-screen memory boards. At each station, record the small screens from left to right, then match the requested symbol.
Read the safe in the past from top to bottom. Enter this code at Clock Tower with the Death Ray on Protect.
Choose the symbol for position 1.
0 of 3 recorded.
Record both boards again after a failed terminal attempt. The photograph’s layout is an example, never a prefilled answer.
Observations save on this device and are shared with the helper inside the guide.
Gameplay photos: mmmrkennedy · game: Activision / Treyarch.
Terminal memory, second time travel and Keeper circles
- Activate a terminal at Clock Tower or Rocket Pad. Memorize the four small-screen symbols from left to right. When the large display requests a symbol, interact with its remembered small screen. Complete the full sequence at both stations. Use the helper’s separate board for each station. With both pylons lit, press the green button on the back of the Death Ray console to bring down Dempsey’s pod.
A mistake resets the terminal challenge; re-record both boards on the next attempt. Wait for a rocket test to finish before starting at Rocket Pad.
Record the four small screens before they go blank. Press this button only after both station challenges succeed. - Repeat four wisps and travel to the past again. This time use the machine beside the Kronorium to open a box by the doorway; collect the stone tablet. Back in the castle, take the golden rod from the crash site.
Use this machine on the second trip to open the tablet box. Collect the tablet before the automatic return. - Place the rod in the Knight’s Tomb and follow the Keeper. Stand in each circle and read the colored edge of your screen: dark blue Lightning, orange Fire, purple Void, pale blue Wolf. Kill zombies with that bow while inside the circle until the Keeper moves. At Double Tap, place the stone tablet into the wall beside the circle before feeding it. Finish the circles at Upper Courtyard, Mule Kick tunnel, Double Tap and Knight’s Hall.
The Double Tap circle needs the tablet placed in this wall. - After the Keeper returns to the pyramid, put the Soul Canister into the empty corner. Prepare perks, upgraded weapons and charged Ragnaroks for every player. Each player stands on a different blue plate around the pyramid and plants their DG-4s; all need to be down together to enter the boss fight.
Insert your canister in the pyramid’s missing slot. Place Ragnaroks on the glowing plates together.
Keeper boss and the final terminal
- Move around the arena perimeter, clearing skeletons and avoiding fire and skulls. When the Keeper charges a central electrical attack, plant Ragnaroks directly under the white spark in the middle, then retreat behind a pillar. The trap exposes its glowing chest; shoot the chest with upgraded weapons. If nobody can plant a trap, hide behind a pillar to survive the blast and wait for another opportunity.
Recover your Ragnaroks after each window so kills recharge them. Kill the Panzer waves between damage phases, collect the Max Ammo, and repeat until the Keeper dies.
Plant the DG-4 beneath the central white spark. Damage the exposed glowing chest during the stun. - After returning to the Undercroft, interact with the Summoning Key at the pyramid, wait for it to stop glowing, then collect it. Place it into the Clock Tower terminal. Wait for the Moon event and ending cutscene to finish My Brother’s Keeper.
Bow Upgrades
Lightning bow: bonfires, wall-run and electrified arrows
- Shoot the weather vane above the Death Ray with the base bow and take the broken blue arrow. Light the three distant bonfires with charged shots: behind Clock Tower, on the distant mountain beyond the gatehouse, and beyond Rocket Pad.
Shoot the weather vane to drop the Lightning arrow. Bonfire behind Clock Tower. Distant mountain bonfire. Rocket Pad bonfire. - During low gravity, wall-run across all five wind-marked panels around the Undercroft in one continuous run without touching the floor. If you land, begin the circuit again. These are the bow’s wind symbols, not the separate BRM wallbuy tiles.
- Charge the urns at Clock Tower stairs, in the room above Double Tap by L-CAR 9, and at the Rocket Pad bunker with nearby kills. Stand beside a charged urn and hold a charged bow shot until the arrow crackles. Keeping that charge, hit the corresponding bonfire. If you miss, charge another arrow at the same urn; you do not need more kills.
Charge this urn above Double Tap, then aim out its window toward the mountain. Reference sightline for the long electrified mountain shot. - After all three fires crackle with electricity, interact beneath the weather vane and collect the reforged arrow. Put it in the blue pyramid chest, charge it with souls, then exchange the base bow for the Lightning bow.
Wolf bow: paintings and the spirit wolf
- Interact with the paintings in story order: king on throne → riding into battle → fighting the Apothicon → dead king pierced by arrows. The pictures shuffle between Clock Tower, the room below it, upper Church, and the stairs near Samantha’s room. Use the image, not a fixed room order. A buzzer means start again.
1 · King on the throne. 2 · King riding into battle. 3 · Battle with the Apothicon. 4 · The fallen king. - After the howl, collect the broken arrow from the wall at the Undercroft stairs. At Rocket Pad, shoot the rock below the red banner high on the cliff; collect the skull that rolls down. Put it on the headless skeleton beside the Wolf chest to summon the spirit wolf.
Shoot beneath this red banner at Rocket Pad. - Follow the wolf to its three dig sites: Upper Courtyard, the car near Double Tap, and Undercroft. At each, kill zombies near the digging wolf until it stops collecting souls, then interact with the uncovered bone before following it onward.
- When it sits facing the Undercroft wall near Juggernog, wait for low gravity. Wall-run and shoot the glowing double-wolf emblem without landing. Land on the platform that appears, interact with the wall opening to return the bones, then take the reforged arrow. If you miss the ledge, repeat the wall-run shot. Charge the Wolf chest and exchange the base bow.
Shoot the emblem while wall-running. Land here and interact with the hole to finish the arrow.
Fire bow: aerial circles and the fireplace route
- Shoot the red emblem high inside Clock Tower and take its arrow. At Rocket Pad, survive a test inside the bunker; as soon as the doors open, shoot the orange glowing rock above/right of the exit with a charged arrow. The glow lasts only a few seconds. If it fades, wait for another test.
The Fire arrow starts at this Clock Tower emblem. Shoot the glowing rock immediately after a rocket test. - Hit three floor circles while airborne from a Wundersphere: by Double Tap, beside the Death Ray launcher, and outside Clock Tower near Wunderfizz. The arrow must hit while you are in the air. Each correct hit leaves its circle glowing. Stand inside each circle and collect nearby kills until its beam rises.
Double Tap circle. Death Ray circle. Clock Tower circle. - Return to Clock Tower and interact with the exposed mechanism. Match the revealed emblem to a fireplace: Church, the room opposite Samantha’s room, or the lower-courtyard supply room. Only one starting circle remains lit. From it, fire a charged arrow toward the correct fireplace to create a magma rock. Stand close enough to that rock for the red screen glow, then shoot again to advance it. Reach the fireplace in at most four shots.
- Clock Tower circle → supply-room fireplace.
- Death Ray circle → Church fireplace.
- Double Tap circle → fireplace near Samantha’s room.
Do not fire the next shot until standing in the previous rock’s red aura. If the route fails, return to the starting circle.
Match this observed emblem to the fireplace in your game. Supply-room fireplace for the Clock Tower circle. - When the fireplace burns brightly, interact with it. Go to the Death Ray, interact beneath the low sun/fireball and collect the reforged arrow after it bursts. Charge the red pyramid chest and exchange the base bow.
Void bow: six skulls, three spoken names and their glyphs
- Shoot the purple emblem above the Double Tap gatehouse and pick up the arrow. In the circular room below Clock Tower, melee a zombie over the purple floor tile using the bow’s melee. Interact with the exposed urn to raise it.
- Collect all six skulls: the window ledge on the stairs to Church; broken ledge in the Mule Kick tunnel; ledge near Double Tap; Samantha’s toy box; sink in the teleporter room; truck bed at Rocket Pad. Bring six crawlers into the urn room and let the floating skulls consume them.
Skull in Samantha’s toy box. Skull in the teleporter-room sink. Skull in the Rocket Pad truck. - Listen to the urn’s three names in order. Possible names are Heart, Door, Griffin, Stag, Horn and Crown. Shoot the urn to repeat them; subtitles can help. In Knight’s Hall, find each named emblem on a knight’s base and interact to reveal its purple glyph. Record that observed name-to-glyph pairing in the helper.
The name-to-glyph mapping changes by match. A chart identifies the shapes; it does not supply the answer.
Find the knight whose lower emblem matches the spoken name. Interact to reveal that knight’s glyph. - Kill zombies and collect purple glyph drops until the required symbols are available on the urn-room floor. Shoot the three glyphs with your bow in the spoken-name order. If rejected, leave the attacking skulls and check your pairings before retrying. On acceptance, interact with the beam for the reforged arrow, charge the purple pyramid chest and exchange the base bow.
Void Bow name → symbol matcher Open helper
Record the three spoken names, then inspect those knights and select the symbol each actually reveals. Name-to-symbol pairings change every match.
Record all three names and the symbol revealed by each matching knight.
View the full name and symbol reference
Use the left-hand emblems to identify the knights. The rows in this chart are not fixed name-to-glyph pairings.
Observations save on this device and are shared with the helper inside the guide.
Gameplay photos: mmmrkennedy · chart: MrRoflWaffles · game: Activision / Treyarch.
Side Quests
Panzer helmet, plunger, BRM and better gondola
- Shoot down three hanging Panzer claws, then fire each grounded claw into a different Panzer by shooting it when the enemy is directly in its path. Claws are above the HVK-30 window in Knight’s Hall, on the lower courtyard walkway by Wunderfizz, and in the Mule Kick tunnel near spawn. Three successful kills award the protective helmet. Each claw gets one attempt per match.
One hanging claw above the Knight’s Hall window. - For the plunger, open the Fire-arrow wall at Clock Tower, plant charged Ragnaroks by the gears, then use the lower lever to run the clock. Stop it at 9:35 and wait for the lightning confirmation. During low gravity, wall-run across the circular mark to the right of the Undercroft workbench; in the past, collect the plunger from the teleporter-side table. A Panzer kill charges its one-hit fiery melee for a limited time.
Stop the Clock Tower at 9:35 and wait for the confirmation. Wall-run across this circle after the clock step. - During low gravity, run over the six blue pressure tiles around the Undercroft walls to reveal the BRM wallbuy. Look above/beside the teleporter doorway, near the dragon, opposite the well passage, around that passage’s corner and near the workbench. The separate Death Machine tile above the Juggernog route also triggers a rocket test; use it deliberately when working on the rocket part.
- Immediately after spawning, throw a grenade at the left gondola before it leaves. Later, use five tram fuses yourself at the spawn console. Your fifth call brings that gondola with an upgraded gun or Monkey Bombs. This is tracked per player and can only be triggered once per player; a teammate may take the reward.
Dead Again, skeletons, disco and free Gobblegum
- Dead Again: interact with the bear on Samantha’s bedroom chair, the bear in the cell near Juggernog, and the bear in the Rocket Pad truck passenger seat.
Samantha’s bedroom bear. Rocket Pad truck bear. - To turn zombies into skeletons, use In Plain Sight to see the hidden skulls and shoot them with the bow: by Mule Kick, above the upper-courtyard electric-trap doorway, and on the Double Tap ledge. Interact with the skulls on the Church chair to turn the effect off.
- In Church, shoot the small moon and rocket orbiting the large globe while they are close together. Each pauses briefly after a hit; pause both together to start the short disco effect. It can be repeated after the effect ends.
- Online games: take the small potted plant from the cabinet beside the teleporter-room safe before time travel. In the past, put it on the same cabinet. Back in the present, interact with the grown plant for a free Mega Gobblegum. Only one reward is available for the team.
Take this plant before traveling back in time. - Developer photo: on round 2, let all five spawn windows lose their boards. Rebuild exactly two at each and buy RK5; add two more at each and swap it for Sheiva; add one more at each and swap back to RK5. Immediately open the right-hand door and look outside toward the map edge. In co-op the first player must look and nobody else can buy a wall weapon during the sequence. Starting with the super-quest RK5 prevents the required first purchase.
- For the small sky secret, look just left of the Moon about one minute after the match begins. A distant twinkle begins orbiting the sky if triggered; it disappears as the terminal stage of the quest begins. It has no equipment reward.
Sources and review
Original instructions cross-checked against Reddit community guides and the illustrated references below on 3 October 2026. Gameplay images: mmmrkennedy, COD Zombies Guides and their credited community creators; game: Activision / Treyarch. Symbols and sequences marked as observations must come from your match. Source and software checks do not replace an in-game playthrough.
- r/CODZombies community guide ↗
- mmmrkennedy illustrated guide (2) ↗
- COD Zombies Guides illustrated walkthrough (3) ↗
- Steam Community walkthrough (4) ↗
- r/CODZombies community guide (5) ↗
Select any reference image to enlarge it. Screenshot and symbol sources are credited in the linked walkthroughs; this guide uses local copies for reliable access.