Key Features
Beast routes, rituals and Pack-a-Punch
- Use a flaming chalice to enter Beast mode. Shock fuse boxes to power perks and stairs, melee chained crates and doors, and grapple to the glowing hooks above you. Plan each route before transforming: you return to the same chalice when time runs out. A used chalice stays unavailable for that round.
- Spawn: break the truck crate for the Summoning Key; shock the Junction crane, then grapple above Easy Street and shock the exterior box behind Nero’s loft to open its stairs.
- Canals: shock the box behind the translucent wall at the far end of the canal; break the badge box beside the rift. Grapple to Ruby Rabbit and run down to shock its entrance stairs.
- Waterfront: grapple above the district Mystery Box and knock down the belt crate. Break the Boxing Gym’s front door.
- Footlight: grapple to the upper walkway; jump from the small ramp to the crate ledge and knock the crate down. Grapple to Black Lace Burlesque and shock the box behind its sign.
Break this crate on the spawn truck in Beast mode. The Junction crane switch drops the Lawyer’s Pen. - Return as a human to collect the Summoning Key and dropped items. Take each item to its matching ritual table, then interact again to start. Gather the team inside first: the door locks during the ritual. Keep moving until it finishes and collect the Gateworm. A Margwa appears after the second and fourth rituals; shoot its open yellow mouths one at a time.
- Lawyer’s Pen, Junction crane → Nero’s loft above spawn.
- Detective’s Badge, Canals → upper floor of Ruby Rabbit.
- Championship Belt, Waterfront → center of the Boxing Gym ring.
- Producer’s Toupee, Footlight → Black Lace Burlesque stage.
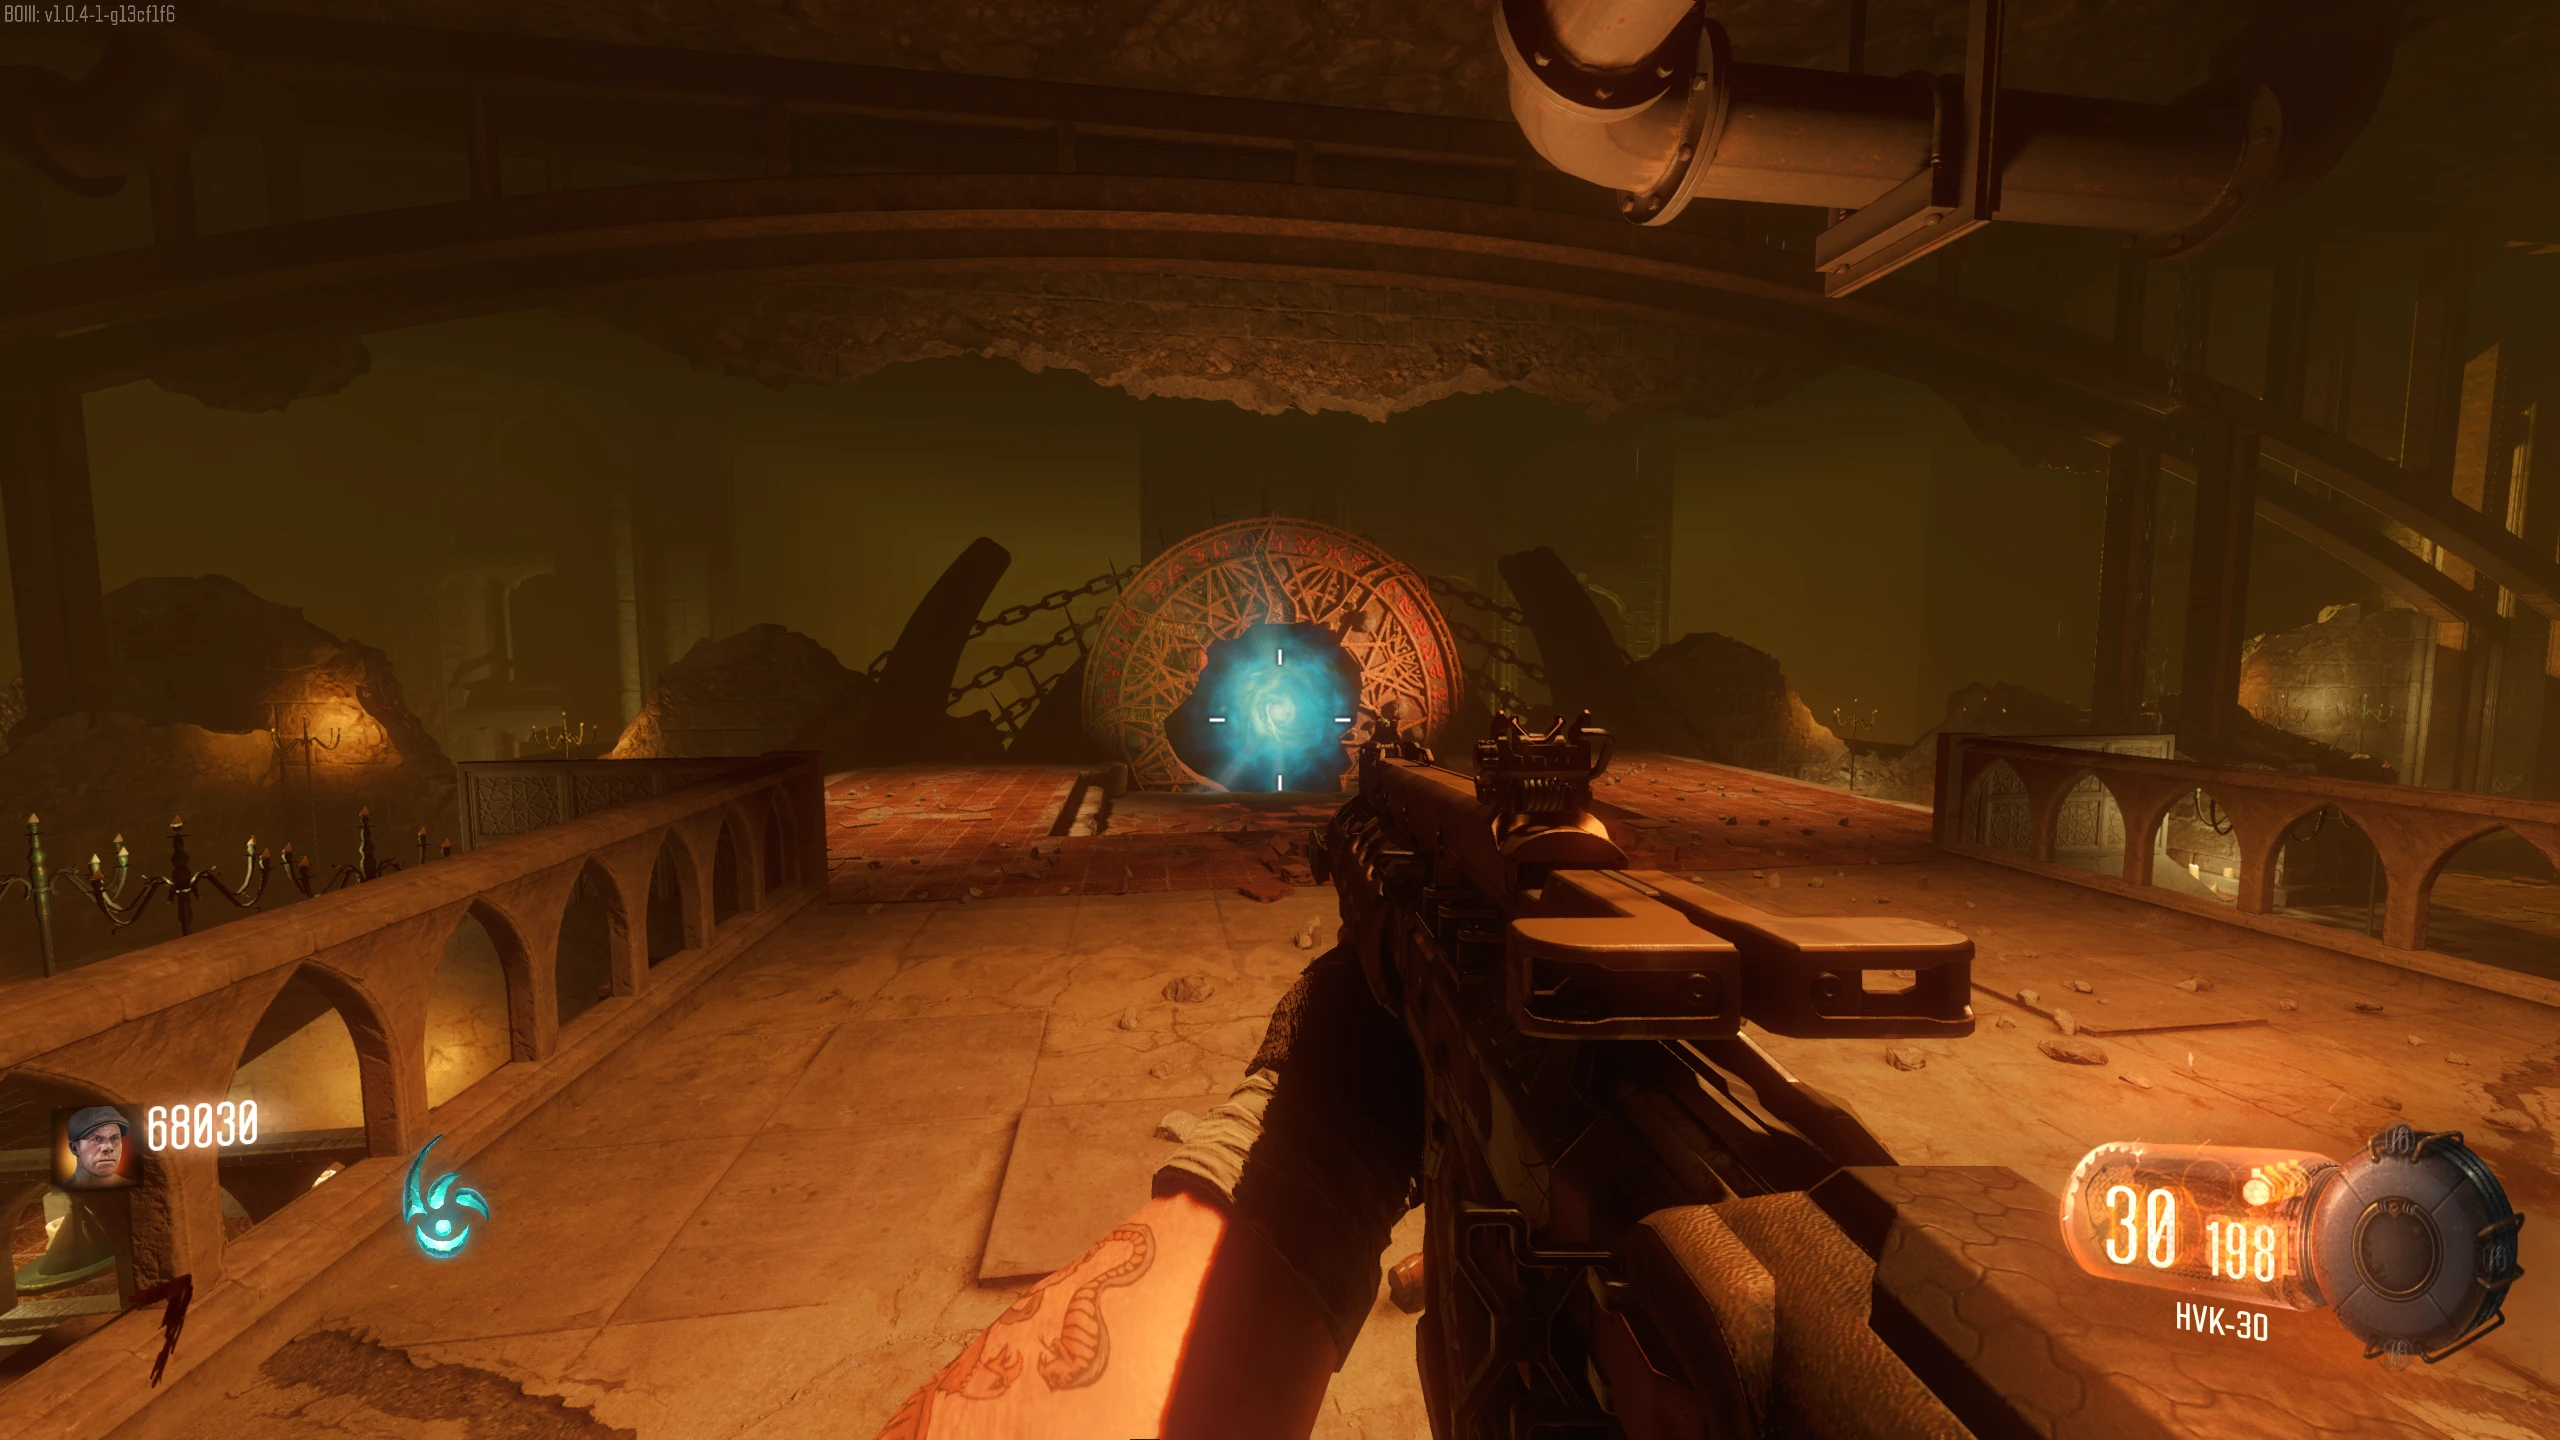
The Canals ritual is upstairs in Ruby Rabbit. Waterfront ritual table inside the boxing ring. - Break a district rift door in Beast mode, then activate its portal as a human. In the underground subway, approach the wall with glowing symbols to open the ritual chamber. Place the two near Gateworms first to form the wall-running paths; sprint and jump along the walls to the far pedestals. Place the remaining worms, jump the bridge gap and activate the entrance table. Survive the fifth ritual to open the Pack-a-Punch rift.
Gateworm pedestals on both sides of the underground chamber. Pack-a-Punch becomes the blue rift at the back of the ritual chamber. - Build the Rocket Shield before longer defenses. Open the upper perk routes and collect one piece per district, checking the three nearby alternatives listed below. Build at Waterfront behind the gym, Canals outside Ruby Rabbit, or Footlight below the train station. Get Juggernog and a Pack-a-Punched bullet weapon; the Servant is excellent crowd control but is not a substitute for accurate Shadowman damage.
- Footlight window: bench opposite the perk, fence beside it, or chair in the stairs room toward Burlesque.
- Canals base: lion-head room wall, connecting bridge, or window opposite the perk.
- Waterfront rockets: by the upper stairs/chalice, window near the perk, or floor farther into the burning room.
One of the Footlight shield-piece spawns. Check the Canals bridge as well as both adjoining rooms.
Main Quest
Train glyphs, Apothicon Sword and Keeper upgrade
- Ride the train and look through its windows for the three red glyphs. Each district contributes one. When departing Waterfront look right into the warehouse; when departing Footlight look left after the curve; when departing Canals look left into the circular window. A Waterfront–Footlight ride followed by Footlight–Canals covers the districts. Record the shapes below. In Beast mode, shock those three shapes on the underground sword wall beside the Gobblegum machine; travel order is not a code order.
A wrong symbol ends the attempt. Retry next round; the three clues stay the same.
Canals clue: circular window seen from the departing train. Waterfront clue: warehouse window to the right when departing. - Take your egg from the opened sword chamber. Break the four tall wooden statue crates with Beast melee, then place the egg on each exposed statue and kill nearby zombies until it stops absorbing souls. Retrieve it after every location. Return the fully charged egg to the sword chamber, wait for the animation and take the Apothicon Sword. Each player charges their own egg.
- Underground: directly across from the sword wall.
- Canals: behind Ruby Rabbit.
- Waterfront: the ruined/burning upper room beyond the perk.
- Footlight: covered area near the Vesper at the district entrance.
Place the egg in this exposed statue, then earn kills close to it. - Visit the Keeper at your character’s ritual table for an Arch-Ovum: Nero → loft; Jack → Ruby Rabbit; Floyd → Boxing Gym; Jessica → Burlesque. Place it on a glowing street circle and defeat its Margwas. The first encounter has one; subsequent encounters have two. Complete all four circles, with at most one attempt per player per round, then give the Keeper your sword and collect the upgraded Keeper Sword.
- Junction: near the fallen pen crate.
- Canals: outside Ruby Rabbit.
- Waterfront: outside the Boxing Gym.
- Footlight: outside Black Lace Burlesque.
Only the player who started the encounter makes that egg’s progress. Let each player finish their own upgrade before the flag route.
The Keeper at your character’s ritual table gives you the upgrade egg.
Train symbol matcher Open helper
Match the three red symbols seen through train windows. Select them from the sword wall below; the wall needs the collected set, not a special input order.
Choose for window 1.
0 of 3 recorded.
Observations save on this device and are shared with the helper inside the guide.
Gameplay photos: mmmrkennedy · game: Activision / Treyarch.
Four flag routes and Keeper hand-ins
- After everyone has an upgraded sword, interact with the open book on the floor by Nero’s bookshelf. It floats up and a flag appears near Widow’s Wine underground. Refill ammo before taking it: the flag begins a defense sequence with Parasites and rolling Insanity Elementals.
Interact with the open book on Nero’s floor. Pick up the flag in the underground subway. - Place the flag on a sparking patch, protect it until the completion chime and red pulse, then take it to the second patch for that district. Destroy rolling enemies before they touch it and shoot the Shadowman whenever he appears overhead. After both defenses, carry it into that district’s ritual room and hand it to the Keeper. Pick up any Max Ammo left at a completed defense.
- Junction: Footlight entrance and Junction Gobblegum area → Nero’s loft.
- Footlight: entrance/Vesper area and street by KN-44 → Burlesque.
- Waterfront: district entrance and lower train-station stairs → Boxing Gym.
- Canals: district entrance and across from Ruby Rabbit → Ruby Rabbit.
The visual pulse and chime confirm completion; moving the flag early does not complete a site. If it breaks, retrieve a fresh flag and repeat that district when available.
A charged flag pulses red and can be carried to the next defense. Shoot the Shadowman when he appears above the defense. - End the round after each successful Keeper hand-in to make the next flag available. Finish all four districts. The Keepers will now be waiting at the four Gateworm positions in the Pack-a-Punch chamber. Make the team’s ammo, perks and escape routes ready before giving them the swords.
Capture the Shadowman, then coordinate the four-player ending
- Interact with the four Keepers in the Pack-a-Punch chamber to activate them. Their beam breaks the Shadowman’s shield. Shoot him rapidly as he teleports toward the entrance ritual table; when he is directly above it, interact with the table to capture him in the Summoning Key. If he recovers, kill the Margwa, reactivate the Keepers and repeat. Leave one player near the table to perform the interaction.
With fewer than four players, this is the end of the playable route. It does not grant the full Apocalypse Averted completion.
Interact with the ritual table when the Shadowman is directly above it. - In a four-player game, clear the new corruption by touching white orbs whenever red mist builds up. Kill purple-mouth Margwas to relight Beast chalices. Beast mode now lasts indefinitely until damage drains it. Assign one player to each train station and the fourth to the Junction Keepers. Keep one station player human to call the train; they transform only after calling.
- Two station players: enter Beast mode and prepare to keep shocking their station’s overhead electrical box.
- Third station player: call the train from a different station to send it through Junction, then immediately enter Beast mode and shock their own station box.
- Junction player: enter Beast mode and stand in the canal below the giant Gateworm; shock the three Keepers as the train crosses.
- All three rail sections must be electrified together when the train hits the Gateworm. Keep shocking until the Keepers fire upward.
Canals station: shock the box above the rear train door. Junction player: shock the Keepers from the canal below the crossing. - The train removes the giant Gateworm and the charged Keepers fire a beam into the sky. The ending cutscene confirms completion. If the Gateworm returns, regroup, cleanse corruption and coordinate another train run; a failed synchronization does not require repeating the rituals or flag defenses.
Side Quests
Apothicon Servant, Civil Protector and survival
- Build the Apothicon Servant from a Margwa Heart (first killed Margwa), a Tentacle (random purple-pod harvest) and Xenomatter (Parasite or Insanity Elemental drop from round 13 onward). Pick up a Fumigator in spawn—check the chalice crate, truck and window grate—then leave pods to ripen from green through red to purple. Assemble at any workbench.
The Servant cannot be upgraded in standard Shadows of Evil. The five-rock Pack-a-Punch route belongs to Revelations.
Collect the Heart dropped by a Margwa. Xenomatter is a glowing enemy drop. Harvest mature purple pods for a chance at the Tentacle. - Find one blue fuse in each district’s elevated perk/train route. Footlight: near HVK-30, on the bridge railing or barrel near the station. Canals: near KN-44, bridge or perk-room route. Waterfront: upper box, railing or barrel near the train approach. Install all three in the underground electrical cabinet to enable the Civil Protector. Call it from a district’s red panel for 2,000 points; it kills enemies and can revive players.
Install the three district fuses in this underground cabinet. - Check the broken bottle at each district entrance to locate the randomized perk: red Juggernog, green Speed Cola, orange Double Tap. Power its fuse box before buying. Use rifts and the opened subway stairs to move between districts; do not train beside an unfinished flag. Shoot a Margwa’s open mouth and leave room to escape its slam.
Goddard shield, upgraded Arnies and pastry Trip Mines
- With the Rocket Shield, group at least ten zombies and kill the group in a single rocket boost. Repeat for three successful boosts; listen for the completion cue. The Goddard Apparatus has more durability and four boosts. The boost challenge must be repeated after losing the upgraded shield.
- Get Lil’ Arnies from the Mystery Box and earn about 100 kills with them. Throw one onto the top hat in Nero’s room, one at the cane beside the lower Ruby Rabbit couch, and one at the bow tie on the Boxing Gym changing-room shelf. Each item disappears on a valid throw. Finally throw an Arnie onto the Burlesque ritual table; after its performance, collect the upgraded purple Arnies.
Nero’s top hat is one of the three Arnie upgrade targets. Bow tie on the shelf in the Boxing Gym changing room. - Buy Trip Mines outside the Boxing Gym. Choose one chain and detonate a mine beside every cart in that chain by luring a zombie to it. Holly’s carts: Junction near Stamin-Up, Canals by Peep Show, and Footlight by the perk. Devil-O-Donuts carts: Junction by Gobblegum, Canals by Gobblegum, Footlight upper stairs, and Waterfront near the belt landing. The upgraded mines look like the rival chain’s pastries.
Do not mix chains: hitting the other chain after starting can lock out the upgrade for the match.
Margwa Mask: six hearts in two train rides
- Kill six Margwas, then shoot six hidden hearts while riding a moving train. Use Waterfront → Footlight, then Footlight → Canals. Shoot through the open train windows with a precise weapon or explosive; all six must be hit within two rides or the hearts reset.
- Waterfront: Morg City Gas & Electric sign above M8A7, and building side near the belt crate.
- Footlight: Coffee sign near the track bend and the Theater sign.
- Junction: Devil-O-Donuts sign over the L-CAR 9 area.
- Canals: the Y in the large Ruby Rabbit sign.
Waterfront heart above the M8A7 route. Canals heart on the Ruby Rabbit sign. - After the Margwa death sound, collect a flashing mask at a ritual site: under Nero’s stairs, Ruby Rabbit’s upper balcony, the Boxing Gym lockers, left of the Burlesque rear window, or the subway car near the fuse cabinet. The mask is easy to miss because the pickup is a periodic sparkle; a teammate or your shadow can confirm it is equipped. It improves survival against Margwas.
Songs, free Gobblegum, points and visual secrets
- Snakeskin Boots: interact with the wooden clocks on the lower Ruby Rabbit table, the Footlight station bench by Gobblegum, and the desk above the Boxing Gym.
One of the three wooden clocks for Snakeskin Boots. - Cold Hard Cash: take the mic stand in Nero’s room between the saw and throwing board, the cable under the Canals stairs near the translucent wall, and the microphone beside the underground bench near the Waterfront rift. Interact with the completed microphone on the Burlesque stage.
- Free Mega Gobblegum: with Widow’s Wine, throw a wine grenade into each of the four lion mouths in the Canals upper room. Take the white gum that appears, place it on the plate in the Junction ice-cream-shop window, finish a round, then return to claim it.
Place a Widow’s Wine grenade in each lion mouth. The gum grows on this plate after a round. - Free 500 points: cook a grenade so it explodes beside the laundry ticket hanging inside Chang’s Laundry just outside spawn. Collect the paper when it falls onto the box in front.
- Noire filter: upstairs in the Boxing Gym, crouch at the front-right corner of the desk, hold reload/interact and slowly look from your feet up to the photograph just left of the cipher picture. The black-and-white effect lasts for the match. After Pack-a-Punch, scope the glowing window on the harbor ship for the Richtofen jumpscare; the Mob of the Dead plane also flies over Junction after the final ritual.
Look toward this Boxing Gym photograph for the Noire filter. - At the very start, repeatedly shoot the Shadowman above the spawn exit to jump to rounds 5, 10 and 15 with points awarded at each jump. Stop at the desired tier. This immediately raises enemy difficulty and gives up the safer early rounds for opening the city.
Sources and review
Original instructions cross-checked against Reddit community guides and the illustrated references below on 3 October 2026. Gameplay images: mmmrkennedy, COD Zombies Guides and their credited community creators; game: Activision / Treyarch. Symbols and sequences marked as observations must come from your match. Source and software checks do not replace an in-game playthrough.
- r/CODZombies community guide ↗
- mmmrkennedy illustrated guide (2) ↗
- COD Zombies Guides illustrated walkthrough (3) ↗
Select any reference image to enlarge it. Screenshot and symbol sources are credited in the linked walkthroughs; this guide uses local copies for reliable access.