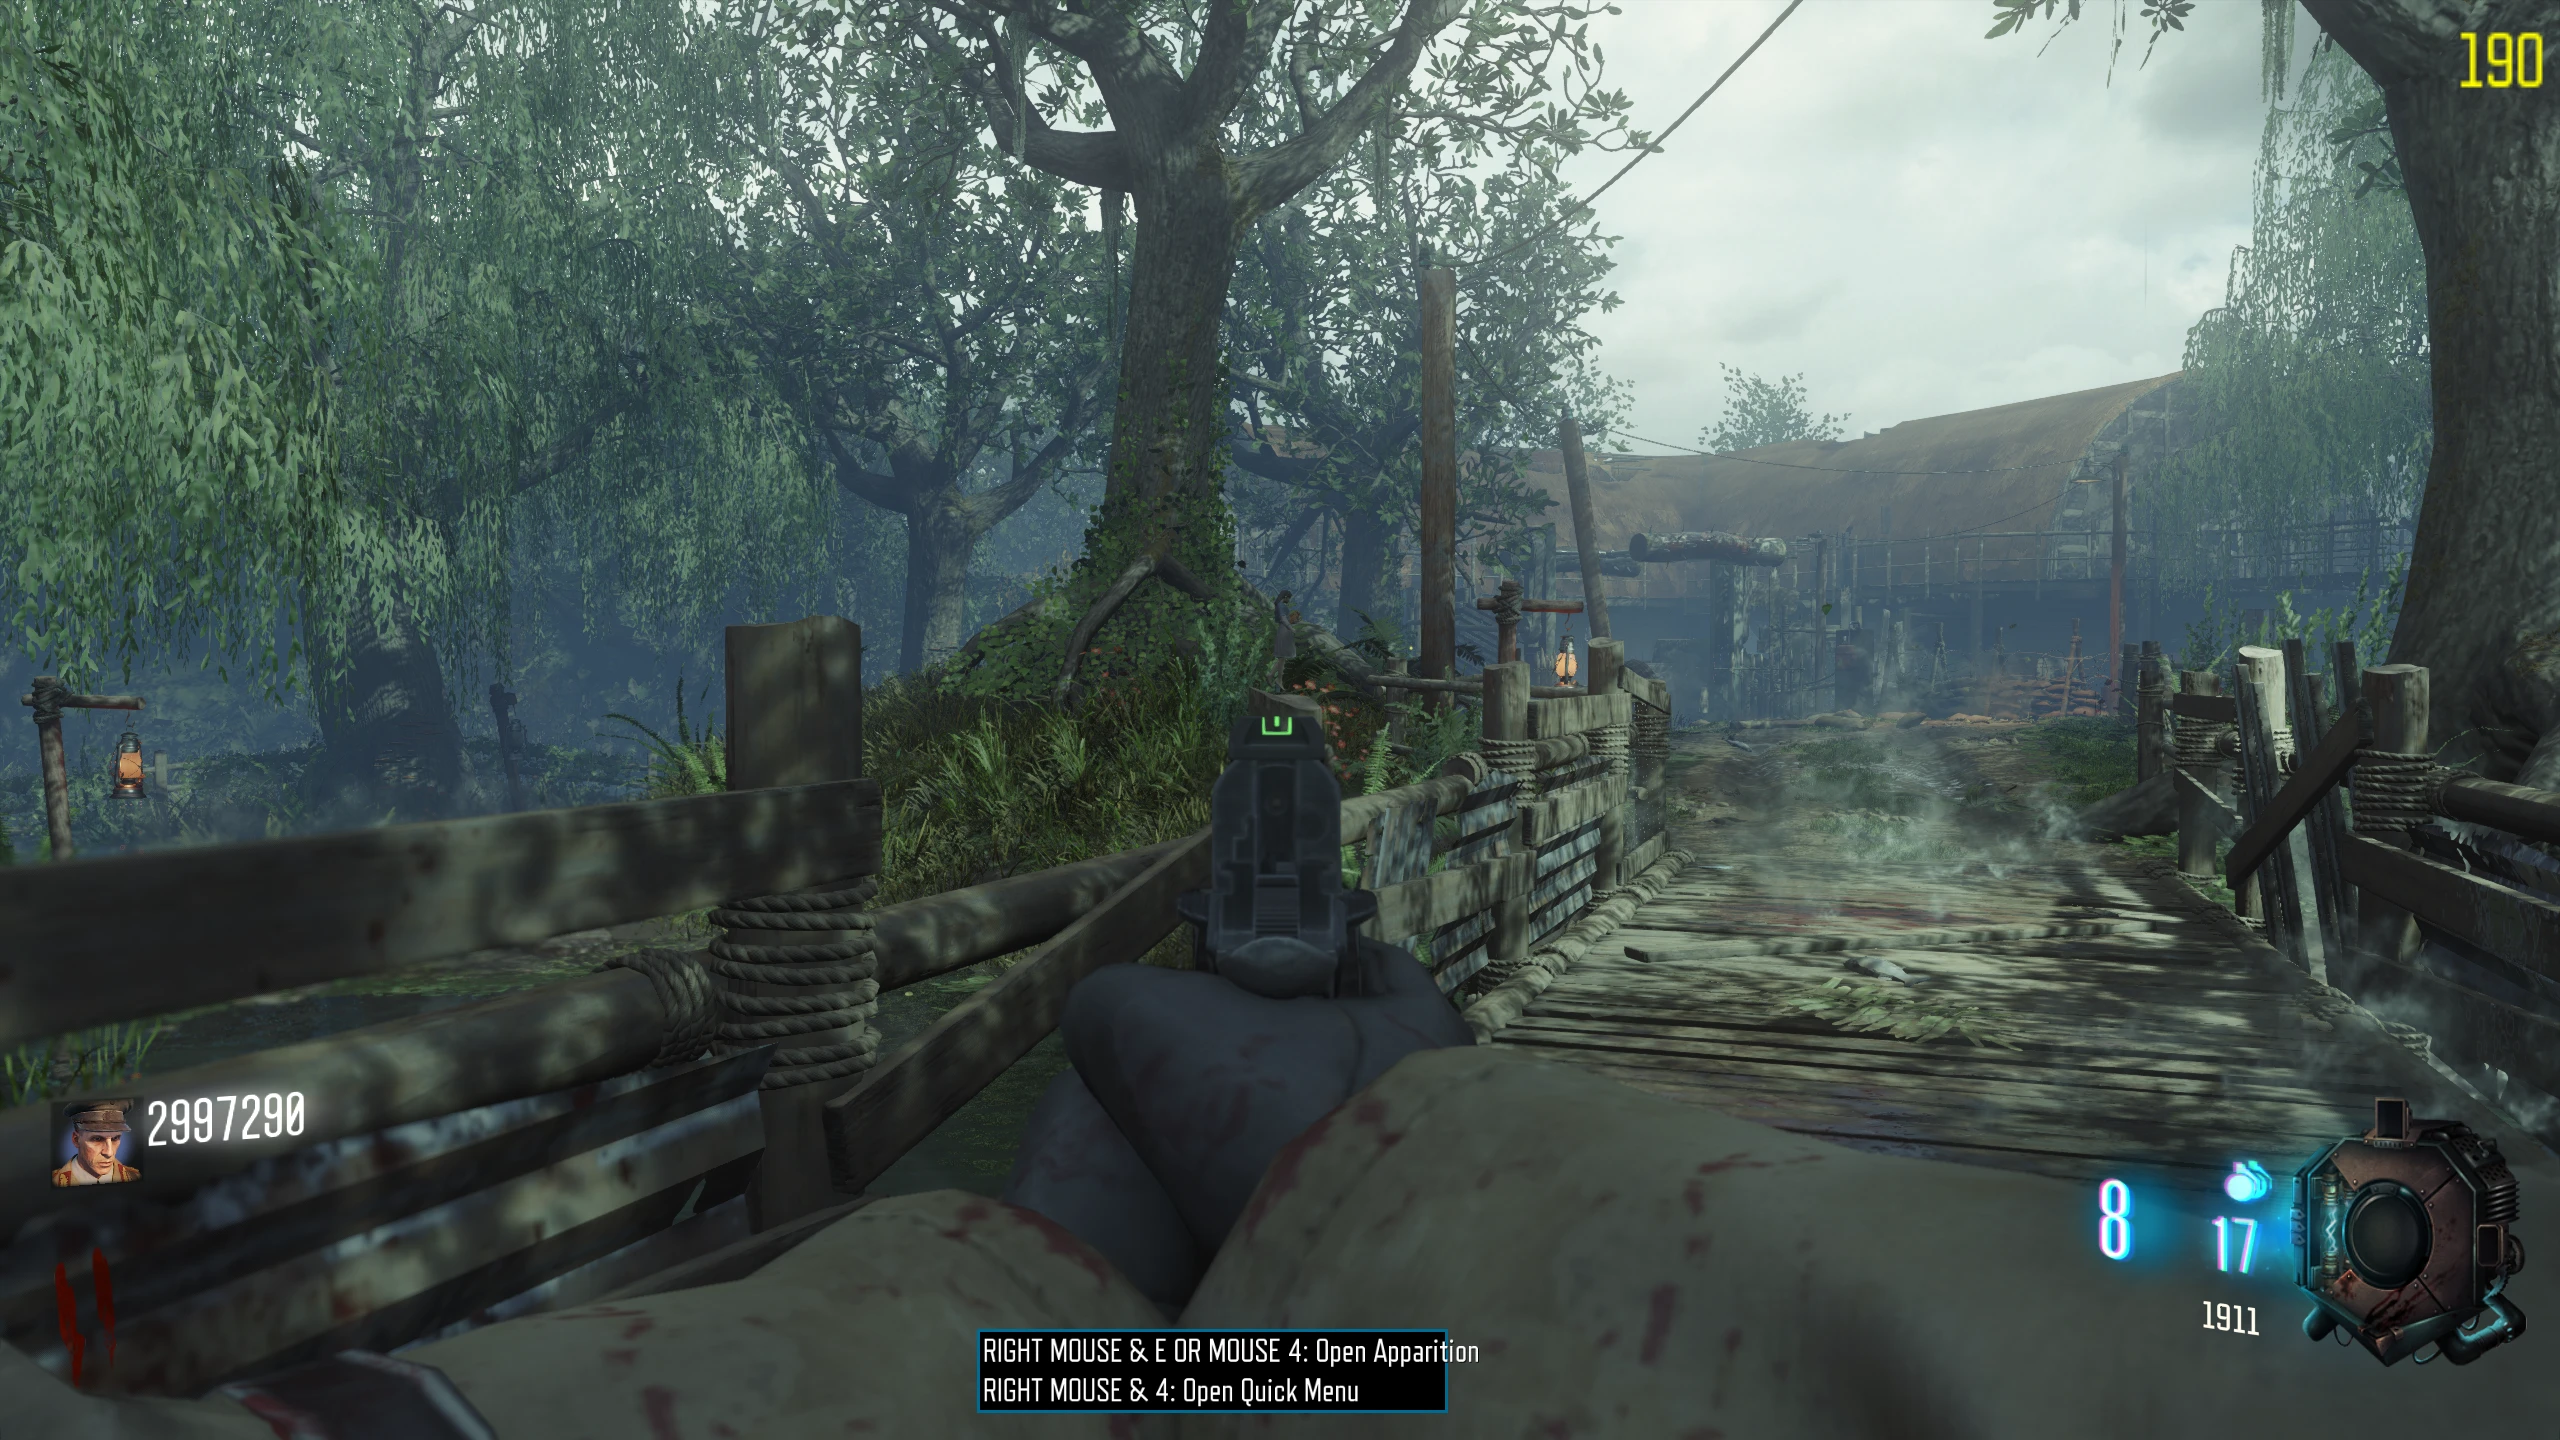
Key Features
Open the huts and find your perks
- Leave the upstairs spawn through either purchasable route into the main building. Open paths to Doctor’s Quarters, Fishing Hut, Storage and the Comm Room. Slow swamp water can trap you; learn the boardwalks before moving a horde.
- Open each hut to reveal its random perk machine. Jugger-Nog, Speed Cola, Double Tap and Quick Revive move between the four huts each match. There is no central power switch to activate. The notebook is optional if your team keeps forgetting which hut has which perk.
- The Mystery Box can provide the Wunderwaffe DG-2; the Flogger outside the main building and hut traps give additional crowd control. Keep a starting pistol if you want the pan secret below. There is no ordinary Pack-a-Punch machine.
Hut perk notebook Open helper
recorder
Record the perk found at each hut. Undiscovered huts stay unknown.
Your observations are saved on this device.
Side Quests
The One and the Fishing Hut doll hunt
- At the Comm Room, interact with the black telephone three times. You will hear the call and The One will play. This does not start the Samantha hunt.
phone - Inside Fishing Hut, quickly shoot the four hanging pans that have a silver band using your starting pistol. Use the four photographs to distinguish them from the other pans. A sound confirms all four have registered.
Plate 1 Plate 2 Plate 3 Plate 4 - Interact with the doll on the ground beside the rubbish near Fishing Hut. Turn toward the bridge outside the hut and shoot each doll as it appears on the bridge supports. The targets appear in succession; keep watching until the sequence finishes.
Samantha Doll bridge outside the Fishing Hut - Return to the original doll and interact to receive a Max Ammo and play Samantha’s Sorrow. If the hunt stops before completion, use that same starter doll to try again.
Sources and review
Written for Black Ops III: Zombies Chronicles. Community instructions and illustrated references were cross-checked on 3 October 2026. Gameplay: Activision / Treyarch; photographs and charts: the credited community sources below. Some shared-layout references show the original release; follow the BO3 instructions in the text. Source review and website checks do not replace an in-game playthrough.
Select any reference image to enlarge it. Screenshot and symbol sources are credited in the linked walkthroughs; this guide uses local copies for reliable access.