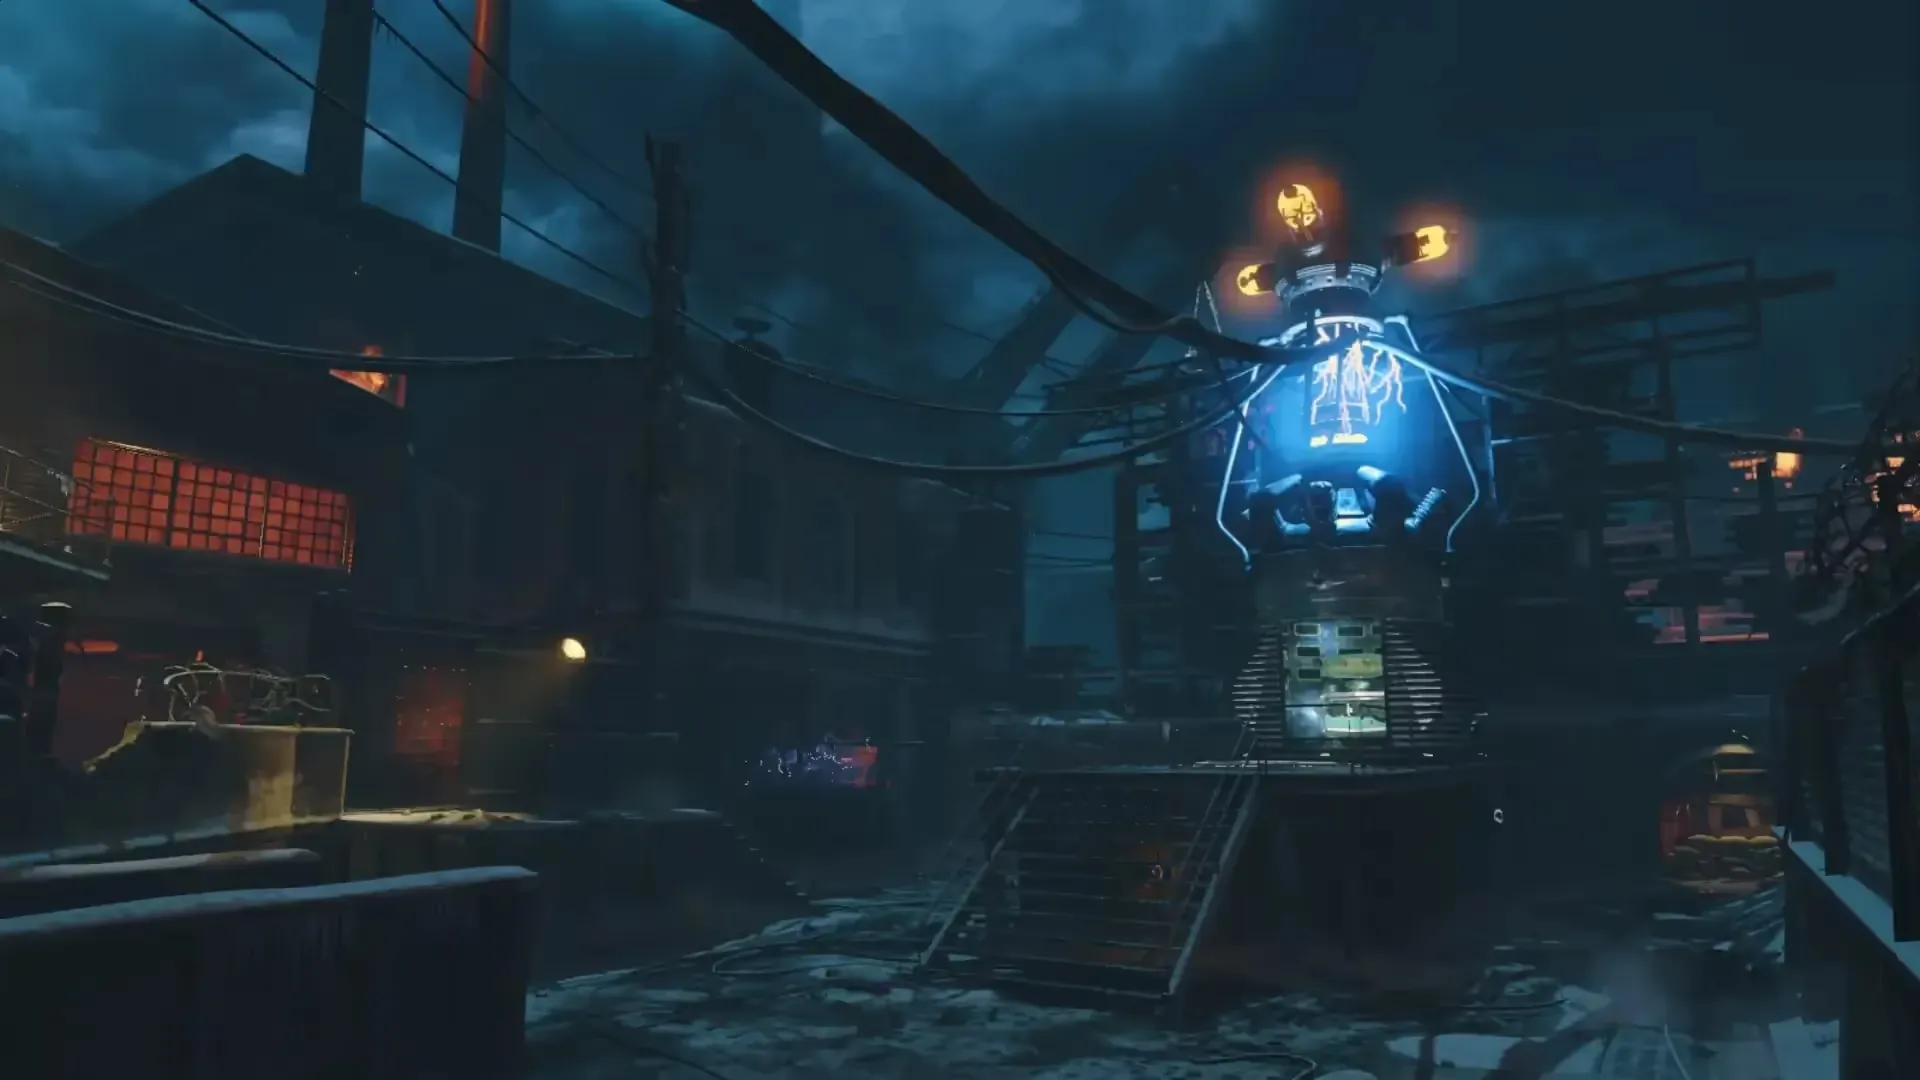
Key Features
Power and all three teleporter links
- Open a route from the mainframe through the laboratories to the rear courtyard and turn on the switch under the catwalk. The bridge lowers, joining both sides. Locate Juggernog by checking the perk machines: the five normal machines shuffle each game. Keep points for doors before spending heavily on the box.
- At each of the three teleporters, start the link and return to the mainframe in spawn before the countdown expires. Interact with the mainframe to confirm it; in co-op, leave a teammate there to finish links quickly. Repeat for all three teleporter rooms. The gate in front of Pack-a-Punch lowers after the third successful link. Upgrade a normal bullet weapon for 5,000 points.
Linking is a timed interaction, not a paid teleport ride. If a link expires, start it again at that teleporter.
Main Quest
Fly Trap: activate the beacon and earn the Annihilator
- Near the L-CAR 9 side of spawn, look through the barrier toward a concrete pillar outside the map. Shoot the small control panel with your Pack-a-Punched weapon. Green objects rise into the air and Maxis speaks when the shot registers.
The Fly Trap activation panel outside the playable area. - Shoot the three hidden targets in any order and listen for an audio response after each. Use the photographs and room landmarks: community guides disagree on the teleporter letters for these objects.
- Monkey Bomb: far-right corner inside an open incinerator beneath the teleporter laboratory.
- Teddy bear: the high exterior balcony to the right when looking out from the power switch.
- Teddy bear: inside the left vat/well of liquid in the other laboratory; jump for the downward sightline.
Monkey in the open incinerator. Bear high on the balcony beyond power. Look down into the left liquid vat for this bear. - After all three confirmations, visit the furnace in the room behind the VMP route and interact with the glowing Annihilator. This specialist pistol recharges from kills rather than replacing a normal gun. The beacon dialogue and reward complete Paradoxical Prologue; there is no additional boss encounter.
The Annihilator pickup inside the furnace.
Optional hidden sixth perk
- Obtain Monkey Bombs from the Mystery Box and finish linking the teleporters. Throw a monkey onto a teleporter pad and activate the paid teleport before it explodes. Repeat once at each of the three teleporters. Check the three lamps on the mainframe control panel; each valid monkey teleport turns another lamp green.
- When all three lamps are green, interact with the mainframe panel. The giant robot head fires a laser that melts the snow near the L-CAR 9 route. The uncovered machine is randomly Stamin-Up or Deadshot Daiquiri. You still pay for the perk and the normal perk limit still applies.
Side Quests
Beauty of Annihilation remix and small secrets
- Interact with three glowing spine/brain jars: two are in the Kuda laboratory, one on its shelf and one on the opposite table; the third is on a table near the HVK-30 and grenade wallbuy in the other teleporter room. Listen for each activation. The third starts the Beauty of Annihilation remix, once per match.
- The Monkey Bomb teleporter sequence also exposes a brief teleportation jumpscare. It is a visual secret, not another quest requirement.
- Interact with scattered radios to hear the Maxis recordings; inspect the signs and papers for the map’s five ciphers. These are story references and do not unlock another Fly Trap step. The community source includes the radio transcripts and cipher images.
Wunderwaffe, ammunition and escape routes
- The Wunderwaffe DG-2 and Monkey Bombs come from the Mystery Box. Upgrade the Wunderwaffe at Pack-a-Punch; avoid spending its scarce ammunition on isolated zombies. A second Pack-a-Punch on an eligible bullet weapon adds an alternate ammo effect. The Annihilator remains a separate specialist ability.
- The rear catwalk funnels enemies for a team, but needs a clear escape before ammunition runs out. The power courtyard gives more room to train. Use electric traps for high-round damage and paid teleporters to escape to spawn. Hellhound rounds end with Max Ammo: reload before taking it. A teleporter cooldown can prevent an immediate second escape, so do not wait until cornered to move.
Sources and review
Original instructions cross-checked against Reddit community guides and the illustrated references below on 3 October 2026. Gameplay images: mmmrkennedy, COD Zombies Guides and their credited community creators; game: Activision / Treyarch. Symbols and sequences marked as observations must come from your match. Source and software checks do not replace an in-game playthrough.
- r/CODZombies community guide ↗
- COD Zombies Guides illustrated walkthrough (2) ↗
- gamingaroundtheclock.com reference (3) ↗
Select any reference image to enlarge it. Screenshot and symbol sources are credited in the linked walkthroughs; this guide uses local copies for reliable access.