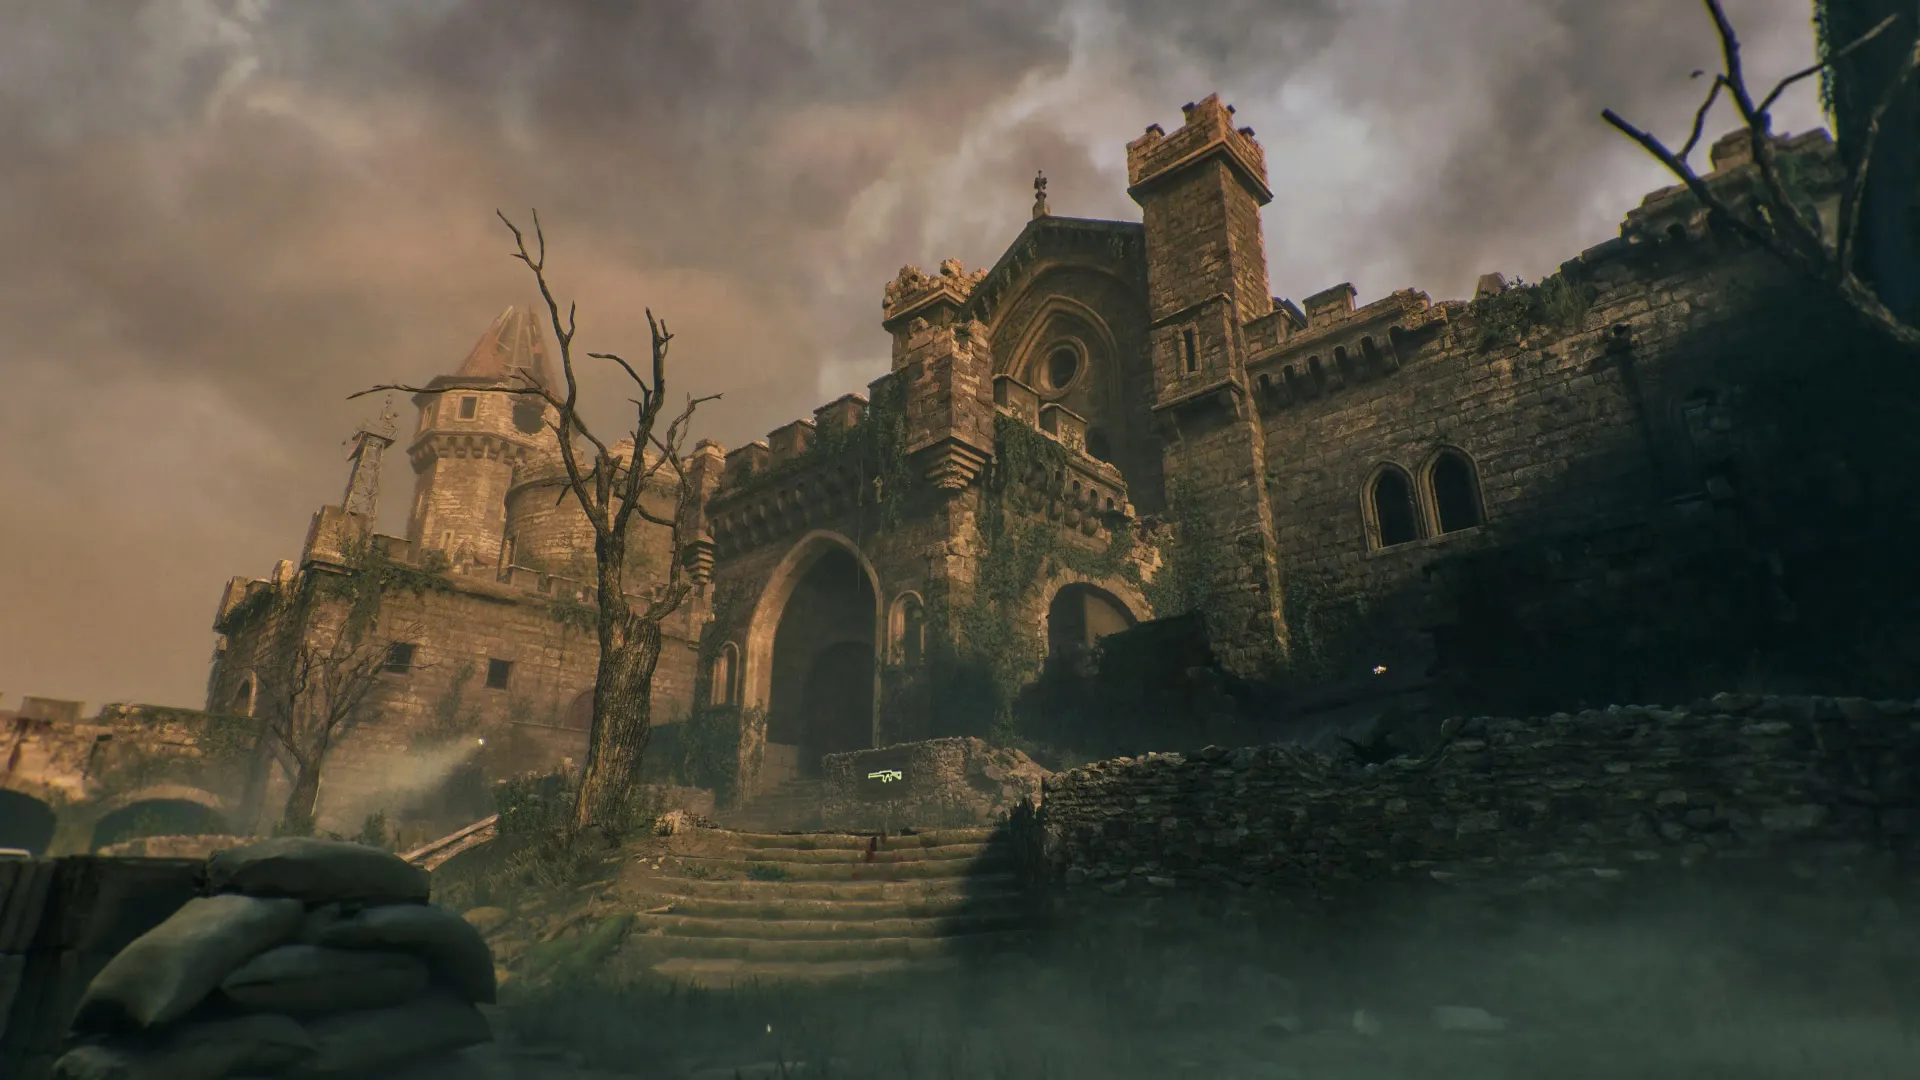
Key Features
Open the castle, Pack-a-Punch & Krafft
- Buy a route from Town Square through the village to the castle Courtyard. Reach the rampart cannon, rotate it toward the castle entrance and fire to break the gates. Open the interior route through the Dining Hall and down to the Oubliette. Shoot the three crate locks, kill the released Doppelghast and collect its Blood Aetherium Crystal. Put the crystal into the crate’s portal to reveal Pack-a-Punch.
- In the Dungeon, interact with the wooden door near Quick Revive to speak to Gabriel Krafft. Let his dialogue finish. The Alchemical Lab passage behind the Stag knight becomes accessible. Start collecting ritual items while saving essence for doors, armor, weapon upgrades and Melee Macchiato.
Every sword and incantation is required even in solo. Solo players exchange swords at their knight statues; you do not carry all four at once.
Krafft’s wooden door in the Dungeon Alchemical Lab passage behind the Stag knight - From round 10, kill helmeted zombies and collect their Stamps. Body shots avoid their head protection. Spend one Stamp at each animal-marked knight in the Dining Hall to obtain its Bastard Sword. In co-op, assign one sword to each player; in solo, complete and return each sword before taking another.
Keep a reliable bullet weapon. The swords handle crowds, but precise shots are needed for puzzles and the Guardian’s exposed weak points.
A Stamp dropped by a helmeted zombie
Main Quest
Caliburn — Dragon’s Fire
- Put the Dragon Bastard Sword into the dragon statue upstairs in Entrance Hall. Carry a flame from each brazier back to that statue, one at a time: ramparts beside the cannon; southeast corner of Town Square; Nature Path beside its Town Square gate. Interact with the dragon after every return.
- The flame damages you while carried and increases movement speed. Melee the glowing zombies on the return route to recover health.
- Open your return route before taking a flame. If a delivery is lost, return to its brazier and retry; confirm which statue indicators remain unlit.
Insert the Dragon sword here and return each carried flame Brazier on the ramparts beside the cannon Town Square brazier Nature Path brazier by the Town Square gate
Durendal — Stag of the Storms
- Collect the rod beside Deadshot Daiquiri at Hilltop. Shoot the electrical box near Speed Cola with a Dead Wire weapon, then pick up its rod. Take the Stag Bastard Sword into the Dungeon and kill the special rod-carrying zombie; use the sword for the kill to avoid ambiguity.
Lightning rod beside Deadshot Daiquiri Dead Wire this electrical box near Speed Cola Dungeon zombie drops the third rod - Insert all three rods into the metal vase on Hillside Ramparts. Stay inside the storm with the Stag sword drawn. Whenever lightning charges the blade, melee the vase to transfer the charge. Repeat three times, then interact to insert the sword and retrieve Durendal.
Wait for visible electrical energy before striking. Ordinary melee hits with an uncharged blade do not complete a transfer.
Place the rods and transfer three sword charges into this vase
Balmung — Raven’s Shadow
- Take the Raven Bastard Sword and collect the animal antiquity from a shelf or table in Alchemical Lab. Identify the actual object: ram horn, lion jaw, two-headed bird skull, fish fossil or scorpion fossil. At the Tavern Cellar wheel, insert the antiquity and sword.
Example antiquity: lion jaw; your match can use a different object - Use the visual helper to align the element on the inner ring and zodiac on the outer ring at the green bottom pointer. Horn = Fire/Aries; jaw = Fire/Leo; bird = Air/Gemini; fish = Water/Pisces; scorpion = Water/Scorpio. Confirm the alignment to release dark orbs.
Fire is an upward triangle; Air adds a horizontal bar; Water points down. Distinguish the jaw from the paired bird skulls before turning the wheel.
- Stand beyond the floor portal so the chasing orbs pass through it. Feed three orbs into the cellar portal, then follow the portal’s two moves through the Tavern, finishing near the pool table. After the third portal is filled, follow the energy to the cellar wheel and interact to claim Balmung.
The orbs damage you on contact. Keep circling through open floor space and let their route cross the portal; do not try to shoot them into it.
Lead the chasing dark orbs across each floor portal
Raven sword — visual ring solution Open helper
Choose the antiquity you collected from the Alchemical Lab. The two symbols belong together at the bottom pointer of the Tavern Cellar wheel.
No trophy selected. The wheel has five possible solutions.
After the wheel accepts your symbols
Lead three chasing orbs into each floor portal. Keep moving beyond the portal so the orbs cross it. The portal moves from the cellar into the Tavern, then beside the pool table. Return to the wheel and collect Balmung.
Saved on this device; inline and full-page helpers share observations. Reference images: COD Zombies Guides; antiquity photographs: Kristina Ebanez / Destructoid.
Solais — Lion of Light
- With the Lion Bastard Sword, melee a glowing gold Parasite to charge the blade. Strike the lion-knocker door at the bottom of the stairs near Speed Cola to transfer that charge. Repeat until all four door symbols glow, then interact to enter the passage.
Use the charged strike on the door before spending it on another enemy. Regular Parasites do not provide the required gold charge.
The lion-knocker door near Speed Cola - Insert the sword into the pedestal at the far end. Shoot the floating symbol that matches the currently illuminated pedestal symbol, then read the next one. Complete all four before the chamber’s timer ends and collect Solais.
Read the pedestal rather than trusting a remembered screenshot order. If the timer ejects you, return to the lion door on the following round and retry the chamber.
Read the lit pedestal symbol before each shot
Four ritual items → four incantations
- Krafft must have been spoken to before the rituals become available. Each item goes onto its matching glowing ritual circle. Kill enemies nearby until a gold chest appears, then melee that chest with the corresponding upgraded sword. Take its incantation into your tactical slot.
You can prepare ritual items before finishing their swords. Incantation chests replenish after a cooldown, so return for another charge when needed.
- From the ramparts, ignite the three elevated wooden pyres: above the main castle gate, above the Elemental Pop-side doorway, and on the hill toward the village. Use Caliburn’s fire attack or Molotovs. Kill each wave and the final Doppelghast; take Ra’s Ankh to the Courtyard circle beside the Arsenal. Charge it and open its chest with Caliburn.
Fire ritual pyre above the main castle gate Fire ritual pyre above the rampart doorway Fire ritual pyre overlooking the village Place Ra’s Ankh at this Courtyard ritual circle - Shoot Otto’s horseshoe above the far doorway inside the Hilltop stable, collect it and launch yourself toward Town Square using the rampart cannon. Look for the storm cloud over Nature Path or the village and collect the electrified Pegasus’ Horseshoe beneath it. Place it at the Town Square circle by the Nature Path gate, charge it and use Durendal to open the chest.
Shoot down this horseshoe inside the Hilltop stable Town Square electric ritual beside the Nature Path route - Take the cave slide from the Pack-a-Punch area to Town Square. Shoot the perched raven near the slide’s end, then shoot it flying over the outside areas and collect its talon. Put the talon onto the Undercroft ritual circle near the Mystery Box and tombstones. Charge it, then open its chest with Balmung.
For the optional raven perk, follow the living bird first; shoot it for the talon after it drops the perk. Missing the slide shot only means taking another trip.
Raven near the end of the cave slide Raven’s Talon ritual in the Undercroft - Shoot the red crystal above Vulture Aid and adjust your firing angle until its beam reaches the next crystal. Continue along the beam through the Dining Hall crystals into Alchemical Lab, ending at the crystal above the Arsenal. Direct the last beam onto the stone bust on the lab table to reveal Paladin’s Brooch. Put the brooch on the Dining Hall circle near the Entrance Hall door, charge it and open the chest with Solais.
If the beam will not align from your current position, move and fire from another angle. The solid connected beam confirms each link.
Start the beam at the crystal above Vulture Aid Final crystal above the Alchemical Lab Arsenal Collect the brooch from the illuminated bust
Tavern bottles, four pages & Point of Power traps
- Buy Melee Macchiato and punch the cracked square wall in Undercroft while holding a gun to expose twenty runes. In the Tavern, interact with all six small numbered bottles and record the rune for I, II, III, IV, V and VI in the helper. Return and shoot those runes in number order, waiting for the wall to settle between hits.
- I: corner of the bar; II: table near the Arsenal; III: downstairs corner near the other end of the bar.
- IV: upstairs near the pool table/dartboard; V: table opposite bottle II; VI: corner table near the left entrance.
The bottle numbers are fixed; their runes change by match. A screenshot’s tile positions are not a solution for your wall.
Interact with each bottle; its Roman numeral sets its order The rune wall rearranges after your shots - Collect four red-symbol page fragments in and immediately around Sitting Rooms: near the Entrance Hall doorway and boxes; around the bunk beds; around the TV/sofa; and in the corridor toward the Oubliette. Place all four into the revealed Undercroft book.
Look for the red glowing page fragments around Sitting Rooms Read top left, bottom left, top right, bottom right - Match the book’s first symbol to a Point of Power floor trap. Activate it and get kills within its area until it shuts off early and that book symbol dims. Repeat in book order: top left, bottom left, top right, bottom right. Inspect traps in Village Ascent, Hilltop/Nature Path, Courtyard, Dungeon, Undercroft and Sitting Rooms; the last required trap is in Sitting Rooms.
Two traps are fully illuminated decoys: match the exact eye/rays instead of choosing the brightest. If a page stays red, recheck its design and kill enemies inside the correct active circle. Do not mark success just because a normal trap timer ran out.
- Experienced alternative: before picking up pages, read their symbols in their spawn groups. Near Entrance Hall = first; bunk-bed group = second; TV/sofa group = third; corridor toward Oubliette = fourth. Complete the matching traps in that order without assembling the book. The full bottle/book route above remains the clearest first-run path.
Do not mix a partially collected page route with guessed symbols. If you already picked pages up, finish the bottle puzzle and use the restored book.
Community reference for page spawn groups and their sequence
Tavern runes & book trap sequence Open helper
Interact with each numbered Tavern bottle. Select its slot below, then choose the matching photographed rune. Shoot this sequence at the Undercroft wall; wait for the tiles to move after every shot.
Editing bottle I. 0 / 6 recorded.
These are crops of real guide screenshots. Their positions in this picker are not the positions on your moving wall.
See the original rune wall
Saved on this device; inline and full-page helpers share observations. Reference images: COD Zombies Guides.
Salute the knights & charge the Mystic Orb
- After the fourth trap, read the animal order I–IV around the orb recess on the stairs between Sitting Rooms and the lower castle. At each matching Dining Hall knight, equip its upgraded sword, cast its matching incantation at the statue, then immediately trigger the sword inspect animation. A successful knight salutes and glows. Finish all four in the displayed order and collect the lowered Mystic Orb.
- Dragon: Caliburn + Fire. Stag: Durendal + Electric.
- Raven: Balmung + Dark. Lion: Solais + Light.
Inspect is the weapon-inspect action, not melee or interact. You only need to start its animation. If a knight does not react, verify the sword and tactical incantation before moving on.
This match-specific animal order controls the knight salutes A glowing, saluting knight confirms success - Insert the orb into the Courtyard holder on the wall near the tree/trap and activate it. Kill enemies close to the orb with fire damage: Fire Incantation, Caliburn’s elemental attack, Molotovs or Napalm Burst. Retrieve the orb after the challenge confirms completion.
Courtyard holder for the fire trial - Place and activate the orb in the Town Square holder by the Nature Path gate. Use Electric Incantation or Durendal’s elemental attack on nearby enemies until it completes, then take the orb back.
Town Square holder for the electric trial - At the Undercroft holder beside the Dark Incantation chest, activate the orb and collect shadow-damage kills with Dark Incantation or Balmung’s special attack. Retrieve it when its new elemental light appears.
Undercroft holder for the shadow trial - Place the orb upstairs in Dining Hall above the Entrance Hall doorway, opposite Vulture Aid. Activate it and run through the green light orbs appearing throughout the room. Keep moving between upstairs and downstairs until enough have been absorbed; collect the Mystic Orb.
These four trials do not reuse the knight-salute order. Confirm the orb has gained each element before returning it to the stairway recess. If a trial fails, reactivate its holder and repeat that trial.
Dining Hall balcony holder Run through these green light orbs
Guardian key, arena preparation & boss
- Return the fully charged Mystic Orb to the animal-marked stairway recess. Enter the Secret Study, interact with the recording and wait for the Owl’s dialogue. Collect the Guardian Key. Before using it, fully upgrade a bullet weapon, refill armor/ammunition, buy survivability perks and prepare a self-revive and charged field upgrade.
Solais is useful for armor recovery when charged. Carry Fire or Electric Incantation for the Amalgam between boss phases. Prepare the whole team before the final interaction.
Collect the Guardian Key from the Secret Study table - Place the key into the eye-marked socket at the Town Square statue and accept the boss start. Keep moving around the arena. Shoot an armored section until it breaks, then focus the glowing weak point underneath. Change aim to another armored section if the exposed point stops taking useful damage.
The Town Square statue’s key socket begins the finale Break the Guardian’s armor to expose glowing damage points - Move away from the fireball impact zones and the straight lava trail of the hammer slam. When a red circle marks a leaping strike, get out promptly; its knockback can throw you into lava. At health thresholds the Guardian becomes immune and enemy waves arrive. Clear those enemies, replace armor and gather drops before the next damage phase.
The safe arena shrinks and the Guardian moves faster as the fight advances. Preserve an escape route rather than backing into the lava edge while aiming.
Fireball impact areas leave dangerous lava Move out of the telegraphed hammer landing area - Repeat armor breaks and weak-point damage through all three phases. Use your field upgrade to recover space or secure damage while the team handles adds. Once the Guardian falls, collect the amulet to finish the quest and trigger the ending.
Take the amulet after defeating the Guardian
Side Quests
Free perks — bartender, Peeks, raven & rune lockdown
- Collect the three liquor bottles: under a table near the red couch in Undercroft; beside the couch in Dining Hall; and on a shelf in Sitting Rooms. Go behind the Tavern bar and interact with the serving area/tray below the colored bottles. Serve each approaching zombie the drink matching its glow. Keep serving correctly until PhD Flopper is awarded.
These liquor bottles are separate from the six numbered puzzle bottles. Discard an unwanted drink in the bin behind the bar. A failed serving run can be attempted again after the game resets.
- Shoot Peeks’ blue orb at four locations in this order: through the Elemental Pop room’s window; through the hole in the stable wall facing the castle; from the Dining Hall upper balcony toward the high tower window; then inside the Dungeon cell beside the ammo crate. Listen for his laugh at each hit; the last awards a random perk.
- Release the raven with the cave-slide shot, then follow it outside while keeping it in view instead of killing it. After several laps, roughly three to four minutes, it drops a random perk near Nature Path. Collect the perk, then shoot the raven if you still need the talon for the Dark Incantation.
Following the living raven yields an optional perk before its quest talon - After completing the book/trap stage, cast each of the four different incantations onto the dimmed Undercroft rune wall. When all rows light again, survive its three-wave lockdown and collect the dropped reward loot, including a random perk and ammo mods.
Return with sufficient ammunition and incantation charges. This optional defense is a separate interaction from the main quest’s six-bottle code.
Rat King — cheese and all ten rats
- Break the cheese shop window in Town Square beside the Tavern Cellar stairs and take the wheel. Approach each rat, crouching or going prone to make it flee. Once all ten have moved, place the cheese on the plate in the Oubliette near Pack-a-Punch. Collect the loot and crown.
- Town Square: under a planter. Village Ascent: under the blockade vehicle. Nature Path / Hilltop: beside the zombie hole near Deadshot.
- Ramparts: beneath the cannon stairs. Entrance Hall: under a chair near Dining Hall. Dining Hall: under a pallet near the Stag statue.
- Dungeon: inside a jail cell. Alchemical Lab: behind the elemental slab under its table. Sitting Rooms: beneath the table near the bunk beds / Stamin-Up. Undercroft: beside the Mystery Box zombie spawn.
Feeding fewer rats can still give loot, but the crown needs all ten. Visit every hiding place before placing the cheese; only one player can wear the crown.
Chess guardian & fireplace protector
- Find the white knight piece in one of four places: Tavern Cellar shelf; table opposite Elemental Pop; table in the upstairs Dining Hall Passage; or the Dungeon table near Quick Revive. Place it on the Sitting Rooms chessboard. Kill zombies within the purple zone until the spectral knight appears and follows you, crushing enemies for a limited time.
Start with enough zombies available. The knight is a temporary attacker; it does not replace a self-revive or revive teammates.
- Light the four fireplaces in quick succession with Molotovs or Caliburn: Tavern, Dining Hall, Alchemical Lab and Sitting Rooms. Open the whole route first and coordinate in co-op. Completing the chain releases fiery wisps that attack zombies. If the early fires go out, wait for the next attempt and repeat the full chain.
Cannon repair, bell tower & wishing well
- After using the cannon to open the castle, retrieve the gear/crank from the fruit crate beneath the collapsed debris in Town Square. Take the blowtorch from Dining Hall beside the fireplace, behind the floor light. Install both at the cannon. You can now rotate it between the Town Square and Dining Hall travel routes.
- For the novelty bell-tower secret, repeatedly use the repaired cannon’s Town Square route. On the hundredth launch it sends you into the bell tower, ringing the bell, attracting nearby zombies and dropping two Monkey Bombs. This is an expensive optional diversion, not a main-quest requirement.
- During a Vermin round, wait by the Village Ascent well for a Vermin to crawl out. Throw a grenade into the well to release essence. After it is activated, hold interact to deposit essence, up to 10,000 between eligible Vermin rounds. Use a grenade during a later Vermin round to withdraw the stored essence as pickups any teammate can take.
Pickups benefit from an active Double Points. If the well is unresponsive, wait for the Vermin emergence/next eligible special round rather than throwing repeated grenades at an inactive well.
Village Ascent wishing well
Maya’s revenge, two songs & pool-table essence
- Play as Maya. From round 12, interact with the radio beside the upstairs Dining Hall door. Once the conversation finishes, enter the private hallway, defeat the enemies and the named Doppelghast, take its key and unlock the final door for the story scene. Return to collect the legendary GS45 beside the radio.
This sequence belongs to the Maya player. Upgrade and refill before entering the confined combat area.
- Interact with the three Mister Peeks headphones: on a Tavern table; in the Courtyard/east rampart corner near the weapon wall-buy; and beside the red couch in Undercroft. Activating all three plays “Slave.”
- After forging Caliburn, melee each of its original three braziers with the upgraded sword to light them again and replay the “Caliburn” music. Shoot the Tavern pool balls for a separate small essence reward.
All eight hidden power-ups
- Shoot the tiny power-up models to spawn their full-size pickups near you. Save ammunition and armor drops for when you actually need them.
- Max Ammo: small window above the Village Ascent passage near Speed Cola. Insta-Kill: scaffolding above the Tavern/cave-slide exit, visible from the cellar stairs.
- Max Armor: roof beam inside Entrance Hall above Jugger-Nog. Full Power: Dining Hall roof opposite Vulture Aid.
- Double Points: through the Alchemical Lab zombie window beside the armor wall-buy. Bonus Points: behind the red Undercroft couch; go prone.
- Nuke: high on the castle/Elemental Pop tower, sighted from Hilltop; an explosive can help reach it.
- Fire Sale: inside the Village Ascent well after collecting the other seven hidden power-ups.
Useful map services & travel
- Town Square/Tavern is your spawn-side Arsenal and crafting hub. Courtyard and Alchemical Lab have additional Arsenals. Jugger-Nog is in Entrance Hall, Vulture Aid in Dining Hall, Quick Revive in Dungeon, Stamin-Up in Sitting Rooms, Speed Cola in the village and Deadshot on the Nature Path/Hilltop route. The cannon and cave slide shorten trips between the castle and spawn.
Use the in-game map for current machine, ammo and box markers. Perk/weapon names are more reliable landmarks than a screenshot’s camera direction.
Sources and review
Original walkthrough researched against the linked community, illustrated and specialist guides on 2026-10-02. Gameplay screenshots and reference sheets are credited to COD Zombies Guides and its listed contributors; Raven antiquity photographs are by Kristina Ebanez / Destructoid. Game imagery belongs to Activision / Treyarch. Select an image to enlarge it. Source research is complete; this revision has not been verified in a full in-game run.
- r/CODZombies community guide ↗
- COD Zombies Guides illustrated walkthrough (2) ↗
- r/CODZombies community guide (3) ↗
- GameSpot walkthrough (4) ↗
- raiderking.com reference (5) ↗
- Game8 reference (6) ↗
- COD Zombies Guides illustrated walkthrough (7) ↗
- COD Zombies Guides illustrated walkthrough (8) ↗
- COD Zombies Guides illustrated walkthrough (9) ↗
- escapistmagazine.com reference (10) ↗
- gameranx.com reference (11) ↗
- Game8 reference (12) ↗
- thegameslayer.com reference (13) ↗
Select any reference image to enlarge it. Screenshot and symbol sources are credited in the linked walkthroughs; this guide uses local copies for reliable access.