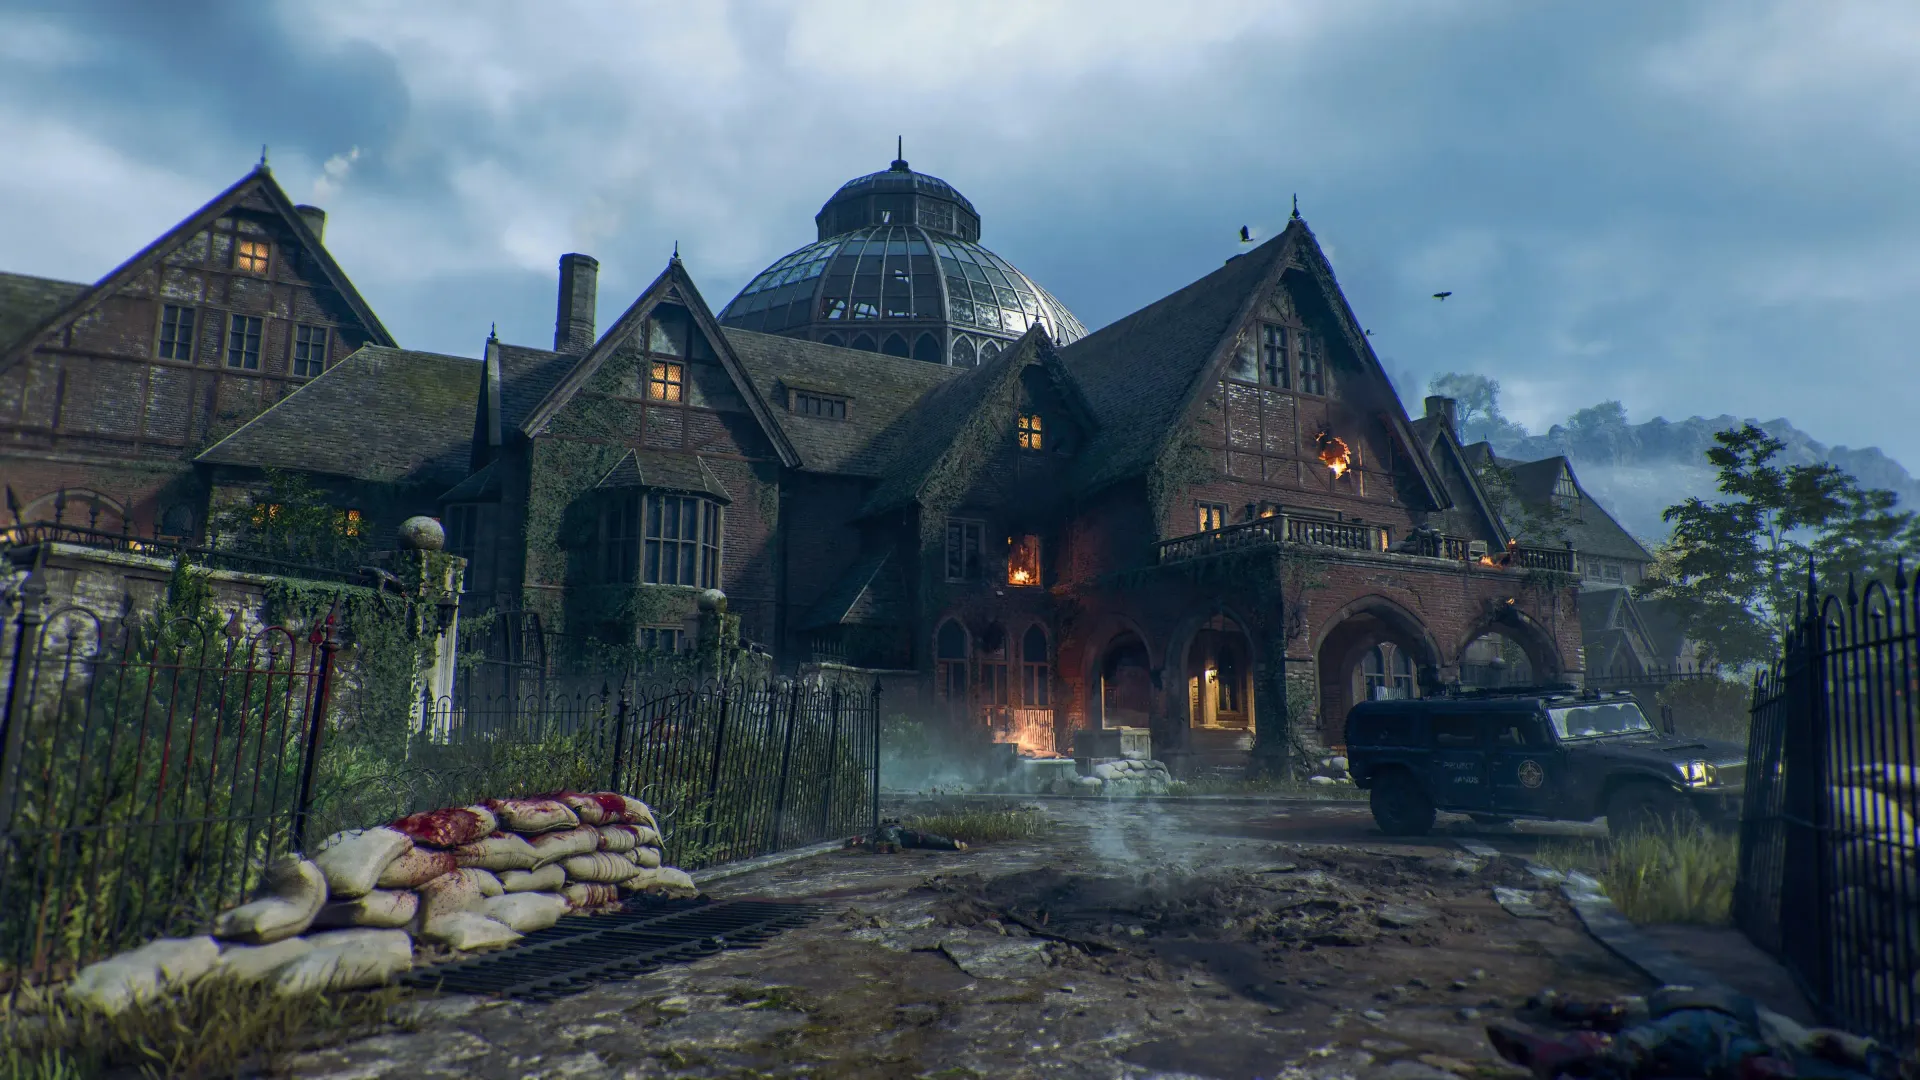
Key Features
Repair the elevator & prepare your route
- Open the mansion and reach Library Upstairs. Kill the trapped zombie in its corner for a Fuse. In Director’s Quarters, destroy the computer and collect its Circuit Board. Install both at the Banquet Hall elevator, finish its repair sequence and descend through Security Overlook to the Mainframe Chamber and Pack-a-Punch.
The elevator repair panel in Banquet Hall - Keep a normal gun for Brain Rot and equip Aether Shroud for the Library ritual. Collect the free Kazimir from the corpse on the rubble in Service Tunnel. Combat Axes are available on the Garden Pond log, in Nursery under the bed and on a Security Overlook tray. Save at least two axes and one explosive for the gas canister.
Quick Revive is in Conservatory; Juggernog in Grand Foyer; Speed Cola at Shem’s Henge; PhD Flopper in Nursery; Stamin-Up in East Foyer; Double Tap on Rear Patio; Elemental Pop at East Balcony; Death Perception in West Hallways. Visit an Arsenal for Brain Rot and weapon rarity upgrades.
Main Quest
The free Mark II & Nursery cipher
- From round 10 onward, watch Mainframe Chamber and the underground approach for the named Lab Technician zombie. Kill it and collect the glowing Floppy Disk. Insert it into the East Foyer computer near Stamin-Up, survive the enemies and read the printed fax. Record its capitalized protocol: CRAB, YETI, MOTH or WORM.
A nuke can kill the technician out of sight. Search the underground floor for its disk before assuming it never appeared.
Insert the disk into this East Foyer computer and read the adjacent printer - Find Nursery’s chalkboard beside PhD Flopper. For each protocol letter, count every letter in the same cluster, including the letter itself. Read those four counts in protocol order. Enter the result at the Service Tunnel cell keypad, defeat the released HVT Doppelghast and collect its Severed Arm. Use the arm on the Armory scanner to open the Mark II case.
The code changes with both the word and the chalkboard. A code from a screenshot is only an example. The helper explains each count so a transcription mistake is visible.
Nursery board example; use your current match’s clusters Enter the four-digit code beside the underground Doppelghast cell
Nursery cipher decoder Open helper
Read the fax in East Foyer, then copy the entire letter cluster containing each needed letter from the Nursery chalkboard. The other clusters can stay blank. Spaces are ignored.
The reference photo shows the layout. Its letters may differ from your match. Count the requested letter too.
Choose the protocol printed by your fax machine.
Saved on this device; shared with the full-page helper. Screenshots: COD Zombies Guides and r/CODZombies, linked in the map guide.
Three empty canisters
- With the base Mark II, shoot the blue crystals until one drops a canister. Check Conservatory’s ceiling left of Quick Revive; the wall above East Foyer’s stairs; above a mansion doorway on South West Balcony; and Service Tunnel’s ceiling before Supply Depot. Collect the actual dropped canister.
- Throw a Kazimir on the playable floor in front of the Rear Patio window below/behind Double Tap. Its pull extracts another canister from behind the barrier. Wait for the effect to end and pick it up.
Rear Patio: the canister sits behind the barrier near Double Tap - Read A or B beside the large Mainframe Chamber gas tube. At the Service Tunnel pipework, outside the barrier beside the former Doppelghast cell, throw an axe at the closed valve beside the leaking one, then at the valve feeding your recorded letter. Confirm the tube has filled with gas; destroy it with an explosive and collect the third canister.
Empty canisters are interchangeable. You may begin a variant after obtaining one; each completed station becomes a permanent place to swap your Mark II variant.
Read the letter beside the Mainframe Chamber tube Combat Axes must hit the pipe valves precisely
Mark II-W & the Distillery spirit
- Insert a canister in Shem’s Henge’s yellow station opposite Speed Cola. Keep the spawned Abomination alive. Bait its lightning into each of the three small stones; when a stone glows, bait a charge into it to lift it. With all three floating, protect the central siphon from Vermin. Retrieve the Explosive Canister and craft Mark II-W at Supply Depot.
Stand with the target rock between you and the Abomination, then sidestep its charge. If the Vermin defense fails, reactivate the station next round.
A stone must glow before an Abomination charge will lift it - Take the Sconce from the cardboard box on the Banquet Hall table. Install it beside the other lamp near Grand Foyer’s Juggernog and repeat the flashing lamps through all three Simon Says rounds. Enter the revealed Distillery, activate its computer and get Mark II-W kills nearby to charge the painting. Step inside the opened portal at least once.
The two wall lamps open the hidden Distillery - Find the Bell in Study: break the glass cabinets on either side of the SWAT wall-buy and check the floor beside the opposite display. Place it on Overlook’s bar at the service sign. Brain Rot a zombie beside the bar and ring the bell until it serves a drink. Collect the Metal Hip Flask, bring it into the Distillery painting and place it on the pedestal while holding Mark II-W.
Place and ring the bell at Overlook’s bar - Defeat the ritual’s HVT Mangler. Break its returning shield with Mark II-W, then damage its exposed body. After it falls, hold interact on the Sentinel Artifact to finish the ritual. Confirm the artifact interaction before swapping variants.
If the correct item and gun do not start a ritual, leave and advance a round before trying again. Entering the portal earlier is essential for spawning its quest items.
Mark II-P & the Banquet Hall spirit
- Break white Project Janus crates until the Essence Bomb drops; the community route records the eighth destroyed crate. Take the two Reflectors from the Conservatory and South West Balcony fountains. Bomb the rubble beside Service Tunnel’s Tier III armor to open Serpent Mound. Insert a canister into its yellow station.
- Place Reflectors on the lower stands and melee them to route the crystal’s beam into a Doppelghast statue. Melee the source crystal to launch a pulse, then kill the awakened enemy. Re-aim for the other statues, moving a Reflector to the upper stand when needed. Finish all three, including the HVT, collect the Light Canister and craft Mark II-P in Director’s Quarters.
Rotate the lower Reflector to aim the beam The upper stand is needed to reach another statue - Activate the Banquet Hall computer and fill the painting with Mark II-P kills. Enter, take the Ritual Elixir, then pour it into the chalices on Bottlery’s wine table, Overlook’s bench right of the bar and Garden Pond’s stone bench beside the bridge. Defeat the Elder Disciple summoned at each cup.
Start the Preservation painting from this Banquet Hall console - Return to Banquet Hall and read the three pairs of wall digits from left to right. Use that order at the West Hallways safe near Death Perception and collect the Antler Carving. Take it into the Banquet painting, place it on the pedestal, break the HVT Elder Disciple’s shield with Mark II-P and defeat it. Reclaim the Sentinel Artifact.
Preserve leading zeros. Record each pair separately so a two-digit safe setting does not get confused with the earlier four-digit cell code.
Read the three digit pairs in their wall order; this pictured code is an example
Mark II-R & the Library spirit
- Burn or explode outdoor spore growths until you have four Plant Seeds. A scream and seed drop confirm success. Check Garden Pond by the bridge and stone bench; Conservatory’s fountain; Shem’s Henge; both Motor Court crafting-table/front-entrance sides; West Balcony; South West Balcony; and Rear Patio beside its ammo box.
A mature outdoor growth yields a seed when destroyed with fire or explosives - Insert a canister into Conservatory’s yellow machine. Plant one seed in a propagator and stay to defend it until growth completes; repeat for all four propagators. Retrieve the Toxic Canister and craft Mark II-R at Garden Pond. Activate the Library computer, fill the painting with R kills and enter its portal.
If a defense fails, look for the dropped seed and replant it; if it disappeared, harvest another. Do not leave an active plant unprotected.
Defend each planted seed until it finishes growing - While using Aether Shroud, collect the Audio Log, Ledger and Nuclear Plant ID Badge. Search the alternatives below. During this ritual, a small Mainframe Chamber canister supplies a free Shroud charge each round; check the desk opposite Pack-a-Punch and the tray beneath a monitor near the crafting table.
- Audio Log: Overlook desk left of the bar, or Library couch opposite the painting; check East Foyer desks as an additional community-reported spawn.
- Ledger: Study desk on the right when entering from East Balcony, or East Foyer upstairs desk beside the couch and briefcase.
- ID Badge: fireplaces in East Foyer beside Stamin-Up, Banquet Hall left of the elevator, or Study.
Audio Log: Overlook desk Ledger: Study desk ID Badge: East Foyer fireplace - Find the three glowing books opposite the Library painting. Interact with a book and look for the blue confirmation glow. Find the first correct book, then the second, then the remaining third; if a wrong input clears progress, repeat your known prefix. Collect the Inspection Report from the opened compartment. Offer it inside the Library painting, use Mark II-R on the HVT Amalgam’s shield, defeat it and reclaim the Artifact.
The three highlighted Library books; use the confirmation glow to establish their order
Z-Rex — four phases
- Finish all three rituals, then resupply before the Mainframe Chamber console. Upgrade a strong normal gun and Mark II-W, fill armor, and bring healing/crowd control. Aether Shroud gives brief breathing room; a support streak is a useful emergency reserve. Interact with the console in front of S.A.M. to commit to the final encounter.
- Keep ruined walls between you and Z-Rex while clearing zombies for ammunition. Shoot the glowing eyes and exposed glowing flank after it eats Toxic Zombies; use the open mouth during its vomit animation when safe. Avoid poison puddles, which slow you into its charge. Sidestep leap landings and stay away from its jaws and tail.
There are four increasingly fast phases. Do not depend on a Max Ammo between phases: keep a normal weapon to harvest the adds’ drops.
Z-Rex’s glowing flank is a major damage opportunity - As it speeds up, shorten firing windows and change direction around cover rather than racing in a straight line. In the last phase, attack during feeding/vomit pauses or from the far side of the arena; spend your saved Shroud or support when movement becomes unsafe. Deplete its final health segment to trigger the ending.
Starting the fight after round 100 activates a harder version. Complete an ordinary clear first if your goal is the main quest.
Side Quests
Free Wunderwaffe DG-2
- After fully completing any painting ritual, shoot the purple-glowing laundry under Nursery’s bed. Then clear the floating objects in order: book on East Balcony’s chair, basketball on Garden Pond’s rocks opposite the workbench, and family portrait near Grand Foyer’s Juggernog. Shoot the orbiting debris/protectors, then the main object until each disappears. Descend the elevator shaft, look up and shoot the purple orb to drop the Wunderwaffe.
Opening a painting alone is insufficient: finish its HVT and reclaim the Artifact first. Clear each object’s surrounding debris before spending ammunition on its center.
Donut companion & bell perk
- Collect six Mister Peeks pieces: Bottlery wine rack; Garden Pond’s tree beside the bridge/Rampage Inducer; Conservatory wall in front of Quick Revive; ledge at Lower Terrace’s Shem’s Henge entrance; Library floor behind a frame; and Rear Patio bucket near the ammo box. Assemble them on Motor Court’s sandbags. The plush enters the doghouse and releases Donut, which evolves from Vermin to Parasite to Doppelghast by killing enemies.
The companion is temporary and can die. Let it get kills if you want to see its later forms.
- After obtaining the Metal Hip Flask, ring Overlook’s bar bell 115 times for a random perk. It uses the same bell placed for the W ritual; count interactions consistently and stop when the reward appears.
Marine SP upgrade wall
- Bring a Rare/blue or better Marine SP and Death Perception to Banquet Hall. Place the shotgun under the mounted deer heads. Watch where the upper head turns and shoot that lower head to reveal the required Field Upgrade. Equip/charge it, activate it and get kills near the heads; clear the special enemies. Retrieve your improved shotgun, advance a round and repeat.
The ordinary sequence improves rarity, then Pack-a-Punch. Community references disagree on the final Pack-a-Punch tier and describe old save/reload workarounds; the guide does not promise a Tier III reward or require a glitch. Follow the upgrade the wall actually offers.
S.A.M. L4Z3R.EXE trap
- Boot the computer by Pack-a-Punch/Security Overlook, then test the Study, Overlook and West Hallways computers across rounds. Watch the on-screen status: a clean reboot means continue testing; a red infected screen lets you collect a floppy disk from its computer case. Put that disk in the Pack-a-Punch computer, advance a round and interact through cleaning/reboot until the S.A.M. icon appears.
Use the actual status messages rather than assuming every terminal finishes in one round. Once installed, the Mainframe trap can be bought for 2,000 Essence per round.
Fog Rolling In — Vermin experiment
- Obtain the Wunderwaffe and a Chopper Gunner. Take the small Vermin body from Supply Depot’s open vent and place it on Mainframe Chamber’s tray. Shoot the nearby chemicals in order: small bottle (purple), blue-lid bottle group (yellow), then the larger bottle beside the small one (green). The Vermin should glow yellow.
- Put the treated Vermin in a microwave in Overlook or West Hallways and retrieve it when the smoke turns red. Place it in the blood on the stairs left of Pack-a-Punch, then shoot the overhead fan with the Wunderwaffe. Use the Chopper Gunner to destroy every red-smoking mansion chimney. During the resulting fog, break the spawned Aether crystals for loot before they disappear.
Sleepwalking, thermal ghost & music
- On round 11, interact with Study’s grandfather clock until its hands spin. Lie prone on the bed in Director’s Quarters as the round changes to 12. In the dream, crouch along the footprints without waking the zombies. Take the key beside the sleeper with colored Zs and open the chest at the path’s end.
This is a specific early-round opportunity. Plan it before advancing past round 11.
- From round 13, use a thermal optic to spot the ghost in exterior mansion windows. Check the front, east and west approaches; it relocates after a sighting. After three sightings, check the South West Balcony window beside Nursery. Interact with Nursery’s vanity/makeup mirror for the jumpscare and loot.
- Interact with the three Mister Peeks headphones: Conservatory crate under the stairs, Banquet Hall shelf behind the elevator area, and Service Tunnel box by the burned corpse. The third triggers “Falling to Pieces.”
Eight hidden power-ups
- Shoot each small hidden power-up model when you want its drop. Leave Max Ammo or Full Power available until useful. Fire Sale appears only after the other seven have been activated.
- Double Points — fallen wooden log beyond West Balcony. Bonus Points — opening above East Foyer stairs.
- Insta-Kill — inside the elevator shaft. Full Power — inside Study’s wall/vent panel.
- Max Ammo — stone balcony/railing visible from Shem’s Henge. Max Armor — behind Motor Court’s shed.
- Nuke — white trailer beneath the blue tarp in Service Tunnel. Fire Sale — lower ring of Grand Foyer’s chandelier.
Sources and review
Original route synthesis reviewed on 2026-10-02 against community research and illustrated walkthroughs. Screenshots credit COD Zombies Guides and r/CODZombies contributors; game imagery belongs to Activision / Treyarch. Match clues take precedence over example images. This revision has not been verified in a complete in-game run.
- r/CODZombies community guide ↗
- COD Zombies Guides illustrated walkthrough (2) ↗
- r/CODZombies community guide (3) ↗
- r/CODZombies community guide (4) ↗
- pcgamer.com reference (5) ↗
- dexerto.com reference (6) ↗
- gameranx.com reference (7) ↗
- gameranx.com reference (8) ↗
- Steam Community walkthrough (9) ↗
- detonated.com reference (10) ↗
- COD Zombies Guides illustrated walkthrough (11) ↗
- thebasedotaku.com reference (12) ↗
Select any reference image to enlarge it. Screenshot and symbol sources are credited in the linked walkthroughs; this guide uses local copies for reliable access.