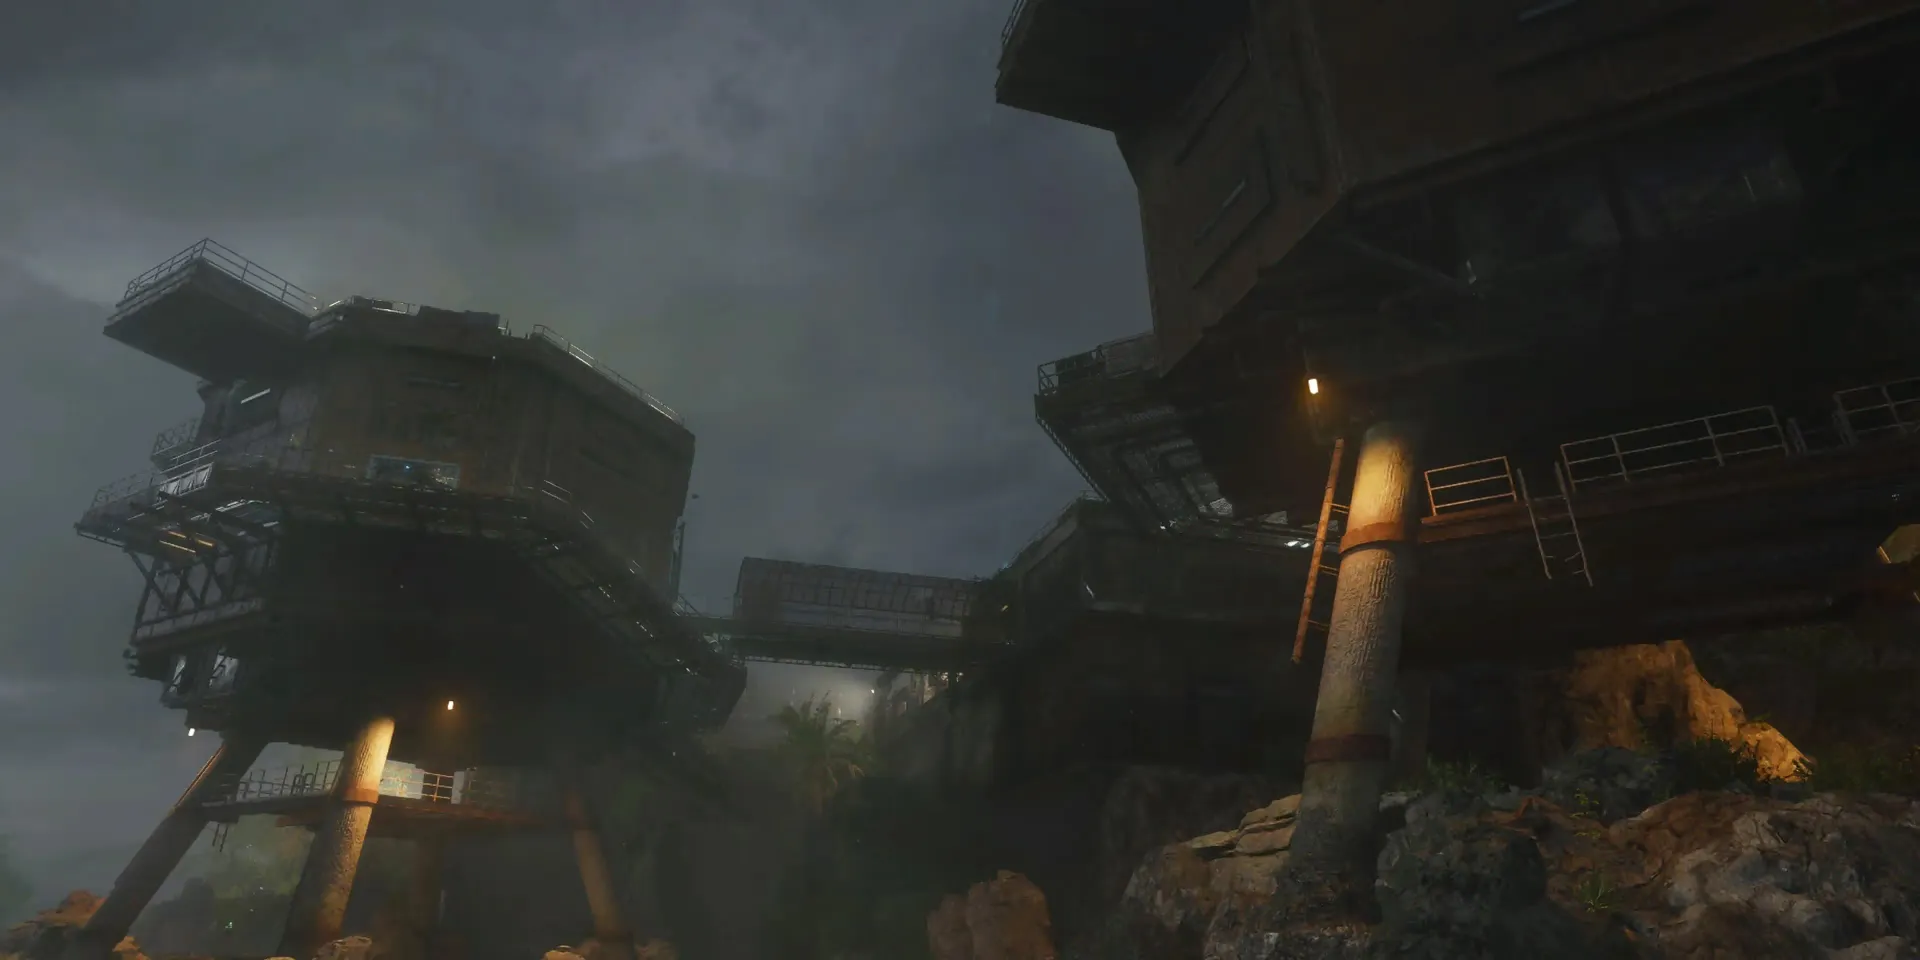
Key Features
Three AMP defenses & Pack-a-Punch
- Follow the objective markers from the Holding Cells to three Aetherium Maturation Pods: Guard Station, Living Quarters and Bio Lab. Pay to start each generator and defend it from the purple-eyed zombies attacking it until its power-up finishes. The route opens the prison’s utilities and lower laboratory.
Prioritize enemies targeting the generator. If its defense fails, clear the area and restart the machine when available. Progress on the other completed generators is retained.
- After the Bio Lab AMP is active, dive beneath the central platform and interact with the submerged lift control. Ride the raised platform to Pack-a-Punch. Use the Arsenal for Dead Wire on a conventional bullet weapon; that ammo mod is needed to open the Beamsmasher laboratory.
A Beamsmasher from the Mystery Box satisfies the main quest requirement and skips its construction chain. The guaranteed build below avoids relying on box luck.
Main Quest
Open the Research Office & collect the EMF Fob
- Ride the Pack-a-Punch lift upward with a Dead Wire weapon. Facing away from Pack-a-Punch, shoot the electrical box through the broken window partway up, then the box on the adjacent wall to the left, then the box behind Pack-a-Punch at the upper landing. Follow the current to Living Quarters and shoot its interior box, then the exterior box in Rec Yard beside the locked Research Office.
Shoot the box receiving the current before moving onward. Missing a shot from the lift is recoverable; ride again or use the Bio Lab platform sightline. This is not a single timed five-shot challenge.
First electrical box: through the window opposite Pack-a-Punch Second box: turn toward the adjacent wall as the lift rises Third box: behind Pack-a-Punch at the upper landing Fourth box: inside Living Quarters Fifth box: outside the Research Office - Enter the Research Office and kill the zombie pinned beneath debris. Take its EMF Fob. At Sea Tower, open the briefcase on the table beside Elemental Pop and collect the Multiphasic Resonator. Clear the Vermin that appear, then place the Resonator on the Research Office terminal.
Collect the EMF Fob from the pinned zombie Sea Tower briefcase containing the Multiphasic Resonator Place the Resonator on the Research Office terminal
Laptop symbols → three terminal entries
- Activate all three laptops: X at the Docks below Sea Tower, Y in Storage outside the Interrogation Rooms, and Z outside Communications beside the railing. Return to the Research Office and interact with its terminal so the three symbol notes appear. Match each letter’s actual symbol using the helper.
X: the Docks laptop below Sea Tower Y: the Storage Area laptop Z: the Communications laptop - Each symbol has a fixed value read from the whiteboard: 0, 10, 11, 20, 21 or 22. Calculate the three entries in order: 2X + 11; (2Z + Y) − 5; and |(Y + Z) − X|. The last expression is absolute value, so its sign is removed if negative. Enter all three results into the terminal and confirm.
Do not use another match’s code. Peck can sell the answer for 5,000 Essence, but the visual helper solves the same clues without the purchase. Only the final formula has absolute-value bars.
- Let the locating sequence complete as rounds advance, then return when the terminal announces a target and shows an island map. Pick the Multiphasic Resonator back up before leaving. Travel by boat to Castle Rock Island on the eastern side of the sea.
The current illustrated route places scan completion no earlier than round 9. Trust the terminal’s completion message rather than leaving after an assumed fixed delay.
Beamsmasher visual lab solver Open helper
Activate all three laptops, then interact with the Research Office terminal to reveal its sticky notes. Match each note’s letter and symbol below. Their assignments change each match.
Choose the symbol on each X, Y and Z sticky note.
Show the full symbol key and laptop locations
Symbol pixels and gameplay references: COD Zombies Guides. Use the X, Y and Z labels on your terminal as the final authority.
Saved on this device; the inline and full-page helper share your selections.
Three island orbs & AMP Munition
- Interact with the blue orb on Castle Rock Island to place the Resonator and begin. Wait for the orb to strike a zombie and make it glow blue. Kill that marked zombie, interact with its small dropped energy ball, and walk the ball into the large orb. Repeat until the orb changes color and departs.
Ordinary kills do not replace the dropped-ball deliveries. Avoid killing every zombie before the orb can mark one. Clear nearby threats before picking up a ball because carrying it limits your actions.
Castle Rock’s blue orb marks the zombies that supply its energy - Retrieve the Resonator from the ground where the orb was hovering. Follow it to Crab Island for the green stage, then retrieve it again and continue to Temple Island for the purple stage. Deliver matching energy balls at each island. After the purple stage, collect the AMP Munition and build the DRI-11 Beamsmasher at the Research Office workbench.
If the next orb will not start, check the previous island for your Resonator. Its pickup is easy to miss when chasing the flying orb.
Crab Island hosts the green stage Collect the AMP Munition after the final orb stage
Damaged Tentacle Trap & Nathan’s code
- Inspect the Tentacle Traps at Living Quarters, Holding Cells and both Bio Lab entrances. The correct vent is damaged and has a Project Janus card beneath it. Activate that trap, fire the Beamsmasher’s damaging beam into its tentacles and collect the dropped Hard Drive. Deliver it to the slot below Peck’s Guard Station window.
There are four possible trap positions; older summaries sometimes count only three. Crouch or slide beneath an active trap instead of walking upright through its grasp.
A broken vent and particles identify the target trap; this example is a Bio Lab entrance Take the dropped Hard Drive after shooting the active trap - Interact with the central Bio Lab chamber’s keypad/window to reveal Nathan. Record the three digits in fixed order: the hour on the Interrogation Rooms clock; the playing card’s number on the Mess Hall corkboard; and the Days Since Last Injury number in Engineering. Enter the resulting code at the chamber.
For a hand between 7 and 8, use 7. Ignore the minute hand. These digits are separate from the three Beamsmasher equation results.
First digit: the short hour hand, read through the Interrogation Rooms barrier Second digit: the Mess Hall corkboard playing card Third digit: the Engineering safety sign
Defeat Nathan & recover the keycard
- Restock before turning the chamber’s relief valves. In co-op, every player must hold a valve together. Nathan emerges as a powerful Amalgam; keep moving around the Bio Lab walkways, damage his exposed heads and use the Beamsmasher’s slowing/weakening alternate fire to help your damage weapon. Avoid being grabbed or pushed into a congested stairwell.
Bring an upgraded weapon and armor before the trigger. A defensive Field Upgrade buys space if the arena becomes crowded. Dead Wire is useful against the Amalgam family.
Every player holds one of the relief valves to release Nathan - After the cutscene, dive below the central chamber and collect the Project Janus Keycard from the Bio Lab floor. Visit Communications and interact with the computer showing green text to discover the network error. Both the keycard and this computer interaction are needed before continuing to repairs.
Find the Project Janus Keycard underwater beneath Nathan’s chamber Use this Communications computer to request network repairs
Shipwreck lockdown & two Node Connectors
- Take a boat to the Shipwreck and climb the ladder under its broken hull into the keycard-locked room. Picking up a Node Connector from the worktable starts a confined lockdown. Survive the zombies and Vermin until the hatch reopens; take the connector with you.
Bring ammunition and crowd control before picking it up. Solo, install one connector and return for the other. In co-op, two players can each carry one.
Two Node Connectors on the Shipwreck room’s worktable - Check three pipe endpoints and repair the two that are actually missing a connector: Docks beneath Sea Tower, Sea Caves opposite Speed Cola, and the Crab Island shore facing the Shipwreck. Insert a carried connector into each visible gap. Return to Peck and take the Hacking Device after both repairs are acknowledged.
Two of the three need repairs each match. A pipe already joined is not another puzzle or a failed interaction; move to the next location.
Docks endpoint below Sea Tower Sea Caves endpoint opposite Speed Cola Crab Island endpoint facing Shipwreck
Prepare once, then hack buoys & defuse bombs
- Before touching a buoy, fill ammo and armor, secure a usable boat and bring at least two distractions plus a charged defensive Field Upgrade. Learn the direct route from the sea to the Bio Lab. The buoy task flows into a lethal bomb timer, so this is the time to shop and regroup.
- Find the three buoys surrounded by Parasites in the northern, southeastern and southwestern sea. Approach each by boat and hold interact with the Hacking Device. The first completed hack starts a two-minute window for the other two; drive a continuous circuit and let a teammate clear the Parasites while you hack.
If the buoy timer expires, repeat the hack sequence. Do not confuse this retryable timer with the next bomb timer, which ends the match if it expires.
A buoy surrounded by Parasites is a hacking target - Immediately return to the Bio Lab after the third hack. Three recessed bomb panels open on the Melee Macchiato side: two on the lower walkway and one on the upper level. Hold interact at each until its defuse completes before the shared five-minute timer reaches zero. Use Decoys/Monkey Bombs or Aether Shroud to cover the long holds.
Zombies continue spawning. Extra specials arrive as defuses complete. In co-op, assign defenders and allow the defuser to finish an uninterrupted hold; the reported co-op behavior resets interrupted progress. Solo progress can be resumed. The timer does not stop while you buy equipment.
Hold interact at each opened bomb panel until it finishes
Patient 13 — weak points, cover & three phases
- After all three bombs are safe, take time to finish preparations. Aim for a high-rarity, heavily Pack-a-Punched damage weapon, Tier III armor, survival perks, spare plates and a self-revive. Save enough Essence for arena ammo. Carry a strong support item if you have one. Enter the now-open Bio Lab door near Melee Macchiato only when every player is ready.
Entry is a commitment: the team cannot return to the map to buy missing equipment. Expensive wonder-weapon ammunition is a reason to keep an ordinary damage weapon as well.
The Bio Lab door near Melee Macchiato starts the final encounter - In the first phase, shoot the glowing red shoulder growths whenever they open. Stop spending ammo on armored body areas. Move sideways when Patient 13 lifts its arms for a slam and keep clear of the follow-up sweep. Kill dangerous specials as they arrive instead of letting them accumulate behind you.
Patient 13’s glowing shoulder growths are the first phase’s damage windows - When the boss submerges, clear the attacking zombies and projectile tentacles, move off acidic puddles and replenish at the incoming Max Ammo. On its return, damage the glowing arm targets; when it glows red and exposes its mouth, shift fire into the mouth. The rest of its body remains heavily armored.
The mouth becomes the damage target during Patient 13’s red state - The final phase adds a blue electrical blast. As the boss charges and the screen takes on a blue aura, break line of sight behind solid arena cover or jump into the water and use a ladder afterward. Do not continue firing in the open. Watch for the tongue grab in front of it; keep away from that lane and help a grabbed player by shooting the active weak point.
Keep your route to cover or a ladder clear. Side tentacles restrict the platform, so water can reconnect the separated sides. Use emergency support from a sheltered corner; continue moving and damaging exposed targets until the ending triggers.
Blue charge: immediately break the boss’s line of sight Final phase: the glowing eyes and returning exposed targets allow damage
Side Quests
Captain’s treasure & Cursed Talisman
- With Melee Macchiato, punch the cracked stone barrier in Sea Caves near Speed Cola to expose the captain’s skeleton and map. Interact with him, inspect the map’s X and dive at that indicated location for his watch. Bring the watch back to reveal three further marked sites.
Melee Macchiato breaks this Sea Caves wall to expose the captain - Bring fire equipment to the skeletons at Castle Rock Island, Temple Island and the Shipwreck. Burn each skeleton with a Molotov, defeat the summoned named Mangler, collect its cursed coin and return it to the captain before collecting the next coin. Three deliveries reward weapons and reveal the final destination.
- Castle Rock: buried in sand right of the GobbleGum machine, beside an electrical cable.
- Temple Island: on the stone steps left of the ammo cache.
- Shipwreck: leaning against the bottom of the mast.
Carry coins directly back; their curse impairs normal recovery. The skeleton sites are fixed, while the first watch clue comes from your match’s map.
Castle Rock skeleton: sand by the cable and GobbleGum machine Temple Island skeleton: stone steps by the ammo cache Shipwreck skeleton: base of the mast - Go to Crab Island, the final marked location, and progress about three rounds until the storm forms above it. A glowing treasure chest appears; open it and take the Cursed Talisman for Treasure Hunter. It doubles Essence earnings but also deducts points when you are hit, with a short cooldown between deductions.
This reward is optional for the main quest. Read its risk before collecting it, especially if you are saving points for ammo. Return it to the chest if you want to stop carrying it.
Mega Stuffy — six plush toys
- Interact with six plush toys around the map, preferably while already visiting the islands for the Beamsmasher. Collect them gently rather than shooting them to retain the small collection rewards.
- Control Center: unicorn inside the cracked-open locker beside Stamin-Up.
- Sea Tower bridge: monkey behind the fence on the Engineering side of the bridge.
- Bio Lab: teddy under the medical table near the crafting area.
- Mining Tunnels: elephant in the corner near the GobbleGum machine.
- Shipwreck: duck inside the open red rubbish container opposite the SVD wall-buy.
- Crab Island: giraffe behind the light between the LR 7.62 wall-buy and crafting table; crouch if needed.
Control Center unicorn: open locker beside Stamin-Up Sea Tower bridge monkey: beyond the fence Mining Tunnels elephant: hole by the GobbleGum machine Bio Lab bear: laboratory furniture between armor and crafting table Shipwreck duck: red rubbish container opposite the SVD Crab Island giraffe: behind the light beside the crafting route - Return to the Living Quarters bunks and interact with a collected plush on a bed. The toys combine into Mega Stuffy, a temporary flying companion that attacks enemies and can revive players. It cannot accompany you into the final boss arena; keep your armor and self-revive plan.
Three free-perk routes & the rebreather
- In Bio Lab, kill every caged zombie around the upper room during one round. On the next round, kill every Vermin that replaces them; on the following round, kill the caged Mangler(s) for a Random Perk drop. Complete each set fully before advancing.
Leaving a living member of an activated set when the round changes can break this sequence for the match. Check the cages carefully rather than assuming one kill is sufficient.
- Cruise around the offshore rock formations until you find one covered in yellow spores. Shoot every spore and listen for the completion sound. On a later round, find and clear another infected rock; repeat for a third rock on another round. Then clear the newly grown spores inside Sea Caves to earn a Random Perk and loot.
Circle each rock in the boat to see the hidden faces. Parasites spawn when spores burst. Clearing a rock also temporarily helps with the sea tentacle threat.
- Search the seabed for ten small caches outlined by yellow lights and open every cache for a Random Perk from the final one. Work along the shores and around the islands between quest trips. Opened caches already count; the chest hunt is separate from the captain’s final chest.
- In the Bio Lab water beneath the Pack-a-Punch lift, find the bubbling rock and break it with an explosive. Collect the exposed oxygen mask/rebreather to extend underwater time for its holder. Get this before a long cache or watch search.
The community route reports a single pickup for the match, so agree who will do the underwater collecting in co-op. Extra breathing time is not unlimited oxygen.
Break the bubbling rock under the Bio Lab lift to expose the oxygen tank
Whack-a-Crab & toy-boat racing
- On Crab Island, knock the cage from the central rock with an explosive. Melee the crabs that appear beneath it to begin a timed batting minigame. Hit as many emerging crabs as possible for a perk reward. The other crab groups offer a rare weapon left of the Tier III armor buy, points opposite it, and salvage between the first group and the crafting table.
A perk can reward is not guaranteed to be one you are missing. Attempt the perk group before purchasing every perk.
Explode this cage on Crab Island’s central rock to begin the crab minigames - Dive near the toy boats around the outer island shores and interact with the one whose light is blinking. The active toy starts a boat-race vote in co-op or the race directly in solo. Follow the checkpoint route, avoid obstacles and tentacles, then open Mister Peeks’s trophy for rewards based on your result.
- Castle Rock: pink boat off the eastern shoreline.
- Crab Island: yellow boat by the southeastern shoreline beneath the overhanging tree.
- Temple Island: blue boat by the northern/northwestern edge near the ruins.
An unlit toy is not the current start point. Check the other islands or a later round; repeatedly interacting with an inactive toy does not begin the event.
Three toy-boat search locations around the islands; interact with the blinking toy
Cooking, Peck’s refund & the fish perk reward
- Explode a school of visible fish in the sea and collect a fish. Take the cooking oil from beside the Mess Hall stove and gather a special ingredient before interacting with the pan. Put the ingredients in, advance one round and return to eat the cooked fish for Culinary Delight.
- Chili in Mess Hall: Napalm Burst.
- White ingredient above the Living Quarters refrigerator (commonly called salt or a snowball): Cryofreeze.
- Brain on the Bio Lab medical scale/table: Brain Rot.
- Mushroom on the dirt outside Storage/Interrogation: Shadow Rift.
- Battery on the Engineering worktable: Dead Wire.
Collect what you need before starting the pan. Return the next round; leaving it longer can burn the food. The ingredient bonus is temporary, not a permanent new ammo mod.
- If you paid Peck 5,000 Essence for the lab code, cook a plain fish with oil and no special ingredient. Take the cooked fish instead of eating it and bring it to Peck’s window to request your refund.
- Use explosives on visible schools of fish around the Docks, Shipwreck, Crab Island and Bio Lab water as they respawn. Killing 50 fish across the match grants the free all-perks reward. Count individual fish, not 50 schools; one blast can kill several.
Each player must make their own 50 fish kills. Look for bubbles at the surface and check fish spots again on later rounds. This is a longer optional reward route; keep enough ammunition for the main quest.
Meteor, music & small secrets
- With a Pack-a-Punched Dead Wire weapon, shoot the electrical lights atop the two radio towers visible outside Communications and above Engineering in quick succession. When both stay lit, advance the round and activate the Void Cannon at Gun Platform. Watch for the meteor strike on Castle Rock Island, then travel there to collect its scattered loot.
A wonder weapon can be among the drops but is not guaranteed. If the towers go dark without a meteor, recharge them and repeat the sequence.
First meteor tower: shoot its light using a Pack-a-Punched Dead Wire weapon Second meteor tower: charge it promptly after the first - Hold interact on the Mister Peeks headphones in Engineering near the stairs, Mining Tunnels across from PhD Flopper, and the upper Bio Lab conference room. All three play Can You Hear Me (Come In).
Engineering headphones near the steps Mining Tunnels headphones opposite PhD Flopper Headphones in the upper Bio Lab conference room - From the Engineering side, shoot the basketball resting on the Living Quarters roof with a Pack-a-Punched bullet weapon so it falls into the Rec Yard hoop. A successful basket releases Essence. Shoot the Living Quarters pool-table balls for a separate small Essence reward.
- On Temple Island, aim the Beamsmasher’s slowing alternate fire at the Sentinel Artifact drawing right of the PU-21 wall-buy to return to Security Overlook. This is useful after island work when you already have the weapon. Eight uses also award Essence and salvage.
This is optional travel, not the damaging beam used for the Hard Drive. Do not rely on the extra loot to fund a timed objective.
- For the elevator horror scene, jump as the Holding Cells elevator doors close on a descent to Bio Lab. The sequence changes the lift’s appearance temporarily and is a novelty rather than an equipment reward.
Hidden power-ups & the final Fire Sale
- Shoot the small hidden model to spawn the matching power-up near your position. Keep the ammo, armor and Full Power pickups in reserve if you plan to use them during a difficult round.
- Max Ammo: window of the watchtower above the Interrogation Rooms, viewed from Rec Yard.
- Max Armor: bucket beside the torture chair behind the Interrogation Rooms barrier.
- Double Points: behind boxes on the cabinet in the upper Bio Lab office/conference room.
- Full Power: outer metal ledge/beam beneath the inaccessible Sea Tower; a boat gives the clearest angle.
- Insta-Kill: high ledge on Temple Island’s ruined wall above a zombie opening.
- Nuke: on the ground inside the eastern rock-spawn opening on Crab Island.
- Bonus Points: high window of the Shipwreck bridge/control room; aim through the opening.
- After shooting all seven other power-up models, look into the zombie opening at Security Overlook. Shoot the new Fire Sale model on the barrel inside to spawn its pickup.
The final Fire Sale model appears on this Security Overlook barrel
Map reference — perks, transport & upgrades
- The prison is linked vertically by the Holding Cells elevator, the Bio Lab lift and cliffside routes. Use the sea’s tactical rafts for all island steps and check the map before a long boat trip. Boat pickups/launch points are along the shore, including Docks; leave a boat facing your next destination when preparing the timed hacks.
- Quick Revive: Interrogation Rooms. Jugger-Nog: Living Quarters. Stamin-Up: Control Center above Communications.
- Elemental Pop: Sea Tower. Speed Cola: Sea Caves. Deadshot Daiquiri: Seaside Path. PhD Flopper: Mining Tunnels. Melee Macchiato: Bio Lab.
- Der Wunderfizz: Shipwreck from round 25, providing the perk catalogue.
- Arsenals include Mess Hall and Bio Lab for rarity and ammo mods. The Bio Lab Pack-a-Punch rides the central lift.
- The Armory in Control Center uses Loot Keys from special/elite enemies for locker rewards; save higher-rarity keys for a timed visit when you need equipment.
Sources and review
Walkthrough adapted from community and illustrated guides, with AI-assisted source checks on 2026-10-02. Use Standard mode for the full set of side quests. Screenshots are credited to COD Zombies Guides and the r/CODZombies community wiki; local source manifests record each image. This revision has not yet been verified in a complete in-game run.
- r/CODZombies community guide ↗
- COD Zombies Guides illustrated walkthrough (2) ↗
- Official Call of Duty guide (3) ↗
- Steam Community walkthrough (4) ↗
- COD Zombies Guides illustrated walkthrough (5) ↗
- pcgamesn.com reference (6) ↗
- gameranx.com reference (7) ↗
- COD Zombies Guides illustrated walkthrough (8) ↗
- COD Zombies Guides illustrated walkthrough (9) ↗
- COD Zombies Guides illustrated walkthrough (10) ↗
- COD Zombies Guides illustrated walkthrough (11) ↗
- COD Zombies Guides illustrated walkthrough (12) ↗
- COD Zombies Guides illustrated walkthrough (13) ↗
Select any reference image to enlarge it. Screenshot and symbol sources are credited in the linked walkthroughs; this guide uses local copies for reliable access.