Main Quest
Power and boat repair
- Reach Bear Lodge’s basement through the Mines and switch on power. Collect the handle against the structure near Rave Area Quickies, engine beside Mess Hall’s central pillar, and propeller upstairs in the Lodge’s Tuff ’Nuff room.
Bear Lodge powermmmrkennedy; game imagery Activision and the relevant game studio · Source ↗ Boat handlemmmrkennedy; game imagery Activision and the relevant game studio · Source ↗ Boat enginemmmrkennedy; game imagery Activision and the relevant game studio · Source ↗ Boat propellermmmrkennedy; game imagery Activision and the relevant game studio · Source ↗ - Zombie-dropped pouches are consumed when you interact with a fire to enter Rave Vision. Fairies extend that visit; zombies killed shorten it. Starting at Scene 10, the roaming vision Slasher is dangerous and ordinary weapons cannot kill it. Keep vision hunts distinct from the timed quest rituals.
Repair the island projector
- Take the film reel at the docks before boarding the repaired boathouse boat. On Turtle Island collect the reel outside the cabin’s rear door; fit both to the broken projector. Its projected wall portal reaches Pack-a-Punch during the visit window.
Dock film reelmmmrkennedy; game imagery Activision and the relevant game studio · Source ↗ Boathousemmmrkennedy; game imagery Activision and the relevant game studio · Source ↗ Cabin reelmmmrkennedy; game imagery Activision and the relevant game studio · Source ↗ Broken projectormmmrkennedy; game imagery Activision and the relevant game studio · Source ↗ - Talk to Kevin in the cabin attic. Return by the island’s travel route when you need the main map. Prepare a weapon that removes limbs without instantly killing every target before starting the first ritual.
Kevin in the atticmmmrkennedy; game imagery Activision and the relevant game studio · Source ↗
Obtain and upgrade Vlad
- Take hot dogs from the cabin bathroom bucket. In Rave Vision, throw one at each deer head, then shoot the floating head and collect its glyph: Bear Lodge couch wall, Mess Hall fireplace and Owl Camp’s out-of-bounds cabin. Exit vision and unlock the Lodge crossbow cabinet.
Hot-dog bucketmmmrkennedy; game imagery Activision and the relevant game studio · Source ↗ Lodge deermmmrkennedy; game imagery Activision and the relevant game studio · Source ↗ Mess Hall deermmmrkennedy; game imagery Activision and the relevant game studio · Source ↗ Owl Camp deermmmrkennedy; game imagery Activision and the relevant game studio · Source ↗ Vlad cabinetmmmrkennedy; game imagery Activision and the relevant game studio · Source ↗ - Choose the statue for your upgrade: Deer → Whirlwind EF-5, Eagle → Trap-o-Matic, Owl → Acid Rain, Wolf → Ben Franklin. Statue candidates are the obstacle course, climbing wall, Rave trailer, Mines stairs, Owl balcony, Wolf picnic table, Mess/Wolf bench, docks table and beach canoe rack. Place it on the Rave speaker stack and damage nearby zombies until enough turn to red mist; take the charged statue.
Obstacle-course statuemmmrkennedy; game imagery Activision and the relevant game studio · Source ↗ Rave trailer statuemmmrkennedy; game imagery Activision and the relevant game studio · Source ↗ Mines statuemmmrkennedy; game imagery Activision and the relevant game studio · Source ↗ Dock statuemmmrkennedy; game imagery Activision and the relevant game studio · Source ↗ Beach statuemmmrkennedy; game imagery Activision and the relevant game studio · Source ↗ Statue charging speakersmmmrkennedy; game imagery Activision and the relevant game studio · Source ↗ - Place the charged statue beside its larger counterpart and kill nearby zombies with an unupgraded Vlad until it is ready. Deer: beach/card dealer or Mess Hall dock. Eagle: Thunderbird wall. Owl: Owl Camp by Mines or the lit sign. Wolf: Wolf Camp by Mines or Mess Hall entrance. Recover the statue to transform Vlad; upgraded bows cannot charge another statue.
Deer: Beachmmmrkennedy; game imagery Activision and the relevant game studio · Source ↗ Eagle: Thunderbirdmmmrkennedy; game imagery Activision and the relevant game studio · Source ↗ Owl: Minesmmmrkennedy; game imagery Activision and the relevant game studio · Source ↗ Wolf: Minesmmmrkennedy; game imagery Activision and the relevant game studio · Source ↗
First photograph · remove arms
- Take the photo behind Burning Man in the Rave Area. Place it before Thunderbird Amphitheatre’s bonfire. Shoot ten zombie arms off during the timed ritual; ordinary kills alone do not count. Failure removes a random perk and permits another attempt.
- When the photo glows, interact to spawn the killable ritual Slasher. Defeat it, collect the restored photo after the nuke/Max Ammo cue, and speak to Kevin again.
Charged first photographmmmrkennedy; game imagery Activision and the relevant game studio · Source ↗
Second photograph · remove legs
- Take the next photo by the doorway in Bear Lodge’s upstairs Tuff ’Nuff room. Place it in front of Rave Area Quickies and remove ten legs during the timed ritual. The same failure/retry rule applies.
- Interact after the photo glows, kill the ritual Slasher, take the completed photo and speak to Kevin again.
Charged second photographmmmrkennedy; game imagery Activision and the relevant game studio · Source ↗
Skull ritual · ten headshots
- Take the skull on the Lodge basement floor left of the Magic Wheel. Place it on the beach in front of Slappy Taffy and earn ten headshots in the timed ritual. A failed attempt costs a perk and can be retried.
- Interact with the glowing skull, defeat its Slasher and collect the completed skull. Resupply and finish any upgrades before arming the departure buttons.
Charged skullmmmrkennedy; game imagery Activision and the relevant game studio · Source ↗
Arm the lodge and board together
Super Slasher ritual cycles
- In Rave Vision, kill near every skull until each rises and shines a beam. Solo uses two, co-op adds more. Recharge falling skulls before their progress resets. Their combined light makes a circle; lure the boss’s walk/slam onto it and shoot the exposed lower torso to exit vision.
Boss skullmmmrkennedy; game imagery Activision and the relevant game studio · Source ↗ Charged skullmmmrkennedy; game imagery Activision and the relevant game studio · Source ↗ Combined circlemmmrkennedy; game imagery Activision and the relevant game studio · Source ↗ Exposed lower torsommmrkennedy; game imagery Activision and the relevant game studio · Source ↗ - Shoot each body symbol as it appears until the boss recoils. When it leaps onto the cabin and raises the storm, move behind a rock inside a green circle and defend against skeletons. Follow the safe-circle cue, not a website timer.
- Repeat the ritual cycles as the dreamcatcher counter falls. Later cycles add arena walls. The third cycle ends with direct damage instead of another storm. Kill the boss and collect the Soul Key to start the ending; in Director’s Cut take the talisman afterwards.
Side Quests
Double Pack-a-Punch and Smiley
- If Spaceland’s Soul Key has already unlocked the account benefit, the projector has alien fuses. Otherwise interact with the Spawn computer after power; three rounds later collect the fuses behind it and install them in the projector for this match.
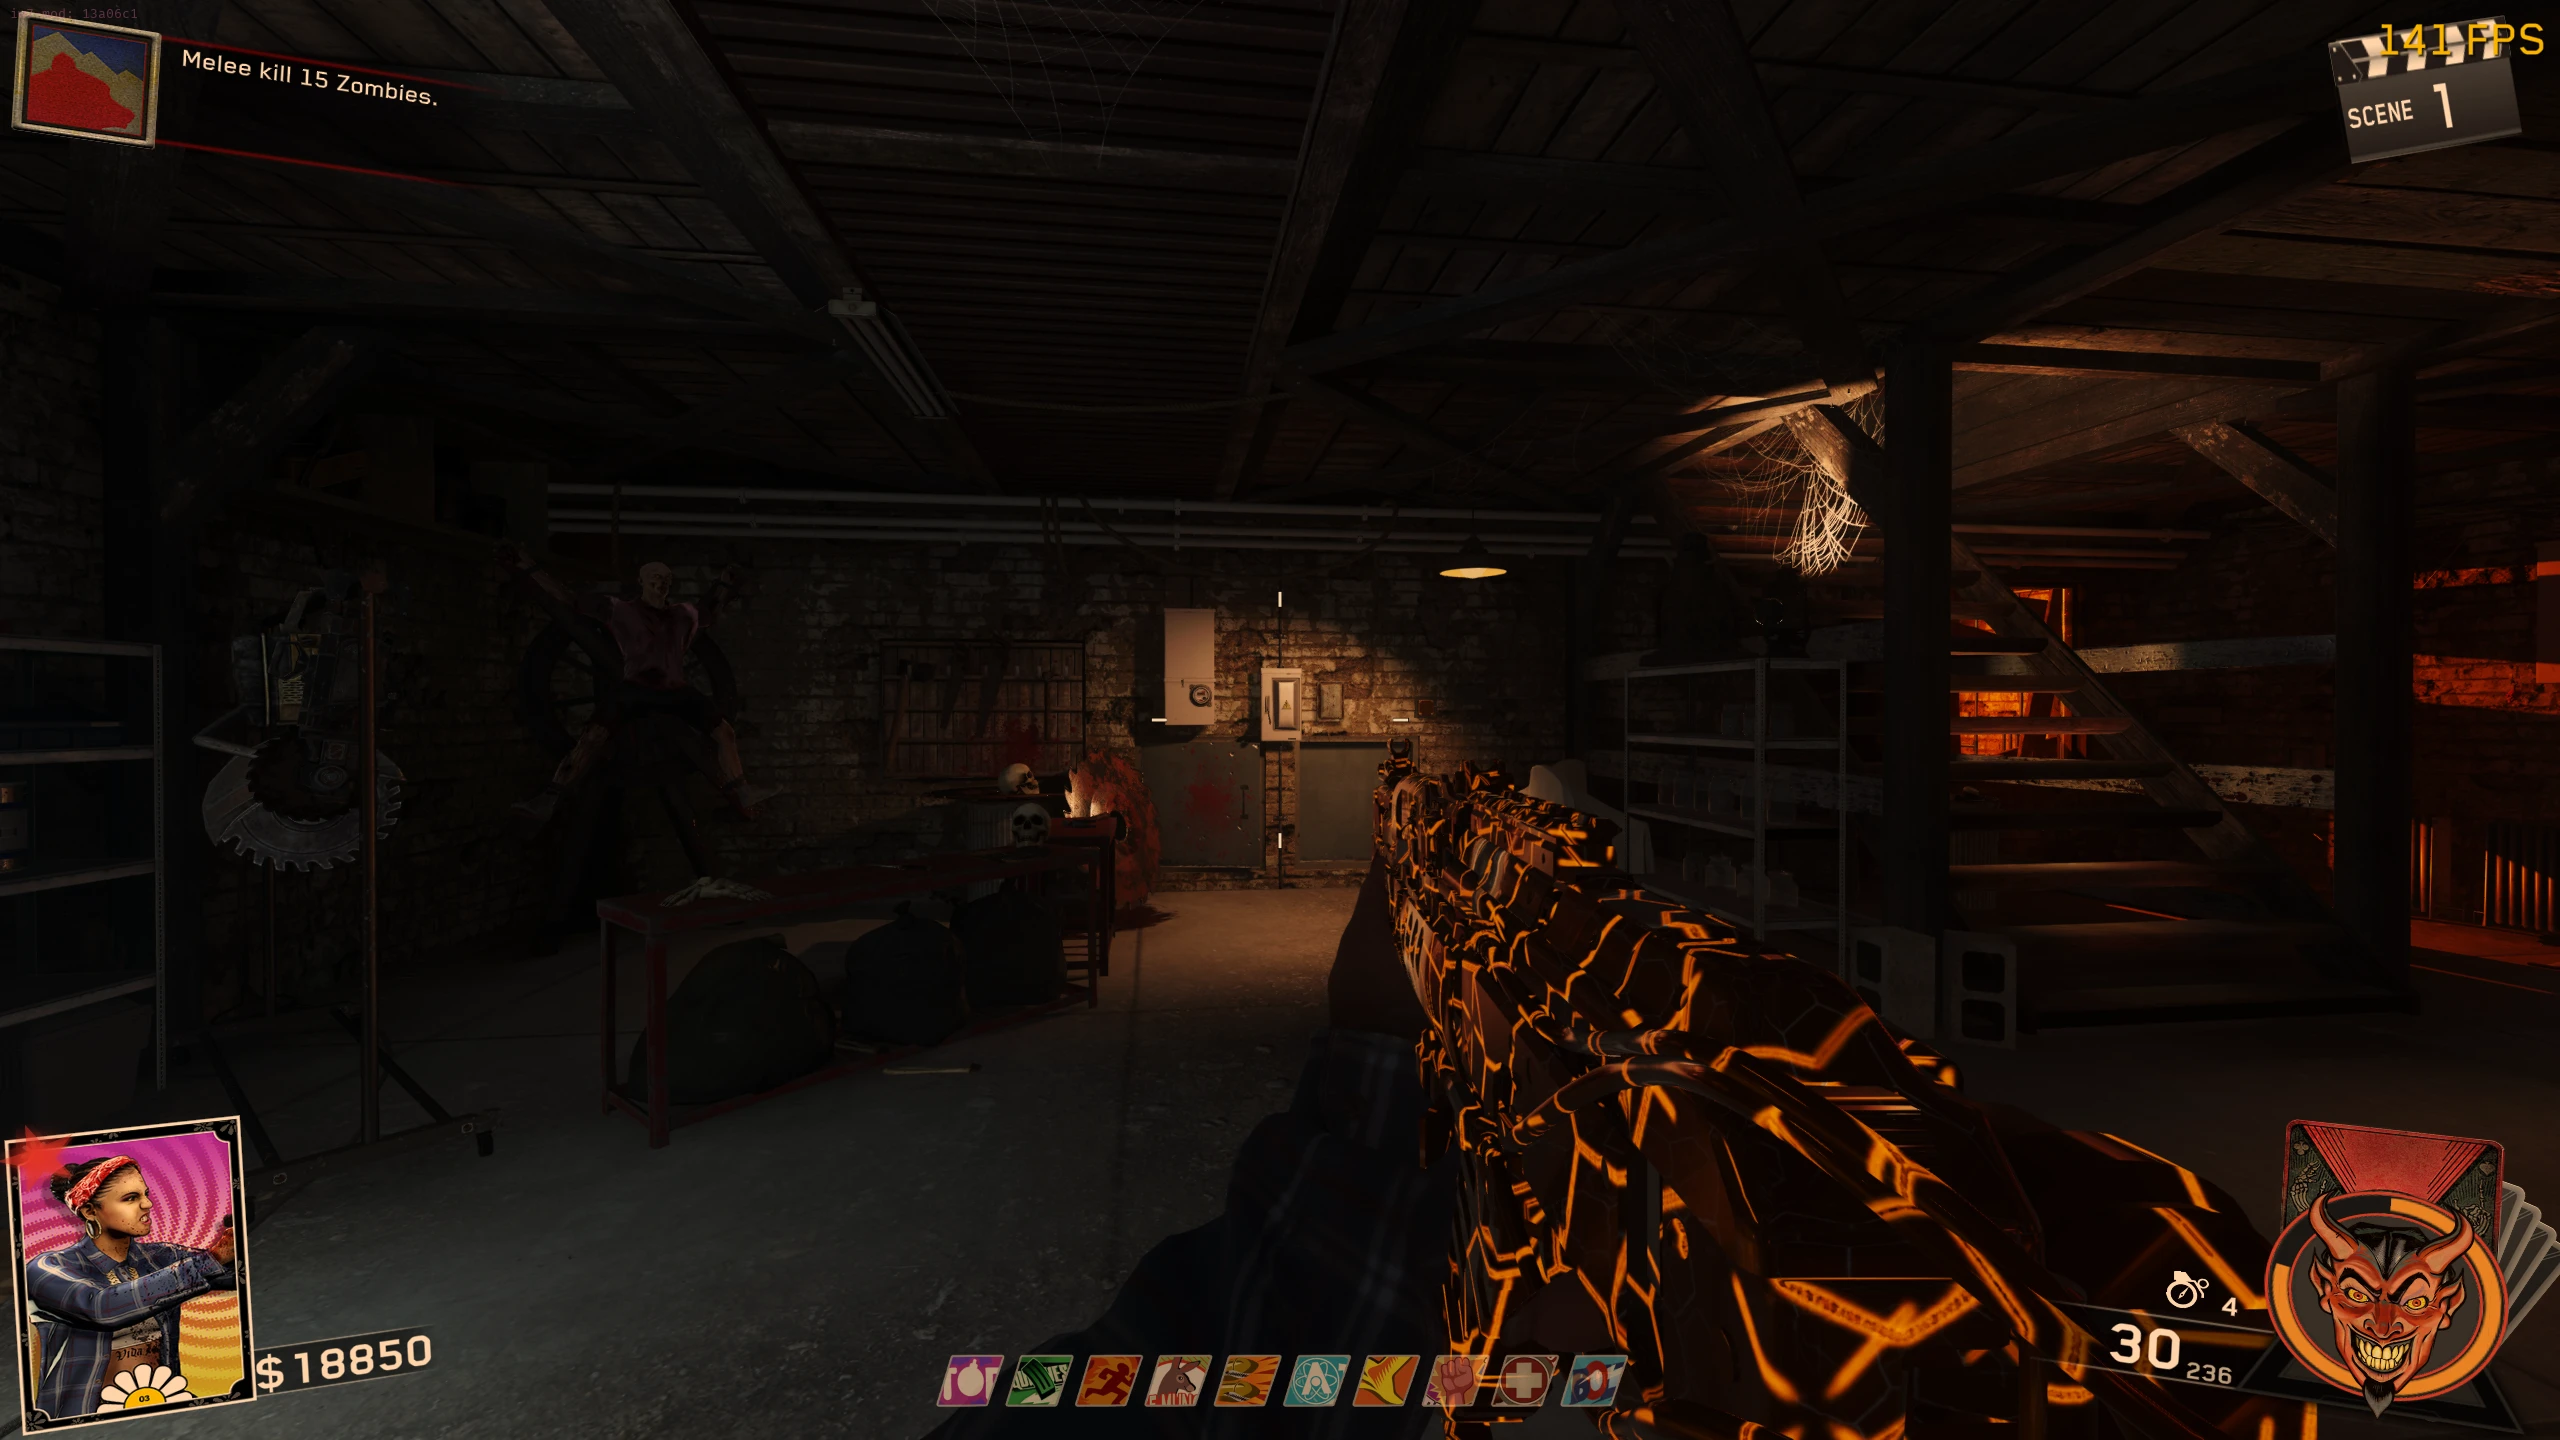
- After this match’s main quest, or with Director’s Cut equipment access, take Smiley from the Lodge basement rack left of the wheel game. It can kill the otherwise resistant roaming Slasher. Trading it away returns it to the rack.
Charm pickups, challenges and effects
- Binoculars: check the Mess Hall path bench or Rave beer boxes. Place them on the Bait & Tackle deck bench. While standing in the card-dealer gazebo, shoot eight eyes: nearby picnic/lakeside rocks, four island totems, cabin attic and Trail Blazers roof. Recover the charm for a close-teammate reload shock effect (co-op).
- Shovel: Mines cart or archery-side building. Place it at the Mess Hall swamp grave and kill five skeletons; recover it for an explosion when reviving a teammate. Arrowhead: Mess Hall sign or Lodge outside bench. Place it at the archery counter, enter vision and shoot eight successive hay-bale targets; recover it for head aim assistance.
- Ring: Mess Hall stairs or Mines/Bang Bangs stairs. Place it by the Lodge TV and turn both fireplace/stair lamps toward it; recover for melee healing. Bird Mask: dock path or obstacle-course dark corner. Mount it on the Mess Hall frame and shoot the adjacent keys down; it reloads holstered weapons from reserves.
- 8 Ball: upper Mines floor or Rave structure floor. Place on the upstairs Lodge pool table and shoot three white balls; it gives slide contact damage. Fish: Wolf Camp bathroom wall or swamp/beach sewer. Place on the boathouse dock end and grenade the blue water wisp; uninterrupted sprinting builds speed.
- Frog: Rave trailer tires or Bait & Tackle chair. Place at the swamp sewer entrance and ground-slam all five spirit frogs in vision (jump and melee at the apex); it enables water sprinting. Pacifier: beach rocks or Owl cabin sink floor. Place on the Mess Hall kitchen counter and finish its zombie lockdown; it damages attackers.
- Boots: beach canoe-dock trashcan or Thunderbird beer-box corner. Place at red prints in the Owl/Wolf connecting cabin. Follow the prints there, then Lodge’s Up ’N Atoms doorway and docks/Reaver; return to the original cabin to collect explosive-headshot Boots.
Ghosts ’N Skulls 2
- Get exactly 1 Log Swing kill, 9 Woodchipper kills, 9 Rave Stereo kills and 2 Waterfall kills in order. Each trap’s count must come from one activation; redo only a failed trap. Avoid ending the round on the Waterfall’s last targets. Wait a round, read the machine’s vision glyph, exit vision, wait another round and stare at its matching map glyph.
- Glyph candidates: island attic, boathouse rafters, beach life buoy, swamp generator, Mess Hall urinal, Owl’s first cabin, Lodge basement window, Rave central tree and archery target. Wrong matching needs the next-round machine read and another round before searching again. Hit the wheel-game skull in the basement; failure waits a round. On a later non-special round, stare at the correct glyphs spelling SKULL.
- Shoot every boat-gallery skull before it escapes; replay on the next boat ride after failure. Shoot the Lodge cabinet with Ben Franklin to energize it. All players enter and fire matching-colour ghosts at skulls for three rounds. Later rounds hide colours, so remember their actual layout. Three escapes fail; shoot Ben Franklin again to retry.
Puppet Strings, ammo and Kevin
- With power, enter Lodge Rave Vision and aim at ten purple dots until they become symbols: fireplace ceiling beam, computer underside, upstairs blank portrait, pool-table underside, balcony doorway, metal roof over Magic Wheel, bar, Tuff ’Nuff wardrobe shelf, rear boxes and filing cabinets. Multiple vision visits can finish the set.
- The basement knife-wheel game has a once-per-round attempt; its regular reward and the Ghosts ’N Skulls skull are separate targets. Director’s Cut’s Scene 1 white mask is another one-attempt lobby-music target.
- After completing the main quest at least once, select Rave in the lobby and enter Right, Left, Left, Down, Down, Right. Confirm Kevin’s icon; another lobby menu can clear it.
Sources and review
Source-reviewed on 8 October 2026, using the references below and the research handoff. These instructions and puzzle calculations have software checks; they have not been verified in a complete in-game playthrough. Record symbols, sequences and completion cues from your match. Screenshot and community-chart creators are credited with each illustration.
- Illustrated quest and equipment reference · mmmrkennedy ↗
- Community guide · r/CODZombies (2) ↗
- Illustrated main quest · COD Zombies Guides (3) ↗
Select any reference image to enlarge it. Screenshot and symbol sources are credited in the linked walkthroughs; this guide uses local copies for reliable access.