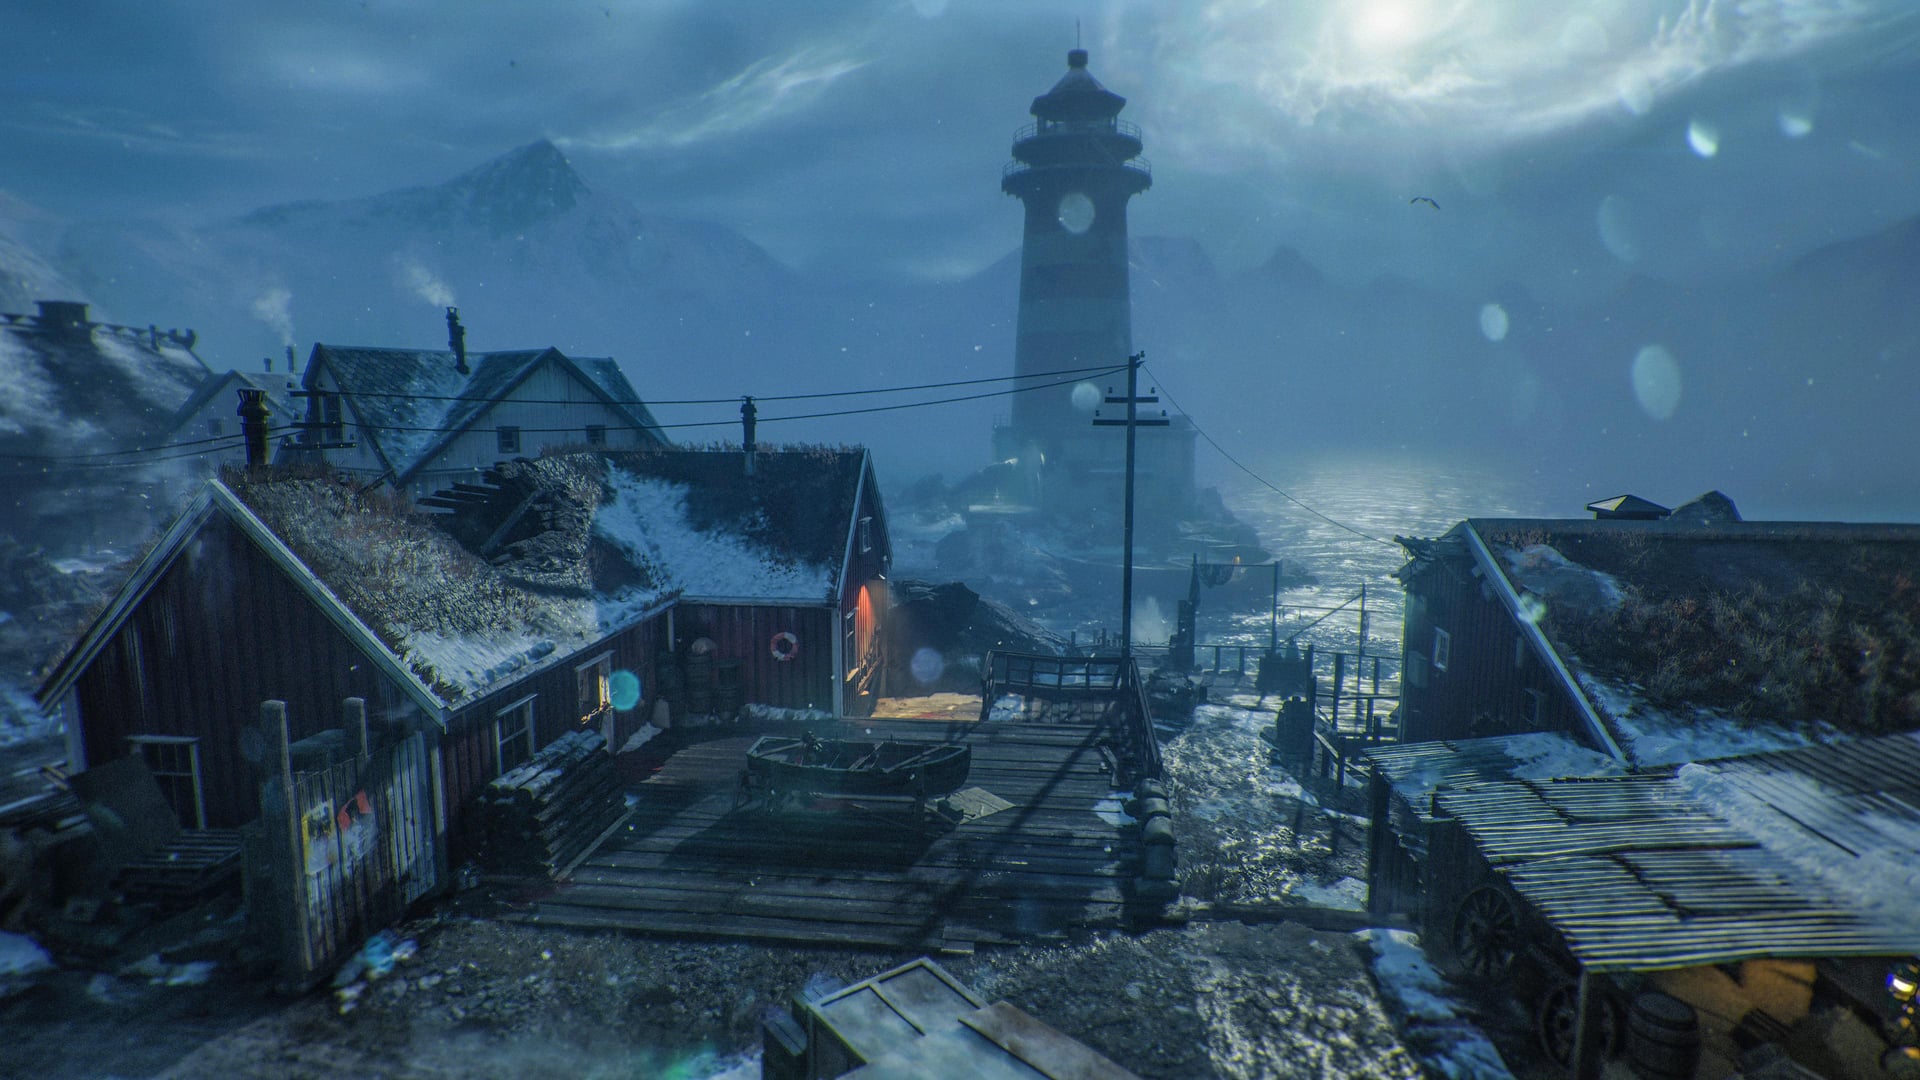
In the frozen birthplace of nuclear fire, a Group 935 research base hides sinister secrets. Awaken the steel colossus, ignite the flame of vengeance, and free the giant Shadowsmith from the Warden's icy grip!
Key Features
This is a walkthrough of the key features of the map, such as Pack-a-Punch, Wonder Weapons, etc.
- Get 3 items:
- Reach the Burial Grounds and interact with the door to put the chain links in, then hold interact to repair the door.
- Place the Lantern on the shrine in Burial Grounds. The lantern will emit lights on the wall, revealing constellations that rotate.
- Interact with the constellation symbols on the wall, based on the ones on the shrine at Burial Grounds
- The order is Left, Right, Back, Front when looking at the shrine from the stairs.
- If done correctly, the ghost of Astrid will appear above the shrine.
- Follow Astrid. She will move toward the market, then stop. Kill Frost zombies that spawn to charge her energy bar until it is filled.
- Once Astrid is near the lighthouse, repeat the energy charging process once more. Once done, floating platforms will appear. Climb the platforms and reach the lighthouse.
- Continue to climb the lighthouse with the stairs and the outside platforms.
- Interact with the ladder on top of the lighthouse to enter the top chamber, where the Jotunn Star will be available for pickup.
Main Quest
① Setup
- Obtain the Jotunn Star (wonder weapon).
② Wundersignal
- Crowbar in Lighthouse; find the note (Dry Dock / Tyr's Foot) → read the crate code: III-6, V-7, X-9, or IV-3.
- Open the matching crate → Flak Gun Round. (Wrong crate = 30s penalty.)
- Load the flak gun near the Lighthouse, shoot the Riese head in spawn.
- Take Transmitter from Riese head → place in Tyr's head (2nd floor).
- Count the 2 sets of blinking lights → 2×2-digit numbers.
- Core Foundry Ascender (Molotov) → console: calibrate Amplitude + Frequency → fire both sets → Wunderbarrage Controller.
③ Atomkraft Core — 3 Uraniums
- U-1: Fishing Rod → glowing green fish → Irradiated Ravager next round → kill for Uranium.
- U-2: ARC-XD melee vent → secret room → head jars A–E + radioactive symbols → Necrospike lockpick → Uranium.
- U-3: Glocke Drop → shoot floating zombies, light 3 green lights → Uranium.
- Clear debris (Wunderbarrage) → Machine Workshop → claw machine: 6&3 / 7&2 / 7&1&1 → Atomkraft Core.
- Defend generator (Quick Revive pallets) → Charged Core to Storm Bridge barrel → Dravakar Shard.
④ Vegvisir
- Place shard on Blodheim Hall bonfire → light with Jotunn Star ranged attack.
- Disciple Injection → throw zombies into fire → lockdown → kill Necropincer HVT → Sunstone.
- Sunstone in Eidskallen Stave Church center → giant arrow circle → shoot rune wood piles in order (arrow count = order).
- Return to Tyr's Head console → boss fight.
⑤ Dravakar Boss
- Shoot red weak spots while Tyr wrestles; ice attacks freeze areas → use 3 Flammenfalle traps.
- Tyr disabled → Gjallarfrost heads: grenade in mouth or Jotunn Star ranged to stun → destroy; dodge ice shard runes, shoot random weak spots.
- More Gjallarfrost heads; middle area locked, no cover — keep DPS on weak spots until health bar empties.
Astra Malorum done? Caltheris's Blessing revives a downed player when all players are down with no revives.
- Obtain the Jotunn Star
- Get the Crowbar from a shelf inside the Lighthouse.
- Find a note on the ground, in either Dry Dock in the room with the interactable button, or at Tyr's Foot near a corpse. The note will display a message that will determine which crate to open:
- "I replaced the PzGR shipment with parts from the lab [...]" means it's the crate marked III-6
- "I couldn’t tamper with the PzGR shipment [...]" means it's the crate markedV-7
- "The PzGR shells are gone and now carry robot parts instead [...]" means it's the crate marked X-9
- "The switch is done, PzGR shells out, chemical bomb in [...]" means it's the crate marked IV-3
- Find the corresponding crate in one of the possible spawn location. If done correctly, the Flak Gun Round will drop from the crate. However, opening the wrong crate will trigger an effect for about 30 seconds, either repeated electrical shots, suffered from gas exposure, or experiencing hallucination similarly to Psych Grenades.
- War Factory, in a corner near the Admin room.
- Dry Dock, behind the boat opposite of PhD Flopper.
- Core Foundry, next to the VS Recon wall buy.
- Fjord Road, next to the Flammefalle Trap.
- Reach the flak gun near the Lighthouse facing spawn area, and place the Flak Gun Round inside then hit it with the Jotunn Star. If done correctly, the gun should shoot at the Riese robot head in spawn.
- Go to the Riese robot head in spawn and hold interact with it to get the Transmitter. Place the Transmitter inside Tyr's head on the second floor.
- Check the two blinking lights inside Tyr's head. The two lights will blink at the same time, then reset, and blink again. Count the number of blinks each time for each light. This will be 2 sets of 2-digit numbers.
- Travel to Core Foundry and unlock the Ascender with a Molotov. Use the Ascender and enter the console to calibrate the Amplitude (right) and Frequency (left) using the numbers from the blinking lights. Enter the first set of numbers which will launch a barrage strike somewhere on the map, then enter the second set of numbers.
- If done correctly, a free Wunderbarrage Controller will spawn in the room next to the radio tower. The controller will also become available at crafting tables.
- — count the light blinks, keep the pairs on screen.
Wunderbarrage Codes Open helper
Open full-page tool ↗Count the lights beneath the balcony in Tyr’s head. Keep the two sequences separate.
Sequence 1Sequence 21. Amplitude — · Frequency —2. Amplitude — · Frequency —Saved on this device
- Obtain three Uraniums, which can be done in any order:
- Uranium 1
- Find a Fishing Rod (Dry Dock, Storm Bridge, Fishery Island, Beacon Island)
- Find a glowing green fish jumping in the water at one of the fishing location and use the Fishing Rod. Catching the fish will spawn an Irradiated Ravager.
- Wait for the next round, and it will appear somewhere on the map, alongside a horde of regular Ravagers. Killing the Irradiated Ravager will drop the Uranium.
- Uranium 2
- Get an ARC-XD and melee the vent near stairs and Zipline in Core Foundry. With the ARC-XD jump on the boat on the other side and enter the secret room to destroy the barrels and open the Group 935 Genetic Lab.
- Note: a free ARC-XD can be picked up in the Eidskallen Square, and it can also be acquired randomly from fishing.
- There will be 5 head jars marked A to E around the room. Look at the corridor next to the locked cell door and note the radioactive symbols beneath the numbers (1 to 5). The numbers match the letter on the jars (A=1 ... E=5) and the radioactive symbols show which jar is needed. Pick up the corresponding jars and place them in the machine next to the cell to get the glowing purple jar.
- Interact with the crab arm on the table to pick up the Necrospike. Use the Necrospike on the cell door to trigger a lockpicking mini-game.
- If done correctly, the cell door will open and the Uranium can be picked up. Note: a radio can also be picked up on the ground beneath the bench for a Relic.
- Get an ARC-XD and melee the vent near stairs and Zipline in Core Foundry. With the ARC-XD jump on the boat on the other side and enter the secret room to destroy the barrels and open the Group 935 Genetic Lab.
- Uranium 3 - Note: This Uranium can be acquired without the need to build the Jotunn Star or start the main quest.
- Obtain the Glocke Drop and activate it.
- Note: a free drop is available as part of the beginning steps of the main quest, and it can also be acquired randomly from fishing.
- While active, shoot all the floating zombies to turn on the green light. Keep doing it until all 3 green lights are lit. If done correctly, the Glocke will drop the Uranium.
- Obtain the Glocke Drop and activate it.
- Uranium 1
- Use the Wunderbarrage Controller to clear the debris on the stairs outside of 02 Building in Dry Dock. Climb the stairs and enter the Machine Workshop. The door to the other side will then automatically open.
- Place all 3 Uraniums inside the claw machine and interact with it.
- Record the six existing tubes and choose three Uranium placements that keep the gauge in its target range. Groups connected to Uranium activate; the helper offers layouts from the documented community model. .
Uranium Pincers Solver Open helper
Open full-page tool ↗Facing the machine, mark the six existing tubes. Suggested uranium placements appear as numbered circles.
0 / 6 tubes recorded.
How these suggestions are checked
Only connected groups containing uranium are activated; diagonal neighbours do not connect. Uses the community-tested patterns 7, 8, 7+1, 7+2, 6+3 and 7+1+1. This is a community model; use the machine’s gauge to confirm.
Scoring researchSaved on this device - If done correctly, the Atomkraft Core will drop.
- Note that you cannot sprint while holding the Atomkraft Core and using a zipline or entering Tyr will drop it on the ground.
- Place the Atomkraft Core on pallets next to Quick Revive then turn on the generator in the shed behind the perk. You will need to defend the Atomkraft Core. During the defense, the generator will occasionally require rebooting to progress.
- Once done, bring the Charged Atomkraft Core to Storm Bridge and place it on a barrel. If done correctly, a cutscene will play and the Dravakar Shard will drop next to Tyr's Foot.
- Bring the shard inside the Blodheim Hall and place it on the bonfire. Lit the bonfire with the ranged attack of the Jotunn Star.
- Get a Disciple Injection and throw zombies inside the bonfire. Note: a free Disciple Injection can be found in the Eidskallen Stave Church.
- If done correctly, this should trigger a lockdown and spawn an Necropincer HVT.
- After killing the HVT, the Sunstone can be picked up.
- Place the Sunstone in the center of Eidskallen Stave Church and use the Jotunn Star's range attack on it. A giant circle will spawn above the church with arrows pointing at different runes.
- Runes will spawn around the map, shoot the wooden pile below each rune with the range attack of the Jotunn Star in the order shown in the giant circle, based on the number of arrow points per rune.
- Once done, return to Tyr's Head and interact with the console to start the boss fight
Note: Throughout the duration of this fight, if players have completed the Astra Malorum main quest, a power-up called Caltheris's Blessing will drop when all players go down and have no revives left. It will revive the downed player who picks it up.
- At the start of the fight, Dravakar will wrestle with Tyr in the background. At certain points, red weak spots will glow on Dravakar; deal damage to these weak spots until they break, which will allow Tyr to gain the upper hand. Otherwise, Dravakar will focus on the players and release an ice attack to one of the three areas in the arena, causing it to freeze temporarily. Three Flammenfalle traps are placed around the arena, which can be used to counter the effects of the ice attacks.
- After dealing enough damage to Dravakar, he will disable Tyr for the rest of the fight. A Gjallarfrost head will spawn in the middle area, which will attack players when spotted. Stun the Gjallarfrost by throwing a grenade in its mouth, or using the ranged attack of the Jotunn Star, then deal damage with any weapon until it is destroyed. Dravakar will then appear and summon ice shards in rune patterns and shoot them at the players; hide behind covers to avoid the shards, or study the rune patterns to dodge them. During this phase, Dravakar's body will have random red glowing weak spots that can be shot at.
- In later phases, Dravakar will summon additional Gjallarfrost heads on other sides of the arena. Eventually he will also block off access to the other areas, forcing the player to stay in the middle area with no cover from the ice shard attacks. Continue dealing damage to Dravakar's weak spots until his health bar is depleted.
Side Quests and Easter Eggs
Find three Mr Peeks headphones around the map:
- On boxes near PhD Flopper at Dry Dock
- Near Double Tap Root Beer at Core Foundry
- Bottom of a shelf, next to a plate, at Loven's Antiquities
There are several fishing rods, called Olaf's Cod Cranker, that can be found around the maps. Those fishing rods can be used at specific spot to catch loot such as Essence, Salvage, Equipment, Killstreaks, etc. Sometimes one or more boots will appear, turning into zombies.
- The Olaf's Cod Cranker fishing rods (Green) can be found in:
- There are 11 fishing spots (Red) around the map:
Inside Tyr's Head, several lightbubs can be found above the robot's monitor. The lightbubs will display coordinates (such as F 8 or E 2, etc) and the number 75. That number indicates how many zombies need to be killed while being within the coordinates.
If done correctly, Tyr's head will flash green when seen from the outside, and a random Power-Up will spawn inside the head. This can be done once per round.
Golden Tide Helm (Blue; Fishing)
- Get the Olaf's Cod Cranker fishing rod.
- Use it at the fishing locations until a special zombie called Olaf, Cranker of Cod spawn wearing a helmet.
- Kill the zombie to drop the helmet and pick it up.
While wearing the helmet, it should take less time before catching something when fishing, and there will be more chances for better loot like increased Salvage or even Power-Ups. The Golden Tide Helm can be picked up again at Blodheim Hall at no cost.
Kneehigh Helm (Orange; Gnome)
- Obtain Shadow Rift on your weapon.
- Shoot four Gnome statues around the map. Note: shooting at the statues should show a hitmarker and/or a shield icon.
- Between two wooden sheets next to the catwalk of Machine Workshop.
- Next to a search light on top of a concrete building far outside of Tyr's Foot.
- Below the painting on the altar of Eidskallen Stave Church.
- On the catwalk at the top of the lighthouse when looking at it from the Flak gun facing away from the lighthouse.
- Travel to Loven's Antiquities and pick up the Kneehigh Helm from the counter.
Whenever you will crouch while wearing the Kneehigh Helm, you will be turned into a Gnome statue. The Kneehigh Helm can be bought up again at Bloodheim Hall for 6000 Essence.
- Complete the Tyr's Power-Ups about 15 times (to be confirmed).
- If done correctly, the Cointoss Helm should be available within Tyr's Head.
The helmet seemingly increases the frequency of Power-Ups spawn. The Cointoss Helm can be picked up again at Bloodheim Hall at no cost.
Icebane Helm (White; Freeze immunity)
- Get kills with the Flammenfalle trap:
- Get 250 kills with the trap itself.
- Kill 50 Frost Zombies while inside the trap area of effect with a bullet weapon.
- If done correctly, the Icebane Helm should drop on the ground.
The helmet will prevent getting frozen during the Special Rounds. When sliding into zombies while wearing the helmet, any zombies hit will be frozen. The Icebane Helm can be picked up again at Bloodheim Hall at no cost.
- Get the fish from the bucket located on a shelf inside the shed next to the Arsenal at Beacon Island.
- Get a Shock Charge and wait for a T.E.D.D. Task to spawn.
- Place the fish on the T.E.D.D. Task machine and throw the Shock Charge at it then complete the T.E.D.D. Task to the maximum reward.
- If done correctly, the fish will drop along aside a piece of the machine.
- Bring both items to the mount on the wall across the Arsenal in Eidskallen Square and hold to build the trap.
The trap costs 2000 Essence and when activated T.E.D.D. will attract the zombies before turning a handful of them into brain-rotted zombies.
There are 7 Power-Up statues around Totenreich giving out the corresponding Power-Ups when shooting them, with two additional statues appearing after the first 7 are activated.
- Bonus Point: Outside Beacon Island, between two wooden walls.
- Insta-Kill: On a tombstone outside Burial Grounds.
- Double Points: TBD.
- Nuke: Behind the Riese robot head in War Factory.
- Full Power: Boat window inside Dry Dock.
- Max Armor: TBD.
- Max Ammo: TBD.
- Fire Sale: TBD. Only available after all the others have been activated.
- Random Perk: TBD. Only available after all the others have been activated.
Relics
There are 6 Relics that can be unlocked from playing Totenreich, those Relics are then used as gameplay modifiers for Cursed mode.
The Relics are divided into three groups: Grim, Sinister, and Wicked. Each group fill the Cursed Tier bar differently with the Grim Relics filling up a third of the bar, the Sinister Relics filling up two thirds, and the Wicked Relics filling up the entire bar. As such you will need to apply different Relics to reach the desired Tier level.
- Tier I: Any 3 Grim — Unlocks Golden Armor (45,000 Essence)
- Tier II: 2 Sinister + 2 Grim (example loadout) — Unlocks Ultra Rarity (8,000 Salvage or 17,500 Salvage from default rarity)
- Tier III: 3 Grim + 2 Sinister + 1 Wicked (example) — Unlocks Pack-a-Punch IV (100,000 Essence)
Make sure to scroll sideways to see the steps. Higher tiers just need the total difficulty value to match the target fill; swap relics as you discover them.
Grim Relics
- Start a game in Cursed Mode
- Find 4 wooden structures outside the map and count the number of deer heads for each of them. A scoped weapon makes it easier to spot the structures. Outside of Eidskallen Landing, when looking at the opening opposite of the Rampage Inducer.
- Outside of Burial Grounds, right of a Mystery Box spawn location.
- Outside of Core Foundry, on the left-most mountain top when looking from the left side of the piled up crates.
- Outside of Tyr's Foot, left of the road.
- Get a Combat Axe and throw it at a specific bear pelt hanging on the walls of Blodheim Hall in an order based on the number of deer heads (from 1 to 4) Eidskallen Landing => Pelt surrounded by 3 round shields with another shield on the ground.
- Burial Grounds => Pelt with only 1 shield on its left.
- Core Foundry => Pelt surrounded by 4 round shields.
- Tyr's Foot => Pelt surrounded by 1 shield on both sides.
- If done correctly, a green portal will spawn on the pelt surrounded by the 4 shields.
- Survive 3 waves as zombies can only be killed with traps.
- Reach Round 20
- TBD
Sinister Relics
- Activate Cursed Mode Tier I
- Reach Round 40 without buying or getting any Perks.
- If done correctly, a yellow portal will spawn on a wall behind Juggernog in Fishery Island.
- Shoot at 4 Mr. Peeks Eggs located around the map and defeat the HVT that will spawn. On the lower catwalk at the lighthouse in Beacon Island.
- On a window corner at the house behind Mule Kick in Skallen Market.
- Near Tyr's Foot outside of Storm Bridge.
- On a steel beam next to the roof opening in the RK-9 room at Dry Dock.
- Activate Cursed Mode Tier I. Do not build the Jotunn Star before Step 4.
- Get the pot located on the ground below a wooden table behind Mule Kick in Skallen Market and place it on the fire at the center of Blodheim Hall.
- Get 2 items and place them inside the pot in Blodheim Hall: The beer mug located on a wooden barrel near the barge between Loven's Antiquities and the Arsenal in Eidskallen Square. Return to Blodheim Hall and pour the beer into the pot.
- The Chilly Chunks from Storm Bridge.
- With an explosive weapon shoot at the truck in Storm Bridge to get a new fish can and build the Jotunn Star.
- Get 2 more items to be placed inside the pot: The red lobster dropped by killing a Necropincer with the Flammenfalle Trap only.
- Round 41+ — Wait for a Special Round and use the fishing spots to catch a unique fish item.
- If done correctly, Mr. Peeks will appear above the pot in Blodheim Hall.
- Kill 100 zombies with the Jotunn Star around Mr. Peeks.
- A yellow portal will spawn on a wall above Pack-a-Punch in Fishery Island.
- Survive 5 waves while the zombies and HVTs can only take melee damage.
Wicked Relics
- Activate Cursed Mode Tier II and one player HAS TO be playing as Richtofen.
- Reach the Urzikstan and Liberty Falls room when ejecting from Tyr's head.
- Urzikstan: Pick the military helmet located on a crate at the bottom of the shelves.
- Liberty Falls: Grab Mr. Peeks from under the bed.
- Open the cell in Group 935 Genetic Lab and pick up the radio on the ground under the bench.
- Activate the Richtofen's Echo of the Damned quest (Round 15+).
- Once the echo of Von List has left, place the items on the seat.
- If done correctly, a red portal will spawn at Dry Dock.
- Survive 6 waves while the zombies can only be damaged while the players are indoors.
- Activate Cursed Mode Tier II
- Reach Round 60 and enter Tyr's Head.
- From Tyr's Head window, get 5 Critical Kills.
- If done correctly, Mr. Peeks will laugh and a red portal will spawn on a wall in Dry Dock near the Melee Macchiato machine.
- Survive 6 waves by holding out lockdowns at specific locations on the map.
Wall-Buys and Perk-a-Colas
- CODA 9 — Eidskallen Landing
- Echo 12 — Eidskallen Landing
- RK-9 — Dry Dock
- X9 Maverick — Dry Dock
- VS Recon — Core Foundry
- DS20 Mirage — War Factory
- MXR-17 — Fishery Island
- Warden 308 — Tyr's Foot
- Shadow SK — Tyr's Shoulder
- M34 Novaline — Tyr's Head Ejection - Knights Room
- Dravec 45 — Tyr's Head Ejection - Urzikstan Room
- AK-27 — Tyr's Head Ejection - Liberty Falls Room
- M8A1 — Eidskallen Stave Church
- Peacekeeper Mk1 — Skallen Market
- M10 Breacher — Blodheim Hall
- MPC-25 — Eidskallen Square
- XM325 — Beacon Island
Mister Peeks · Cursed mode: Check his possible spawn locations. Shoot him when he appears to drop an egg that can contain perks and other loot.
Note: Der Wunderfizz appears after purchasing 4 Perk-a-Colas or after reaching Round 20.
- Quick Revive — Eidskallen Landing
- Melee Macchiato — Dry Dock
- Stamin-Up — Eidskallen Square
- Speed Cola — Dry Dock
- PhD Flopper — Dry Dock
- Vulture Aid — Blodheim Hall
- Juggernog — Fishery Island
- Mule Kick — Skallen Market
- Double Tap Root Beer — Core Foundry
- Deadshot Daiquiri — Storm Bridge
- Der Wunderfizz — Beacon Island