Chapter 2 Setup
Story edition, lobby continuity and PaP schedule
- Story chapter edition: the ordinary ten-wave objectives and the hidden sword-part route share a match. Pack-a-Punch batteries become available on waves 1, 4 and 7; the corresponding survival map uses 1, 5 and 10. Maintain the same returned lobby through all three hidden chapter routes. For the complete I Have the Power route, finish Into the Storm, select Across the Depths from the same lobby, then select Beneath the Ice after it. Leaving that lobby breaks continuity. Completing each chapter normally beforehand is the source author’s preparation recommendation, not a proven universal prerequisite.
- Charge the ordinary Ubersprengen batteries with nearby kills: wave 1 at outside lower deck, wave 4 at Projector Room and wave 7 at Barracks beside PaP. Each green light goes out and stops accepting energy when charged. These are separate from the hidden quest’s carried batteries. All three expose Pack-a-Punch.
Wave 1 PaP battery: outside lower deckmmmrkennedy; game imagery Activision and the relevant game studio · Source ↗ Wave 4 PaP battery: Projector Roommmmrkennedy; game imagery Activision and the relevant game studio · Source ↗ Wave 7 PaP battery: Barracks beside PaPmmmrkennedy; game imagery Activision and the relevant game studio · Source ↗ - Keep checking the current wave’s objective and HUD deadline while following the secret route. Complete repair, defend, escort or marked-enemy tasks exactly as requested; failing an ordinary objective can end the run. The resupply drops after waves 3, 6 and 9 offer equipment and armour. Save enough Jolts to upgrade and refill before the wave-10 final enemy.
Pommel Route
Wave 1: every player enters battery vision
- At the back-left Barracks battery on its box, every player melees/interacts to enable the electrical-screen vision. The shifted field of view and occasionally invisible zombies indicate this special mode; fish are visible only in it.
Wave 2: shoot nine fish and gather at Jeep
- In vision, shoot all nine fish: Medical Bay bed, PaP-room locker, Barracks trash can, Barracks Cafeteria stairs, buffet table, cabinet in Cafeteria–Barracks room, red-floor corner outside Projector, Projector air duct and Projector shotgun-side crate.
Vision fish location 1mmmrkennedy; game imagery Activision and the relevant game studio · Source ↗ Vision fish location 2mmmrkennedy; game imagery Activision and the relevant game studio · Source ↗ Vision fish location 3mmmrkennedy; game imagery Activision and the relevant game studio · Source ↗ Vision fish location 4mmmrkennedy; game imagery Activision and the relevant game studio · Source ↗ Vision fish location 5mmmrkennedy; game imagery Activision and the relevant game studio · Source ↗ Vision fish location 6mmmrkennedy; game imagery Activision and the relevant game studio · Source ↗ Vision fish location 7mmmrkennedy; game imagery Activision and the relevant game studio · Source ↗ Vision fish location 8mmmrkennedy; game imagery Activision and the relevant game studio · Source ↗ Vision fish location 9mmmrkennedy; game imagery Activision and the relevant game studio · Source ↗ - After all nine, bring the team to the lower-deck Jeep before ending wave 2. Watch for the Red Herring on the transition and follow it; ending elsewhere can miss its route cue.
Waves 3–8: three new quest batteries
- Follow the Red Herring to the red-floor room. Purchase the spawned battery wallbuy for 3,000 Jolts and fit the battery in its station. Candidates are under the spawn boat, pistol-side tub, water by Electric Cherry, lower-deck tub, SMG-side boat or left of Quick Revive. Charge until the fish moves to Barracks.
First Red Herring stationmmmrkennedy; game imagery Activision and the relevant game studio · Source ↗ Possible quest-battery wallbuymmmrkennedy; game imagery Activision and the relevant game studio · Source ↗ Possible quest-battery wallbuymmmrkennedy; game imagery Activision and the relevant game studio · Source ↗ Possible quest-battery wallbuymmmrkennedy; game imagery Activision and the relevant game studio · Source ↗ Possible quest-battery wallbuymmmrkennedy; game imagery Activision and the relevant game studio · Source ↗ Possible quest-battery wallbuymmmrkennedy; game imagery Activision and the relevant game studio · Source ↗ Possible quest-battery wallbuymmmrkennedy; game imagery Activision and the relevant game studio · Source ↗ - Buy a new battery for the Barracks station and charge it through waves 4–5. When complete, the fish moves to the Cafeteria stair-bottom station. Each station needs its own purchased battery.
Second station in Barracksmmmrkennedy; game imagery Activision and the relevant game studio · Source ↗ - Delay placing/finishing the final Cafeteria battery until the team has Pack-a-Punch, armour and ammunition. Its completed charge immediately teleports the squad to the island sequence. Complete that charge before wave 8 ends; the suggested wait is preparation, not an extra puzzle action.
Commitment: completing the third charge starts the island sequence.
Third Cafeteria stationmmmrkennedy; game imagery Activision and the relevant game studio · Source ↗
Clear three memory islands and cross carefully
- Wait for Straub’s dialogue and clear the Final Reich island’s Wustling/zombies, then cross the appearing platforms. Clear the Darkest Shore island’s Meuchler/zombies, then the Shadowed Throne island’s Sizzler/zombies. Falling returns you to the previous island while downed; a jump mistake differs from choosing a wrong cup.
Track the fish through three cup rounds
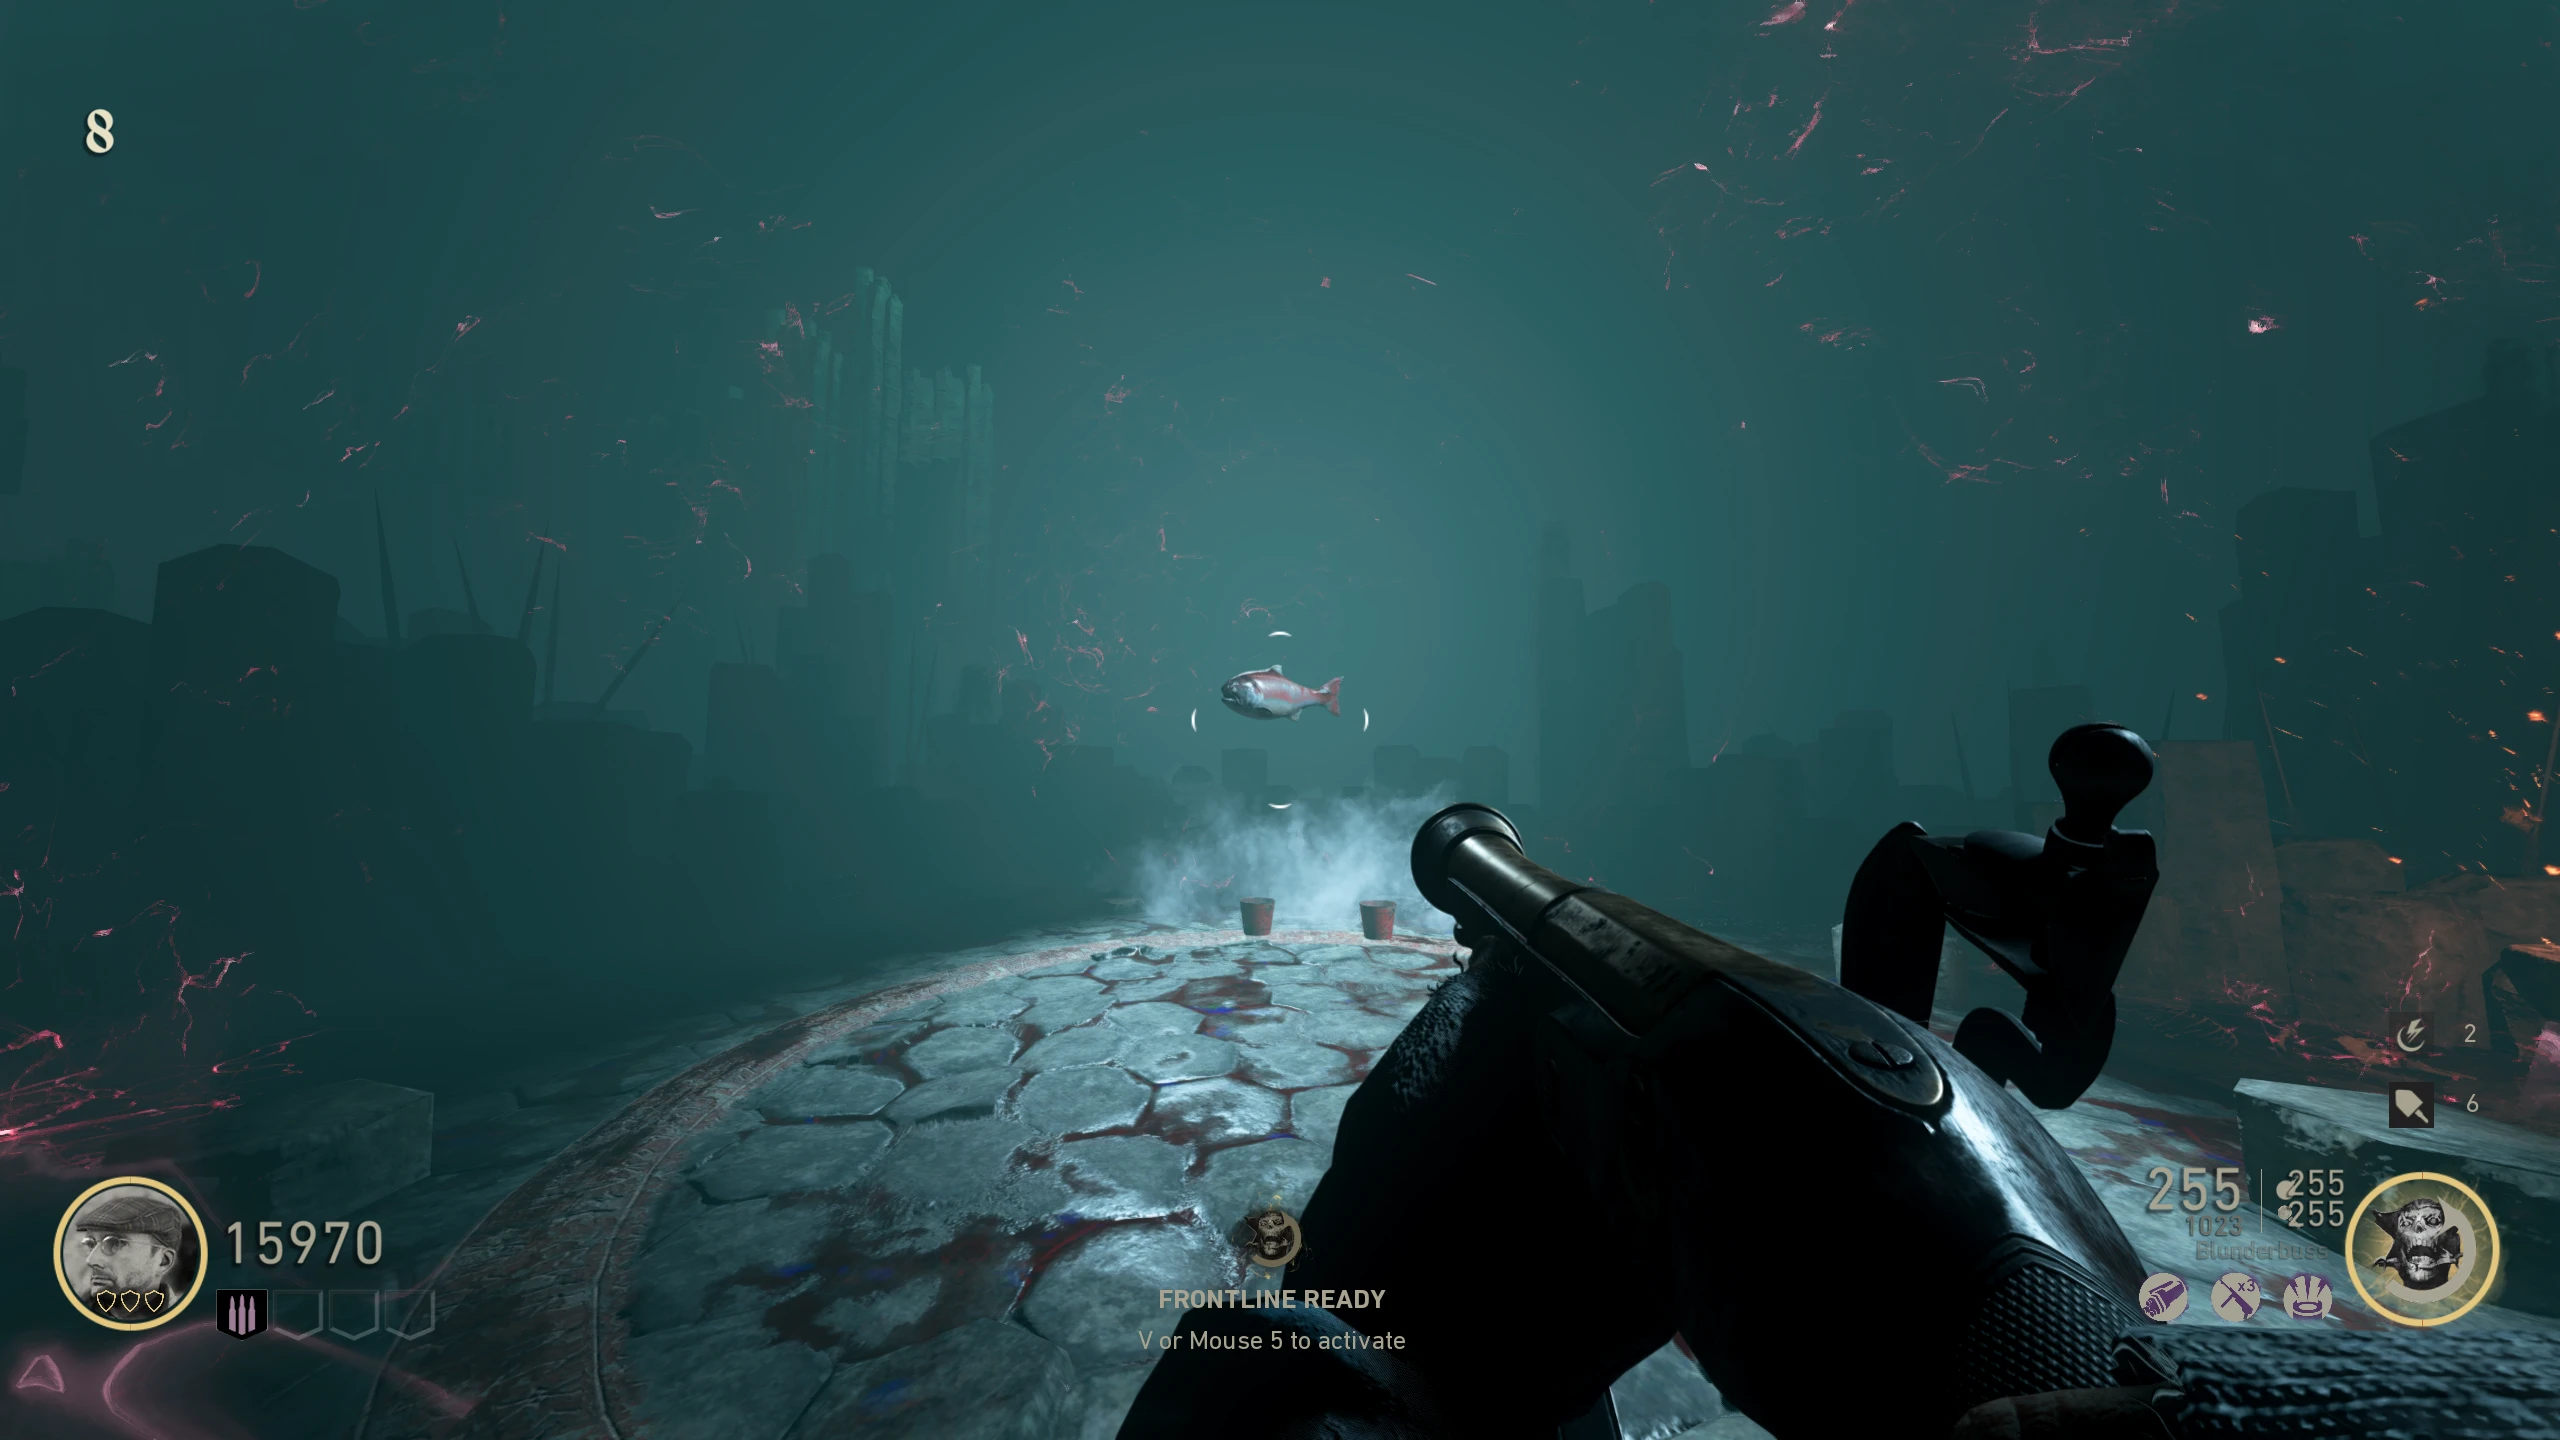
- At the final island, watch the fish enter a cup and keep following that cup as the cups shuffle. After the shuffle stops, shoot the cup containing the fish. Correct choices advance to a larger next round; a wrong choice spawns extra Meuchler/Wustling enemies and permits another attempt. Finish three successful rounds. There is no trustworthy still-image prediction of the moving cup.
Fish-cup game starting referencemmmrkennedy; game imagery Activision and the relevant game studio · Source ↗
Claim Pommel after returning to the ship
- After the third cup success, the squad returns to the ship. Take Pommel from the supply crate on the table in front of the return point. It grants all Blitz and fills the tactical slot. Continue completing the ordinary chapter objectives.
Pommel reward cratemmmrkennedy; game imagery Activision and the relevant game studio · Source ↗
Chapter Ending
Wave 10: Stadtjäger and next-chapter lobby
- On wave 10, defeat the chapter’s Stadtjäger by damaging it until its health is depleted. This chapter fight uses its ordinary health bar; it is separate from Shadowed Throne’s three-stage Zeppelin quest. After the lobby return, select Beneath the Ice from that same lobby.
Side Quests
Optional: The Classic from the random SMG wallbuy
- On any chapter, drop 1,750 Jolts onto the flare where a resupply crate falls after wave 3, 6 or 9. The Classic enters the random SMG wallbuy pool for this match; it remains a possible result, not a guaranteed purchase.
Optional: Darkened Path difficulty
- At Shattered Rank 50, the red skull at spawn offers Darkened Path: faster and tougher enemies with harder objectives. Activate that challenge only if intended before beginning the chapter’s timed secret route. Completing the full three-chapter quest in that mode awards the Sanguine Skull charm.
Sources and review
Source-reviewed on 8 October 2026, using the references below and the research handoff. These instructions and puzzle calculations have software checks; they have not been verified in a complete in-game playthrough. Record symbols, sequences and completion cues from your match. Screenshot and community-chart creators are credited with each illustration.
Select any reference image to enlarge it. Screenshot and symbol sources are credited in the linked walkthroughs; this guide uses local copies for reliable access.