Main Quest
Survival edition and equipment
- This is the endless survival edition, separate from its ten-wave Tortured Path story chapter. Its ordinary battery unlocks use waves 1, 5 and 10. There is no story chapter’s final-wave extraction; plan for continuing waves after setup.
Three survival batteries: waves 1, 5 and 10
- Charge the green-lit battery with nearby kills at left-side Speed Cola on wave 1, Stamin-Up side from wave 5 and right-side Pack-a-Punch from wave 10. Each stops collecting and extinguishes its light when full. Completing all three unlocks Ubersprengen.
Wave 1 survival battery: left-side Speed Colammmrkennedy; game imagery Activision and the relevant game studio · Source ↗ Wave 5 survival battery: Stamin-Up sidemmmrkennedy; game imagery Activision and the relevant game studio · Source ↗ Wave 10 survival battery: right-side Pack-a-Punchmmmrkennedy; game imagery Activision and the relevant game studio · Source ↗
Fixed wall-rune fuse sequence
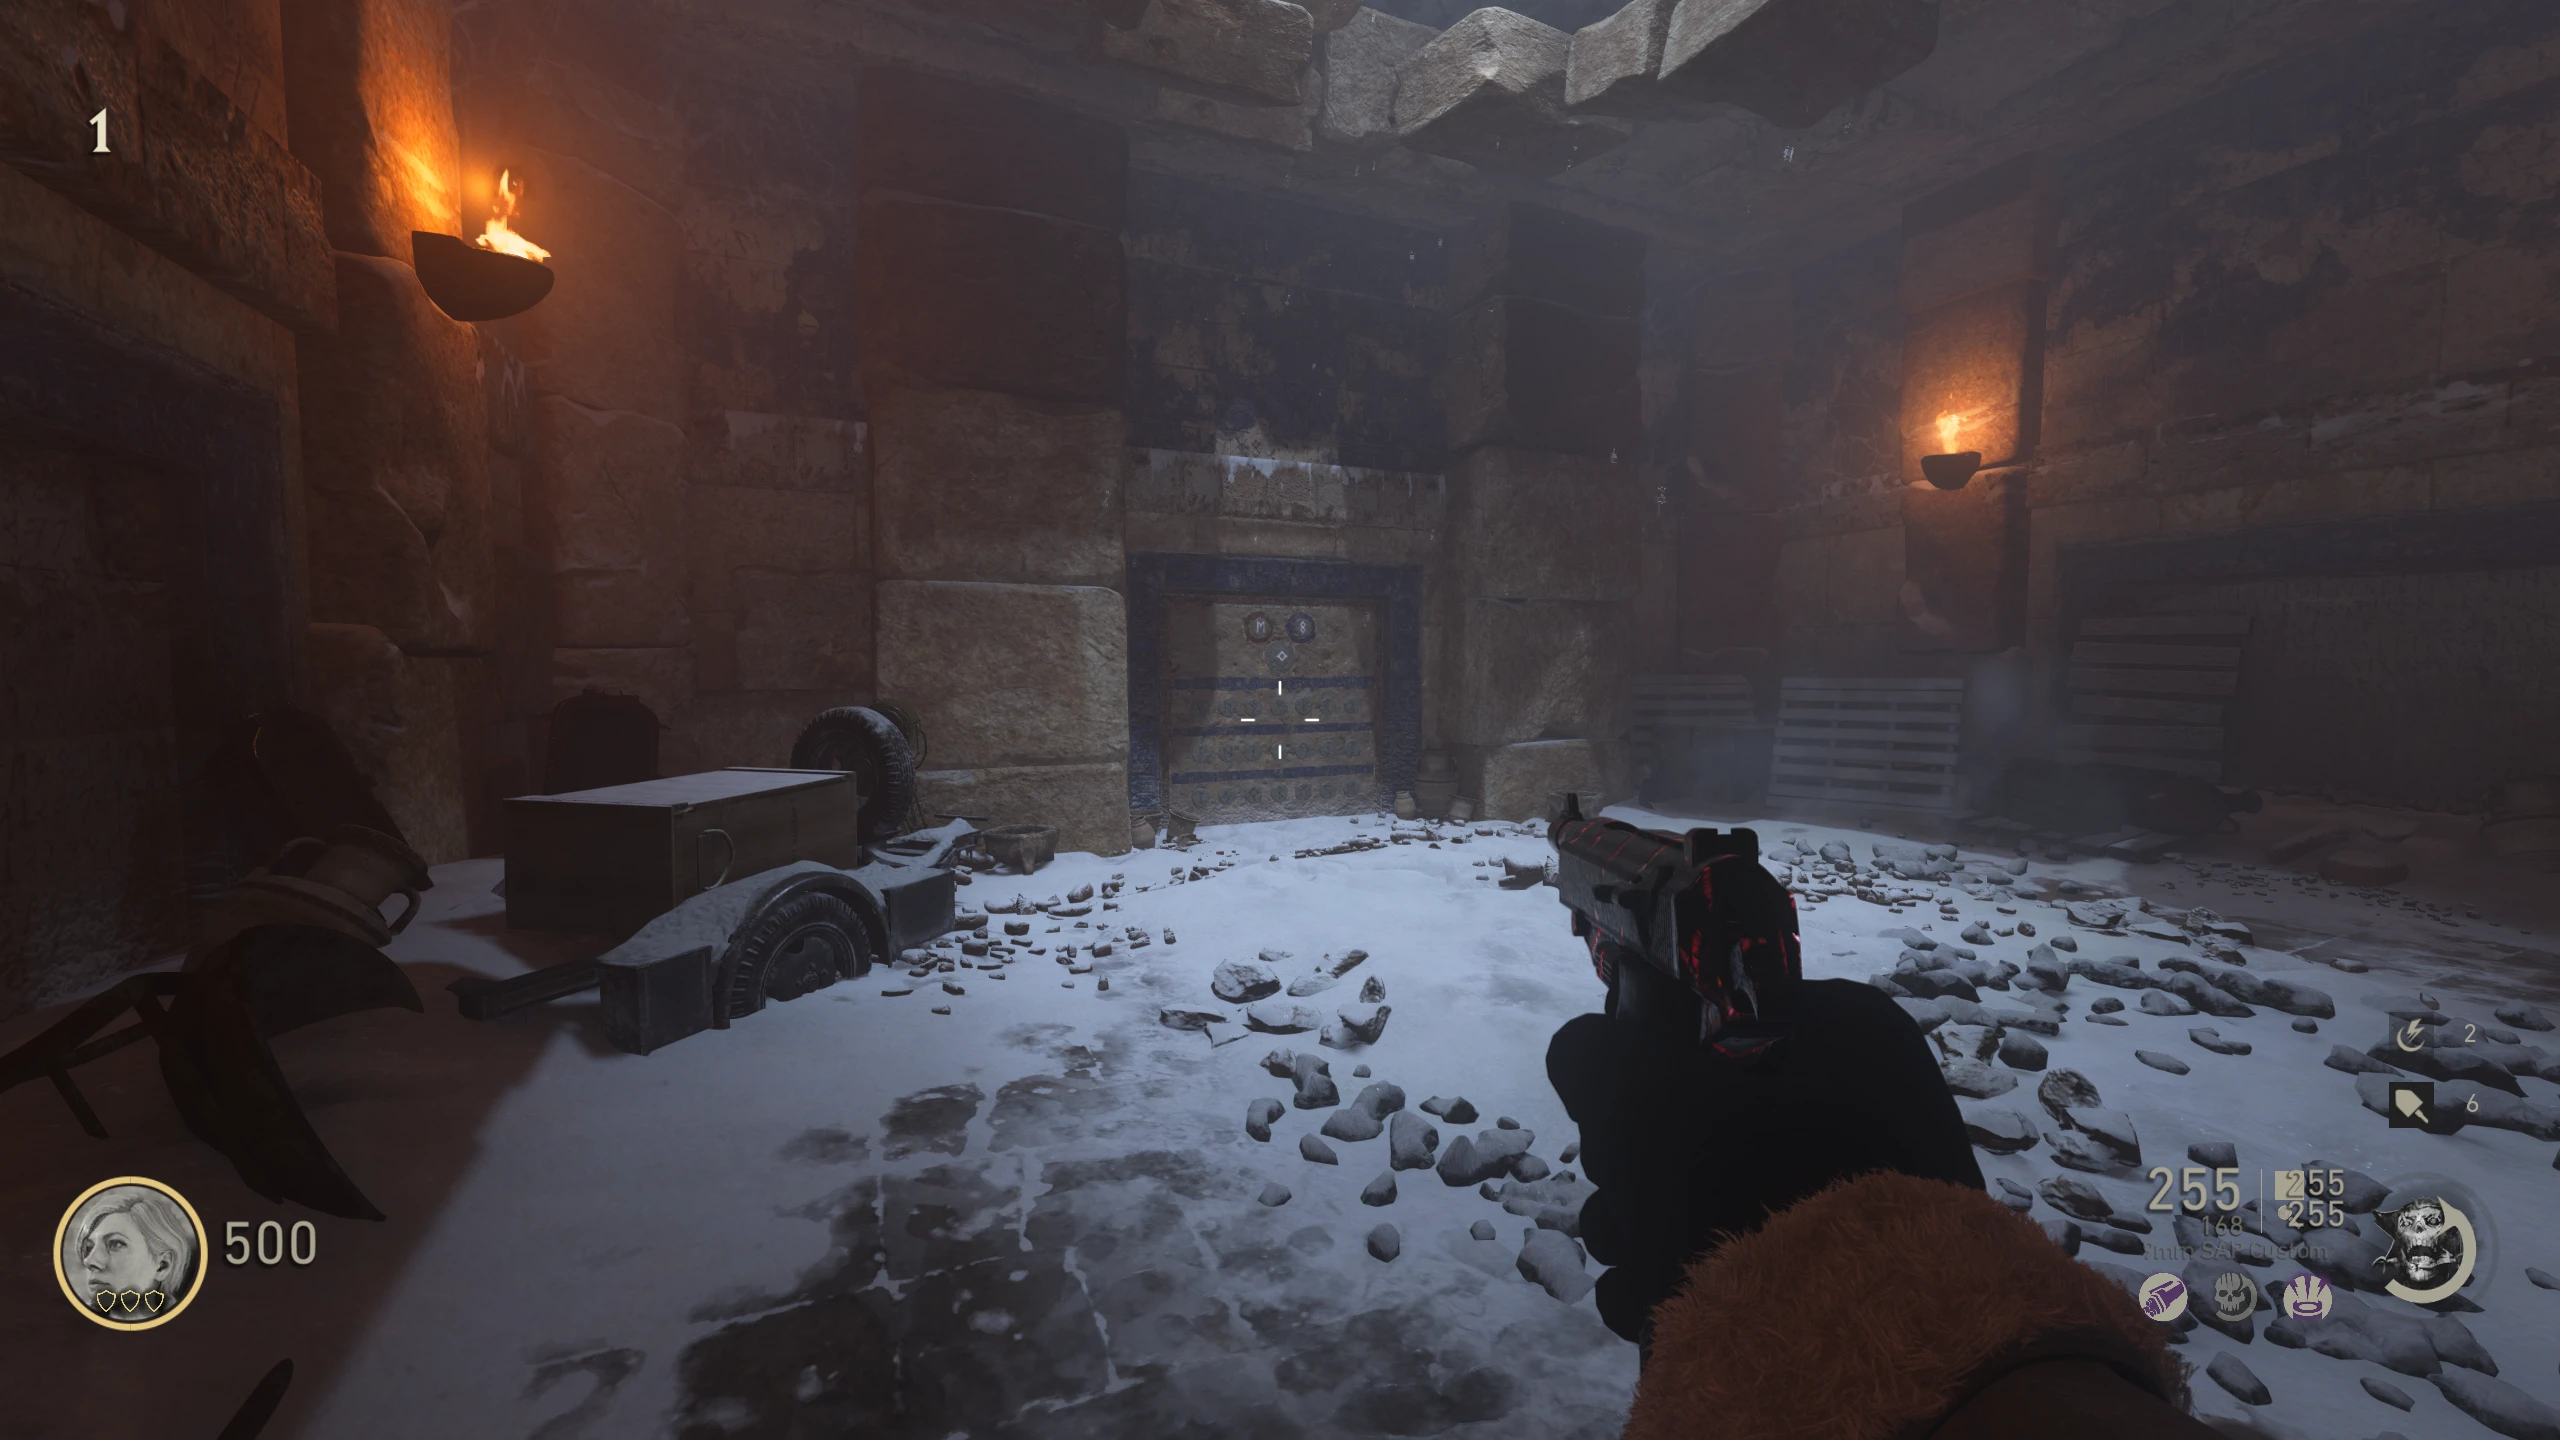
- At the upper Rune Wall, shoot the runes in the fixed order shown on the photographed sequence plate. This fuse route uses shooting and its own fixed reference; it is separate from Beneath the Ice’s changing interact-entered story codes.
Survival Rune Wallmmmrkennedy; game imagery Activision and the relevant game studio · Source ↗ Fixed fuse rune order on the wallmmmrkennedy; game imagery Activision and the relevant game studio · Source ↗ Fuse sequence shape referencemmmrkennedy; game imagery Activision and the relevant game studio · Source ↗ - Collect the fuse in the opening left of Stamin-Up. It enables Tesla Gun, Ripsaw and ordinary melee special upgrades at Ubersprengen.
Opened survival fuse wallmmmrkennedy; game imagery Activision and the relevant game studio · Source ↗
Four sacrifice stones and three Forge bowls
- Complete the Tortured Path main quest once on the profile before the Sword route. Save 12,250 Jolts for seven accepted payments. The four floor stones and three Forge bowls share the cost but are different types of target.
- Drop 1,750 Jolts on the Spawn floor stone. Confirm that the drop disappears into the stone rather than remaining nearby.
Spawn floor stonemmmrkennedy; game imagery Activision and the relevant game studio · Source ↗ - Drop 1,750 Jolts on the left-side stone above Stamin-Up stairs. Confirm that the drop disappears into the stone rather than remaining nearby.
left-side stone above Stamin-Up stairsmmmrkennedy; game imagery Activision and the relevant game studio · Source ↗ - Drop 1,750 Jolts on the Rune Room floor stone. Confirm that the drop disappears into the stone rather than remaining nearby.
Rune Room floor stonemmmrkennedy; game imagery Activision and the relevant game studio · Source ↗ - Drop 1,750 Jolts on the right-side stone above PaP stairs. Confirm that the drop disappears into the stone rather than remaining nearby.
right-side stone above PaP stairsmmmrkennedy; game imagery Activision and the relevant game studio · Source ↗ - Drop 1,750 Jolts in front of each of the three Forge bowls used for story Hilt, Pommel and Blade. The disappearing money confirms the payment. With all seven sites paid, the ring around Forge glows.
Three Forge bowl payment sitesmmmrkennedy; game imagery Activision and the relevant game studio · Source ↗ - Inside that glowing ring, deliberately let a zombie down you. The scripted immediate revive grants Sword and keeps other perks, except solo Quick Revive. Do not attempt the ritual before the active ring appears.
This survival Sword ritual spends solo Quick Revive.
Five Klaus symbols for turned-zombie grenades
- Obtain Jack-in-the-Boxes. Throw one to explode each of five Klaus symbols: rock behind Quick Revive, barrels behind Speed Cola, doorway left of Double Tap between pots, above M1 Garand behind vases and scaffolding across from Melee. The M1 Garand symbol is obscured; use the photographed throw target.
Klaus symbol behind Quick Revivemmmrkennedy; game imagery Activision and the relevant game studio · Source ↗ Klaus symbol behind Speed Colammmrkennedy; game imagery Activision and the relevant game studio · Source ↗ Klaus symbol by Double Tapmmmrkennedy; game imagery Activision and the relevant game studio · Source ↗ Obscured M1 Garand symbol throwmmmrkennedy; game imagery Activision and the relevant game studio · Source ↗ Klaus symbol on scaffoldingmmmrkennedy; game imagery Activision and the relevant game studio · Source ↗ - After all five, an earthquake drops a crate on Spawn’s stairs. Collect Kontrollgranates inside; their gas turns affected zombies friendly so they attack other enemies.
Kontrollgranate reward cratemmmrkennedy; game imagery Activision and the relevant game studio · Source ↗
Maintain armour, ammunition and a retreat route
- Keep an upgraded weapon with a reliable refill route, armour and room to retreat before using Ubersprengen or purchasing perks. Save tactical distractions for a cornered player or revive. Completing the fuse/Sword routes improves equipment; it does not end this survival match.
Sources and review
Source-reviewed on 8 October 2026, using the references below and the research handoff. These instructions and puzzle calculations have software checks; they have not been verified in a complete in-game playthrough. Record symbols, sequences and completion cues from your match. Screenshot and community-chart creators are credited with each illustration.
- mmmrkennedy illustrated guide ↗
- mmmrkennedy illustrated guide (2) ↗
- r/CODZombies community guide (3) ↗
- Official Call of Duty guide (4) ↗
Select any reference image to enlarge it. Screenshot and symbol sources are credited in the linked walkthroughs; this guide uses local copies for reliable access.