Main Quest
Survival edition and equipment
- This is the endless survival edition, separate from its ten-wave Tortured Path story chapter. Its ordinary battery unlocks use waves 1, 5 and 10. There is no story chapter’s final-wave extraction; plan for continuing waves after setup.
Three survival batteries: waves 1, 5 and 10
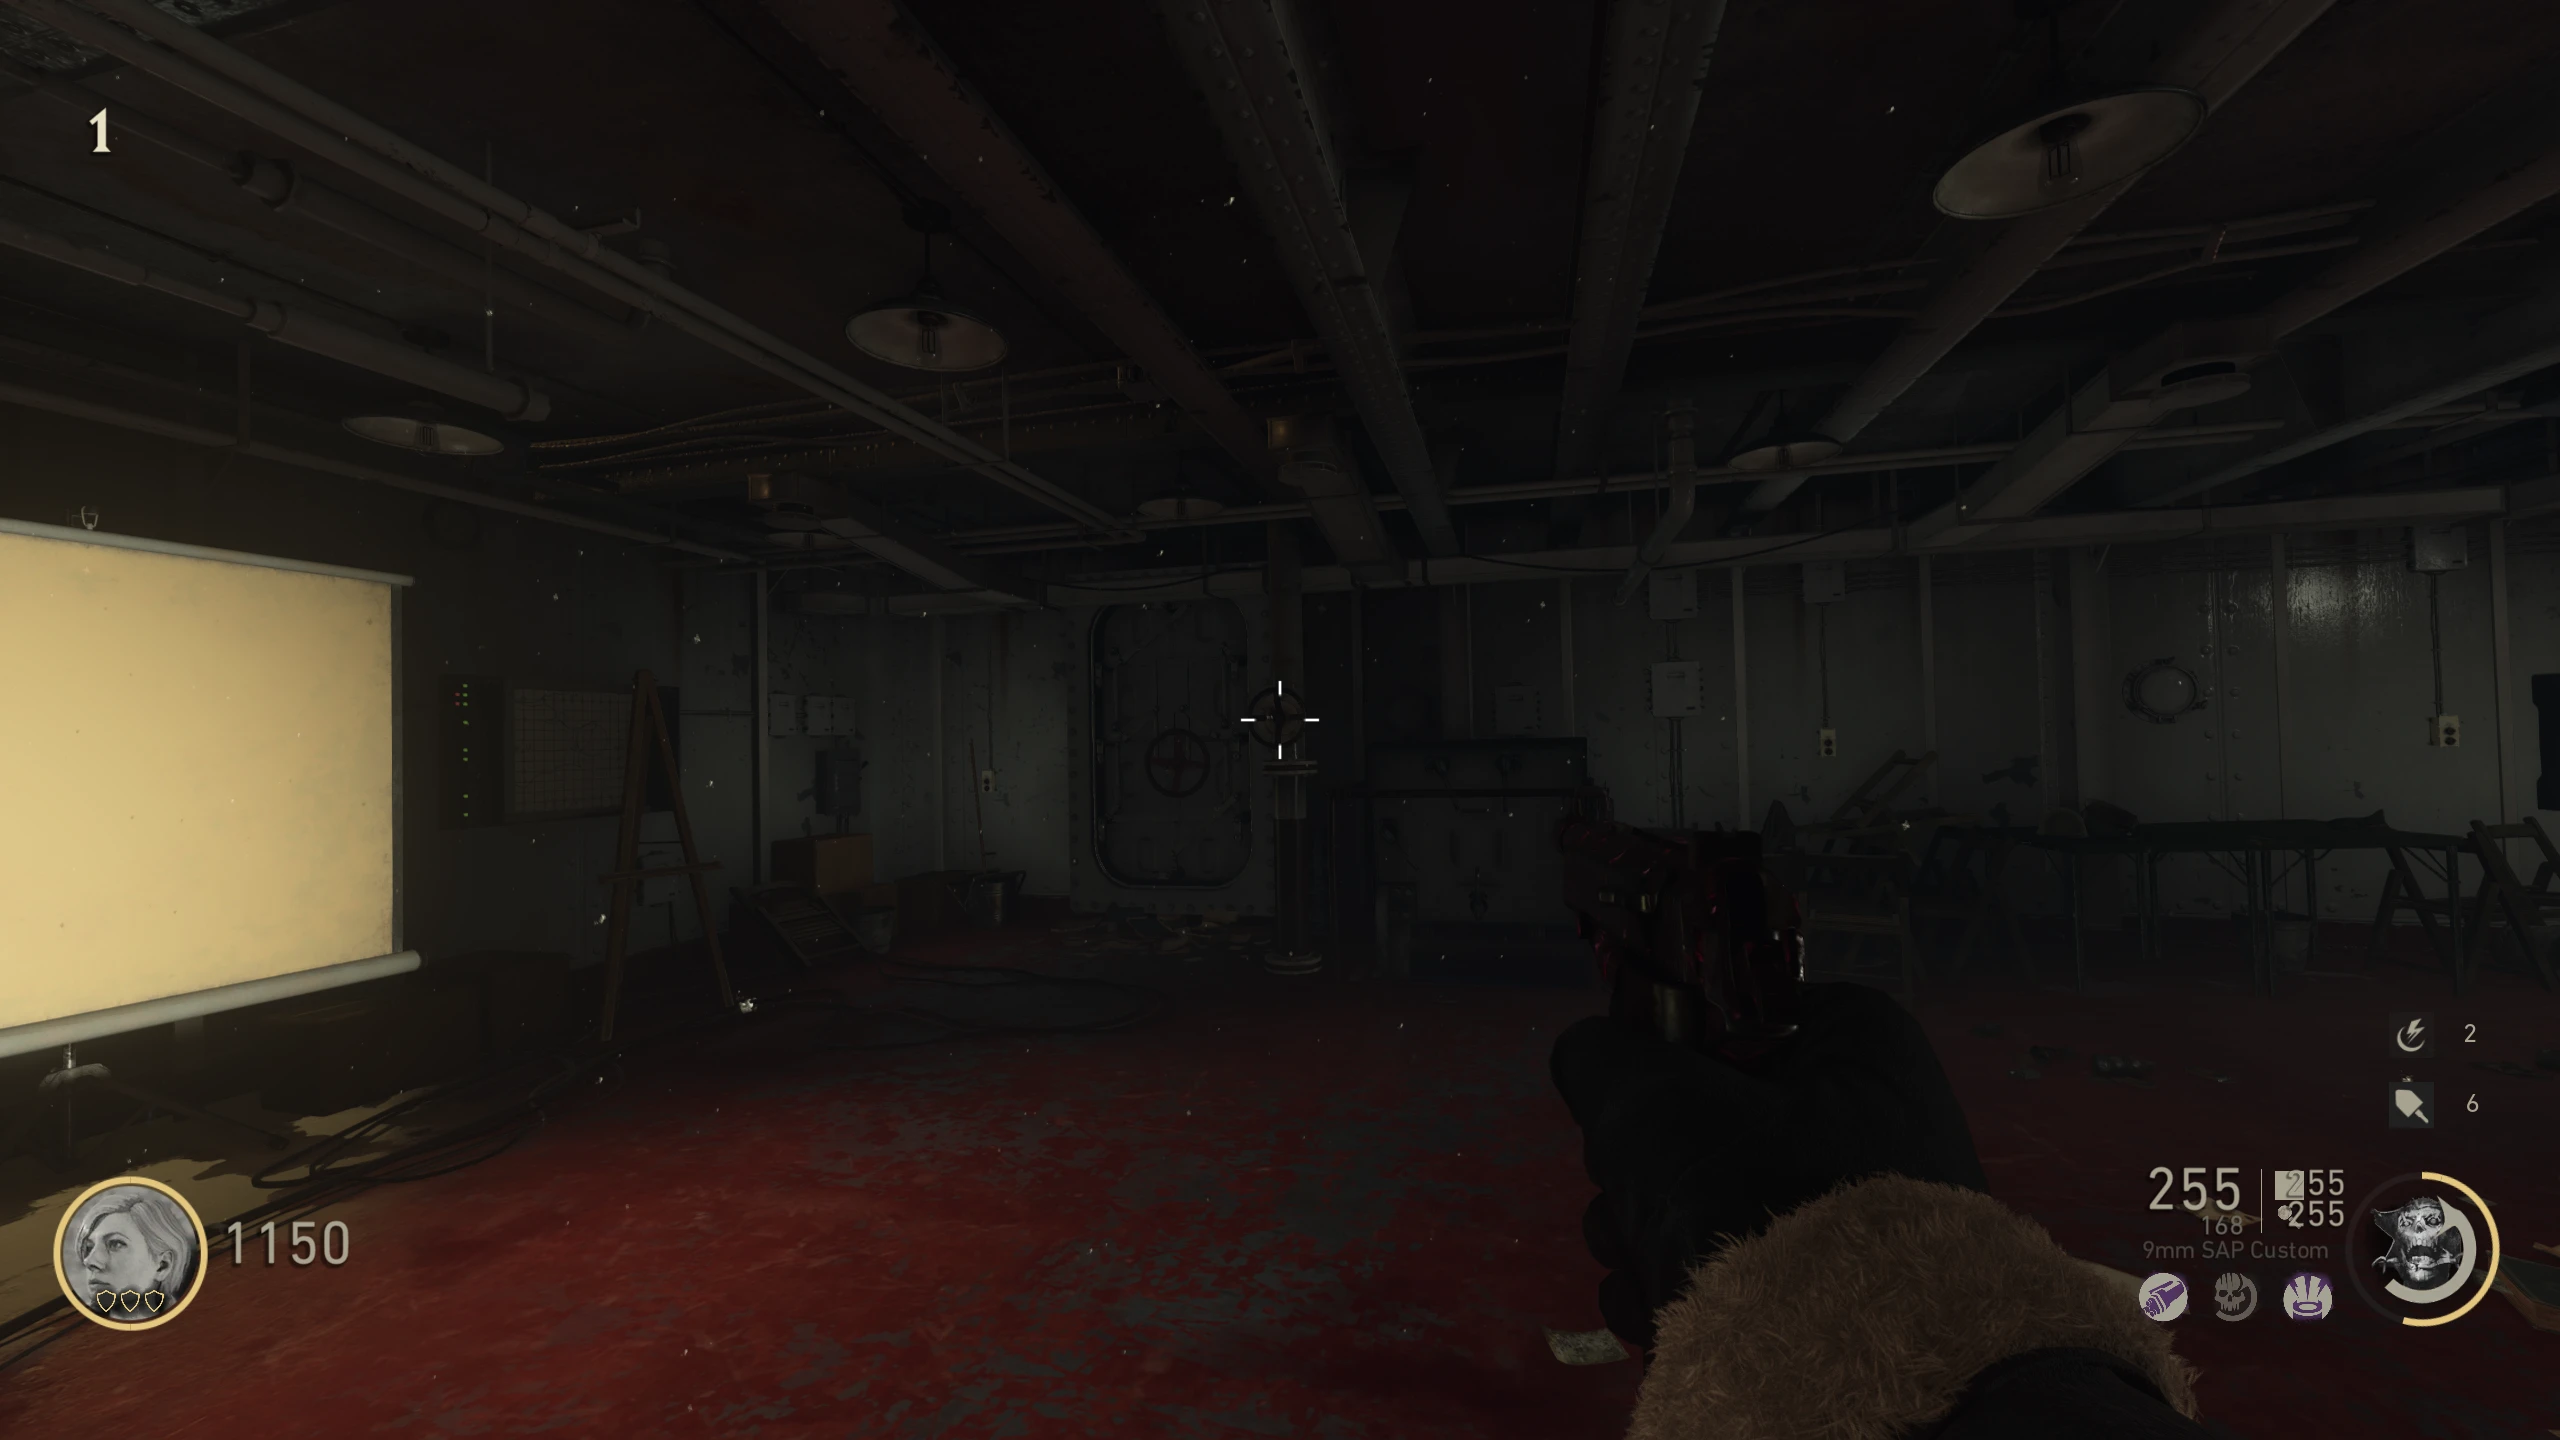
- Charge the green-lit battery with nearby kills at outside lower deck on wave 1, Projector Room from wave 5 and Barracks beside Pack-a-Punch from wave 10. Each stops collecting and extinguishes its light when full. Completing all three unlocks Ubersprengen.
Wave 1 survival battery: outside lower deckmmmrkennedy; game imagery Activision and the relevant game studio · Source ↗ Wave 5 survival battery: Projector Roommmmrkennedy; game imagery Activision and the relevant game studio · Source ↗ Wave 10 survival battery: Barracks beside Pack-a-Punchmmmrkennedy; game imagery Activision and the relevant game studio · Source ↗
Six valves for the PaP fuse
- Interact with the valve across from Pack-a-Punch. All six valves are required; the two in the connecting room are different controls.
Valve 1: across from Pack-a-Punchmmmrkennedy; game imagery Activision and the relevant game studio · Source ↗ - Interact with the valve across from Double Tap. All six valves are required; the two in the connecting room are different controls.
Valve 2: across from Double Tapmmmrkennedy; game imagery Activision and the relevant game studio · Source ↗ - Interact with the valve right of Projector screen. All six valves are required; the two in the connecting room are different controls.
Valve 3: right of Projector screenmmmrkennedy; game imagery Activision and the relevant game studio · Source ↗ - Interact with the valve left of Cafeteria-to-upper-deck stairs. All six valves are required; the two in the connecting room are different controls.
Valve 4: left of Cafeteria-to-upper-deck stairsmmmrkennedy; game imagery Activision and the relevant game studio · Source ↗ - Interact with the valve small Cafeteria–Barracks room. All six valves are required; the two in the connecting room are different controls.
Valve 5: small Cafeteria–Barracks roommmmrkennedy; game imagery Activision and the relevant game studio · Source ↗ - Interact with the valve same small room left of bed-room stairs. All six valves are required; the two in the connecting room are different controls.
Valve 6: same small room left of bed-room stairsmmmrkennedy; game imagery Activision and the relevant game studio · Source ↗ - After all six, collect the fuse on the PaP-room floor by the bed-room door. This enables Tesla, Ripsaw and melee special upgrades at Ubersprengen.
Sword unlock: seven 1,750-Jolt payments
- Complete the full Tortured Path main quest at least once on the profile before attempting this Sword route. Budget 12,250 Jolts for seven separate payments; completing this survival map’s Pack-a-Punch alone does not grant that campaign prerequisite.
- Drop 1,750 Jolts at life jacket on floor before Quick Revive. The rune accepts the money and glows purple when paid; a nearby payment that remains on the floor has not registered.
Sword payment 1: life jacket on floor before Quick Revivemmmrkennedy; game imagery Activision and the relevant game studio · Source ↗ - Drop 1,750 Jolts at boxes right of Grease Gun. The rune accepts the money and glows purple when paid; a nearby payment that remains on the floor has not registered.
Sword payment 2: boxes right of Grease Gunmmmrkennedy; game imagery Activision and the relevant game studio · Source ↗ - Drop 1,750 Jolts at lower-deck beam left of Mystery Box. The rune accepts the money and glows purple when paid; a nearby payment that remains on the floor has not registered.
Sword payment 3: lower-deck beam left of Mystery Boxmmmrkennedy; game imagery Activision and the relevant game studio · Source ↗ - Drop 1,750 Jolts at lower-deck rope pile near Mystery Box. The rune accepts the money and glows purple when paid; a nearby payment that remains on the floor has not registered.
Sword payment 4: lower-deck rope pile near Mystery Boxmmmrkennedy; game imagery Activision and the relevant game studio · Source ↗ - Drop 1,750 Jolts at bucket right of Projector screen. The rune accepts the money and glows purple when paid; a nearby payment that remains on the floor has not registered.
Sword payment 5: bucket right of Projector screenmmmrkennedy; game imagery Activision and the relevant game studio · Source ↗ - Drop 1,750 Jolts at connecting-room wall drawer; drop Jolts on floor before it. The rune accepts the money and glows purple when paid; a nearby payment that remains on the floor has not registered.
Sword payment 6: connecting-room wall drawer; drop Jolts on floor before itmmmrkennedy; game imagery Activision and the relevant game studio · Source ↗ - Drop 1,750 Jolts at under the bed right of Pack-a-Punch. The rune accepts the money and glows purple when paid; a nearby payment that remains on the floor has not registered.
Sword payment 7: under the bed right of Pack-a-Punchmmmrkennedy; game imagery Activision and the relevant game studio · Source ↗ - After all seven payments, stand in the glowing ring in front of Quick Revive and deliberately let a zombie down you. The scripted instant revive gives Sword. Other perks remain, but solo Quick Revive is lost; this intentional ritual has different consequences from the Frozen Dawn Shield trial.
Perform the intentional down only inside the activated glowing ring.
Sword ritual glowing ringmmmrkennedy; game imagery Activision and the relevant game studio · Source ↗
Maintain armour, ammunition and a retreat route
- Keep an upgraded weapon with a reliable refill route, armour and room to retreat before using Ubersprengen or purchasing perks. Save tactical distractions for a cornered player or revive. Completing the fuse/Sword routes improves equipment; it does not end this survival match.
Sources and review
Source-reviewed on 8 October 2026, using the references below and the research handoff. These instructions and puzzle calculations have software checks; they have not been verified in a complete in-game playthrough. Record symbols, sequences and completion cues from your match. Screenshot and community-chart creators are credited with each illustration.
- mmmrkennedy illustrated guide ↗
- mmmrkennedy illustrated guide (2) ↗
- r/CODZombies community guide (3) ↗
- Official Call of Duty guide (4) ↗
Select any reference image to enlarge it. Screenshot and symbol sources are credited in the linked walkthroughs; this guide uses local copies for reliable access.