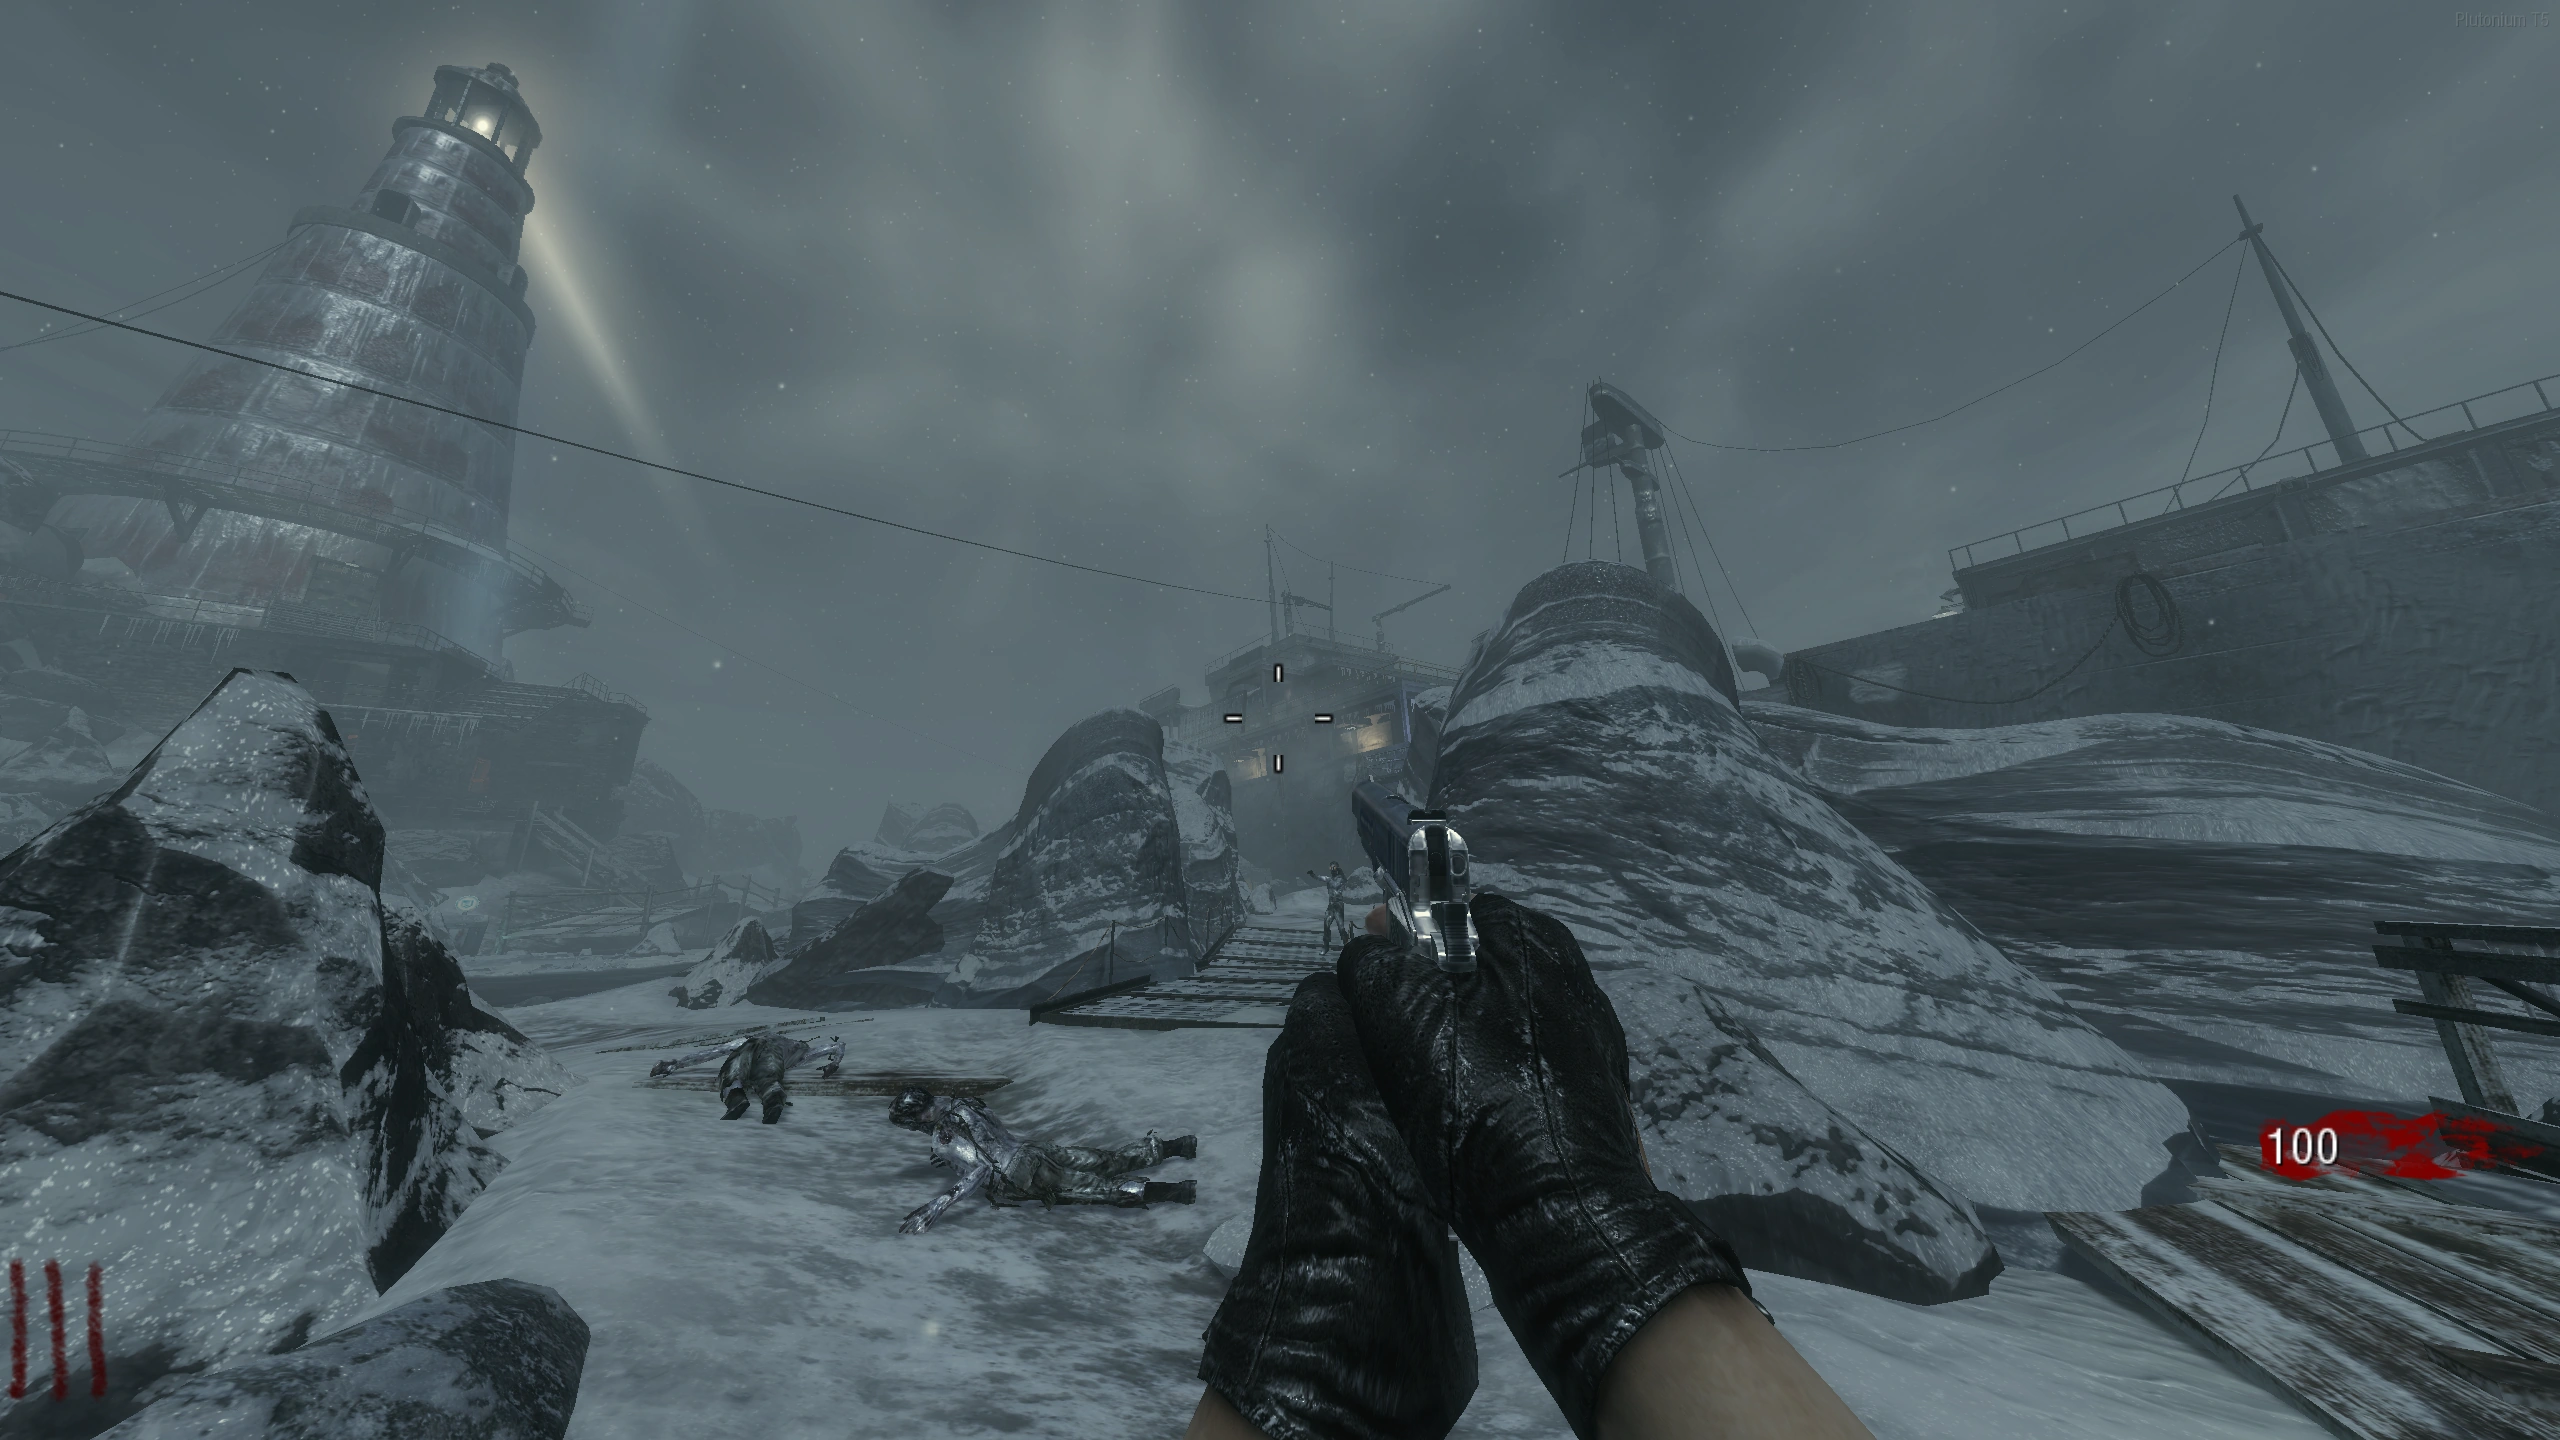
Key Features
Power, moving Pack-a-Punch and equipment
- From the beach, buy the route onto the broken ship and climb to its upper control room. Flip the wall switch to power the map. Open a route between the ship, lighthouse and Stamin-Up so you can reach generators and return to the quest door without dead ends.
The broken ship: climb to the upper control room for power. Power Switch - Follow the lighthouse beam to the active Pack-a-Punch: the water beside Spawn/Quick Revive, the water behind the lighthouse toward Stamin-Up, or the bow-side water near Jugger-Nog. Its location changes and the machine is available for a limited window. Bring 5,000 points, upgrade when it arrives and collect the weapon promptly.
Spawn - Right of Quick Revive Behind the Lighthouse - In the water between the Lighthouse and the Stamin-Up machine. Bow of the Ship - In the water, near the Juggernog machine - The Mystery Box supplies the V-R11, Scavenger and Matryoshka Dolls. Keep the V-R11 for the main quest; the Scavenger is an explosive rifle, not a substitute for transforming the required zombie. PhD Flopper protects against your own explosive damage and is particularly useful with an upgraded Scavenger. Jugger-Nog is reached through the ship’s flooded lower route.
- The ship-top zipline returns to the coast, and the lighthouse-top zipline reaches the ship. Each costs 250 points and travels one way. The ship’s flinger is free: stand on its platform until it launches you toward the lighthouse, allowing for its cooldown. Cold water slows you and eventually freezes you; leave it promptly after calming George or reaching Pack-a-Punch.
- Choose the route for your lobby. Solo earns Stand-in and skips the vodka, radios, foghorns and lighthouse dials. With 2–4 players, Ensemble Cast includes all of those stages and needs a second player to catch the vodka. Both routes use the fuse, four generators, ship controls and transformed human.
Let each door conversation finish before moving to the next task. Knife the metal door when a step asks you to report back.
Main Quest
Start the rescue and replace the fuse
- With power on, go below the PhD Flopper room in the lighthouse annex. Knife the large metal door and listen to the trapped crew. Wait until they ask for a fuse before searching upstairs.
The crew’s metal door in the lighthouse annex, downstairs from PhD Flopper. - The fuse is upstairs in the PhD room at one of three spots: on the desk to the left of the machine, on the floor beside the locker, or on the small table with car batteries. Pick it up, return downstairs and insert it into the electrical box to the right of the metal door. Knife the door and wait for the next request.
PhD Flopper Room - On the desk, left of the PhD machine PhD Flopper Room - Left of the locker, in front of the PhD machine PhD Flopper Room - On the table with the car batteries Fuse box immediately to the right of the crew’s metal door.
Quest item & location finder Open helper
Choose what you are looking for, narrow by area and select a photograph to enlarge it. Use the instructions for the current step before interacting.
Both routes. Search upstairs only after the crew asks for a fuse. Pick up the one that appears, then fit it into the box beside the downstairs door.
3 references
Saved for this BO1 helper in this browser. Open this step in the map guide →
Image sources and editions
Gameplay: Activision / Treyarch. Photographs and symbol references: mmmrkennedy, COD Zombies Guides and their credited community contributors. Shared-location photographs can show a remaster; the instructions and weapon landmarks here describe Black Ops (2010). See the map’s sources.
Disable all four red generators
- After the dialogue, use explosive splash to extinguish each red generator light. Semtex is a reliable choice; aim close enough for the explosion to reach the unit, not merely its surrounding railing. The red light going out confirms each hit. Return to the door and knife it after all four are dark.
- In the same room, directly opposite the quest door.
- In the water behind the ship’s MPL/stern area.
- In the water beside the ship-to-Spawn shortcut.
- Outside the left window of the Stamin-Up building.
Lighthouse - Across from the Metal Door Ship Stern - In the water, outside the map, right of the MPL wallbuy In the shortcut from the ship to spawn Behind the Lighthouse - Out the Zombie spawn window, left of the Stamin-Up machine
Quest item & location finder Open helper
Choose what you are looking for, narrow by area and select a photograph to enlarge it. Use the instructions for the current step before interacting.
Both routes. Search upstairs only after the crew asks for a fuse. Pick up the one that appears, then fit it into the box beside the downstairs door.
3 references
Saved for this BO1 helper in this browser. Open this step in the map guide →
Image sources and editions
Gameplay: Activision / Treyarch. Photographs and symbol references: mmmrkennedy, COD Zombies Guides and their credited community contributors. Shared-location photographs can show a remaster; the instructions and weapon landmarks here describe Black Ops (2010). See the map’s sources.
Co-op only: catch and deliver the vodka
- After the door asks for vodka, search the four railing spawns shown below. Have one player stand directly underneath the frozen bottle while the other knifes it from above. The lower player catches it automatically. If it shatters, check the spawns again and adjust the catcher’s position before another attempt.
- Outside the PhD stairs, on the lower railing.
- On the higher railing by the lighthouse-side Box spot.
- On the ship railing by the MPL/M16 route.
- On the railing of the connection between the two ship sections near the MP40.
Front of the Lighthouse - Railing on the stairs outside the PhD Flopper room Lighthouse front: high railing beside the Box spot, above the PhD stairs. Ship - Railing above and to the right of the MPL wallbuy Ship - Railing connecting the two sides of the broken ship - Take the bottle to the pneumatic tube on the left of the quest door and interact to send it through. Knife the door and let the conversation finish. Solo players bypass this entire phase.
Delivery tube to the left of the crew’s metal door.
Quest item & location finder Open helper
Choose what you are looking for, narrow by area and select a photograph to enlarge it. Use the instructions for the current step before interacting.
Both routes. Search upstairs only after the crew asks for a fuse. Pick up the one that appears, then fit it into the box beside the downstairs door.
3 references
Saved for this BO1 helper in this browser. Open this step in the map guide →
Image sources and editions
Gameplay: Activision / Treyarch. Photographs and symbol references: mmmrkennedy, COD Zombies Guides and their credited community contributors. Shared-location photographs can show a remaster; the instructions and weapon landmarks here describe Black Ops (2010). See the map’s sources.
Co-op only: play the four radios in order
- Interact with the four small radios in the following order. Use a single assigned player to avoid accidental extra presses. These quest radios are separate from the large story-recording equipment. A failed set produces an error sound; let it finish before restarting from radio one.
- 1. Ship: on the cabinet/computers one level below the power room.
- 2. Stamin-Up: on the barrel in the building.
- 3. Ship bow: on the cargo crate by the bottom of the lighthouse zipline.
- 4. Quest-door room: on the cabinet beneath the stairs.
Ship - On top of a computer, in front of the Mystery Box location under the power room Stamin-Up Room - On a barrel, right of a Zombie spawn Ship Bow - In a cargo crate, at the bottom of the Zipline from the top of the Lighthouse Metal Door Room - On a cabinet under the stairs, right of a Zombie spawn window
Quest item & location finder Open helper
Choose what you are looking for, narrow by area and select a photograph to enlarge it. Use the instructions for the current step before interacting.
Both routes. Search upstairs only after the crew asks for a fuse. Pick up the one that appears, then fit it into the box beside the downstairs door.
3 references
Saved for this BO1 helper in this browser. Open this step in the map guide →
Image sources and editions
Gameplay: Activision / Treyarch. Photographs and symbol references: mmmrkennedy, COD Zombies Guides and their credited community contributors. Shared-location photographs can show a remaster; the instructions and weapon landmarks here describe Black Ops (2010). See the map’s sources.
Both routes: set the ship controls
- Return to the power room. From their untouched starting positions, turn the ship’s wheel twice clockwise so its differently coloured handle points down-right, around five o’clock. Pull the left lever once, leave the middle lever alone, and pull the right lever three times. Compare the completed wheel and levers in the photos.
Completed wheel: the brown handle points down-right, around five o’clock. Completed levers: left pulled once, middle untouched, right pulled three times. - The submarine and its signal confirm the ship settings. In solo, continue straight to the green-beam/human phase. In co-op, answer the submarine with the foghorns and solve the lighthouse dials first.
The submarine surfaces beyond the ship near Jugger-Nog.
Co-op only: answer the submarine’s foghorns
- While the submarine is surfaced, use these four horns in order. Plan the two slide trips before starting; another player can cover the Speed Cola pair. Match the landmarks in the photographs, because two horns sit close together at each end.
- 1. Beside the small pool outside the lighthouse.
- 2. At the water exit immediately after the Speed Cola ice slide.
- 3. Beside the lighthouse wall to the left of its doorway.
- 4. On the rock/island beyond the slide-exit horn.
At the base of the Lighthouse, next to the pool of water After the slide to Speed Cola, around the corner to the right, in the water At the base of the Lighthouse, on the left hand side next to the building After the slide to Speed Cola, behind the huge rock on the island - If the submarine sinks after an incorrect response, stop pressing horns. Wait for it to surface again on the next round and enter the complete order from the beginning. A successful response advances the beam setup.
Co-op only: solve the four linked lighthouse dials
- The target from top to bottom is Yellow 2, Orange 7, Blue 4, Purple 6. Turning a dial adds one to itself and the immediately adjacent floor dial(s), wrapping 9 back to 0. Setting each floor independently will disturb the others. Read all four current digits and enter them in the solver below; apply its turn counts without additional adjustments.
Yellow dial · lighthouse top floor · target 2. Orange dial · lighthouse floor 3 · target 7. Blue dial · lighthouse floor 2 · target 4. Purple dial · lighthouse bottom floor · target 6. - Check all four final digits in-game. If you miscounted, read the new values and calculate a fresh answer. Once the earlier radio, ship and horn steps and the dials are correct, a green beam runs through the lighthouse’s central shaft.
Lighthouse dial solver Open helper
Co-op quest only. Enter the four digits currently visible in your lighthouse. The answer accounts for the neighbouring dials that move with each turn.
Your turn instructions
Read all four current digits to calculate the turns.
Final digits · top → bottom2 · 7 · 4 · 6
One press advances that dial and its immediate neighbours by 1; 9 wraps to 0. If a turn is missed or added, read the four new digits and replace your inputs to get a fresh solution.
Find the four dials and see which ones move together
Top floor · 4 · Yellow
One yellow turn moves Yellow + Orange.
Floor 3 · Orange
One orange turn moves Yellow + Orange + Blue.
Floor 2 · Blue
One blue turn moves Orange + Blue + Purple.
Bottom floor · 1 · Purple
One purple turn moves Blue + Purple.
Saved for this BO1 helper in this browser. Open this step in the map guide →
Image sources and editions
Gameplay: Activision / Treyarch. Photographs and symbol references: mmmrkennedy, COD Zombies Guides and their credited community contributors. Shared-location photographs can show a remaster; the instructions and weapon landmarks here describe Black Ops (2010). See the map’s sources.
Both routes: send the human up the beam
- Bring a zombie to the bottom of the lighthouse and shoot it with the V-R11 to turn it into a human. It runs into the green beam. Immediately damage the human with a strong gun or explosives until it enters a downed pose before reaching the top. Have the damage weapon ready before transforming it. If it escapes standing, repeat with another zombie.
The green beam rises through the lighthouse’s central stairwell. Damage the transformed human until it is downed before it reaches the top. - After the successful sacrifice, the Golden Rod descends to the lighthouse floor. Pick it up, take it to the tube left of the quest door and send it through. Wait through the dialogue, then knife the sparking fuse box to finish the rescue.
The Golden Rod arrives at the bottom of the lighthouse after the sacrifice. Fuse box immediately to the right of the crew’s metal door. - Collect the Wunderwaffe reward outside the door. It is a temporary limited-ammo pickup, not a permanent third inventory weapon. Solo completes Stand-in; the 2–4-player route completes Ensemble Cast. Completing the co-op route is also part of the original Moon full-quest prerequisite.
Side Quests
George Romero: calm him, defeat him or send him away
- George becomes aggressive when hurt or when he reaches a player. Lead him into water to calm him again. Keep the last zombie away from him while doing the door steps; random splash from your quest explosives can pull him back into the fight.
- To earn his drop, deal enough damage to defeat him. His health scales with player count, so reserve ammunition and use the lighthouse/ship sightlines rather than firing while trapped at his feet. His lamp changes colour as he weakens. Defeat drops a random perk bottle and a Death Machine; after the quest has been completed on the profile, the weapon drop can be a Wunderwaffe instead.
George’s stagelight glows orange when he is close to defeat. - Shooting George in water with the upgraded V-R11 can send him away temporarily. This is crowd management, not a damaging kill: it does not award the perk or weapon drop. He can return later, so continue to watch the water.
Not Ready to Die
- Interact with three red meteor fragments: on the barrel by the Spawn water, beneath the small end table in the PhD room, and on a booth seat/table area in the ship cafeteria. Listen for a cue at each. The final fragment starts Not Ready to Die.
Spawn - On a barrel next to the water PhD Flopper room - Underneath a small table Ship's Stern - On a bench in the ship's dining area (first room below the power room)
Richtofen’s five diary radios
- These are five story recordings, separate from the four co-op puzzle radios. Activate them in the following order and let each recording finish. No fuse, foghorn or dial input is needed to collect this lore.
- 1. Stamin-Up building: beneath the garage door to the right of the machine.
- 2. Lighthouse top: to the right of its Mystery Box spot.
- 3. Ship: in the shallow water below the MP40, beside the stairs.
- 4. Ship front: to the right of Double Tap.
- 5. Beyond the Speed Cola/Sickle tunnel: on the rock.
Sources and review
Written for Black Ops (2010), with its title updates; mobile editions and modded maps can differ. Community guides and illustrated references were cross-checked on 3 October 2026. Gameplay: Activision / Treyarch; photographs: the credited community authors below. Reused photographs may show a remaster of the same location; the instructions describe this edition. Source review and software checks are not an in-game playthrough.
- r/CODZombies community guide ↗
- mmmrkennedy illustrated guide (2) ↗
- COD Zombies Guides illustrated walkthrough (3) ↗
- callofduty.fandom.com reference (4) ↗
Select any reference image to enlarge it. Screenshot and symbol sources are credited in the linked walkthroughs; this guide uses local copies for reliable access.