Key Features
Power, elevators and a safe return route
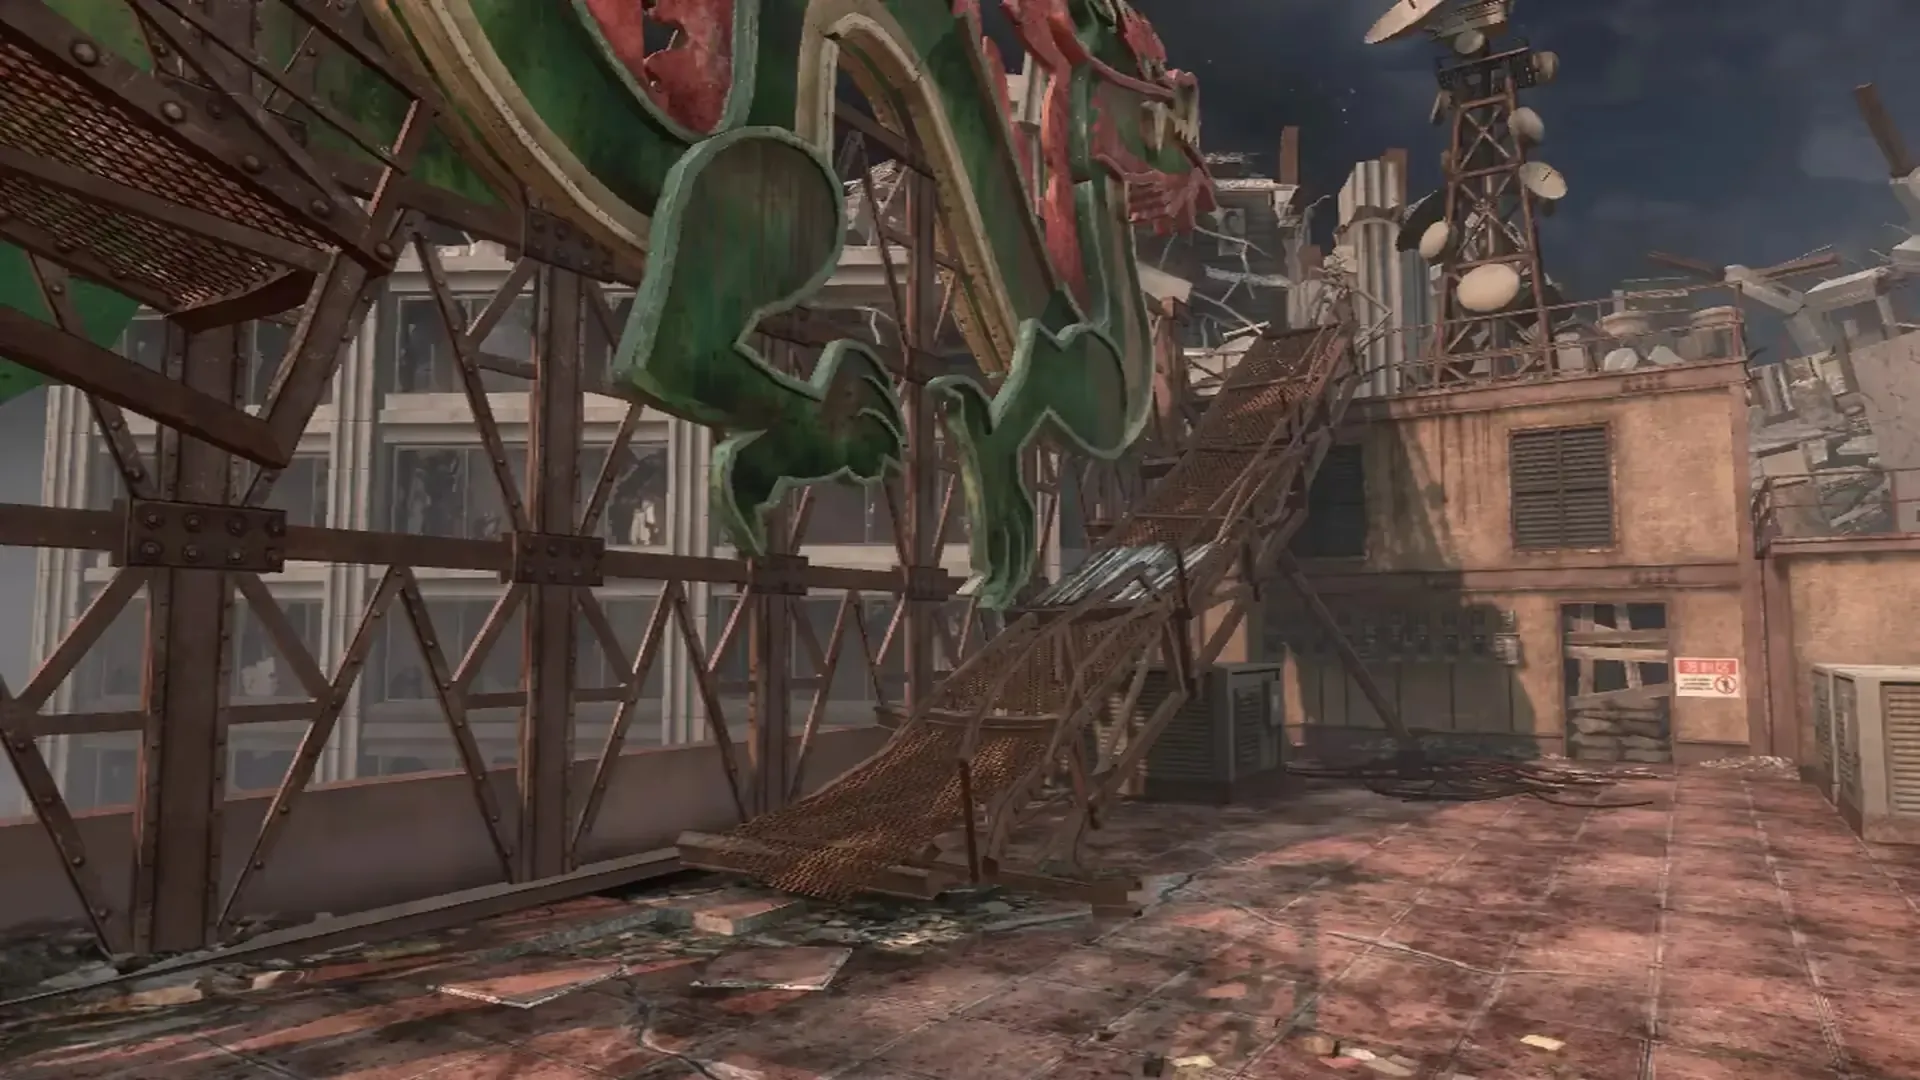
- From spawn, the broken starting elevator drops you toward the lower floor. Cross to the power building using the broken passages and mattress landing, then turn on the switch beside the sewing machines. Its elevators now move and carry perks or Pack-a-Punch between floors. Ride upward to reach the dragon roof. Before any drop, identify a visible landing and how you will get back; an arbitrary long fall kills you.
- Read which machine is in each elevator rather than assuming a fixed shaft. Spawn-side elevators carry Quick Revive, Speed Cola and Who’s Who; the power-building group carries Jugger-Nog, Double Tap, Mule Kick and Pack-a-Punch. Buy or upgrade when it has just arrived and remains stationary, then step clear. Bells and closing doors warn it is about to move; staying on its roof at the top of a shaft crushes you.
Jugger-Nog Elevator — reference 1 Pack a Punch Elevator — reference 1 - A key from the bottom of the starting elevator can call a lift at a floor switch; it is consumed when used. The starting elevator control panel can return that lift once the players who dropped with it are back aboard. Keep the AN-94 near the lower route or PDW on the spawn-building route as an ammunition plan before spending heavily at the Box. Who’s Who creates a vulnerable double that must revive your body to recover your equipment; it does not make falls safe.
Die Rise Elevator Key — reference 1 Die Rise Elevator Switch — reference 1 Die Rise Elevator Spawn Room Control Panel — reference 1
Trample Steam and Sliquifier
- Gather the mesh screen, motor/compressor, bellows and flag from spawn and the adjacent lobby: by the front door/wall, desk or collapsed stairs, stairway/wall, and chair/railing respectively. Carry them one at a time to the Trample Steam bench in the room reached by dropping from the lobby, beside the perk elevators. Place the device on level ground and let it reset before stepping on it. Each teammate takes their own from the completed bench.
Trample Steam Pump — reference 1 Trample Steam Power Supply — reference 1 Trample Steam Flag — reference 1 - At the workbench beneath the power room, assemble four Sliquifier parts. The foot is on the floor between the couch and TV near the stairs. The trigger/handle is on a Power-room desk by the elevators or the lower kitchen counter. The bottle is on the desk opposite power or the bottom shelf right of the build bench. The round canister/gauge is on a desk in the upper entry room or a barrel opposite the lower bench. Check both possible spots for each variable part.
Sliquifier Handle — reference 1 Sliquifier Gage — reference 1 Sliquifier Bottle — reference 1 - Shoot a gathered group to start a Sliquifier chain reaction; leave space so another zombie steps into the effect. The purple puddle also makes players slip, so keep it away from narrow ledges and jump takeoffs. The original weapon has no Pack-a-Punch upgrade. Keep one available for Richtofen’s branch. A broken Trample Steam is replaced at its bench, not repaired by firing the Sliquifier.
Main Quest
High Maintenance — shared opening
- Bring four players on Original, build the rooftop Navcard table, turn on power, and let everyone take a Trample Steam. Both branches use a sniper and Galvaknuckles later. Richtofen needs the Sliquifier; Maxis needs a Pack-a-Punched Ballistic Knife. For Maxis, reserve a player who has not bought a Bowie Knife or Galvaknuckles and has not bled out to operate the Ballistic Knife.
- Stand simultaneously on the four golden symbols atop elevators: Quick Revive outside spawn, the elevator left of the Trample Steam bench, the one beside power, and the one near the MP5. Coordinate while the lifts are low enough to stand on safely. All four symbols light and dialogue confirms the step; get off before being crushed.
symbol above quick revive elevator symbol above the elevator left of the trample steam buildable symbol above power switch elevator symbol above elevator near the mp5 wall buy - Now test the four floor symbols one at a time: outside spawn’s Quick Revive lift; roof near the drop from the power building; upside-down cafeteria; roof outside the bank/shower area. A correct next tile stays illuminated. After a wrong tile, replay the accepted prefix before trying another. Keep someone at each tile; if repeated failures change the sequence, discard the old assumptions and retest.
floor symbol in front of the quick revive elevator outside of spawn floor symbol atop the power building near the drop down floor symbol inside of the cafeteria floor symbol on the rooftop of the building outside the bank shower area - Buy the SVU-AS or obtain another sniper. From the roof, shoot the ball inside each dragon’s mouth. Confirm both have moved to the paws of the lion statues back in spawn. Choose one branch below; do not mix the lion and zombie Trample Steam positions.
first dragon mouth second dragon mouth ball under lion statue paw
Maxis — Buddha room and lion launchers
- Kill zombies continuously on the lower floor of the red Buddha room until Maxis talks about reincarnation. Keep the team’s kills inside this room; kills outside interrupt the sequence. Bring sufficient ammunition and leave the special Ballistic Knife player free to prepare.
buddha room - The player reserved earlier must Pack-a-Punch a Ballistic Knife into the Krauss Refibrillator and fire it inside the Buddha room. Listen for Maxis’s acceptance before progressing; try a shot into a zombie there if a shot at the floor does not trigger it. Reviving a deliberately downed teammate is not a universal requirement. A prior melee-weapon purchase or bleed-out can invalidate the operator, so use the reserved player.
- Place four Trample Steams on the lion symbols, facing along the lion’s head: spawn, bottom of the spawn escalators, roof by the Box, and roof by the two elevators. Correctly aligned devices lock into position. Two players collect the spawn balls and put one on the spawn launcher and one on the escalator launcher. Their repeated flights feed the tower. Wait for the orange glow before the Mahjong finale.
lion symbol in the spawn room lion symbol in the spawn building bottom of escalators lion symbol atop the power building near the box location lion symbol outside of the two elevators atop the power building
Richtofen — Sliquifier and zombie launchers
- Shoot each spawn lion ball repeatedly with the Sliquifier until it spins; allow roughly twenty direct hits per ball and watch the result instead of counting blindly. Stuhlinger hears the next blood-sacrifice instruction. Do not take the balls for the Maxis launcher route.
ball under lion statue paw - Place four Trample Steams on the golden zombie silhouettes facing toward the pylon: outside spawn’s Quick Revive, the Semtex balcony, and the two roof marks by the slope down from the power roof. Feed zombies into the launchers until blue energy lights the tower. If a device is destroyed, replace it in the same orientation and continue.
zombie symbol outside the quick revive elevator zombie symbol on the balcony near semtex wall buy two zombie symbols next to pathway leading down from power roof
Both routes — decode the tiles and strike the tower
- Find eight Mahjong tiles among the eleven photographed spawn points. Four tiles mean compass directions and four represent strike numbers 1–4. Match a direction tile and a number tile by their shared red, green, blue or black colour. The colour pairing changes each game. Enter the observed colours beside the photographed shapes in the helper; do not treat a tile’s picture alone as a permanent strike order.
mahjong tiles - Search the roof pylon corner and lawn chair; spawn desk, escalator bottom and broken stairs; the upside-down couch; the lowest safe ledge of the shaft below Galvaknuckles; upper Buddha room ledge; power room sewing table; shelf by the AK74u; and kitchen counter near the MP5. Only eight positions contain a tile. The helper’s reference gallery shows all eleven.
- The pylon leg beside the photographed tile spawn is North (the side facing away from the Power Building), even if that spawn is empty. Orient yourself from that fixed anchor; screen-left and screen-right change when you walk around the tower. With Galvaknuckles, strike the four legs once each in the decoded 1–4 order. A wrong attempt extinguishes the glow and requires the next round before retrying. Electricity over the whole tower, the achievement and all perks confirm the selected route.
The decoder rejects repeated colours. Recheck a misread black/blue tile before spending a once-per-round attempt.
corner of the pylon tile spawn
Mahjong tower order Open helper
Match each pictured shape to the colour seen in your match. A number and direction with the same colour tell you which tower leg to strike.
Read the eight tiles first
Record all eight tile colours before striking the tower.
Find North before striking. It is the pylon leg beside the photographed tile spawn, facing away from the Power Building. The other legs follow compass order around the tower. Use Galvaknuckles only after the quest has lit the legs. A wrong order means waiting until the next round.
All 11 tile locations and the North anchor
Eight tiles occupy these possible positions. The reference chart shows the shapes; its printed colours are not your match’s colour assignments.
Saved in this browser, shared with the inline helper. Reset for a new match. Open this step in the map guide →
Reference credits
Game: Activision / Treyarch. Photographs and charts: COD Zombies Guides and its credited contributors. Origins shares the photographed symbol references with its Chronicles helper; BO2 observations are saved separately. See the map’s source links for the original walkthroughs.
Side Quests
Jumping Jacks and free perk bottles
- On a Jumping Jack round, kill every crawler without missing a fired bullet to earn the bonus perk bottle. The dependable approach is melee and correctly placed Trample Steams, with nobody firing. One teammate firing a missed shot can spoil the bonus for the round. Finish the last crawler and collect the perk and Max Ammo after reloading.
- Bonus bottles can take you above the four purchased-perk limit. Buy essential perks before collecting a bottle to reduce the chance it fills an ordinary purchase slot. Keep space around the launcher so a crawler cannot push you off a ledge. The PhD machine seen through the starting shaft is a tease, not an accessible BO2 perk purchase.
Rooftop Navcard table, bank and locker
- The shower fixtures just outside the Power room act as the bank: the left deposits points and the right withdraws them. The weapon locker is beside these showers. They share supported online-profile storage with TranZit and Buried. Deposits do not replace the four-player quest requirement. Refill ammunition and retrieve a Trample Steam before leaving this lower route.
We All Fall Down and small secrets
- Interact with all three teddy bears: shelves beside the SVU-AS in the spawn building; the upper ledge of the Buddha room near its window barrier; and the sewing-machine table in the power room. Each makes a cue, and the third starts We All Fall Down.
- The inaccessible PhD room, distant groans and skyline details are environmental secrets. They do not unlock PhD or a second wonder-weapon upgrade in the original game. Green-flash persistent bonuses can carry between supported Victis matches; the main quest above does not depend on them.
Sources and review
Written for the original Black Ops II release, on Original difficulty unless a mode is specified. Instructions were cross-checked against the linked community sources on 3 October 2026. Gameplay: Activision / Treyarch; photographs and charts: COD Zombies Guides, its credited contributors, mmmrkennedy and other sources named below. Shared-layout images may show another edition; follow the BO2 instructions. Source review and website checks are not an in-game playthrough.
- r/CODZombies community guide ↗
- COD Zombies Guides illustrated walkthrough (2) ↗
- JokerAlex21 illustrated guide (3) ↗
- Edward D. Saterstad illustrated reference (4) ↗
- Steam Community walkthrough (5) ↗
Select any reference image to enlarge it. Screenshot and symbol sources are credited in the linked walkthroughs; this guide uses local copies for reliable access.