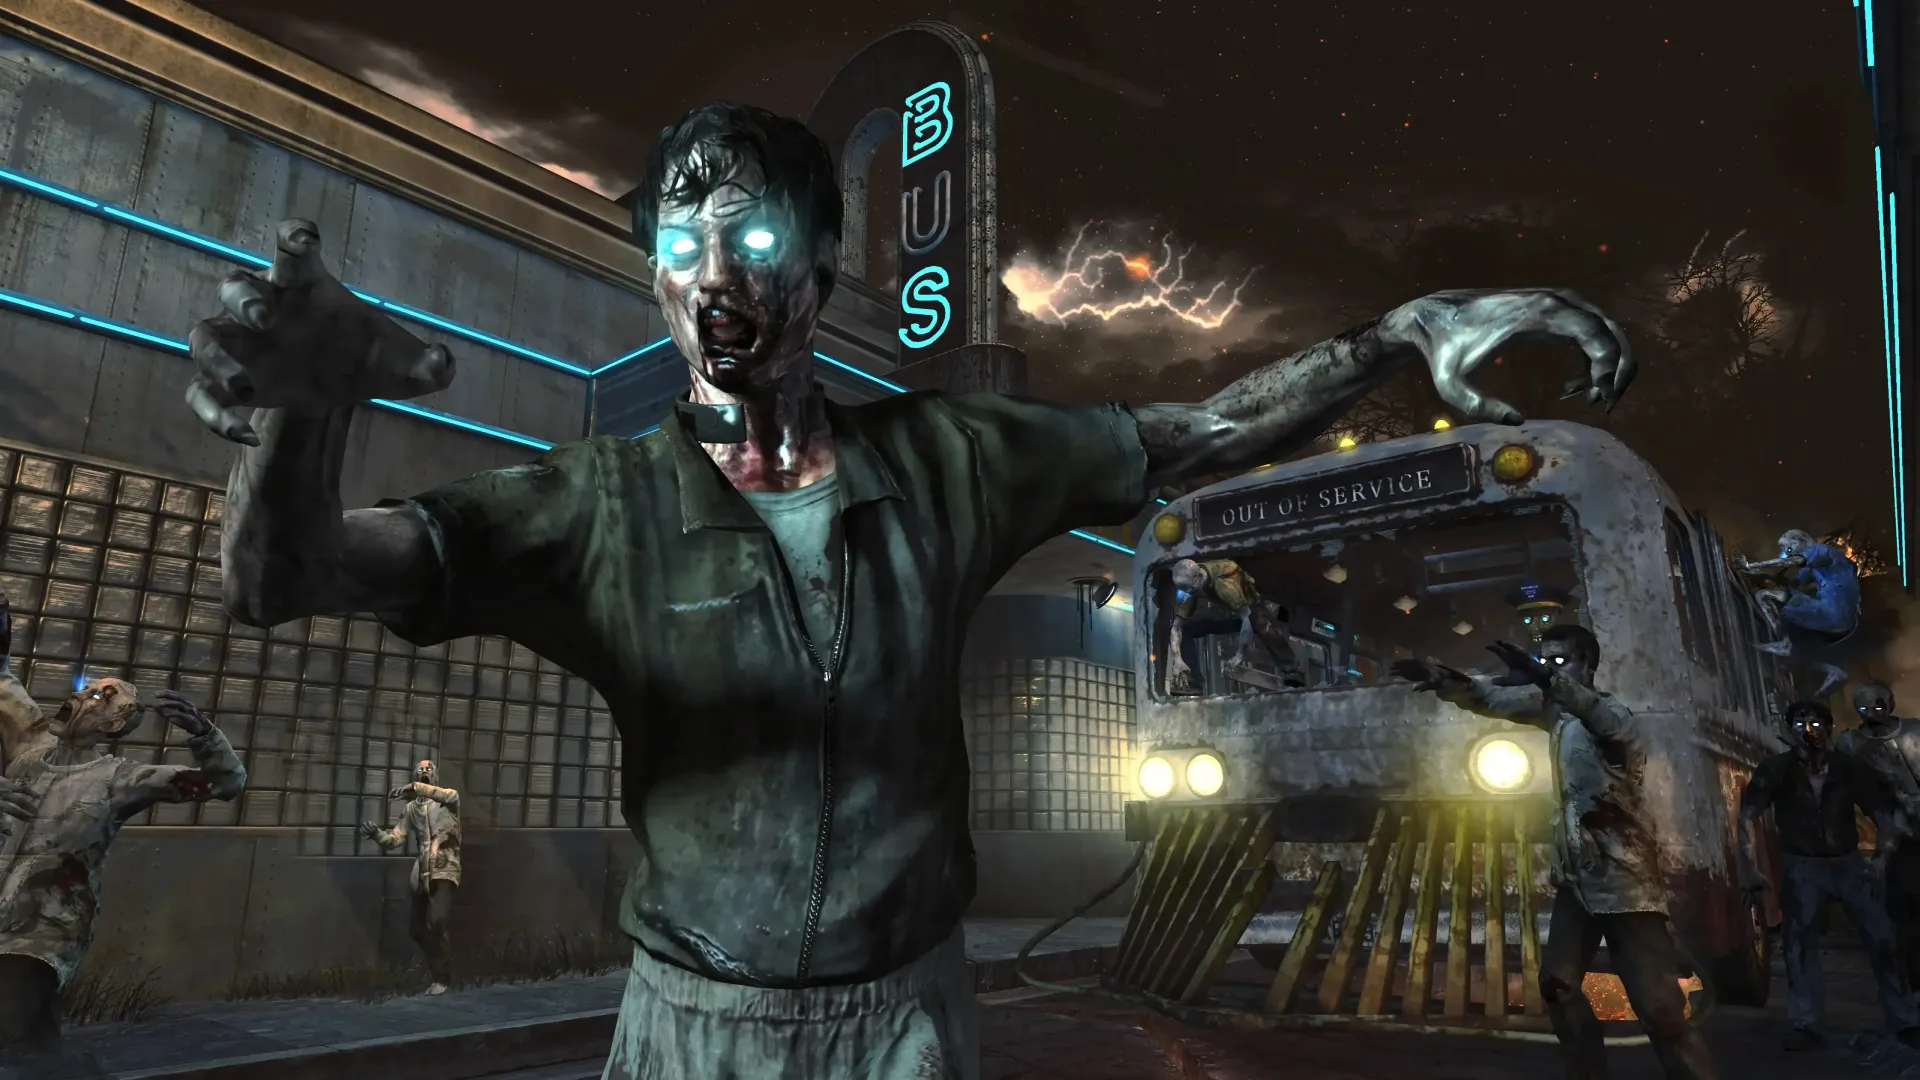
Key Features
First circuit: Turbine, power and perks
- Before leaving Bus Depot, take the mannequin beside the central sign, the fan on the seats and the model-plane tail near the payphones. Carry one part at a time to the workbench in the starting room. Everyone can take a Turbine from the finished bench. Deploy it at the side door to leave without buying the main door; pick it back up after passing through. A broken Turbine can be replaced at this bench.
Tranzit, Turbine — reference 1 Tranzit, Turbine — reference 2 Tranzit, Turbine — reference 3 - The bus travels Bus Depot → Diner → Farm → Power Station → Town → Bus Depot. It does not wait for your setup to finish. At Diner, the MP5 is a dependable refillable weapon and the first Mystery Box is outside. At Farm, open the farmhouse for the weapon fridge and reach the barn for Double Tap. Save enough for the Power Station shed and Town’s Jugger-Nog building.
- At the fourth stop, buy the small shed door and drop through its floor. In the white underground room, collect the electrical panel, switch handle and severed hand from the floor/railings and assemble them at the workbench. Turn the completed switch on. Wait for the electrical sequence and dialogue before leaving via the upper catwalk; a Turbine can open the exit gate. Avoid the open pit. For Maxis, wait for his instruction, then switch power off. For Richtofen or ordinary setup, leave it on.
Tranzit, Power — reference 1 Tranzit, Power — reference 2 Tranzit, Power — reference 3 - Perks by stop: Quick Revive at Bus Depot; Speed Cola inside Diner; Double Tap upstairs in Farm’s barn; Tombstone upstairs beyond Power in co-op; Jugger-Nog upstairs in Town’s damaged building; Stamin-Up in Town’s bar. A Turbine can temporarily supply a machine when the main power is off. Do not expect that temporary supply to last after the Turbine is removed or breaks.
Open and build Pack-a-Punch
- With power on, put a fresh Turbine directly against the lightning-marked metal door behind the drop into the white Power Station room. This opens the separate underground entrance in Town. In co-op, leave someone near the Turbine to protect it while the other player goes to the bank. Solo, prepare the bank doors first and travel promptly; the Turbine can break before you arrive.
Tranzit, Pack a Punch — reference 1 - In Town’s bank, use explosives to open both vault doors. The passage beyond the second vault should lead downstairs. A closed metal wall means the Power Station Turbine is not supplying the door: return and replace it. Downstairs, find the machine casing, battery and stool/table in the corridors and carry them to the far workbench one at a time.
Tranzit, Pack a Punch — reference 1 Tranzit, Pack a Punch — reference 2 Tranzit, Pack a Punch — reference 3 - Pack-a-Punch costs 5,000 points. Bring the weapon and money before making the journey. Some compatible BO2 bullet weapons can be repacked for 2,000 to change attachments; this is not a BO3 alternate-ammo upgrade. If access closes after everyone leaves the basement, repeat the Turbine supply step.
Shield, traps, bus upgrades and the Jet Gun
- Build the Zombie Shield at Diner’s garage bench: the car door is in the garage and the hand trolley is inside the diner. It protects your back when stowed and your front when held; return for a replacement when it breaks. Your carried buildable slot is shared with the Turbine, so plan which one you need before leaving a stop.
Tranzit, Shield — reference 1 Tranzit, Shield — reference 2 - Use a Turbine to open the utility rooms at Bus Depot, Diner, Farm and Town. Three of them contain the bus ladder, front plow/cow catcher and hatch, with one empty room. Attach the ladder to the rear-left side and the plow to the front. Choose the hatch placement: the bus ceiling gives an internal roof route, while Diner’s ceiling opening gives access to the 6,000-point Galvaknuckles. There is only one hatch, so decide before installing it.
Tranzit, Bus — reference 1 Tranzit, Bus — reference 2 Tranzit, Bus — reference 3 - Farm’s turret uses a lawnmower, gun and ammunition box scattered around the farm; assemble it at the farm bench. The Electric Trap uses a battery, metal rod and glass/insulator pieces around the Power Station’s upper ruined room; assemble there. Both require a nearby Turbine to operate. Keep their firing/electrical area away from teammates and replace the supply when it fails.
Tranzit, Electric Trap — reference 1 Tranzit, Electric Trap — reference 2 Tranzit, Electric Trap — reference 3 - The BO2 Jet Gun is assembled at Town’s bar workbench. Find the jet engine in the tunnel between Depot and Diner; the handle inside Nacht in the cornfield between Farm and Power; the gauge in the hunter’s cabin between Power and Town; and the wires around the Power Station’s ruined upper room. Search the floor and furniture in each small area, taking one part back to the bar at a time. It uses heat rather than ammunition. Release the trigger and allow it to cool for ordinary use; overheating breaks it and forces a rebuild. The Richtofen quest deliberately breaks a fully cooled gun at the tower.
Tranzit, Jet Gun — reference 1 Tranzit, Jet Gun — reference 2 Tranzit, Jet Gun — reference 3
Main Quest
Tower of Babble — Maxis route
- Use Original difficulty and at least two players. Get EMP Grenades from the Mystery Box and carry two fresh Turbines. Turn power on, let Maxis finish speaking, then switch it off and leave it off. Reach the metal pylon in the cornfield between Farm and Power; a Navcard table is not needed for this individual quest.
- Keep the final zombie alive until the overhead electrical storm is above your area, then finish the round to encourage the Avogadro to spawn there. Lure the electrical enemy underneath the pylon without killing him on the way. Place both Turbines under the tower and wait for Maxis to request the kill. Throw an EMP close enough to destroy the Avogadro under the pylon while protecting the Turbines from the blast. Guns do not kill him.
If Maxis reports drained power, replace the Turbines and repeat the attempt. A kill away from the pylon does not count.
avogadro being killed - After the accepted Avogadro kill, put Turbines beneath two different streetlamps at the same time; the safe lamps by Bus Depot and Diner are convenient. Two players can pick up and reuse their pylon Turbines for this last step. In a four-player run the other two can leave theirs at the pylon. Orange energy travelling to the tower and the achievement confirm completion. Do not require four Turbines for the two-player method.
maxis side complete
Tower of Babble — Richtofen route
- Leave main power on. Samuel Stuhlinger hears Richtofen’s instructions; have that player relay the dialogue. Assemble the Jet Gun and let it cool fully. Stand under the cornfield pylon, aim into its structure and hold the trigger until the gun breaks. Wait for Richtofen’s response before moving on. If there is no response, rebuild, cool fully and repeat at the tower.
fence to shoot jet gun - Gather zombies underneath the tower and kill them with explosives, such as grenades, the RPG or the original Ray Gun, until Richtofen complains about excess power. Keep the kills inside the pylon footprint. Ordinary bullet kills elsewhere do not advance this charge.
- Four green streetlamps must be disabled within the same short window. The straightforward method is four EMP-equipped players, each at a different lamp, throwing on a countdown. With two players, each needs both EMPs and a prepared Denizen portal: throw at the starting lamp, immediately jump through the portal and EMP the destination lamp. The destinations are random; duplicate or already-disabled lamps mean retrying with replenished EMPs.
green light post teleporter - Watch for blue energy at the pylon and Tower of Babble completion. If the timing fails, replenish equipment and retry the lamps; do not redo accepted charging steps without a reason. Agree the route before the match: Maxis and Richtofen are alternative outcomes, not consecutive phases to complete in one run.
Side Quests
Fog travel and Denizen portals
- When a Denizen grabs your face in the fog, walk underneath a powered green streetlamp without killing it. It burrows into the ground to make a portal. Jump into the opening to travel to a random other lamp. This is useful for returning to a missed bus stop, but it is not a destination selector. If you need a predictable journey, follow the road or wait for the bus.
teleporter green light post - Listen for a Denizen’s screech and melee it off promptly. Cross lava in short jumps and allow health to recover before another crossing. Do not melee a burning zombie at low health: its death explosion can finish you. The tunnel, cabin, Nacht and pylon are useful fog refuges. Repeatedly attacking the bus driver can get you ejected and locked out temporarily.
Bank, weapon fridge and persistent upgrades
- Inside Town’s first bank vault, the two key prompts deposit or withdraw points in 1,000-point transactions; withdrawals charge 100 points. Supported online profiles share this bank between TranZit, Die Rise and Buried. Galvaknuckles on the keys behind the outer bank counter enables a point-transfer pickup for teammates. Test deposits on your mode/profile before relying on an old balance.
- Interact with Farm’s kitchen fridge while holding an eligible weapon to store it. Returning with another weapon swaps them. Wonder weapons and the starting pistol are excluded. This is distinct from the small standalone Farm Survival map, which does not provide the TranZit storage route.
- Victis persistent upgrades are hidden bonuses, confirmed by a green flash, rather than inventory perks you can buy. Examples include faster revives from successful revives and the red Insta-Kill effect after letting two Insta-Kills expire without kills. Their loss conditions and mode/profile support vary. They are optional: none is a prerequisite for the routes above. Use the linked dedicated reference if deliberately farming them.
Navcard table and the three-map connection
Carrion, radios and hidden landmarks
- Hold interact on three teddy bears to play Carrion: the bench outside Bus Depot toward the Diner road; the bed upstairs in Farm’s house; and the booth downstairs in Town’s bar. Listen for each activation before leaving. This is a music secret and does not charge the tower.
- The television downstairs in Farm’s house carries Maxis’s broadcasts. Interact before power, then return with power active and interact to hear its messages. Explore the cornfield’s Nacht building and the road signs for story references; they do not reveal another required tower step.
Tranzit, TV — reference 1
Sources and review
Written for the original Black Ops II release, on Original difficulty unless a mode is specified. Instructions were cross-checked against the linked community sources on 3 October 2026. Gameplay: Activision / Treyarch; photographs and charts: COD Zombies Guides, its credited contributors, mmmrkennedy and other sources named below. Shared-layout images may show another edition; follow the BO2 instructions. Source review and website checks are not an in-game playthrough.
- r/CODZombies community guide ↗
- COD Zombies Guides illustrated walkthrough (2) ↗
- JokerAlex21 illustrated guide (3) ↗
- Call of Duty Zombies community research (4) ↗
Select any reference image to enlarge it. Screenshot and symbol sources are credited in the linked walkthroughs; this guide uses local copies for reliable access.