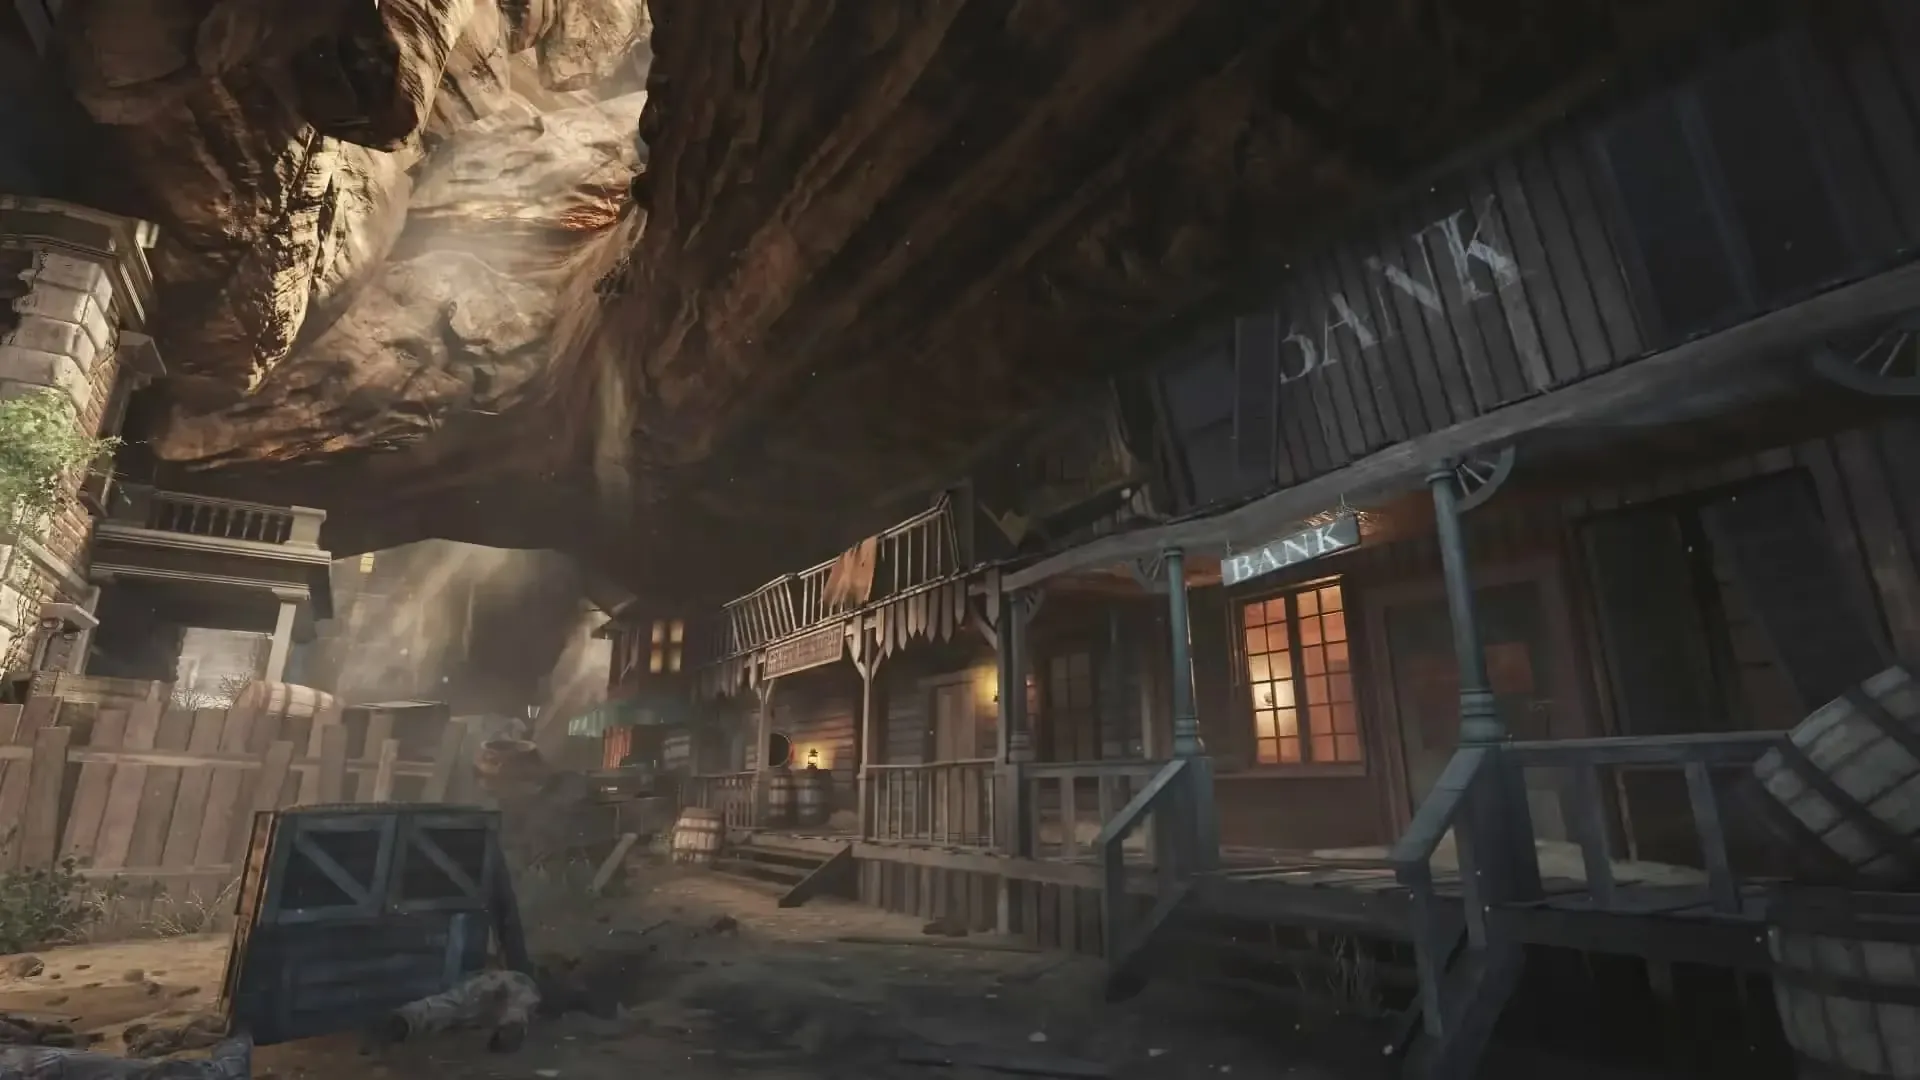
Key Features
Arthur, weapon chalk and the town
- Before dropping from the starting processing platform, decide whether to save 2,000 points for the LSAT above spawn. Jump and climb onto its short ledge to buy it before the platform gives way. Once below, take Quick Revive if playing solo, use the tunnels to reach town and look for the jail beside the initial Mystery Box. The LSAT is optional; falling into town does not block the quest.
- Enter the jail from above and take the key on the wall to open Arthur’s cell. Give him the bottle of booze from inside. He charges away from the player who hands it over, so position his back toward the barrier you want broken. Free the Jugger-Nog alley and the approach to the mansion early. If you shoot him, he retreats to his cell; search the jail, courthouse judge’s bench, upstairs saloon or bank for the key to release him again.
- Take a chalk weapon outline from the gunsmith and draw it at a question-mark wall. Each placement awards points, with a larger reward for the last one. Put a weapon you can refill on a route you actually use, such as the AN-94 near the main street. Chalk, booze and candy share a carried-item slot; finish a delivery before collecting another item.
- There is no central power switch. Jugger-Nog is at the end of the blocked alley by the jail; Speed Cola is upstairs in General Store; Mule Kick is upstairs in the gunsmith; Stamin-Up is in the courthouse; Double Tap is at the mansion entrance; Vulture Aid is in Church; Quick Revive is near the starting drop. Vulture Aid highlights useful objects and creates occasional ammunition/point drops and green hiding clouds.
Mansion, maze and Pack-a-Punch
- Have Arthur break the mansion barrier, then enter with a loaded weapon. Ghost women take 2,000 points per hit, so move together, check behind you and kill them before contact. Follow the entry rooms through the moving bookcase, upstairs and out the rear into the maze. Do not stop at the entrance to fight an endless flow while teammates remain in the house.
- Navigate the hedge maze from the mansion’s rear to the gazebo, checking the metal gates for the current route. Its configuration can change between rounds. At the gazebo, descend the spiral stairway for Pack-a-Punch and pay 5,000 points. Stop on each stair segment: there are gaps that can kill you if you rush or backpedal. Keep a teammate watching the approach while a weapon is inside the machine.
maze - For a shortcut back to the surface starting area, first have Arthur smash the town fountain and destroy the maze fountain with explosives. Only jump into the maze fountain when the portal is visibly active. An unprepared fountain is a lethal hole. The return route lets you revisit upper processing; it does not give a second chance at the collapsed LSAT ledge.
fountain
Buildables, Paralyzer and Time Bomb
- Use the General Store’s ground floor and upstairs landing to collect the trap parts. Deliver each piece before picking up another; a character can carry only one buildable part. If you want Arthur to help, install the first piece of the desired device at the chosen bench before giving him candy there.
- Turbine: tail fin on the ground-floor corner bookshelf; mannequin in the back-room corner; fan on an upstairs shelf.
- Resonator: roulette wheel/speaker by the weapon-locker counter; turntable on the ground floor near the locker; wooden base at the rear passage; motor at the top of the stairs.
- Head Chopper: crank on the centre shelf; hinge on the front counter’s right; saw in the barrel behind the counter’s left; stand in the rear room.
- Trample Steam: collect the mesh screen, motor, bellows and flag from the General Store; its workbench does not supply parts from Die Rise.
- All ordinary buildable parts are in the General Store. Carry one at a time to a bench in the courthouse, saloon, upstairs building beside the jail or Church. Turbine: mannequin, fan and tail; Trample Steam: mesh, flag, compressor and bellows; Head Chopper: saw, crank, hinge and stand; Subsurface Resonator: roulette wheel/speaker, turntable, wooden mount and motor. Decide the first item at a bench before adding an incompatible part.
- A Subsurface Resonator fires only while a Turbine powers it; face its dish at the target and keep the Turbine nearby. Maxis needs this pair to destroy the four crystal orbs. A Trample Steam offers roof access without needing the Paralyzer. Replace broken equipment at its original bench.
- The Paralyzer and Time Bomb come from the Mystery Box. The Paralyzer has a heat meter instead of ammunition; let it cool when near its limit. Aim at the ground while jumping to lift yourself, then feather the beam on descent to avoid falling damage. Pack-a-Punch turns it into the slower-heating Petrifier. The Time Bomb records the match at placement and rewinds when triggered; tell your team before using it because it can undo purchases and positions.
Main Quest
Mined Games — choose a route and charge the lantern
- Use four players and Original difficulty. Richtofen requires a Paralyzer, Vulture Aid, Time Bomb and Bowie Knife or Galvaknuckles. Maxis requires a Turbine/Resonator pair, Time Bomb and Bowie Knife or Galvaknuckles; the Paralyzer is useful for travel but is not his orb weapon. Choose your structure before building: the two branches share the wire and antenna.
- Richtofen: build the Guillotine beside the saloon using the dish on its upstairs balcony, wire spool downstairs in the gunsmith, crystal in the upper tunnels near Lunger Undermines and antenna in the barn’s lower stable. Maxis: build the Gallows near the courthouse with that wire and antenna, the bulb above the jail and the battery behind Church’s pulpit.
satellite dish top balcony of saloon spool of wire corner of the gunsmith crystal near lunger undermines antennae bottom of the barn in a far stable on the right bulbs above jail cell battery behind chruch podium - Find the four red orbs: saloon/candy-store alley, rock left of Church, upper tunnels near Lunger Undermines, and foliage at the mansion’s rear maze entrance. For Richtofen, hold the Paralyzer on each until it turns white and chimes. For Maxis, destroy each with a Turbine-powered Subsurface Resonator. Confirm all four before looking for the lantern.
orb between candy store and saloon orb graveyard left of church orb near lunger undermines orb behind the witches mansion - After the dialogue, knock down the floating purple lantern with a cooked grenade or explosive and collect it. Richtofen: its carrier kills ghost women in the mansion until the charge cue. Maxis: keep the carrier near zombies killed by Arthur, traps or a Nuke until charged; ordinary gun kills do not substitute. Let Maxis finish speaking before picking it up. If downed, recover the lantern where you lost it.
glowing lantern - Reach the gunsmith roof by Paralyzer, Trample Steam or the connected roof route and place the charged lantern on its chalk mark. Three encoded lines appear on the wall. The following sign helper applies to both branches; the wisp behavior afterwards is different.
lantern symbol atop the gunsmith roof
Read the three mine signs
- Each wall line names one mine sign. Match its first two shapes in the helper, preserving both the white outline and which side contains the red stroke. Confirm against the full pictured line if two corners look alike. The five names are Dry Gulcher Shaft, Bone Orchard Vein, Lunger Undermines, Ground Biter Pits and Consumption Cross. You need three distinct names, not every sign.
cipher key - Find the named wooden signs along the upper mine tunnels and strike only those three with the Bowie Knife or Galvaknuckles. There is no universal wall-line strike order; the last sign struck determines where the wisp begins. Before the final hit, position the team for the correct branch below. For Maxis, place your Time Bomb first.
Mine sign cipher matcher Open helper
Match the first two shapes on each lantern-code line. Preserve the red stroke’s position, especially for Bone Orchard and Consumption Cross.
Your mine signs
Match each line of the code to a photographed pair.
- Not matched yet
- Not matched yet
- Not matched yet
Find these signs in the tunnels and strike them promptly with Galvaknuckles. On Maxis’s route, prepare a Time Bomb and live zombies before the last strike; the last sign changes the wisp’s route. If your set includes Consumption Cross, using it last gives the barn–saloon route explained in the guide.
Full cipher chart and where the code appears
Saved in this browser, shared with the inline helper. Reset for a new match. Open this step in the map guide →
Reference credits
Game: Activision / Treyarch. Photographs and charts: COD Zombies Guides and its credited contributors. Origins shares the photographed symbol references with its Chronicles helper; BO2 observations are saved separately. See the map’s source links for the original walkthroughs.
Richtofen — wisp and Round Infinity
- A player with Vulture Aid must touch the newly spawned wisp and follow its hops toward the Guillotine. Look along the barn upper floor, jail upper floor, General Store upper floor and candy store as it moves. A roughly fifteen-second gap without contact makes it disappear; hit the same three signs again to restart. Other players should hold zombies away from the runner.
richtofen wisp - At the Guillotine, let the wisp enter nearby zombies, then kill those glowing zombies near the structure one at a time. Continue until Richtofen requests the Time Bomb. Normal zombies killed before receiving the glow do not count.
glowing zombie - Put a Time Bomb on the Guillotine bench. Gather all four players around it and detonate to enter Round Infinity. Zombies are invulnerable here; avoid fighting and split the search for four fallen crew bodies. Interact with each body to find the switch. Search the main streets around the saloon/Guillotine, gunsmith and barn gap, jail, General Store/Box, candy-store entrance and arrow sign, Church rock/workbench and mansion barrier.
The search window is brief. Sources disagree on its exact duration, so follow the in-game transition and do not rely on a web timer.
- After the game automatically returns to your original round, fit the recovered switch to the Guillotine. If you ran out of time without finding it, obtain another Time Bomb and repeat the search. Protect the carrier until the part is installed. Now continue to the maze levers.
Richtofen — solve the maze lever order
- Locate the red, green, blue and yellow levers on the maze gates. Flip each once in a chosen order, then inspect all four: feedback appears after the fourth lever. A spark means that colour was in its correct position in the sequence. A non-sparking lever was in the wrong position. Record both observations in the helper after every complete attempt.
maze - Everyone must leave the maze to reset the levers after an unsuccessful attempt. Return and try the helper’s suggested order; the helper retains positions proved right and eliminates positions proved wrong. If it reports no possible order, correct the recorded attempt or spark feedback rather than forcing another guess. Candy jar colours are not a reliable solution.
- All four levers sparkling in the same attempt completes this branch. Continue to the shared sharpshooter finale. You do not need the Maxis bell step.
Maze lever order solver Open helper
Flip all four levers, then record which colours sparked. Each spark confirms that lever’s position; a dark lever rules that position out. Leave the maze together before the next attempt.
Next order to test
24 possible orders remain.
- 1Red
- 2Green
- 3Blue
- 4Yellow
Saved spark observations (0)
No tests saved yet. The solver starts with all 24 orders.
After an unsuccessful attempt, everyone leaves the maze to reset the levers. The suggestion uses your observations to reduce the possible orders; it does not read the game. If no order remains, remove the mistaken observation and record it again. Undo can restore a removed test.
Where to find the levers
Saved in this browser, shared with the inline helper. Reset for a new match. Open this step in the map guide →
Reference credits
Game: Activision / Treyarch. Photographs and charts: COD Zombies Guides and its credited contributors. Origins shares the photographed symbol references with its Chronicles helper; BO2 observations are saved separately. See the map’s source links for the original walkthroughs.
Maxis — escort the wisp twice
- Place a Time Bomb before hitting the final decoded sign. Leave enough live zombies positioned along the wisp’s path: it must pass near them to stay alive. Its path depends on the last sign hit. If Consumption Cross is in your set, hit it last for a route via the barn and saloon; put at least two zombies upstairs in the barn and three in front of the saloon before starting.
- Follow the orange wisp to the Gallows, keeping zombies close enough for it to draw energy. Do not clear the entire route with weapons. If it fades, strike your sign set again and reposition the zombies. Once it reaches the Gallows, detonate the previously placed Time Bomb. Hit the signs again as needed to respawn it, then escort it successfully a second time. Maxis’s next instruction confirms acceptance.
maxis wisp
Maxis — the mansion’s nine-light bell puzzle
- Put one player at the switchboard on the mansion couch beyond the moving bookcase. Put the other three at the upstairs candy-store bells, upstairs barn bells and downstairs courthouse bells. Facing the board, its columns are Candy Store, Barn, Courthouse from left to right. Before activating the sequence, ring each bell and let the board player report which row lights. Save those observed correspondences in the helper.
switchboard - Candy Store: square table by the wall, table with two pots by the couch barrier, and chair beside the stair doorway. Barn: hay bale by the wall opening, hay bale by the railing gap, and hay bale near the drop toward jail. Courthouse: corner just inside the entrance, judge’s bench, and table to the right of the bench. These landmark names are the helper’s callouts.
- When everyone is ready, the mansion player interacts with the board. Select the currently lit bulb in the helper and call its displayed room and landmark; the assigned teammate rings that bell immediately. Continue following the live board until the bulbs are green and it shuts off. A wrong bell or slow response resets the sequence; restart at the board using the same tested mapping.
The helper does not run the game timer or invent a sequence. Test the mapping before starting the timed puzzle.
Mansion bell callouts Open helper
First test the bells with your team and map each one to its light. During the sequence, tap the lit bulb for an immediate room-and-bell callout.
Stand facing the couch board. The columns are Candy Store, Barn and Courthouse from left to right. Test bells before starting the timed sequence; the helper only uses your confirmed mapping.
Your bell callout
Select the lit bulb on the board.
0 of 9 lights mapped. Test the remaining bells before starting.
Test and map the nine bells
Have each room player ring one bell. The board player identifies the row that lights in that room’s column. Set its landmark below, then test the other two. Every bell appears once per room.
Start the board only when the three room players are ready. Tap each live bulb, call the result, and have that player ring it promptly. Follow the actual board through the sequence. A wrong or late bell resets the sequence; the tested mapping stays useful.
Find the couch switchboard
Saved in this browser, shared with the inline helper. Reset for a new match. Open this step in the map guide →
Reference credits
Game: Activision / Treyarch. Photographs and charts: COD Zombies Guides and its credited contributors. Origins shares the photographed symbol references with its Chronicles helper; BO2 observations are saved separately. See the map’s source links for the original walkthroughs.
Both routes — Make a Wish and shoot the targets
- Have Arthur break the fountain outside the mansion if it is still covered. Assign one player to each target area: candy store/courthouse street, mansion windows, saloon interior and jail street. Use a full magazine, fast reload and a weapon whose shots you can place accurately. Walk the lanes together before triggering the challenge.
fountain cowboy target - Interact with the fountain to Make a Wish. Shoot every cowboy target in your lane before it disappears; they arrive in waves, so keep sweeping the entire view. One missed target anywhere fails the attempt. Practice the missed lane, reload and trigger the fountain again. All perks and the quest completion cue confirm success. Optional three-map activation below is separate from Mined Games.
Side Quests
Arthur’s candy jobs and the bank
- Free candy appears in the candy shop each round; extra candy or booze costs 1,000 at the appropriate shop counter. Give candy near a crawler so Arthur carries it while you solve puzzles. Do not hit him while he holds it. At a workbench, candy makes him gather parts and finish a buildable; place one desired part first to choose what he builds.
- Candy by an idle Mystery Box makes Arthur lock it at that location; candy while a rolled weapon is still offered rerolls it; candy at an empty Box spawn can make him fetch it. A locked Box cannot be moved this way. Candy near a power-up changes the drop. Keep these jobs distinct from giving candy with no nearby object, which sends him after zombies.
- Deposit/withdraw with the bank keys and use the General Store weapon locker to share eligible saved equipment with TranZit and Die Rise on supported profiles. Withdrawals cost a fee. Avoid activating a casual Time Bomb while teammates spend saved funds; agree on the rewind before purchases.
Ghost rewards, double bottles and the piano
- When the mansion’s lights are on, cross it, get everyone out and kill the pursuing ghosts. The last ghost drops a team perk bottle. The reward recharges after several rounds; lights are the practical availability cue. A dark-house trip still risks losing points without granting another bottle.
- For the Time Bomb double-bottle trick, place a bomb before killing the final reward ghost. Kill her but leave the bottle on the ground, then rewind. Collect the retained bottle and kill the restored final ghost for the second drop. Coordinate before anyone picks up the first bottle; taking it before the rewind spoils this method.
- Obtain the Ballistic Knife from the Box. Stand behind the white floor line in the saloon and fire a blade into the dartboard bullseye. The saloon piano starts playing. Travel through the mansion to the maze, then promptly re-enter from the rear to find a ghost playing the piano. Interact and pay 10 points for a random perk. This is separate from the nine-bell Maxis puzzle.
Hidden PhD and sniper point bonuses
- Buried’s persistent PhD is earned by repeatedly taking survivable fall damage. Use a short ledge near the jail stairs and recover fully between falls until the green flash. Once acquired, dolphin-diving from a height creates an explosion and protects that dive; an ordinary fall that deals damage removes it. It is a hidden bonus, not a purchasable machine, and belongs to supported persistent-profile modes.
- Long-range sniper kills can award a green-flash bonus that adds points to later sniper kills. The SVU-AS is convenient for earning money while keeping a refillable weapon. Maintain accuracy: repeated missed shots can remove the bonus. Persistent upgrades can carry between supported TranZit, Die Rise and Buried matches, but are not available in Borough.
Always Running and the saloon piano
- Interact with three teddy bears: beside Quick Revive after the initial drop, inside a barrel in the candy shop, and beside the bookcase in the mansion’s Double Tap entry room. The third starts Always Running. Use a loaded weapon before entering the house to reach its bear.
- After the dartboard/piano secret, interact with the saloon piano to play it. The mansion also contains a Michael Faraday portrait, and books throughout town reference other works. These are optional environmental details, separate from Mined Games.
Navcards and the optional Victis endgame
- For the final activation, all four players must have all three Victis quests saved for the same allegiance and all tables/card links must be complete. Check the 3-by-4 light display at the back of the courthouse: each player’s row should show the same colour for TranZit, Die Rise and Buried. Blue is Richtofen; orange is Maxis. Mob of the Dead and Origins do not contribute.
Sources and review
Written for the original Black Ops II release, on Original difficulty unless a mode is specified. Instructions were cross-checked against the linked community sources on 3 October 2026. Gameplay: Activision / Treyarch; photographs and charts: COD Zombies Guides, its credited contributors, mmmrkennedy and other sources named below. Shared-layout images may show another edition; follow the BO2 instructions. Source review and website checks are not an in-game playthrough.
- r/CODZombies community guide ↗
- COD Zombies Guides illustrated walkthrough (2) ↗
- JokerAlex21 illustrated guide (3) ↗
- r/CODZombies community guide (4) ↗
- margwa.net reference (5) ↗
- playstationtrophies.org reference (6) ↗
- Steam Community walkthrough (7) ↗
- Call of Duty Zombies community research (8) ↗
Select any reference image to enlarge it. Screenshot and symbol sources are credited in the linked walkthroughs; this guide uses local copies for reliable access.