Key Features
Power, Pack-a-Punch and the eclipse
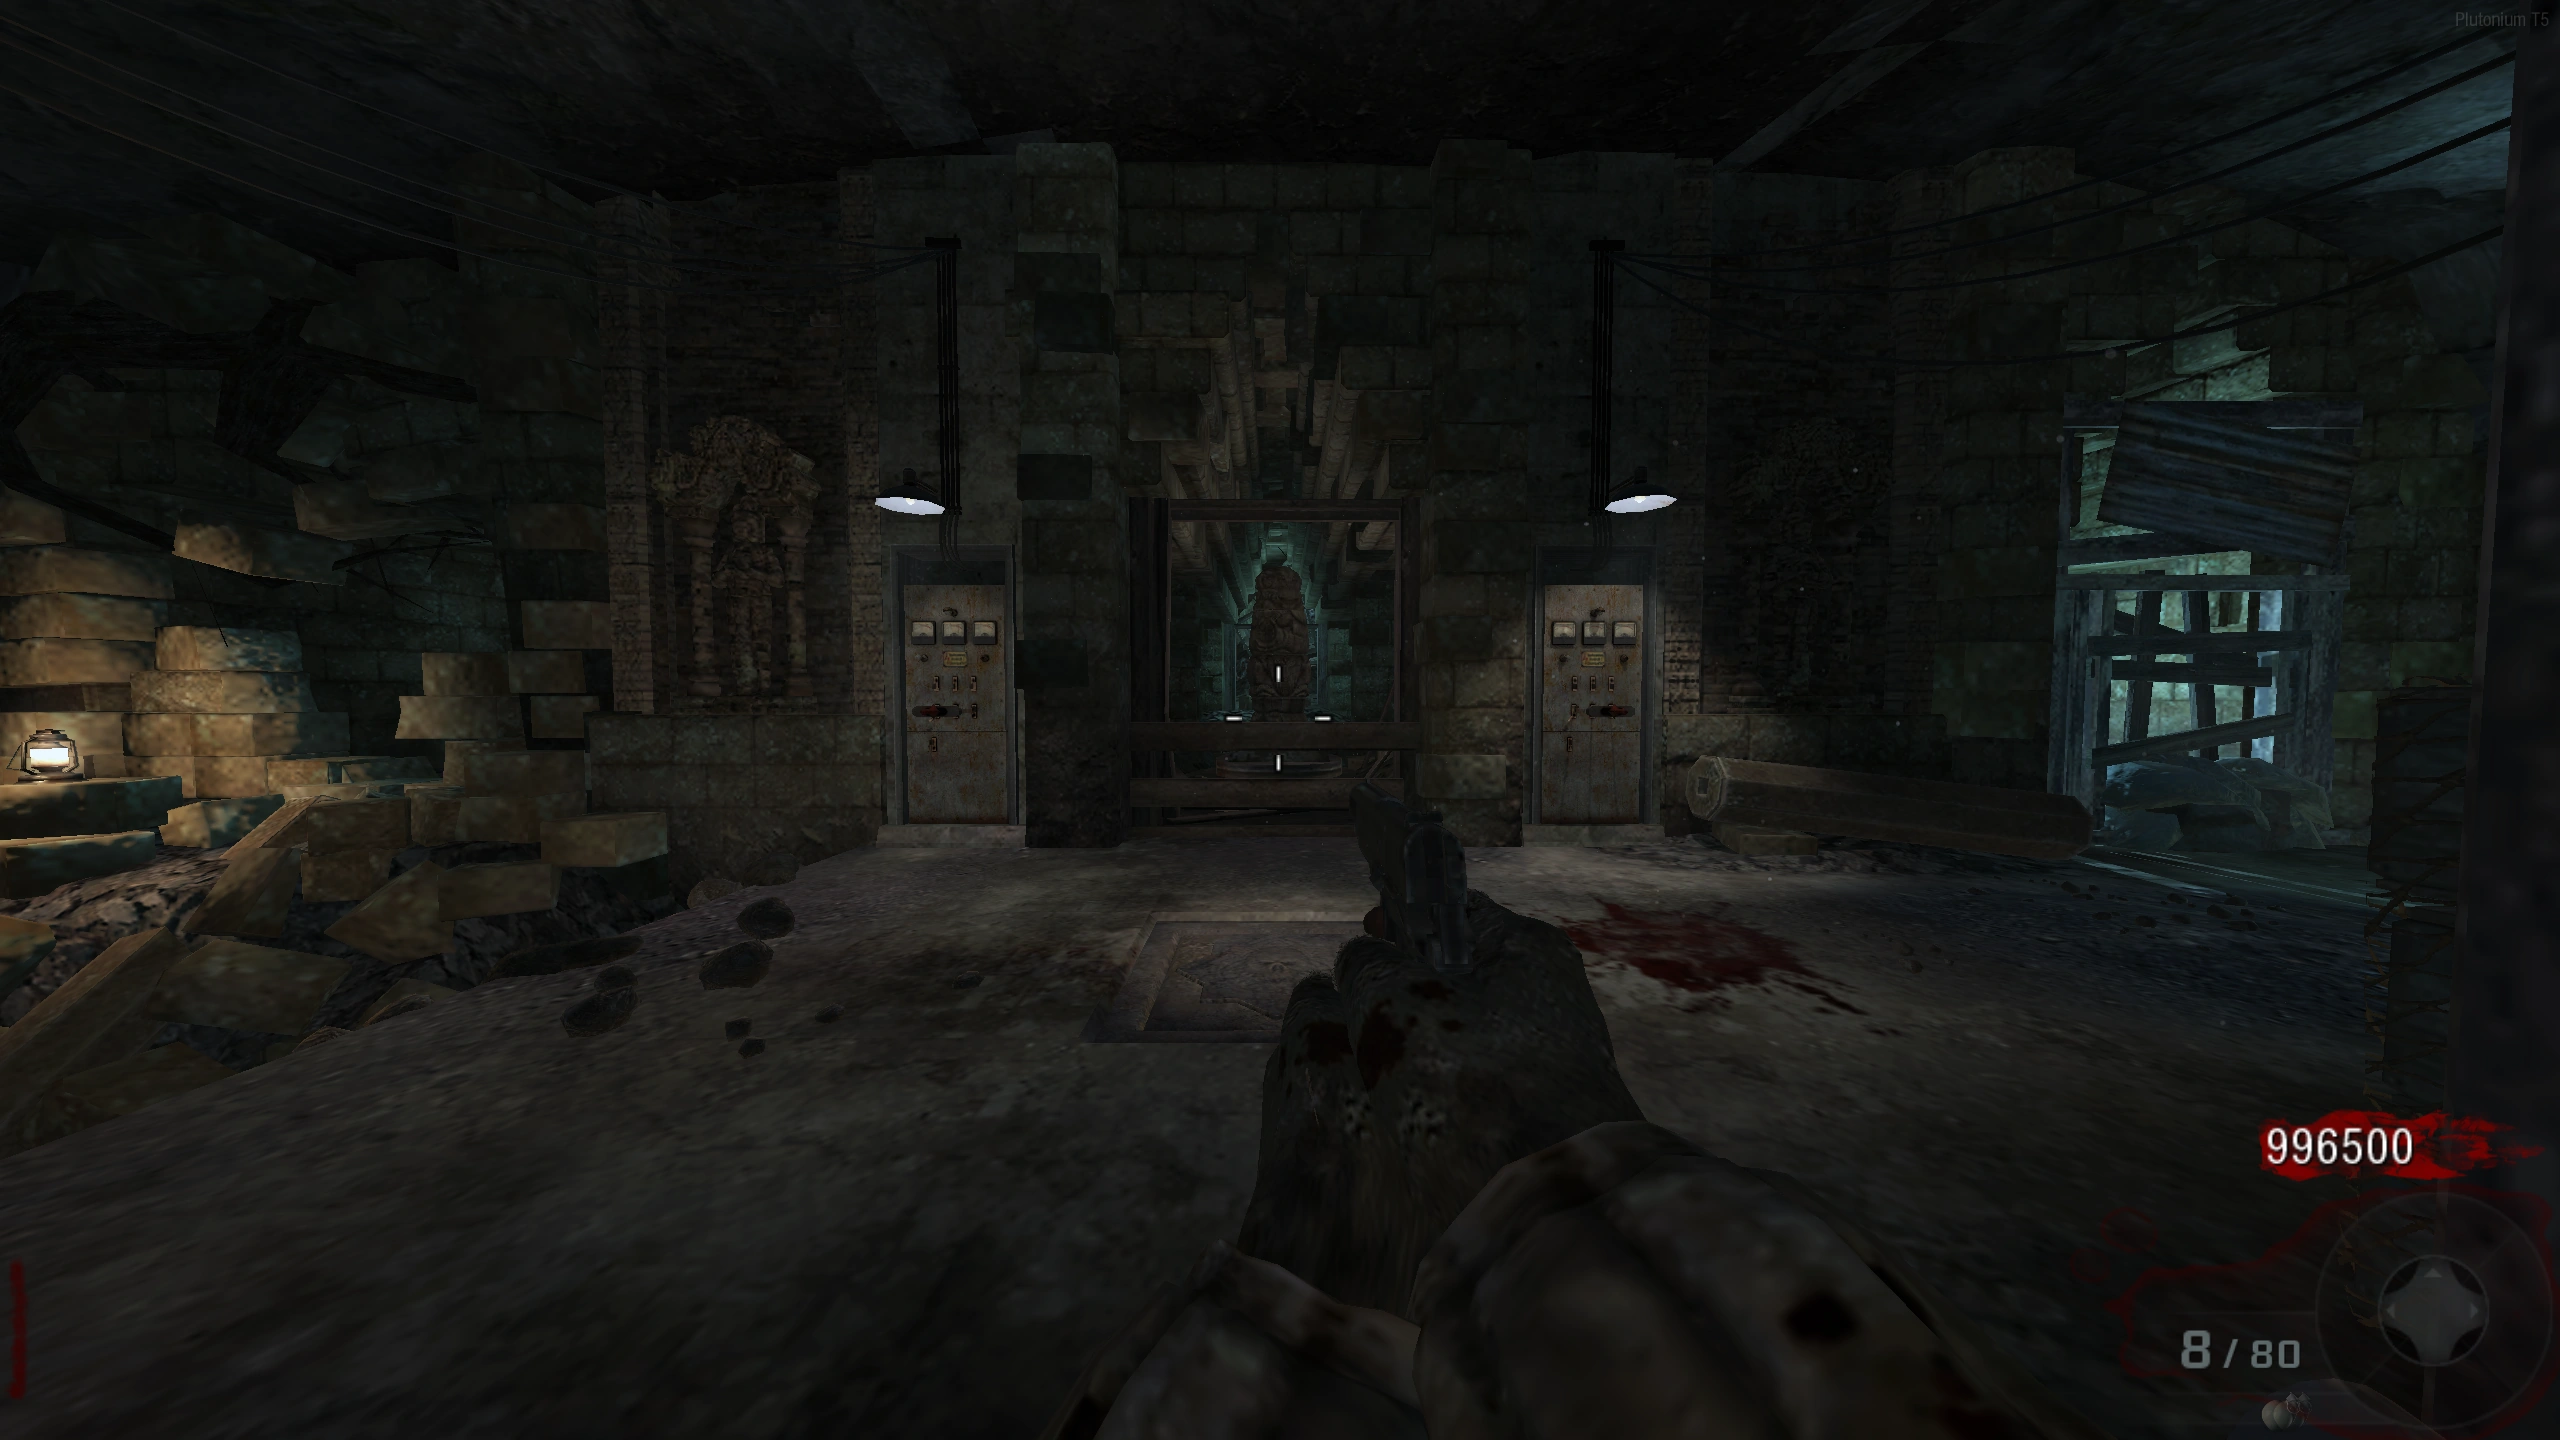
- Reach the underground power room and activate both switches. For Pack-a-Punch, find the raised pressure plates in front of the four-section statues: Spawn, bottom of Rope Bridge, between the power switches and the Minecart tunnel. One plate is required per player; everyone stands on their raised plate simultaneously to stop the rotating statue sections and raise the spawn stairs. Upgrade promptly before the stairs close.
mine room Spawn Room - In front of the Quick Revive machine Rope Bridge Area - At the bottom of the Rope Bridge Power Room - Between the two power switches Minecart Area Tunnel - Halfway through the tunnel leading to the underground area stairs in front of Quick Revive - The main quest needs four players. Press the four small buttons around Quick Revive together to enter an eclipse. Start a fresh eclipse for each crystal trial below. A successful trial returns daylight; a failed or expired attempt can be retried with the buttons. Obtain the 31-79 JGb215 (“Baby Gun”) from the Box and keep it for the shrinking steps.
buttons in each of the corners around Quick Revive horizontal pillar
Main Quest
Crystal 1: match the twelve tile pairs
- During the eclipse, press the button on the brick structure by the Pharo/Minecart side. Twelve floor tiles appear here and twelve near Rope Bridge. Each tile reveals its symbol when stood on; every symbol has one matching partner on the other side. Assign a player to each side and keep the other two off the tiles.
button on the brick structure mine cart area around the rope bridge - Explore one side at a time while the other player stands clear. Agree on a landmark name for each tile and record the revealed symbol with the helper. Once a pair is found, stand on both matching tiles together to remove them. A mismatched pair resets the tiles. Repeat until all twelve pairs disappear and daylight returns.
cheat sheet
Matching tile symbol notebook Open helper
Record the symbols revealed by your floor tiles. Give tiles your own landmark names so teammates can find the same pair; their positions change each match.
During the eclipse, explore one side while the other player stays off every tile. Once both locations are known, stand on the matching pair together. A wrong pair resets the puzzle.
These are your own tile numbers, not a map layout. Add a landmark name when you record a tile.
0 of 12 pairs located
Mark “Matched in game” only after both tiles disappear. Finding a pair here does not activate it in the game.
Record the same symbol on both sides to see a pair here.
See the floor tiles and complete symbol chart
Observations save in this browser. Reset for a new match. Open this step in the map guide →
Image sources
Gameplay: Activision / Treyarch. Screenshots and symbol references: mmmrkennedy, COD Zombies Guides, Glitching Queen and the r/CODZombies community, as applicable. Some shared-layout references show the original release. The map’s sources credit the walkthroughs and their contributors.
Crystals 2–4: slide, shrinking ball and gas
- Enter an eclipse. Put three players on the metal grate at the bottom of the water slide. The fourth slides down and holds interact at the lever on the right-hand wall on the way past. Keep the three players on the grate until the success cue returns daylight.
metal grate at the bottom of the water slide lever on the right side - Enter an eclipse. Use an explosive to knock down the crystal above the water slide, shoot it with the Baby Gun to shrink it, and melee it down the slide. Follow it to the geyser at the bottom and stand there to launch it into place.
crystal ball above the water slide geyser at the bottom of the slide - Enter an eclipse and turn the Minecart-side tunnel valve four times. Escort a live Napalm Zombie through the three leaking gas pipes: beside the valve, above the Box location near Kuda, and above the KN-44 underground. Stay far enough away that it does not detonate prematurely. Once all three leaks burn, pull the lever beside the valve.
valve in the tunnel Minecart Side Tunnel - Right of the valve Minecart Side Tunnel - Above the Mystery Box locations, in the room with the AK-74u/Kuda wallbuy Minecart Side Underground - Above the M16/KN-44 wallbuy lever beside the valve
Crystal 5: plug the four tunnel holes
- Buy Trip Mines from the power-room wall buy (Spikemores in BO1 guides). During an eclipse, place and detonate mines directly in front of each of the four holes along the left wall of the tunnel descending toward the Waterfall. Lure zombies over the mines; check the hole is visibly plugged before moving on.
Spikemores/Trip Mines from the wallbuy holes in the wall - When all four holes are plugged, press the protruding brick in the wall at the pool below the Waterfall. Daylight and the next crystal confirm completion.
brick on the wall in the pool
Crystal 6: wall tiles, teepee and mud-room dials
- In an eclipse, melee all twelve symbol tiles on walls until they glow. Sweep the Minecart start and spikes, both sides behind Quick Revive, the Pack-a-Punch stairs, Mud Room, Waterfall stairway and power room. The photographs show every tile; these are different from the floor tiles used for matching.
Minecart Area - Left of the start of the Minecart Minecart Area - Around the corner from the previous location toward Spawn Minecart Area - On the wall by the spikes, between Spawn and the Minecart Spawn Room - Left of the Quick Revive machine, on the other side of the wall Spawn Room - Right of the Quick Revive machine, on the other side of the wall Spawn Room - On the wall by the spikes, between Spawn and the Mud Room Spawn Room - Left of the stairs to the Pack-a-Punch Machine Mud Room Area - Left of the dial closest to the Water Slide Mud Room Area - Left of the PM63/L-CAR 9 wallbuy Waterfall Area - Left of the Stakeout/ICR-1 wallbuy Waterfall Area - At the bottom of the stairs up to the Power room Power Room - Left of the left power switch - Shoot the distant teepee visible from the Minecart area with an explosive. Its destruction ends this eclipse. Start a fresh eclipse for the dials.
teepee - Enter the Mud Room from Spawn. Start with the dial immediately on your left and work clockwise. Set the top faces to 4, 3, 16, 1. Read dots as one, a line as five and the bracket shape as ten; the chart shows the exact faces. Wait for confirmation before continuing.
dial on the left when coming from spawn cheat sheet
Charge the crystals and claim the Focusing Stone
- Pack-a-Punch the Baby Gun into the Fractalizer. During an eclipse, test the eight gongs to identify the four correct ones. A wrong gong flashes the crystals red and cancels the current ringing; it does not change which four are correct. Record the results below, then ring only the four correct gongs so all are sounding together and the crystals glow yellow.
- With the crystals charged, shoot the crystal above the Minecart geyser using the Fractalizer. Stand directly under the falling dynamite to catch it; no interact press is needed. If you miss it, recharge the correct gongs and try again.
Crystal above the Geyser dynamite - Recharge the four correct gongs if necessary, then shoot the crystal above the Mud Room with the Fractalizer. Its beam travels around the crystals and shrinks the meteor above Pack-a-Punch. The unupgraded Baby Gun cannot complete this step.
Crystal above the Mud room giant meteor above the PAP machine - Raise the Pack-a-Punch stairs with the team. Interact at the holed brick wall, let Brock finish speaking, and give him the dynamite through the opening. Everyone leaves the upper area so the eclipse ends. Raise the stairs again in daylight and take the Focusing Stone from the altar. Only the player collecting it gets permanent perks; repeat the quest for additional players.
brick wall with some holes Focusing Stone will be atop an altar
Gong locations & match notes Open helper
Test the eight photographed gongs and record the four that do not turn the crystals red. Wrong gongs reset the ringing, not which four are correct.
For the main quest, test during an eclipse after completing the crystal trials. A correct gong gives the positive sound/character cue; a wrong one flashes the crystals red. Leave uncertain gongs as “Untested”.
Record only what you have tested. A previous failure does not shuffle the correct set.
Bridge bottom
Bridge top · left
Bridge top · right
Mud Room exit
Spawn · Sheiva
Minecart start
Minecart slope
Tunnel entrance
What to do after ringing the four correct gongs
Main quest: in the eclipse, use the Fractalizer to shoot the Minecart geyser crystal and catch the dynamite. Recharge the gongs, then shoot the Mud Room crystal to shrink the meteor.
Samantha secret: with all four gongs ringing, use the starting pistol on the five pans at the bottom of the slide: leftmost twice, fifth/rightmost once. Then start the doll beside the Minecart Danger sign.
Observations save in this browser. Reset for a new match. Open this step in the map guide →
Image sources
Gameplay: Activision / Treyarch. Screenshots and symbol references: mmmrkennedy, COD Zombies Guides, Glitching Queen and the r/CODZombies community, as applicable. Some shared-layout references show the original release. The map’s sources credit the walkthroughs and their contributors.
Side Quests
Samantha’s Sorrow and Max Ammo
- Keep your starting pistol. Ring the four correct gongs (the same set used by the main quest). Within the resulting window, go to the five pans at the bottom of the water slide: shoot the leftmost pan twice, then the fifth/rightmost pan once with that pistol.
wall with five metal pans - Interact with the doll beside the Danger sign at the Minecart start. Shoot the five targets in this order: first Minecart-tunnel crossbeam; lantern behind/left of the power-room Box spot; first crossbeam leaving power; last crossbeam near the Waterfall; wall at the Waterfall base. You can use the pictured sightlines from the ground.
Samantha doll will spawn by a Danger sign Minecart Area - Hanging from the first cross beam at the start of the Minecart tunnel Zoomed Out Zoomed Out Waterfall - Hanging from the last cross beam of the Minecart tunnel Waterfall - On top of the wall at the base of the waterfall - Return to the now-standing starter doll and interact for the Max Ammo and Samantha’s Sorrow. If the timed sequence fails, restart from that doll.
Pareidolia and monkey power-up cycling
- Interact with the red meteor pieces in Spawn, underground beside the minecart tracks/barbed wire, and at the top of Rope Bridge on the left when facing the Waterfall. Use the BO3 Spawn photograph: that meteor moved in the remaster.
BO3 Location Minecart Side Underground - In the room with the minecart tracks, by the Barbed Wire, left of the Zombie spawn window Rope Bridge Area - At the top of the Rope Bridge, on the left when facing the Waterfall - Let a monkey pick up an uncollected power-up and watch the icon change as it runs. Kill it while the desired icon is displayed to drop that reward. A stolen Max Ammo can cycle through a very brief perk-bottle icon, allowing a free perk. Plan the shot before it reaches the temple and escapes.
Sources and review
Written for Black Ops III: Zombies Chronicles. Community instructions and illustrated references were cross-checked on 3 October 2026. Gameplay: Activision / Treyarch; photographs and charts: the credited community sources below. Some shared-layout references show the original release; follow the BO3 instructions in the text. Source review and website checks do not replace an in-game playthrough.
- r/CODZombies community guide ↗
- mmmrkennedy illustrated guide (2) ↗
- accelerated-ideas.com reference (3) ↗
Select any reference image to enlarge it. Screenshot and symbol sources are credited in the linked walkthroughs; this guide uses local copies for reliable access.