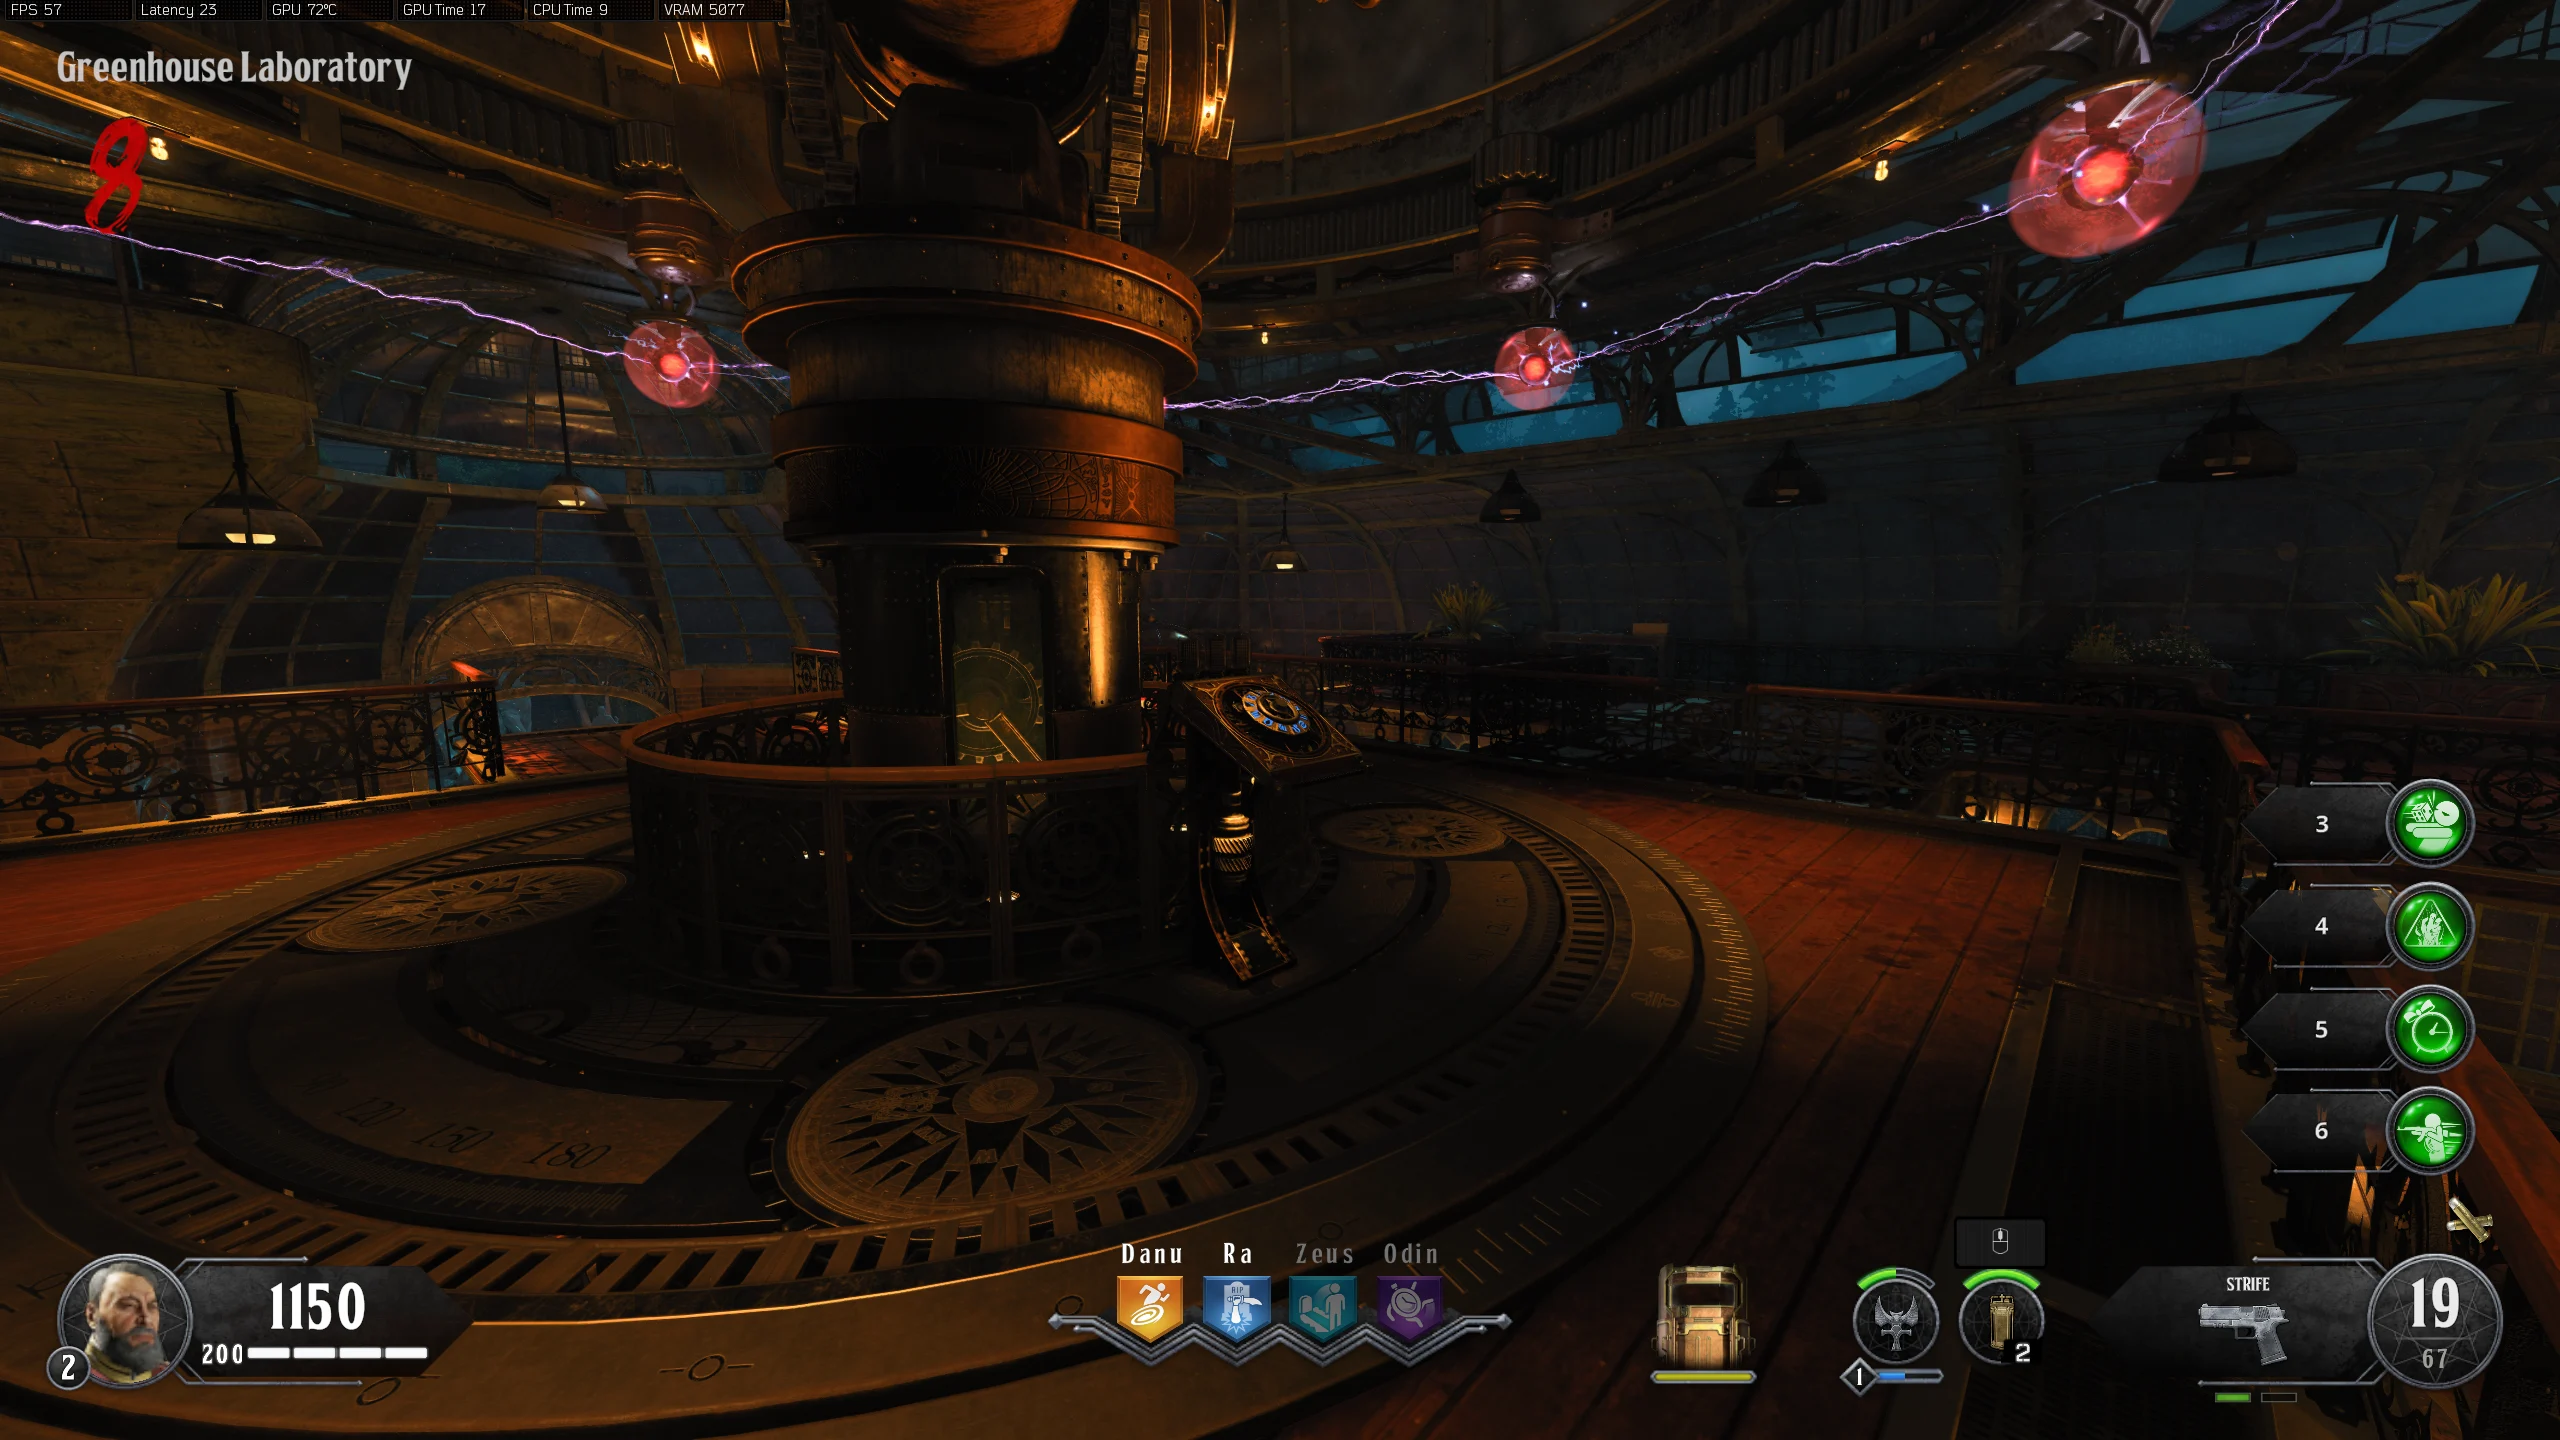
Key Features
Sentinel, shield & the three tuning forks
- Reach the Grand Staircase and activate the Sentinel Artifact. Look for a vase emitting colored particles in each of the three stone groups. Break that vase, then kill four zombies close to the exposed stone. Interact with the charged stone and identify its vision. The color tells you where to search for the stone, not which task it will assign.
- Purple: Bedroom Hallway table; foot of the Master Bedroom bed; Trophy Room table near its fireplace.
- Green: Library table by the Mystery Box; Library near the silver-bullet bench; Study central table.
- Blue: Wine Cellar near the silver-melting bench; Wine Cellar table by the MX9.
- Complete the three visions to collect three tuning forks. A clock vision means one of the clocks in Main Hall, Billiards Room or Dining Room: interact with the matching clock, remain in its floor circle and survive until a fork appears. A perk vision means visit that statue and kill the vampires in its lockdown until a fork drops. A painting or object vision means interact with that exact object and follow its ghost until it reveals the fork.
- Ghost objects: will/testament on the Study desk; burned doll in the Entrance Hall’s back-left corner; noose on a Wine Cellar chair.
- Ghost portraits: frightened woman in East Gallery; woman with old man in Smoking Room; scratched hands in Music Room; sad woman in Tea Room.
- Danu stays in Entrance Hall. Other statues appear at Mausoleum, Gardens and either Wine Cellar or Forest Terrace. The symbols above the Library/Dining Room doors identify their outside statues.
East Gallery vision: frightened woman Smoking Room vision: woman and old man Music Room vision: woman with scratches on her hands Tea Room vision: sad woman - Collect one piece from each shield group and assemble the Ballistic Shield in the Smoking Room. Keep it intact: the Library upgrade, blue-flame runs and telescope all need it.
- Base: Grand Staircase pillar near the Artifact; East Balcony beside Saug; West Balcony below stained glass.
- Window: Library sofa beside Trebuchet; floor by the opposite broken Library shelf; Study table upstairs.
- Gun assembly: East Hallway chair; Dining Room floor beside Swordfish; Dining Room ledge next to the bedroom stairs.
- Once all three forks are collected, interact with the blocked Forest Terrace gate. Opening it summons a werewolf; the Pack-a-Punch machine is at the far end of the forest. Recommended: finish the silver-bullet recipe below before opening the gate so this werewolf supplies your first upgrade material.
A regular gun can kill this werewolf if necessary. You will need a later silver-bullet werewolf kill for Chaos Theory. The Annihilator uses its own quest upgrades and cannot be Pack-a-Punched.
Silver bullets → Folly → Chaos Theory → Annihilator
- Gather three silver objects and three gunpowder ingredients. Melt the silver objects at the Wine Cellar bench, then craft silver bullets at the Library bench. Equip them on your ordinary damage weapon and rebuy ammunition there when needed.
- Candlestick: Entrance Hall round table; floor beside Billiards fireplace; Main Hall near Mozu/clock.
- Trophy/vase: West Hallway beside the sofa; Dining Room side table opposite clock; corner of the long dining table.
- Plate: Wine Cellar wall near MX9; shelf opposite the bench; large table near the noose.
- Guano: tree right of Mausoleum; bottom of its left stairs; Cemetery corner between the approach paths.
- Charcoal: Billiards, Main Hall or Master Bedroom fireplace.
- Sulfur: left or right of Greenhouse Laboratory entrance; rear Laboratory table near ICR-7.
- Find one glowing glyph in each color group. Save its shape in the visual helper, then set the Library lock’s blue, green, yellow and red dials to your observations. Interact with the case above the dials to submit and take Alistair’s Folly. The free case is the recommended route; a Mystery Box Folly can enter the same upgrade path.
- Blue: gravestone behind the tree near the Stake bench; grave right of Mausoleum stairs; front/top of the small crypt right of Mausoleum; lion-statue base.
- Green: gate left of Greenhouse entrance; inside Gardens gazebo; building beyond gate left of the Gardens perk; wall beyond gate right of the perk.
- Yellow: Forest Terrace wall left of Bowie Knife; outside left gate near GKS; outside right gate near Bowie; wall right of GKS.
- Red: wall right of Master Bedroom fireplace; East Gallery above the little table; Wine Cellar barrel behind the barrier near MX9; Dining Room above the bar painting.
Alternative if one clue is awkward: save three known symbols and try the four shapes on the last dial. A rejected lock input does not reroll the outside glyphs; restore the known dials and try again.
Library case: match the four colored dials, then submit at the case above them - Kill a werewolf with a silver-bullet weapon and collect its Chaos Materia. Put it into the Greenhouse Laboratory processing machine and collect the Prima Materia from the other side. In Library, shield-bash the bookcase at the back-left of the Folly case, beside the silver-bullet table, and collect the blue gun part. Use the upgrade bench left of the Laboratory stairs to craft Chaos Theory.
Shield-bash this Library bookcase to reveal the gun component Process each Chaos Materia here; collect the finished output before inserting the next - At the Mausoleum, shoot the orange-lit lamp with Chaos Theory. Quickly find and shoot each newly lit lamp until all four are done. Aim just above the final lamp and kill the bat as it emerges; collect Bat Chaos Materia. If the lamps time out, retry on the next round.
Orange lamp used to begin the timed bat sequence - Use Chaos Theory’s charged tornado attack to kill vampires and pick up their bile. Keep collecting until drops stop and the glowing red coffin in Cemetery accepts interaction. Use the coffin, kill the Crimson Nosferatu it releases and take its Chaos Materia.
Published guides disagree on the numerical bile count. The usable coffin is your completion check; a saved count alone is not proof that this ingredient is ready.
- Find the three Forest dirt piles with blue mushrooms. Lure a zombie or vampire beside a pile and hit the enemy directly with Chaos Theory’s green charged effect. It digs for you; repeat at another pile if no component appears. Collect the blue gun part from the correct mound.
A Forest mound with glowing mushrooms; make an affected enemy dig here - Process the Bat and Nosferatu materials individually in the Greenhouse machine, collecting each output before starting the next. With both outputs and the dug-up gun part, craft Alistair’s Annihilator at the other Laboratory bench, right of the stairs near ICR-7. Refill silver ammunition and repair the shield before the quest branches.
Alistair’s visual lock Open helper
Select a color slot, then click the shape you see in your match. The reference shapes are enlarged from the Library lock and a community screenshot. You do not need to translate them into letters.
Choose the Blue shape
Record all four colors, or use three known shapes and try the remaining dial’s four possibilities.
Visual references: COD Zombies Guides and r/CODZombies. Gameplay © Activision/Treyarch.
Main Quest
Telescope — beams, visual zodiac & electric shields
- Return to all three charged stones after Pack-a-Punch is open and interact again. The telescope/circular-object, knight and twigs visions activate their respective branches. For a first clear, finish the telescope before the other two; co-op can collect components simultaneously but everyone must attend the synchronized actions.
The Artifact’s zodiac marks light as quest stages complete. The stones from branch lockdowns are separate from the three gazing stones you used for visions.
- Equip silver bullets on every player’s ordinary gun. Shoot the lightning rod above Mausoleum together; in solo, one silver shot suffices. At North Atrium Bridge, open the three control boxes facing Atlas. Turn the middle wheel left until green is blocked, then the left until blue is blocked, then the right until red is blocked. Repeat this order as needed until Atlas’s head melts and the beam reaches the telescope.
Shoot the rod above Mausoleum with silver bullets The three ring controls facing Atlas on North Atrium Bridge - Three of the seven clue areas below receive a zodiac sign. At each active area, inspect all three associated scratch positions and add their marks. Use the visual helper to choose the sign itself and enter each scratch count. A checked empty scratch position counts as zero; an unread position stays blank.
- Entrance Hall: sign under table left of Danu. Scratches on shield right of Danu, column by fast travel, beside ship painting.
- Billiards: sign under chess table. Scratches left of Study-side bookcase, above cabinet beside clock, under opposite table.
- Library: sign in broken cabinet beside vase near Folly case. Scratches at upper corner of nearby barrier, wooden crate by Ra statue, skeleton behind silver bench.
- Main Hall: sign behind candle at foot of West Gallery stairs. Scratches in right fountain, above Mozu-side fireplace, upper North Atrium corner coming from Forest.
- Wine Cellar: sign low on rack opposite MX9. Scratches on large barrel under right stairs, center cabinet near left stairs, barrel beside melting bench.
- Dining Room: sign on Greenhouse doorway frame. Scratches on far red wall, clock end of dining table, ceiling in adjoining hallway.
- Trophy/Master Bedroom: sign by skull cabinet in Trophy Room. Scratches beside Trophy fireplace, bedroom nightstand left of bed, above bathtub beyond bedroom barrier.
Stand still briefly at each clue spot; some marks load slowly. Trophy Room’s last two scratch groups are in Master Bedroom, so staying in one room misses them.
- Go upstairs in Greenhouse Laboratory. Turn the zodiac dial so your lowest-total symbol reaches the top, then melee the dial to submit it. Submit the middle total, then the highest. The helper shows your three shapes in order. If the input fails, the signs and scratches change: reset the zodiac helper and inspect all clues again.
A tied total usually means a scratch group was missed. The helper withholds an ordered answer until the three totals are distinct rather than inventing a tiebreak.
Rotate the zodiac dial, then melee when the required symbol is at the top - Hold the Ballistic Shield and interact continuously with the dome crank until the roof is fully open. Shield-bash the crank to lock it; check its green lights. Activate the electric trap downstairs and have every player run through with a shield raised. Regroup upstairs and shield-bash the telescope’s eyepiece together with the electrified shields.
Dome crank: hold interact to open, then shield-melee to lock - A panel near the electric trap reveals a stone. Refill before starting: all players hold interact on it until the lockdown begins. Survive the zombies and vampires, then kill the werewolves that arrive near the end. After the white flash, pick up the stone and take the Max Ammo.
Visual zodiac & scratch solver Open helper
Choose each observed shape and count its three scratch groups. An empty field is unread; 0 means you checked that location and found no marks.
Choose shape for clue 1
Capricorn uses the actual blue dial marking because its in-game form differs from common zodiac charts. Match the visible shape; names are optional callouts.
Choose three signs and inspect all nine scratch positions. Enter 0 only after checking an empty position.
Visual references: COD Zombies Guides. Gameplay © Activision/Treyarch.
Knights — three fireplace runs & forest triangle
- Install a fire-trap core in the Library trap, activate it and hit the flames with an Annihilator charged shot until they turn blue. Run through holding the shield. With this blue-flamed shield, bash the fireplaces in one of the ordered runs below. Complete a whole run promptly; if its flames expire before completion, relight the shield and start that run again.
Find trap cores while opening the map: search small floor/ledge objects in Cemetery Path, Cemetery/Mausoleum, Gardens/Greenhouse, Smoking Room, Main Hall, Wine Cellar, Trophy Room, Dining Room and Music Room. The illustrated core-location link shows all spawn points. Place the first core at Library for this quest.
- First run: Smoking Room → Library fireplace right of its trap → Library fireplace left of its trap → Billiards Room. The final fireplace gives a gem when the sequence succeeds; collect it before leaving.
- Second run: Main Hall fireplace beside/right of the Mozu → East Gallery → other Main Hall fireplace, left of the Mozu → West Gallery. Third run: Trophy Room → Master Bedroom → Music Room → Dining Room. Collect a gem at the end of each. The three runs may be done in any order, but each run’s internal order is fixed.
Walk each route and open its doors before lighting the shield. Left/right fireplace callouts are relative to the Mozu landmark, not your current camera direction.
- Insert the three gems into the suits of armor at Main Hall’s East Hallway doorway, Gardens beside Vapr, and Cemetery near its right staircase. Each suit collapses and its gem follows you. Walk the gems to the three colored circles on the Forest paths, matching gem color to circle. If a gem stops, go back and approach it.
Main Hall armor near the East Hallway entrance Gardens armor beside the Vapr route Cemetery armor near the right staircase - Feed nearby zombie kills to each ghost knight so it advances twice toward Pack-a-Punch. Once all three form an electric triangle, lure a werewolf inside and kill it there with silver bullets. A stone appears. All players interact to start the lockdown; survive until the final werewolves die, then collect the stone.
Effigy — 1912 grave & the ghost escort
- With the twigs vision activated, shoot five leaf-shedding birch trees with Alistair’s Annihilator. Collect each fallen branch. Check the pile in front of the Cemetery Mystery Box to confirm it registered.
- Cemetery Path: left side when entering from mansion.
- Cemetery: right of the Crimson Nosferatu coffin.
- Cemetery: near the armor/right staircase.
- Mausoleum: front-right area near the stairs.
- Mausoleum: back-left near the fast-travel gate.
If a branch seems collected but the pile is incomplete, revisit its ground position and interact again. Finish an already active branch lockdown if the trees or grave refuse to advance.
Collected branches gather in front of the Cemetery Mystery Box - Find the Cemetery tombstone showing a character and death year 1912. That character’s player interacts; if they are absent, another player may use it. In solo, interact yourself. In the green vision, shoot the base of the assembled effigy with an Annihilator charged fireball, then hold interact on it. After the short sequence, your vision turns blue for ghost mode.
The character grave with the 1912 death year - In ghost mode, search for the woman and approach to escort her. Check inside/near Entrance Hall’s Danu statue, the right-most Wine Cellar barrier, Master Bedroom barrier and behind Dining Room’s long table. Follow her to the Cemetery Mystery Box, where she bursts into flame and reveals the stone. Zombies still attack you in ghost mode.
Going down removes ghost mode. Reuse the grave and burning effigy to re-enter it, then return to the escort. This is a different ghost sequence from the optional Savage Impaler.
- Interact with the revealed stone to leave ghost mode. Gather all players and hold interact to begin the final branch lockdown. Survive, kill its werewolves, and collect the stone after the flash. With all three stones obtained, resupply before approaching the boss door in the Forest.
Werewolf boss — reveal, trap & damage the chest
- Bring an intact shield, Alistair’s Annihilator for crowds and a fully upgraded ordinary gun with silver ammunition for the boss. A Hellion with PhD is a strong alternative if available; Homunculus and Stake Knife help but are optional. Gather at the Forest door on the right and interact to enter once all three stones are collected.
Silver bullets are for eligible ordinary guns, not the Annihilator or shield. Replenish before entering; this is the commitment point.
Forest door used to commit to the werewolf arena - Find the glowing green square in the arena. Rotate the three outer statues until their white beams point into that square and turn green. Bait the werewolf into the trap, move away from its approach and shoot its exposed glowing chest during the vulnerable window. Re-trap it if one damage window is insufficient.
- When the boss withdraws, collect the Max Ammo and Carpenter and survive the mixed wave of zombies, vampires, Crimson Nosferatu and werewolves. Keep circling the available arena and use Annihilator crowd control to protect interactions and revives.
- When the boss returns, the new target square begins invisible. Rotate a statue until its beam turns green, then align the others to locate and arm the same square. Lure the werewolf into it and damage its chest again. Repeat the trap and damage cycle until it dies and the ending plays.
Side Quests
Stake Knife — visual tree order & vampire charge
- Near the Forest Koshka, face the lantern-bearing tree so four marked trees line up. Read their symbols left to right: left rear tree → far rear tree → lantern tree → right rear tree. Record the actual triangle shapes in the helper. The reference picture is an example order, not your match’s answer.
How to line up the four trees; the example symbols change between games - Find the matching stone symbols at Gardens gazebo, behind Vapr, beyond the fountain right of the perk, and the railing beside a zombie barrier. Enter each observed stone shape in the helper; it produces the exact location order to shoot. One wrong stone shot prevents another attempt in this match, so confirm all four first.
Gardens stone at the gazebo Gardens stone behind Vapr Gardens stone near the perk fountain Gardens stone on the railing near the barrier - Buy Bowie Knife at Forest Terrace. On the separate marked tree left of the lantern tree, Bowie-melee the same four shapes in the same order. Then shield-bash its symbols until a branch drops. Put the branch on the Mausoleum stone and kill vampires nearby until it stops taking souls and smokes orange. Pick it up and craft the Stake Knife at the Cemetery Path bench.
This is optional for the main quest. It is useful against vampires, but the irreversible stone-order attempt makes it worth doing only when the observations are clear.
Stake Knife shape-to-location solver Open helper
Face the lantern tree and record the four tree shapes from left to right. Then visit the Gardens and record the symbol at each stone. Both sets change between matches.
1. Forest trees, left to right
2. Shape at each Gardens stone
Choose for Tree 1
Record four tree shapes and the shape at all four Gardens stones.
Confirm the complete route before shooting. A wrong stone shot requires a new match to retry this optional weapon.
Visual references: mmmrkennedy. Gameplay © Activision/Treyarch.
Savage Impaler — candles, jewelry & crypt defense
- Melee the burning quest candle in each of six rooms: Master Bedroom, East Gallery, Music Room, East Hallway, Wine Cellar and Study. Aim at the flame’s base and listen for the confirmation sound. Then use the Forest tombstone to the right of Pack-a-Punch for the timed red-screen vision.
- While the vision is active, find the ghost woman and escort her to Mausoleum. Check Entrance Hall, Master Bedroom, Music Room, Billiards, back of Greenhouse, Dining Room and the Dining/Bedroom stairs. If the effect runs out, refresh it at the grave and return to her; she waits. Enemies still attack during this vision.
- At Mausoleum, kill the individually highlighted teal zombies in this order: ordinary weapon → fire damage (Wraith Fire or a fire trap) → Specialist weapon → shield bash or shield gun. Collect each dropped piece of jewelry before attempting the next highlighted zombie. Place all four on the white floor marks.
- Kill vampires over the floor marks, using the ghost’s scream as confirmation that kills count. When the central pattern turns blue, quickly interact with the nearby tomb to open the Crypt before the blue window ends. Bring every player downstairs, collect the Savage Impaler and survive the enemy lockdown. The free weapon goes to one player; the box can supply others afterward.
Music & three reward rooms
- Shoot the four hidden coins to start Mystery: underside of the Main Hall table near Mozu; behind the Dining Room door in East Hallway; broken Wine Cellar barrel near the stairs; top of Library’s Ra statue viewed from Study.
- Billiards reward: pocket the numbered balls by shooting them in ascending order, 1 through 9. Missing the order spawns a grenade and loses this room’s attempt. Wine Cellar reward: inspect the six leaking barrels, then melee them from fastest drip to slowest; confirm each produces a splash.
- Balcony reward: inspect the marked books on East and West Balcony shelves. Press the four symbols in the image order below, corresponding to spring → summer → autumn → winter. The last bookshelf opens with a reward. A wrong book loses this room’s attempt for the match.
First book symbol Second book symbol Third book symbol Fourth book symbol
Sources and review
Source-checked against the linked community and illustrated guides. This revision has not been verified in a fresh complete in-game run. Screenshots show reference matches; always record your own clues.
- r/CODZombies community guide ↗
- Supplementary walkthrough (2) ↗
- Supplementary walkthrough (3) ↗
- Supplementary walkthrough (4) ↗
Select any reference image to enlarge it. Screenshot and symbol sources are credited in the linked walkthroughs; this guide uses local copies for reliable access.