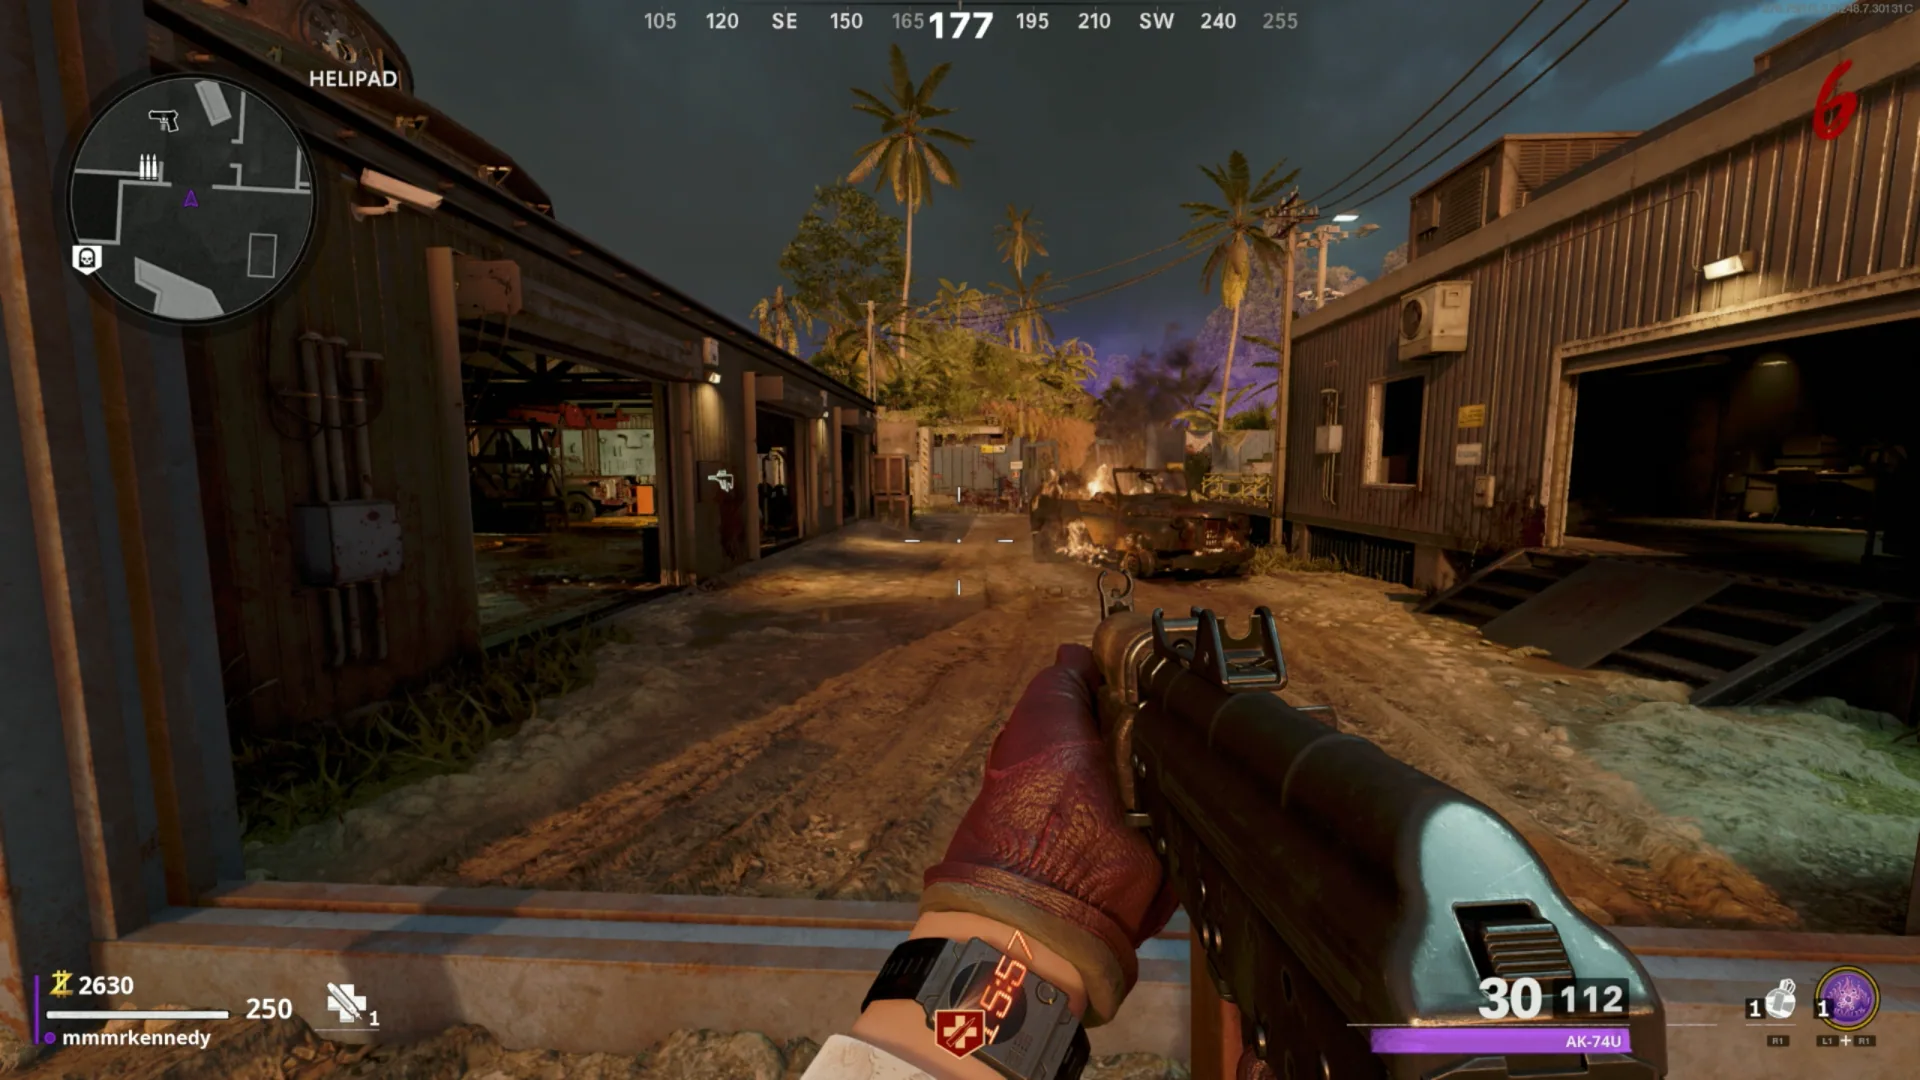
Key Features
Three reactors, Pack-a-Punch and the RAI K-84
- Talk to Ravenov in the village Atrium, open the upstairs route and use the rooftop teleporter. At the outpost, activate each Aether Reactor: Mission Control, Military Command and Data Center. Kill enemies near the charging collectors and protect their health bars until each reactor completes. With all three active, return through the Helipad teleporter to use Pack-a-Punch beside Ravenov.
A failed defense can be restarted at the affected reactor. Later assault waves can disable a reactor too: restore that area rather than searching for a second global power switch.
- Take the RAI K-84 blueprint from the Weapons Lab wall. At Scorched Defense, remove Kuhlklay’s eye from the corpse leaning against the tank on the right. Scan the eye at the Weapons Lab computer and take the key from its drawer. Open the narrow lockers between bunk beds in Barracks 1 and 2; kill the Mimics they release until one drops the Barrel Assembly.
These weapon-part Mimics are not the later memory-quest Mimics. Building the weapon is optional if you obtain it from the box, Legendary Trials or a reward, but a RAI K-84 is needed for the moving crystal.
Take the RAI K-84 blueprint before collecting its parts Kuhlklay’s corpse beside the Scorched Defense tank Scan the eye, then take the drawer key Open Barracks lockers and kill the spawned Mimics - Interact with the Weapons Lab computer and watch where the rotating marker pauses three times. Record those sectors in the dartboard helper below. At the village dartboard in the room beside Wunderfizz, use a precise single-shot weapon to hit the corresponding outer numbers in the displayed order, then the bullseye. Pick up the Aetherium Converter from the opened compartment.
Avoid shotguns, explosive ammo and bursts that register extra hits. If it does not open, replay the computer and recheck all three stops; begin the sequence again cleanly.
Village dartboard: use the outer number wedges, then the bullseye - Kill a Mangler and collect its uncharged Power Cell; ordinary rounds begin spawning them around round 15. Destroying the arm cannon before the kill is a reliable way to pursue the drop. Put the cell in the charging unit on the Weapons Lab workbench, continue through a full charging round, then collect it when it glows and allows pickup. Build the weapon beneath the blueprint using the barrel, converter and charged cell.
Depending on when you inserted it, you may cross two round changes. The glowing cell and pickup prompt are the completion test. Switch firing modes to fire a slowing orb; normal RAI bullets can detonate that orb.
Leave the Mangler cell in this charging station until it becomes collectible
RAI K-84 visual dartboard Open helper
Tap the computer’s three stopped sectors in order. Get the real dartboard numbers and final bullseye.
Keep the board upright: 20 is at the top. Select a recorded stop to correct it.
Use a numbered sector list
Recording stop 1 of 3
Record all three computer stops in order.
Use a precise single-shot weapon at the Village dartboard. Shoot the numbered outer sections, then the center. Repeated numbers are valid; a miss means entering the whole sequence again.
RAI K-84 build instructions →Compare the computer sectors with the real dartboard
Inputs are shared with the inline guide on this device. Photos: mmmrkennedy · game imagery: Activision / Treyarch.
Main Quest
Ravenov’s badge and Peck’s truth serum
- After power, speak to Peck through the Mission Control window, then return to Ravenov for his ID Badge. Open the three locked chemical cabinets and take the compound inside each: Equipment Storage in the village, Engineering beneath Planning Offices, and Colonel’s Office above Military Command.
Compound S16: village Equipment Storage Compound 36: Engineering Compound P65: Colonel’s Office - Place the chemicals in the Field Hospital mixer and kill the Hellhounds that spawn. Interact with the mixer again when finished, pick up the Agent Delivery System beside it, and attach it to the air-conditioning unit outside the OPC dome above Peck’s room.
Field Hospital: use the mixer twice, before and after the defense Attach the completed delivery system to this OPC air conditioner - Return to Peck and continue his dialogue until the Data Center station is available. Interact with the upstairs Memory Transference Station and collect an Essence Trap. It takes the tactical-equipment slot. The next phase requires special disguised Mimics, not simply any enemy near a listed room.
The Data Center station dispenses traps and accepts captured memories
Mimic memories — recognize the correct spawns
- Search for an unusual pile of seemingly valuable loot in Motor Pool, the Military Command/Sky Bridge area, or Peck’s Quarters above village Pack-a-Punch. Approach to reveal its Mimic, reduce its health to a small sliver, then throw the trap on the ground. When it walks over the trap, double-tap interact to capture it. Pick up the filled trap and insert it at Data Center before its three-minute return timer expires.
One eligible memory Mimic appears per round. If you kill it, advance a round and search again. Use a controlled damage weapon and avoid Brain Rot, lingering fire or other effects that may finish it accidentally. A trap breaking usually means too much health remained.
Check Motor Pool for the suspicious loot cluster Check Military Command and the connecting Sky Bridge Check Peck’s Quarters above village Pack-a-Punch - Listen for the three accepted memories: Sokolov, Brahms and Zhabin. A rejected recording does not count. After each accepted capture, leave the spawn rooms while advancing the round, then search the remaining locations. Let the station finish each recording and keep collecting until it ejects the floppy disk.
Do not lure a random Mimic into the correct room and expect it to become a quest target. Its special loot-pile origin matters. If nothing spawns, move all players away, finish the round and check every site again.
- Take the ejected disk to the Planning Offices terminal. Enter the newly opened OPC to reveal the breach, wait for the instability announcement, then speak to Peck. After Ravenov supplies the code, open the cabinet beside Peck’s window for the Aethermeter. Take the shovel leaning inside Scorched Defense’s left bunker.
Insert the disk at the Planning Offices terminal The Aethermeter cabinet is beside Peck’s window The shovel waits inside the left Scorched Defense bunker
Three crystal tests — visual differences and recovery
- At Open Lot, follow the Aethermeter beeps to the dig site near Engineering/Planning Offices and interact with the dug-up container. Inspect the copies that appear. Choose the single container whose interior has white light but no drifting black particles. Check the entire container rather than a still instant of its animation.
A wrong selection releases Mimics. Clear them and advance a round before another attempt. The correct container changes; these photos explain the distinction, not a fixed spawn to choose.
Open Lot crystal dig site beside the building Correct: no black smoke or particles around the crystal Wrong: dark particles swirl inside this copy - Dig in Jungle Defense’s middle lane. Stay inside the resulting protective dome and survive the enemies until it disappears, then collect the container. Stock armor and ammo beforehand; stepping into the surrounding gas is dangerous.
Jungle Defense dig site at the end of the middle lane - Dig near the Field Hospital door facing the Data Center stairs in Barracks. The container teleports around Barracks and the hospital when approached. Find it from a distance, switch the RAI K-84 to alternate fire and put its slowing orb on the container. Run in and collect it while frozen.
Use the slowing orb, not ordinary rifle fire. If the container escapes, find its new position and try again; this is not the Open Lot wrong-container failure.
Barracks dig site beside the Field Hospital door - Install one recovered crystal in each of the three original Aether Reactors: Mission Control, Military Command and Data Center. Return to the OPC for the next story sequence, then wait for the satellite-alignment instruction.
Align the satellite and defeat Orda
- Use the Planning Offices computer and move its cursor over the yellow satellite dots. Choose the one identified with a question mark rather than a US or Soviet flag, then confirm. The dish fires to power the OPC. A wrong satellite causes a cooldown, so read the identity before confirming.
Inspect the satellite identity in the screen’s corner; select the question mark - Finish upgrades, buy perks and refill armor before returning to the OPC. The final OPC terminal interaction starts the cutscene and Orda encounter. Make sure teammates have their weapons and ammunition before anyone uses it.
Alignment and the final OPC interaction are separate actions. Use the gap for preparation.
This OPC terminal commits the team to the Orda encounter - In the village, damage Orda from range and concentrate fire into its glowing mouth when exposed. Clear parasite projectiles, Mimics and Manglers before they trap you, and stay well clear of the arm slam. Use village armor, ammo, Pack-a-Punch and Wunderfizz if needed. Depleting Orda’s health completes the quest.
Side Quests
Bunny encounter — free Juggernog and loot
- After restoring Pack-a-Punch, go upstairs in the Atrium and stare at the small rabbit on the out-of-bounds balcony above Wunderfizz. Keep it centered until it looks back and transports you. In the dark jungle, follow the bright bunny, shoot it, and repeat at its next two positions. Open the resulting chest promptly before the return teleport.
The chest includes Juggernog and random loot. A RAI K-84 is a possible weapon reward, not a guaranteed shortcut.
Look at this rabbit above the village Atrium until it turns toward you
Sergei’s head — free perk from the Colonel’s safe
- Once Essence Traps are unlocked, find Sergei’s severed head at a defense area. Check both sites in each zone: Scorched Defense under the bunker stairs or near a tank; Rocky Defense on sandbags or left of the Weapons Lab staircase; Jungle Defense by barrels or between its left and middle lanes. Carry the head to the Field Hospital charging plate.
Head spawn: under Scorched Defense bunker stairs Head spawn: Scorched Defense tank Head spawn: Rocky Defense sandbags Head spawn: Weapons Lab staircase Head spawn: Jungle Defense barrels Head spawn: between Jungle Defense lanes - Capture an ordinary weakened zombie in a fresh Essence Trap and place the filled trap beside the head on the charging plate. Wait for Sergei’s speech and disappearance, then open the small safe on the floor of Colonel’s Office to claim the perk. This optional trap use does not count toward the three main-quest Mimic memories.
Field Hospital charging plate for the head and filled trap Open this Colonel’s Office safe after Sergei finishes
Upgraded Monkey Bombs
- Accumulate 50 Monkey Bomb kills near one of the powered Aether Reactors. Keep using the same reactor area while working toward the total. Once upgraded, your Monkey Bombs glow red, play different music and make nearby zombies dance. Bring spare bombs or the salvage to craft more.
Free jump pads — all six movement sequences
- After Pack-a-Punch, use each of the six jump-pad launch points at least once. Find the one with a green light on the left side and shoot that light with a bullet weapon. Stay on the pad and follow its displayed movement arrows. A successful pattern launches you toward the next pad; repeat through all six to remove their travel cost.
Move relative to the pad’s screen: Up means forward toward it, Down means back. If a pattern fails, restart at the illuminated pad. The photos below distinguish the two pads in each duplicated area.
Shoot the green lamp on the pad to start the directional challenge - Jungle Defense — first photographed pad: Left → Right → Left → Right → Left. Face the control screen when following this movement pattern.
Jungle Defense — first photographed pad: Left → Right → Left → Right → Left - Jungle Defense — second photographed pad: Forward → Right → Left → Forward → Left. Face the control screen when following this movement pattern.
Jungle Defense — second photographed pad: Forward → Right → Left → Forward → Left - Mission Control — first photographed pad: Forward → Back → Forward → Back → Forward. Face the control screen when following this movement pattern.
Mission Control — first photographed pad: Forward → Back → Forward → Back → Forward - Mission Control — second photographed pad: Right → Back → Forward → Left → Right. Face the control screen when following this movement pattern.
Mission Control — second photographed pad: Right → Back → Forward → Left → Right - Data Center pad: Back → Left → Right → Left → Forward. Face the control screen when following this movement pattern.
Data Center pad: Back → Left → Right → Left → Forward - Rocky Defense pad: Forward → Right → Left → Right → Back. Face the control screen when following this movement pattern.
Rocky Defense pad: Forward → Right → Left → Right → Back
Lost — three cassette tapes
- Interact with the tapes on the Scientist Quarters upstairs bookshelf, the Equipment Storage shelf by the barrier, and beside the Motor Pool Office filing cabinet. Picking up the third plays Lost.
Lost tape: Scientist Quarters bookshelf Lost tape: Equipment Storage shelf Lost tape: Motor Pool Office filing cabinet
Assault waves and Intel
- When an assault wave starts, go to the marked defense line and stop enemies reaching the reactor. Use its available defensive equipment and keep shooting priority enemies. Later waves introduce Orda. If a reactor loses power, reactivate and defend it again; that failure does not erase the entire main quest.
- Check fixed logs and artifacts, repeat radio interactions across rounds, collect special-enemy documents and run Intel Trials. These collection systems are optional to the rescue quest; use the dedicated list for individual seasonal collectibles.
Sources and review
Original walkthrough cross-checked against the community and illustrated references below on 3 October 2026. Gameplay photographs: mmmrkennedy; game imagery: Activision / Treyarch. Match-specific numbers and sequences must come from your game. Source and software checks are complete; a full in-game walkthrough has not been performed.
Select any reference image to enlarge it. Screenshot and symbol sources are credited in the linked walkthroughs; this guide uses local copies for reliable access.