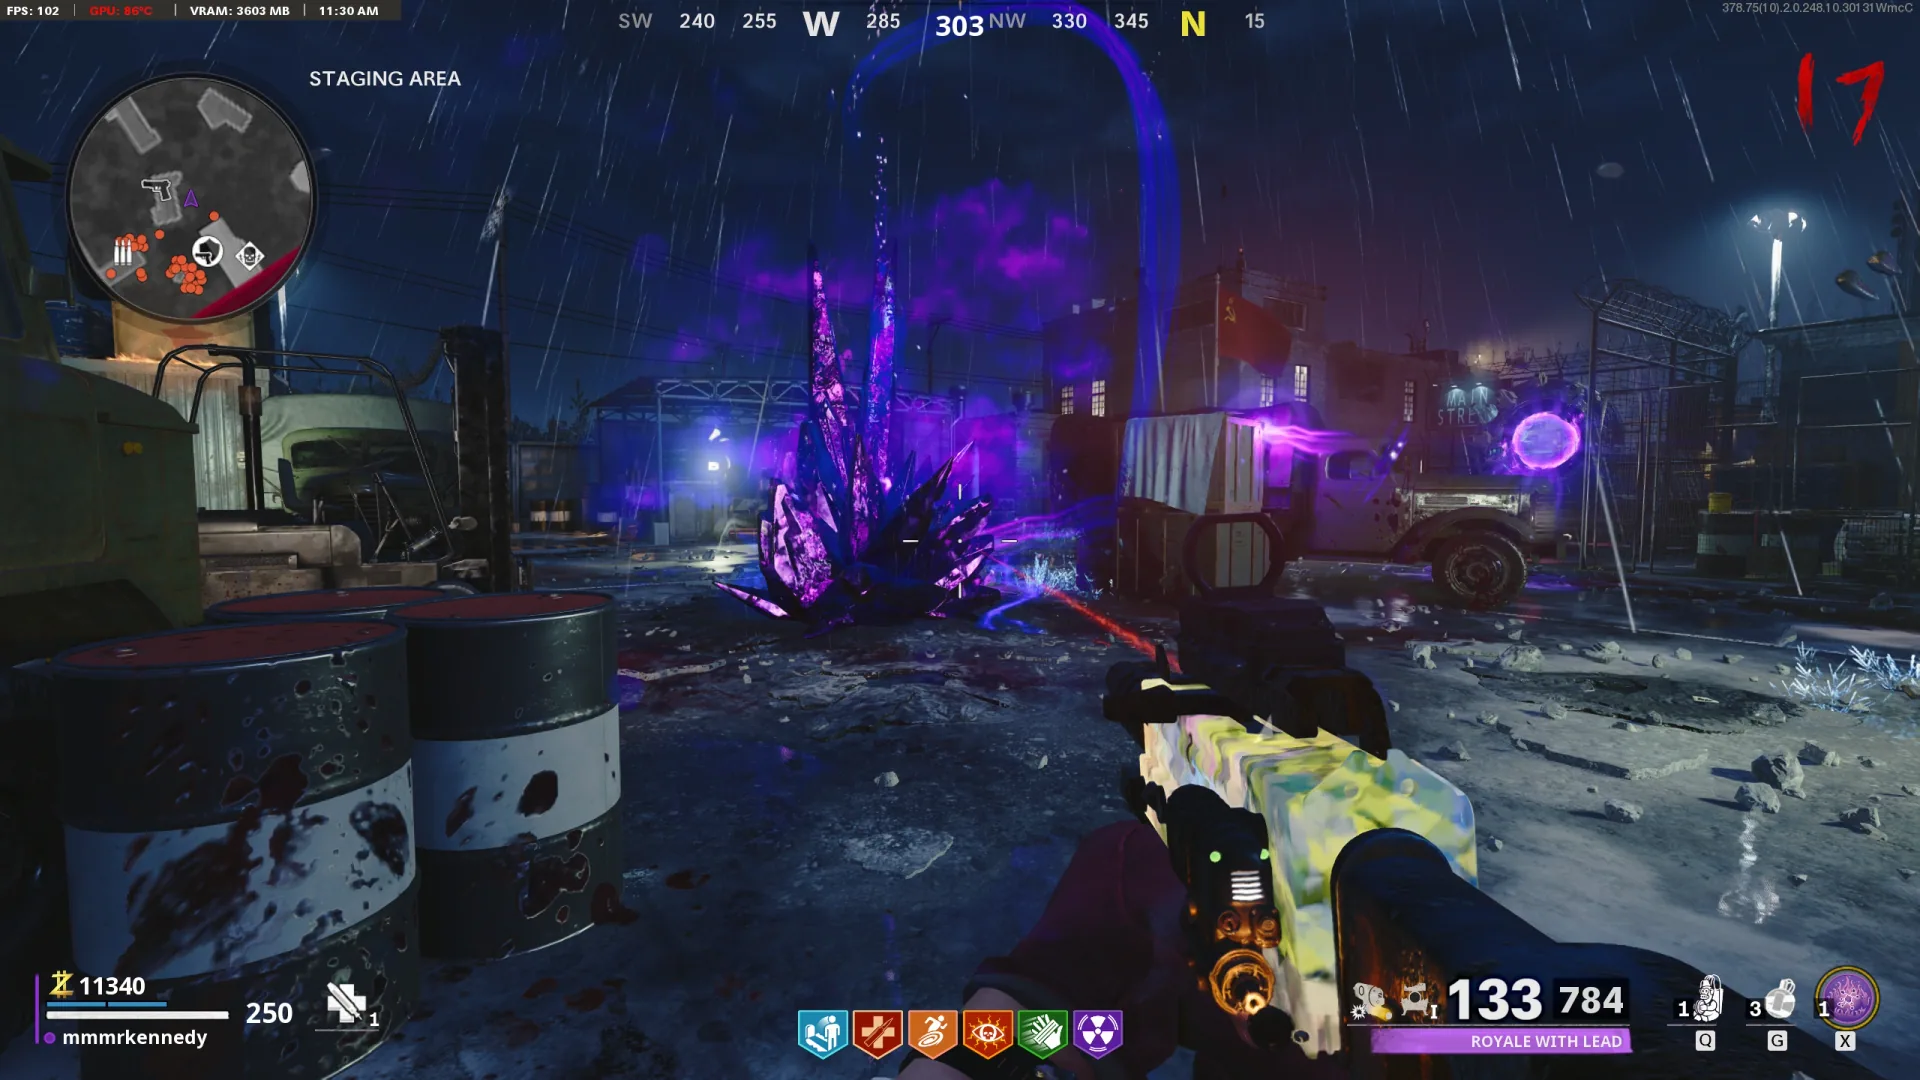
Key Features
Leave Staging Area and lift the lockdown
- Activate the Staging Area teleporter and survive its startup countdown, then leave through it. Rounds advance unusually quickly while you stay in this opening area. Follow the town objectives to the broken Fuel Processing teleporter and collect its four repair parts from the marked shops.
- Fryer Cage: Burger Town kitchen/counter area.
- Cathode-Ray Tube: TV Store shelves.
- Focusing Lens: Cinema entrance benches/mannequins.
- Circuit Board: Video Store ground floor/storage area.
Each shop has multiple possible part positions. Search the marked room’s shelves, boxes and counters; the objective marker tells you the correct shop.
- Repair the Fuel Processing teleporter and take it to Bunker Entrance. Open the path to Amplifier and defeat the Abomination blocking the next portal by shooting its glowing mouths when they open. Reach Observation Tower and use the marked lockdown control to enable Pack-a-Punch. Then press the separate wall button opposite the bunker portal to reveal the Forsaken and start the main quest.
The lockdown switch and story button are different controls. Do both. Do not linger in the Observation Tower once its radiation warning begins.
The separate Observation Tower wall button begins the quest story - Obtain a Chrysalax from Legendary Trials, the Mystery Box, an arcade reward, or the guaranteed build below. Its axe form is excellent for nearby groups and armor recovery; its gun form breaks the quest’s circling orbs. You need it before collecting the three catalyzed shards, but can work on the other neutralizer parts while preparing it.
The crafting route guarantees a weapon when completed. Random reward sources do not guarantee a Chrysalax on the first attempt.
Main Quest
Build the Chrysalax — three crystals and melee souls
- After pressing the quest button, kill a Tormentor with the Flamethrower support weapon and collect the Tempered Crystal Heart it drops. Identify the fast red-glowing Tormentor before using fuel; ordinary zombies do not provide this component.
The Tempered Crystal Heart drops from the burned Tormentor - Stand beside an ordinary purple Dark Aether crystal and bait an Abomination’s electric beam into it, then move clear. Collect the Energetic Geode produced by the hit. Do not destroy every nearby crystal with gunfire before arranging the beam.
Use a small purple crystal for the geode, not a large quest growth Collect the changed crystal after the beam hits - Wait for the crystal to crash into Jim’s Donuts, a couple of rounds after the story button. Approach it behind the counter and defeat its three special-enemy waves: Plaguehounds, Tempests, then Mimics. When its protection ends, collect the Polymorphic Crystal Core.
If it has not landed, progress rounds after pressing the separate quest button. Standing beside the landing point before that prerequisite will not make it appear.
Approaching this Jim’s Donuts crystal starts its defense - Place all three crystals in the aether-filled basin at Particle Accelerator. Kill ten zombies with melee attacks close to the basin to charge it, then take the forged Chrysalax. Pack-a-Punch upgrades it normally; there is no separate weapon-upgrade Easter egg required.
Deposit the three pieces here and feed the basin melee kills Pick up the forged Chrysalax when the basin finishes
Aetherium Neutralizer — fuel, shards, monitor and housing
- At Fuel Processing, every player in the match must interact with a separate processing-tank control at the same time; solo needs one. Survive the lockdown and keep killing near the tanks until their charging completes. Pick up the Fuel Tank dropped into the center when the doors reopen.
If activation does nothing in co-op, count every player still in the match and coordinate their inputs. A failed attempt can be retried on a later round.
Assign one tank control to each player before starting Take the Fuel Tank from the floor after the defense - At each large crystal growth—Staging Area, Amplifier, and Storage Zone 5 Rooftops—shoot the three circling orbs with Chrysalax gun form. Use axe form to break the now-unprotected growth and pick up its Crystal Shard as tactical equipment. An Abomination appears. Throw the shard into an open mouth, check that its tail glows red, then kill it and collect the Catalyzed Crystal Shard. Repeat at all three growths.
Do not kill the Abomination before it swallows the shard. If a throw misses, recover/retry the shard interaction and confirm the red tail before firing.
Growth 1: Staging Area Growth 2: Amplifier Growth 3: Storage Zone 5 Rooftops Red tail confirms the Abomination swallowed the shard Pick up the catalyzed shard after the kill - Bring a weapon with Dead Wire to the Arcade’s Grand Prix cabinet. Trigger Dead Wire on a zombie immediately beside it to power the machine, then pay 2,000 Essence to control its ARC-XD. Drive to the TV Store, let the vehicle’s pulses break the vent cover behind the counter, and drive through. Detonate between the shelf and wall. Return on foot and collect the Monitoring Device from the fallen shelf.
Exploding the car before reaching the shelf does not expose the part. Buy another attempt at the same cabinet if needed. This quest machine charges Essence; the optional arcade minigames use tokens.
Use this Arcade cabinet for the main quest, not the upstairs Bar racing machine Let the ARC-XD pulse open this TV Store vent Drive behind this shelf before detonating Return on foot to pick up the Monitoring Device - Bring an Abomination into the Board Room. Stand beneath the ceiling-mounted Housing Unit, bait its charge into the wall below it and dodge aside. Pick up the fallen unit. With that, the monitor, fuel tank and all three catalyzed shards, build the Aetherium Neutralizer at the Main Street workbench near Tombstone.
The Housing Unit hangs above this Board Room corner Bait the charge into this wall, then move aside Assemble the Neutralizer at the Main Street workbench
Neutralizer escort and the final supply stop
- Finish side activities, gather the team and refill equipment before activating the Neutralizer. Activation commits you to the ending route. Walk inside its protective bubble. As fuel runs low, briefly leave the bubble to break an orange crystal along the route, collect its shard and return immediately to refuel the device.
Outside the bubble, damaging gas builds quickly. Designate one fuel runner in co-op and let the rest clear the safe area. Do not confuse these route crystals with the three earlier Abomination-fed shards.
Escort fuel comes from these orange crystals beside the route - At the Containment Door, use the final resupply machines to repair armor, refill ammo, buy perks and upgrade your weapons. Then gather at the door and accept the boss encounter. Once inside, you cannot return to this supply stop.
The Forsaken — expose, charge and fire
- Shoot the crystal armor on either shoulder until that weak point is exposed. Kill zombies inside Samantha’s marked circle to charge a laser cannon. When it becomes usable, mount the cannon and shoot the exposed shoulder. Repeat for the other shoulder, then the abdomen and finally the head as the fight exposes those targets.
Ordinary bullets expose the target; the charged cannon advances the major damage stage. If a cannon is unavailable, return to Samantha’s circle and supply more kills.
- Keep away from the raised-hand slam, move out of frost patches and tracking energy attacks, and avoid the eye beam in later phases. Use the Chrysalax axe on nearby enemies to maintain space and armor. When the boss is defeated, the forced team down and story sequence are intentional. Let the ending play.
The ending’s forced down is not a failed run. Do not quit when it occurs.
Side Quests
Free all-perks quest — VHS, TVs and Tombstone
- After the tower quest button, throw an explosive beside the Video Store ground-floor shelf. Go prone to pick up the VHS tape knocked out from behind it. Insert the tape into the TV Store VCR, then interact again to play it and start the four colored screens.
Use an explosive beside this Video Store shelf Go prone to collect the fallen VHS Insert the VHS in this TV Store player - Watch the colored TV flashes and shoot the same screens in exactly that order. Complete three stages of four, eight and twelve flashes. Use the recorder below to capture the full display for each stage, edit any misread slot and follow the result one shot at a time. The order is random; the screen positions are the visual reference.
Use accurate single shots. Do not fire at the same time you are trying to read the display. A wrong input requires watching the game’s next attempt again, not trusting an old sequence.
Actual TV layout: blue left-middle, green lower-left, red upper-right, orange right-middle - After all three stages, buy Tombstone before interacting with the remaining green TV. Turn it red to release the spectral figure. Go to Amplifier, deliberately down yourself and activate Tombstone Shadow. In shadow form, reach Particle Accelerator and shoot the floating entity. When it splits, repeatedly shoot the copy with glowing eyes until it disappears, then return to revive your body.
This is an optional, risky down-state challenge. Know the route before starting and watch the shadow timer. The perk reward goes to the successful player and is lost under normal downing rules; it is not permanent.
Only interact with the remaining green TV after buying Tombstone In Tombstone Shadow, target the copy whose eyes glow
Perkaholic TV sequence Open helper
Record the real colored screens for each 4, 8 and 12-flash stage, then follow your order one shot at a time.
Collect the VHS from behind Video Store’s shelf, then insert and play it at the TV Store VCR. Record every flash, then shoot the matching screens. Each stage keeps its own sequence.
Record flash 1 of 4
See the full TV arrangement
4 flashes still to record.
Replay advances only when you press Next shot. If the game resets a stage, clear that stage and record its new flashes. Other stages stay saved, and Undo restores an accidental clear. Tombstone Soda is needed for the shadow-form step after all three sequences.
Perkaholic quest and shadow-form steps →Inputs are shared with the inline guide on this device. Photos: mmmrkennedy · game imagery: Activision / Treyarch.
Ronald Raygun’s pizza deliveries
- Equip Tier III Aether Shroud, stand at Beach Pizza’s closed interior door and use the forward teleport to enter Ronald Raygun’s room. Leave the dancing zombie alive. Pick up a pizza from the stack to begin a 45-second delivery.
Killing Ronald ends this side quest. Read the destination and route before picking up the next pizza.
Use Aether Shroud’s upgraded forward dash through this door Each pizza pickup starts a timed delivery - Deliver to the indicated spot, then return to Ronald for the reward before taking another box. The four delivery sites are the Video Store boxes beside a mannequin, the Cinema bench, a Bar booth and a Burger Town booth. Complete all four orders for four reward attempts.
A Ray Gun is a possible reward, not guaranteed after four deliveries. A delivery timer belongs to the current order; do not start it until ready to run.
Pizza destination: Video Store boxes Pizza destination: Cinema bench Pizza destination: Bar booth Pizza destination: Burger Town booth
Samantha’s Ballad — PhD landings and Bubby defense
- With Tier V PhD Slider, use a long slide off each pictured rooftop and land on its scorched patch: Bar roof toward TV Store; Video Store roof toward the barrier; Anytown roof toward the theater. Confirm each successful landing and collect the Aether Bunny once it appears.
An ordinary jump or unupgraded PhD does not replace the required long-slide explosion. If a landing does not register, recheck the burn mark and retry that rooftop.
Landing patch: outside TV Store from the Bar roof Landing patch: barrier below Video Store rooftop Landing patch: near the theater from Anytown rooftop - Install the bunny through the back of Burger Town’s Bubby mascot and defend him for the two-minute lockdown. Clear the special enemies threatening him, then open the reward chest and take its cassette to play Samantha’s Ballad.
Interact behind Bubby to insert the collected bunny Take the cassette from the defense reward chest
Arcade games, racing and the free token
- Melee the Arcade token dispenser for its once-per-match free token. Additional tokens can drop from zombies or be bought from the dispenser. Spend these on the optional arcade minigames; the main-quest Grand Prix cabinet has its own 2,000-Essence activation.
The token dispenser supplies the free melee token and purchased tokens - Spend tokens on the Arcade’s playable cabinets. Der Eisendrache is a dragon-feeding challenge: kill zombies inside its marked circle for a better chest. World at War sends you into a brief Nacht survival challenge; survive and claim its reward. Enduro gives an ARC-XD collection course. These are optional loot routes, and the reward quality is not a promise of a particular wonder weapon.
- Buy PhD Slider and kill a zombie with its explosive slide beside the upstairs Bar Grand Prix machine. Every participating player needs a token and must interact to start. Drive three laps following the arrows; faster finishes give better Essence rewards. This Bar cabinet is separate from the Arcade cabinet used to retrieve the monitor.
Upstairs Bar racing cabinet; do not confuse it with the quest’s Arcade machine
Free weapon rarity — pistol, sniper and SMG courses
- Hold the pistol you want to improve, take the blueprint on the planter outside American Records and Tapes in Anytown West, then shoot all 18 targets inside the shop with that pistol. Look across both floors. Keep the required weapon equipped for the shots and reward.
Pistol-course blueprint on the record-store planter Shoot the shop’s targets through this window - Hold your sniper rifle and take the blueprint on the Video Store rooftop air conditioner. Shoot all 15 targets around the Cinema across the street with that rifle to raise its rarity.
Sniper-course blueprint on the rooftop air conditioner Watch the Cinema and its surroundings for all sniper targets - With an SMG, take the blueprint on the cinder blocks inside Beach Pizza. Hit the 16 targets in the three-part route: six in Beach Pizza, five in Storage Zone 10 and five on Storage Zone 10 Rooftops. Keep moving to the next area as its targets become active.
These reward weapon rarity, not Pack-a-Punch tiers. Use the named weapon class and a full magazine before starting a timed course.
SMG-course blueprint on the Beach Pizza cinder blocks SMG course first group: Beach Pizza SMG course second group: Storage Zone 10 SMG course final group: Storage Zone 10 Rooftops
Optional Intel
- Check fixed logs, documents and artifacts throughout the town and bunker, use repeat radio transmissions, collect special-enemy documents and complete Intel Trials. The main quest grants some story items automatically, but does not replace the rest of the collection.
Sources and review
Walkthrough adapted from the community and illustrated references below, with AI-assisted source checks on 3 October 2026. Gameplay photographs: mmmrkennedy; game imagery: Activision / Treyarch. Match-specific numbers and sequences must come from your game. Source and software checks do not replace an in-game playthrough; a full in-game walkthrough has not been performed.
- r/CODZombies community guide ↗
- r/CODZombies community guide (2) ↗
- mmmrkennedy illustrated guide (3) ↗
- COD Zombies Guides illustrated walkthrough (4) ↗
- GameSpot walkthrough (5) ↗
- COD Zombies Guides illustrated walkthrough (6) ↗
- tracker.gg reference (7) ↗
- gameranx.com reference (8) ↗
- Official Call of Duty guide (9) ↗
Select any reference image to enlarge it. Screenshot and symbol sources are credited in the linked walkthroughs; this guide uses local copies for reliable access.