Key Features
Power and Pack-a-Punch
- Follow the opening objective from the rooftops down through the hotel and streets into the subway. Reach the power switch in the underground Power Room and use it to reveal the fuse requirement. Keep track of the stairs and ladders linking East Berlin, West Berlin and the station; later timed steps use these routes.
- Follow the fuse markers, kill the required Tempests and pick up both Electrical Fuses. Install them in the Power Room panel and use the switch again. A Tempest kill without collecting its dropped fuse does not complete that half of the objective.
- Approach Pack-a-Punch at Checkpoint Charlie to trigger its encounter. Damage the Disciple and clear its empowered zombies until the barrier falls. Use Pack-a-Punch to add Brain Rot to a controlled bullet weapon for Klaus’s hands. Buy armor and reserve funds to summon Klaus again later.
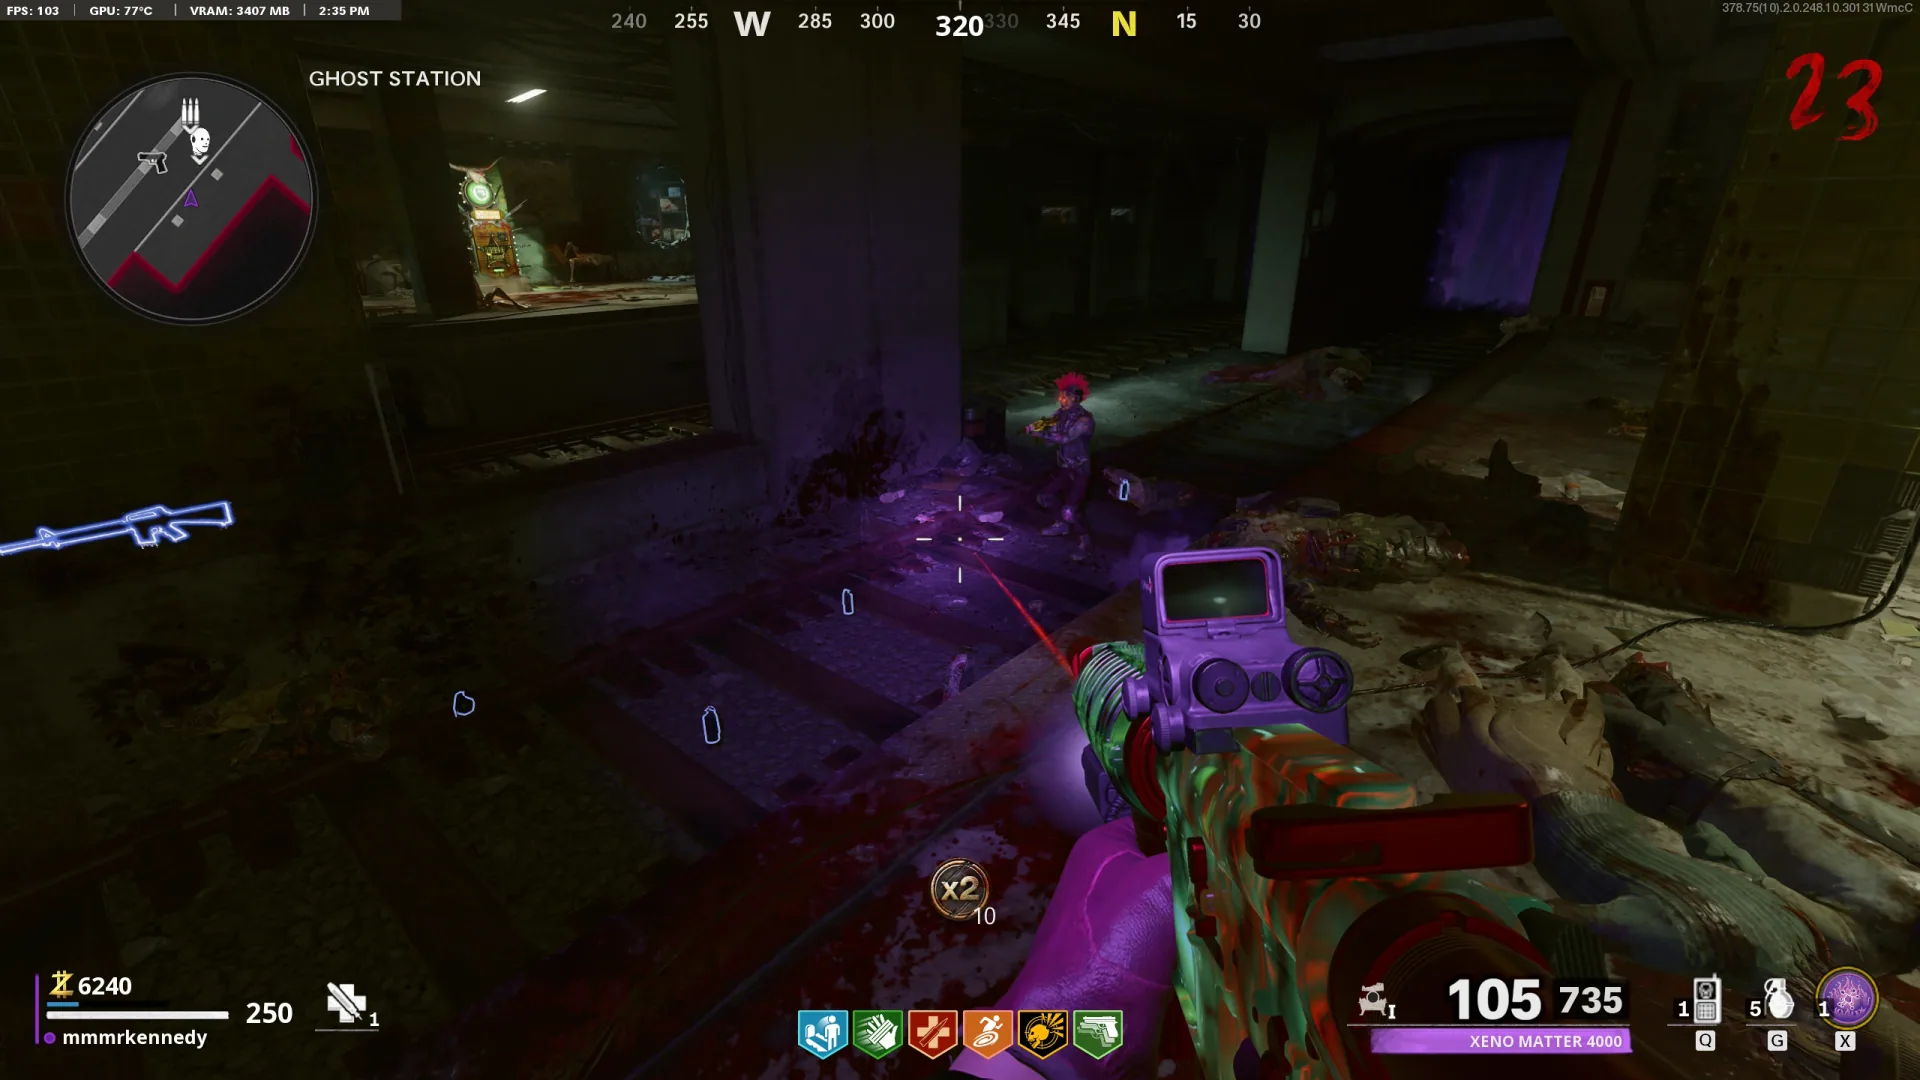
Watch the trains when crossing Ghost Station. A clear track is not a permanent safe route.
Main Quest
Klaus — hands, battery, blacklight and first upgrade
- In Hotel Room 305, turn an ordinary zombie with Brain Rot near the boarded bedroom door. Let the friendly zombie tear the boards off, then take the Robotic Hands from the corpse on the bed. This also exposes the room containing the CRBR-S safe.
The Brain-Rotted zombie must break this Hotel 305 door Take Klaus’s hands from the body on the bed - Kill the first Krasny Soldat, normally appearing on round 10, and pick up its Battery. Bring the hands and battery to Klaus in the underground Safe House. Install both, activate him and use the remote in your tactical slot to direct him to a floor position.
Klaus returns to recharge after a deployment. Wait for him to become available before paying to summon him again; his availability is separate from quest progression.
Collect the Battery dropped by the Krasny Soldat Install the parts on Klaus in the Safe House - Command Klaus to stand in front of the tall locker in Switch Control Room. He punches it open; collect the Blacklight. Search the diggable debris mounds on both sides of Pack-a-Punch in the Death Strip for the Microwave Dish. Install the dish on the Garment Factory upgrade station.
Command Klaus directly in front of the Switch Control locker The Microwave Dish can emerge from a Death Strip debris pile Install the dish here in the Garment Factory - Let Klaus kill roughly 45 zombies until the Garment Factory station’s small monitor turns green. Command him into the station and protect him for the timed defense. On success he gains the first weapon upgrade required to stop the train. The two later floppy-disk upgrades are optional and have their own section below.
The monitor is more reliable than your estimated kill count. If it stays red, give Klaus more kills. During the defense, prioritize attackers on him over distant enemies.
A green station monitor is the readiness cue
Free CRBR-S and the hidden laboratory
- With the Blacklight, find one glowing two-digit number in each clue room. The fixed safe order is Garment Factory first, Service Passage second, Grocery Store third. Each room has three possible positions; use the photographs in the helper to search them. Record your own values, preserving leading zeros.
The numbers change each match, but the room-to-dial assignment does not. A screenshot’s example code will not open your safe.
- Return to Hotel Room 305 and set the safe’s three dials to those numbers in room order. Open it and collect the CRBR-S. A CRBR-S from the Mystery Box or Legendary Trials also satisfies the quest; using one skips the safe hunt, not Klaus’s later jobs.
Hotel 305 safe: three separate values, left to right - With Klaus active, command him against the damaged brick wall at Sewer Access. After he breaks it, use the CRBR-S Blazer mod’s sustained beam on the metal wall behind it until it melts. Mod kits can drop while using the CRBR-S; pick up the Blazer kit when one appears.
Open this wall before worrying about optional Klaus upgrades. The base CRBR-S shot cannot replace the Blazer beam on the metal barrier.
Place Klaus’s command marker against this Sewer Access brick wall - Entering the Secret Lab advances the encounter into a Tormentor round. Finish that wave to remove the protective fields from the equipment. Collect the three empty canisters from the Conversion Unit, then shoot the separate lure dispenser with the CRBR-S to expose its supply.
The Conversion Unit supplies empty canisters and receives filled ones Shoot this separate machine to release Endstation Lures
CRBR-S safe and blacklight locations Open helper
Find each number with the nine clue photographs. Keep the three values in fixed room order.
Collect Klaus’s blacklight from the Switch Control Room locker. Read one hidden two-digit number in each room; its location can change, but the safe dial order below never changes.
Show all 3 clue locations
Show all 3 clue locations
Show all 3 clue locations
Read one blacklight value in each of the three rooms.
Keep leading zeros: “09” is different from an unfinished “9”. Enter all three values at the Hotel Room 305 safe, then confirm to claim the CRBR-S.
Back to the safe quest step →Inputs are shared with the inline guide on this device. Photos: mmmrkennedy · game imagery: Activision / Treyarch.
Three harvesters and Klaus’s hacking headgear
- Find the three essence harvesters active in your match, out of seven possible sites. Put an empty canister into one, pick up an Endstation Lure in the lab and throw it near that harvester. Kill the summoned Tempests close enough that their energy flows into the canister.
- West Berlin Street
- Destroyed Penthouse below the Quick Revive rooftop
- East Berlin Street
- Korber Rooftop
- Alley
- Sewer Access
- Ghost Station
Harvester candidate: West Berlin Street Harvester candidate: Destroyed Penthouse Harvester candidate: East Berlin Street Harvester candidate: Korber Rooftop Harvester candidate: Alley Harvester candidate: Sewer Access Harvester candidate: Ghost Station - When the filled canister becomes removable, carry it to the lab Conversion Unit and deposit it. Repeat at the other two active harvesters. If a canister will not release, obtain another lure and kill more Tempests close to it; simply killing them elsewhere does not charge it.
The Endstation Lure uses your tactical slot. Return to its dispenser whenever another is needed.
- Shoot the Apartment Rooftop antenna with the CRBR-S for the aerial, the Ghost Station ticket-machine/electronics box near the M16 wall-buy for the boards, and the boomboxes inside the Electronics Store until the transistor drops. Pick up all three items and install the Hacking Helm on Klaus in the Safe House.
Headgear aerial: shoot the Apartment Rooftop antenna Headgear boards: Ghost Station electronics Transistor candidate: first Electronics Store radio Transistor candidate: second store radio Transistor candidate: third store radio
Stop the train and recover the warhead
- Deploy Klaus after his first defended upgrade. In Switch Control Room, use the Railway Switch. Place Klaus on the track farthest from Mule Kick, near the M16 wall-buy. He announces the stop and braces for the train; stay clear of the track yourself.
If the train passes without stopping, check the first upgrade and command position, then retry the switch next round.
Use this railway switch before positioning Klaus Klaus stops the train on the far track - Board the stopped train quickly. Take Rico’s Keycard from the corpse and the Bomb from its case, then leave before the train moves. Both items are required; collecting only the keycard leaves the warhead unfinished.
Rico’s Keycard on the body inside the train The Bomb is a separate pickup in its case - Install the Bomb in the lab Conversion Unit. Use Rico’s Keycard at the Safe House computer, with Klaus’s headgear installed, and browse the files until the satellite connection becomes available. Read the uranium route below before activating it.
Use the Safe House computer to establish the satellite connection
Uranium collision — two timed cycles
- Activate the Disruptor Satellite from the computer. Kill the marked Megaton and both split forms to drop two uranium rocks. A lethal countdown runs during this operation; use the HUD for remaining time. Each carrier also takes damage from raw uranium, so plan the workbench and rooftop route before picking it up.
Solo: complete one device and placement, then return for the second. Co-op: split the two carries between players. Do not begin with low health, empty armor or unopened roof access.
- Bring each rock to a uranium workbench and craft a device. Attach one at the Destroyed Penthouse end of the zipline crossing the street and the other at its Korber Rooftop end. When both are mounted they collide automatically; collect the Cleansed Uranium from the street beneath.
Use the interact prompt to attach the device. Riding the zipline is not the placement action.
Uranium-device workbench on West Berlin Street Alternate workbench in the military tent Mount one device at the Destroyed Penthouse end Mount the second at the Korber Rooftop end - Deposit the first Cleansed Uranium into the lab warhead. Advance a round as required for the next satellite connection, activate it and repeat the Megaton, crafting and collision sequence. You need a second cleansed piece, not merely both raw rocks from the first cycle.
- Refill armor and ammo, upgrade the CRBR-S and your backup weapon, and gather the team before depositing the second Cleansed Uranium. That second deposit starts Valentina immediately.
The second deposit is the point of no return. Do optional rewards and additional Klaus upgrades before it.
Valentina and Klaus’s final walk
- Break Valentina’s blue shield, then damage her exposed health. Sprint away from her crystal volleys. When a blue effect closes around your screen, break line of sight behind solid cover to avoid her wipe attack. Kill the floating zombies she summons before they heal her. She relocates between arenas; use those gaps for armor and ammunition.
A shielded phase is not a cue to stop shooting entirely: break the shield to open the health window. During the wipe, survival takes priority over another magazine.
- After her final defeat and the scene in the Secret Lab, defend Klaus as he walks the warhead toward the portal. Stay close enough to remove attackers from his path. The quest completes when he reaches the portal and the ending plays, not at the moment Valentina’s health empties.
Side Quests
Optional Klaus upgrades — find the blacklight symbol
- After Klaus’s first upgrade, shine the Blacklight at the six electrical boxes below. Exactly two show a small Klaus-face symbol. Command Klaus to punch those marked boxes and collect their floppy disks. A plain, unmarked box does not contain a disk.
Look for this actual Klaus-face marking under the Blacklight Box candidate: 5th Floor Apartments opposite the zipline Box candidate: Hotel Lounge opposite Stamin-Up Box candidate: Ghost Station near Service Passage Box candidate: Maintenance Tunnel near Safe House Box candidate: West Berlin Street by Café Müller Box candidate: Blasted Suite by the barrier - Bring Klaus back to the Garment Factory station, command him inside and insert a disk. Repeat with the other disk for his remaining upgrades. These disk installations do not repeat the first upgrade’s defense and are not required for stopping the train.
Mister Peeks’ nightclub — six rabbit parts
- Collect the six rabbit pieces from Sewer Access beside the pallet, the Department Store shelf near Wunderfizz, a Grocery Store shelf, the Bar left of Juggernog, the Alley tire stack and the Hotel Room 304 desk. Picking up the sixth immediately transports the whole team to the nightclub.
Warn teammates and refill ammo before the last piece. This is a combat event, not a harmless collection cutscene.
Rabbit piece: Sewer Access pallet Rabbit piece: Department Store shelf Rabbit piece: Grocery Store shelf Rabbit piece: Bar beside Juggernog Rabbit piece: Alley tire stack Rabbit piece: Hotel Room 304 desk - Survive three enemy waves. When Peeks leaves and the doors become available, choose one of the three numbered doors and claim its random chest reward before leaving. For a repeat visit after 15 rounds, shoot the bunny in the Hasenbau building window from East Berlin Streets.
Door rewards are random. No fixed door number guarantees the best chest.
Repeat entry: shoot this Hasenbau window rabbit after the round cooldown
Rooftop target course — free rarity upgrade
- After power, bring an accurate weapon with a full magazine to Apartment Rooftop. Read the five sightlines below before picking up the folder on the roof corner. The folder starts a timed sequence of moving targets; you only get one attempt in that match.
Picking up this rooftop folder starts the timed shooting challenge - Shoot each target as it appears, moving left to right across the opposite buildings: Königshaus sign, Königshaus windows, Korber sign, Der Dozent windows, then Der Dozent sign. On success, pick up the Aether Tool while holding the weapon whose rarity you want to improve.
An Aether Tool raises rarity; it is not a Pack-a-Punch purchase. Equip the intended weapon before taking it.
Target 1: Königshaus sign Target 2: Königshaus windows Target 3: Korber sign Target 4: Der Dozent windows Target 5: Der Dozent sign
Amoeba, sewer loot and Intel
- Interact with three cassette tapes to play Amoeba: atop the Garment Factory mannequin, on the Electronics Store shelf, and beside the vase in Blasted Suite.
Amoeba tape: Garment Factory mannequin Amoeba tape: Electronics Store shelf Amoeba tape: Blasted Suite vase - At the open sewer hole near a military vehicle in East Berlin Streets, throw explosives into the opening until loot emerges. Repeat up to three times in the match. Save some equipment for later combat; ordinary bullets do not replace the explosive interaction.
Use explosives in this open East Berlin sewer entrance - Collect fixed documents, audio logs and artifacts as you open the map. Enemy-dropped documents, repeat radio transmissions and Intel Trials form separate pools; quest completion alone does not finish the seasonal Intel collection.
Sources and review
Walkthrough adapted from the community and illustrated references below, with AI-assisted source checks on 3 October 2026. Gameplay photographs: mmmrkennedy; game imagery: Activision / Treyarch. Match-specific numbers and sequences must come from your game. Source and software checks do not replace an in-game playthrough; a full in-game walkthrough has not been performed.
- r/CODZombies community guide ↗
- mmmrkennedy illustrated guide (2) ↗
- COD Zombies Guides illustrated walkthrough (3) ↗
Select any reference image to enlarge it. Screenshot and symbol sources are credited in the linked walkthroughs; this guide uses local copies for reliable access.