Main Quest
Power, projector and Shurikens
- Enable power at Spawn subway’s pillar, Disco roof beside Quickies, Park wall left of Deadeye Dewdrops and Main Street subway across from Bang Bangs. Collect a flyer (Dojo trash, Racin’ Stripes chair, Disco roof stool or Pink Cat sidewalk), the coin under sewer Tuff ’Nuff and a film reel (Disco couch, Pink Cat couch, subway boxes, sewer stairs or Rat King’s wall holes).
Main Street subway powermmmrkennedy; game imagery Activision and the relevant game studio · Source ↗ Dojo flyermmmrkennedy; game imagery Activision and the relevant game studio · Source ↗ Rooftop flyermmmrkennedy; game imagery Activision and the relevant game studio · Source ↗ Disco flyermmmrkennedy; game imagery Activision and the relevant game studio · Source ↗ Street flyermmmrkennedy; game imagery Activision and the relevant game studio · Source ↗ Sewer coinmmmrkennedy; game imagery Activision and the relevant game studio · Source ↗ Disco film reelmmmrkennedy; game imagery Activision and the relevant game studio · Source ↗ Subway film reelmmmrkennedy; game imagery Activision and the relevant game studio · Source ↗ - Use the flyer on the Pink Cat front door, the coin on its left private-room door and the reel on the projector. The wall portal reaches Pack-a-Punch during each visit window. On/after Scene 5, speak to Pam in the Dojo, drink a Chi gourd and make fifteen melee kills in that style to unlock Shurikens.
Follow the rat and earn the key
- Let Pam finish the dialogue that starts the rat hunt. Throw a Shuriken at a cage, then follow the rat and release it from each successive cage. Starting cages include the Dojo ramp and Heebie Geebies hallway. The sixth cage disappears and leaves a yellow circle.
- Kill zombies while they are inside the circle until it vanishes, then defeat the ninjas. Take the gold key at its former center. A player need not count ordinary kills outside the circle as progress.
Open the locker and shoot the four fixed symbols
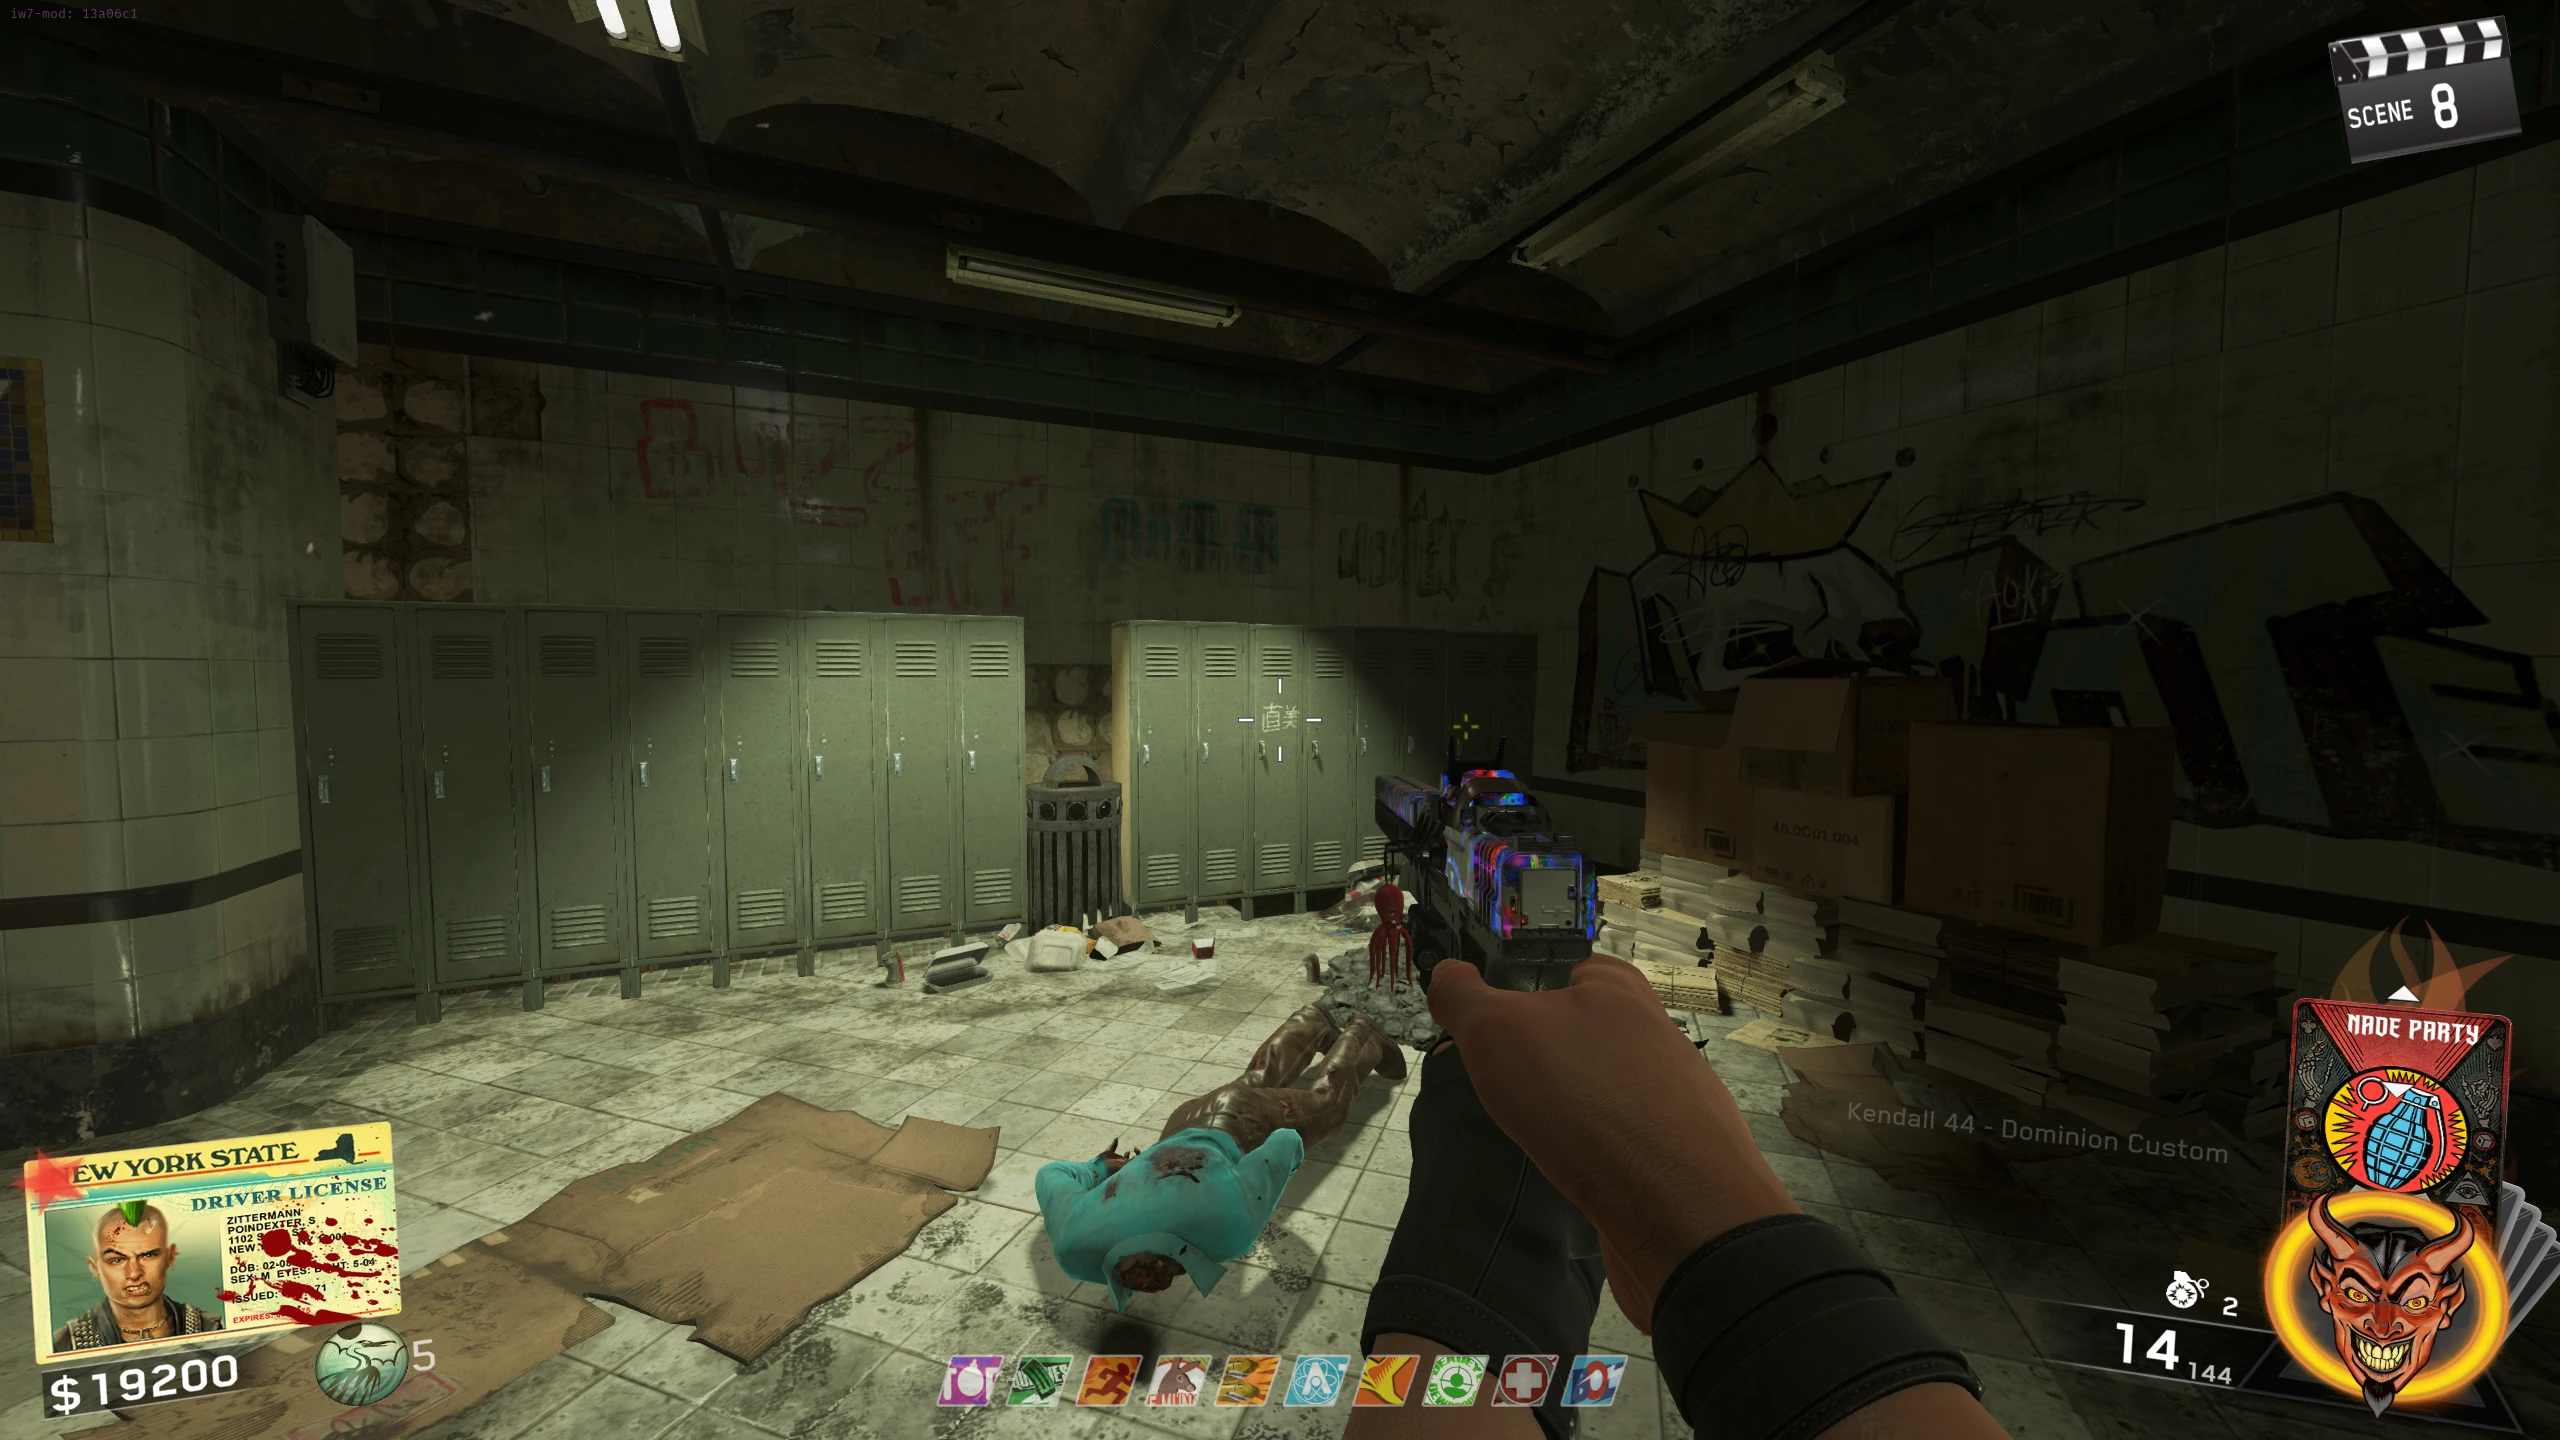
- Use the gold key on the symbol-covered locker in the Bang Bangs subway. Shoot the required four symbols in order: left symbol beside the Dojo; second-from-left symbol in the downstairs Disco bathroom; first-from-left beside the Park Volk; then second-from-left at that same Park wall. Wrong order restarts at the first shot.
Symbol lockermmmrkennedy; game imagery Activision and the relevant game studio · Source ↗ Dojo: first required symbolmmmrkennedy; game imagery Activision and the relevant game studio · Source ↗ Bathroom: second required symbolmmmrkennedy; game imagery Activision and the relevant game studio · Source ↗ Park: third and fourth symbolsmmmrkennedy; game imagery Activision and the relevant game studio · Source ↗
Collect the eye and find six orange symbols
- Activate the street symbol in front of the Dojo, defeat the Rat King and take his eye. Speak to Pam again and let her finish the next quest dialogue.
- Scan with the tactical-slot eye and shoot the active orange symbol. Only one exists at a time; after each shot let the eye recharge and search again. Candidates: Spawn train top; barbershop window; Dojo main door; Heebie stage speaker; Bombstoppers police-car door; first uphill spawn window; building by RPR; clothesline near Park wheel; blue Trail Blazers room floor; Disco water tower; skylight air duct; Disco street sign; and behind the Bang Bangs stairs.
Above Spawn trainmmmrkennedy; game imagery Activision and the relevant game studio · Source ↗ Barbershop windowmmmrkennedy; game imagery Activision and the relevant game studio · Source ↗ Dojo doormmmrkennedy; game imagery Activision and the relevant game studio · Source ↗ Heebie speakermmmrkennedy; game imagery Activision and the relevant game studio · Source ↗ Police-car doormmmrkennedy; game imagery Activision and the relevant game studio · Source ↗ Uphill spawnmmmrkennedy; game imagery Activision and the relevant game studio · Source ↗ RPR buildingmmmrkennedy; game imagery Activision and the relevant game studio · Source ↗ Park clotheslinemmmrkennedy; game imagery Activision and the relevant game studio · Source ↗ Blue hallway floormmmrkennedy; game imagery Activision and the relevant game studio · Source ↗ Water towermmmrkennedy; game imagery Activision and the relevant game studio · Source ↗ Skylight air ductmmmrkennedy; game imagery Activision and the relevant game studio · Source ↗ Disco street signmmmrkennedy; game imagery Activision and the relevant game studio · Source ↗ Subway stair rearmmmrkennedy; game imagery Activision and the relevant game studio · Source ↗
Decode the phone and choose the poster
- After six symbols, use the ringing non-red phone in either subway. Record its three five-pulse digit groups and let the call finish. Being hit or hanging up early requires another listen. The helper keeps invalid/missed groups in place and preserves leading zeroes.
Phone digit-Morse referencemmmrkennedy; game imagery Activision and the relevant game studio · Source ↗ - Collect the Nightmare Summer poster whose lower-left Film Registration matches the decoded number. Candidates: Spawn’s Up ’N Atoms train side, Dojo left, Dojo ramp/wheel, Bombstoppers alley, Disco skylight roof and Main Street subway stair base. A wrong poster restarts the six-symbol hunt and phone observation.
Poster registration close-upmmmrkennedy; game imagery Activision and the relevant game studio · Source ↗ Spawn postermmmrkennedy; game imagery Activision and the relevant game studio · Source ↗ Dojo postermmmrkennedy; game imagery Activision and the relevant game studio · Source ↗ Ramp postermmmrkennedy; game imagery Activision and the relevant game studio · Source ↗ Alley postermmmrkennedy; game imagery Activision and the relevant game studio · Source ↗ Roof postermmmrkennedy; game imagery Activision and the relevant game studio · Source ↗ Main Street subway postermmmrkennedy; game imagery Activision and the relevant game studio · Source ↗
Nightmare Summer phone Morse Open helper
Record three digit groups. Use . for short, - for long, and a space or / between five-pulse digits. Let the in-game call hang up before collecting the poster.
Complete the rooftop word
- Place the poster on the Disco roof spotlight. Explode the projected X window and defeat the spawned ninjas. An initial letter and six shootable Wyler glyphs now appear.
- Read glyphs with the alphabet reference and record confirmed positional letters. Shoot a candidate next letter only after comparing possible words. Rooftop glyphs are beside the word, behind Quickies’ corner, under wheel scaffolding, beside the clock spawn, back-left wall and the KBS white table. Wrong letters reset the current word; repeated failures can require the next round. A new attempt must clear obsolete mask/rejections while preserving the completed phone stage.
Glyph by the wordmmmrkennedy; game imagery Activision and the relevant game studio · Source ↗ Quickies cornermmmrkennedy; game imagery Activision and the relevant game studio · Source ↗ Wheel scaffoldingmmmrkennedy; game imagery Activision and the relevant game studio · Source ↗ Clock spawnmmmrkennedy; game imagery Activision and the relevant game studio · Source ↗ Back-left wallmmmrkennedy; game imagery Activision and the relevant game studio · Source ↗ White tablemmmrkennedy; game imagery Activision and the relevant game studio · Source ↗ - The completed word gives a gong and removes the glyphs. Use the next Rat King marker at Park’s RPR Evo wallbuy.
Brain fight markermmmrkennedy; game imagery Activision and the relevant game studio · Source ↗
Rooftop word candidates Open helper
Use confirmed letters only. A positional mask accepts _ for unknown. Rejected letters apply to the current word; a failed attempt may choose another word.
Open illustrated reference
Take the brain and start the heart route
- Defeat the RPR-marked Rat King and take his brain. Return to Pam. Following her next dialogue, watch the cigarette-burn marks over the next three round starts.
- The following sequence skips rounds and blocks the Dojo street with fire. Defeat its enemies and take the turnstile piece. The fire clears when the event finishes.
Turnstile piecemmmrkennedy; game imagery Activision and the relevant game studio · Source ↗
Repair the subway and complete the circles
- Fit the piece to Spawn’s broken turnstile. Climb the Mule Munchies alley ladder and shoot the window glyph; the window closes and creates the first glowing circle.
- Kill zombies inside each active circle, then find the next. Candidates: Mule/Bombstoppers alley, private Disco room, Park path, RPR Evo and Spawn’s Hornet area. Continue until the completion gong.
Mule alley circlemmmrkennedy; game imagery Activision and the relevant game studio · Source ↗ Disco private-room circlemmmrkennedy; game imagery Activision and the relevant game studio · Source ↗ Park-path circlemmmrkennedy; game imagery Activision and the relevant game studio · Source ↗ RPR circlemmmrkennedy; game imagery Activision and the relevant game studio · Source ↗ Hornet circlemmmrkennedy; game imagery Activision and the relevant game studio · Source ↗
Transfer the disco ball ten times
- Interact with the upstairs Disco DJ booth. Keep another zombie on the active dance floor before killing the passive zombie carrying the disco ball; it transfers to that waiting target. Repeat ten transfers without ending the round.
- Killing the carrier without another zombie on the floor resets the chain. If it becomes the last zombie of the round, ending the round also resets it. Wait for the replacement carrier and restart a complete chain.
Third Rat King and final preparation
- After the transfer gong, use the Rat King glyph in front of Pink Cat. Defeat him and take the heart. Speak to Pam before entering the sewer lair.
- Resupply a high-capacity bullet weapon, upgrades and perks before entering. The eye challenge requires many shots before its reward ammo; entering with insufficient ammunition can stop progression. Cards and weapons that help are optional equipment choices.
Complete the three organ challenges
- Damage the Rat King until he retreats. Avoid firing continuously into his raised shield; Shurikens can destroy the staff temporarily. Select an organ and then the central floor symbol to start its challenge. Any challenge order is allowed.
- Eye: use scans to reveal pink ceiling/wall glyphs and shoot every revealed mark. Delays allow his shield to add more glyphs. Brain: protect the friendly blue-eyed attackers while they destroy the central brain; do not shoot those allies. Heart: kill a zombie in each acid puddle and clear the entire perimeter before new acid appears.
- Each completed challenge gives a gong and a persistent central Max Ammo. Pick it up when needed, damage the boss into another retreat and start the next organ. After all three, kill the Rat King and collect the central Soul Key after the ending; Director’s Cut also supplies the talisman.
Side Quests
Chi styles, travel and double Pack-a-Punch
- Dragon, Tiger, Crane and Snake have independent upgrade progress. Start with melee kills, then complete the displayed style challenges to unlock Shuriken, special and ultimate tiers. Gourds recharge the ability and eventually respawn; changing style preserves its previous progress. Chi melee/Shurikens break the Torii barriers.
- Break both doors of each travel pair: Racin’ Stripes roof ↔ street right of Blue Bolts; Heebie alley ↔ Main Street subway lower floor. Open the rooftop Torii gates as well. For double Pack-a-Punch, press the projector-room button, exit and take Blue Bolts’ street portal; collect the briefly exposed fuses beside the roof arrival. A miss can be retried after the projector cooldown.
- Put the fuses on the Main Street subway electric rails, let the train run over them, recover and install them in the projector. The upgrade lasts this match.
Fuse charging railsmmmrkennedy; game imagery Activision and the relevant game studio · Source ↗
Katana and Nunchakus unlocks
- Completing Pest Control at least once makes the Dojo Katana available in future matches for 10,000 points; it is free in the match where you finish the quest. It can be Pack-a-Punched.
- For Nunchakus, open both travel pairs and all Torii gates. Take your character’s item at Blue Bolts. Trigger the Disco clock, melee that item, take the portal and melee its second wooden-stack counterpart. Next use the subway clock: portal to the Bombstoppers dumpster script, return and melee the Bang Bangs floor script. Then roof clock: drop through skylight to the Rack-9 book, return and melee the roof ledge book. A failed clock-item stage waits for the next round.
- Set your character’s TV to its cartoon: Sally Spawn train, Andre Heebie, Poindexter RPR roof, AJ Blue Bolts. Defeat the ninja/zombie wave until colour bars appear. Quickly punch roof clock, Disco clock, then subway clock; the rewarded Fire Sale’s first Wheel draw grants Nunchakus. Timeout in this final clock chain can be retried immediately.
Mahjong craftable equipment
- Find the three missing matching tiles for a named equipment table, carrying one tile at a time. All returned tiles create its pickup, which respawns two rounds after collection. Toy Robot table: Dojo bus (bus roof, Spawn/Dojo stairs, Tuff ’Nuff crate). Boombox table: Racin’ Stripes stair base (Dojo ramp bricks/spool, top stairs, roof chute bucket).
- Zom-B-Gone: Bombstoppers table and nearby fence/private Disco/portal/pallet/Heebie sites. Lava Lamp: Park wheel table and R-VN table/stairs, Volk garbage and nearby house. Sentry: Disco subway entrance table and entrance, Pink Cat van, wheel pallet, coat-check counter, upstairs pillar or Tuff ’Nuff stairs. These collections are separate from the 14-tile Skullbuster hand.
Skullbuster · six skulls and cabinet game
- Take cleaner (Disco pole table, subway lockers or Heebie stage) and cloth (Disco roof pallets, Rat King throne or Mule ladder scaffold), then clean the upstairs Disco cabinet. On its roof collect/place enough tiles for a fourteen-tile Mahjong hand: four triples (identical or consecutive) and one pair, with no more than four identical tiles. Carry one at a time; swap an unusable extra for another.
- Use the source’s candle-marked glass panes to draw 1 on the Disco street window, 9 opposite Racin’ Stripes roof, 7 in Trail Blazers’ hall and 2 beside the Dojo. A wrong pane or timeout retries that number next round. At the start of a round, jump the white-circle path from RPR without overshooting; touch the final skull. A fall waits for the next round.
- Jump into the skull on the passing Bang Bangs train. This deliberately downs you: prepare a teammate revival or solo Up ’N Atoms first. At an interactable subway phone dial 555-0152 and stay through the completion sound; damage interrupts it.
- All players enter Skullbuster. Entangle coloured cubes and colour question-mark cells to form three-skull lines or L shapes. Preserve the possible groups for other colours; three wrong placements fail and require another 555-0152 call. Finish three rounds for permanent perks (solo Up ’N Atoms excluded) and packed Wheel weapons for this match.
Music, Savage calling card and Pam
- Interact with seven active hidden radios for Cats on the Boulevard. Check the Dojo robot-table trash and Heebie entrance pallet, back-room crate, roof tire/wood/chute areas, Park electrical/trash locations, R-VN table, Disco roof/desk trash and sewer pipe. The radio about David Savage also begins a separate calling-card route.
- After the Savage recording, stare at the rooftop Savage Industries clock cipher. Interact with all twelve subway standing trashcans (five Main Street, seven Spawn), then reveal ciphers at the Mule dumpster, street stop sign, inaccessible Trail Blazers staircase ceiling and Spawn bank-side gate. The Tuff ’Nuff wall cipher is source-reported as an online server-time window of midnight–1 a.m. Eastern; changing the local clock is not a reliable method. Finally aim at the Rat King chair for the reward.
- After earning this map’s Soul Key, select Shaolin in the lobby and enter Up, Up, Right, Left, Down, Left. Confirm Pam’s icon before starting.
Sources and review
Source-reviewed on 8 October 2026, using the references below and the research handoff. These instructions and puzzle calculations have software checks; they have not been verified in a complete in-game playthrough. Record symbols, sequences and completion cues from your match. Screenshot and community-chart creators are credited with each illustration.
- Illustrated quest and equipment reference · mmmrkennedy ↗
- Community guide · r/CODZombies (2) ↗
- Illustrated main quest · COD Zombies Guides (3) ↗
Select any reference image to enlarge it. Screenshot and symbol sources are credited in the linked walkthroughs; this guide uses local copies for reliable access.