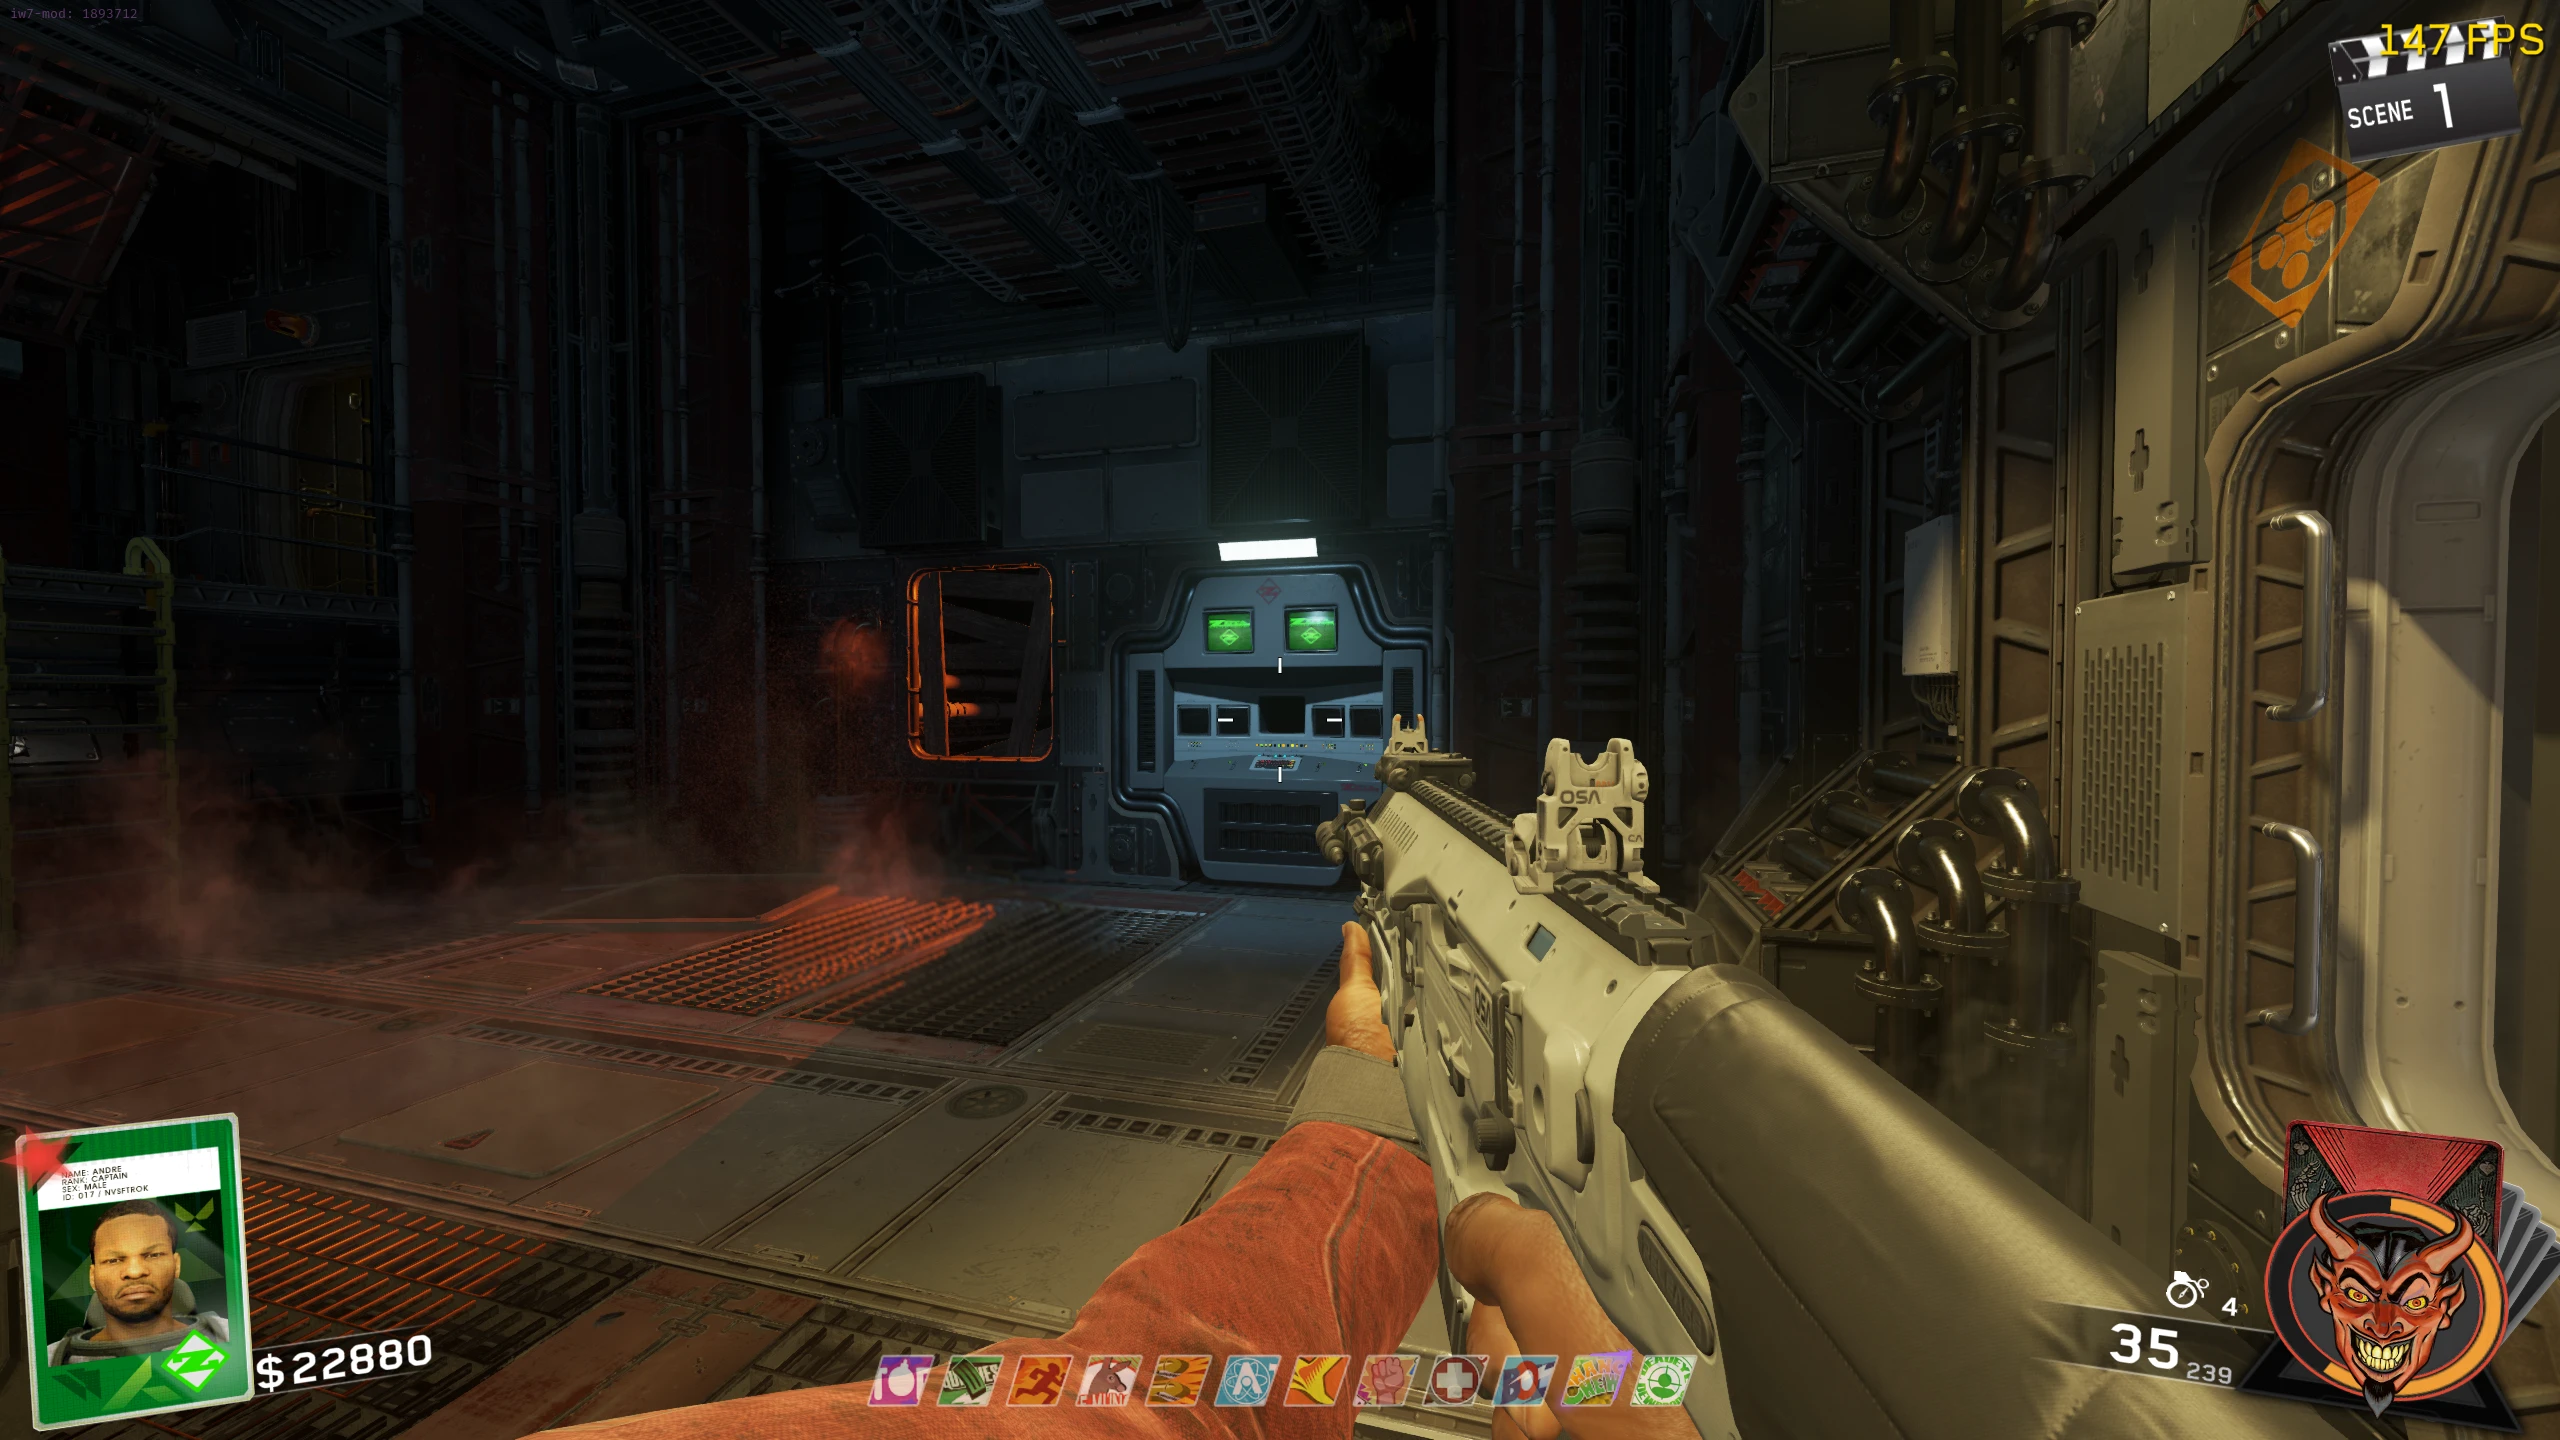
Main Quest
Retrieve N31L’s head and restore power
- Drop through the Ops Center’s central hole onto its bottom ledge; do not fall beyond it. Take N31L’s head at the passage end and fit it into Spawn/Staging’s wall slot. Power activates and ordinary zombies replace the initial cryptids on the next round.
Reach the theater and repair the bridge
- Activate the upper Cargo Bay catwalk button. Its turret opens the theater portal. In the theater, activate the street and Racin’ Stripes-alley ground symbols for the other facility returns.
Cargo theater buttonmmmrkennedy; game imagery Activision and the relevant game studio · Source ↗ Cargo portalmmmrkennedy; game imagery Activision and the relevant game studio · Source ↗ Street return portalmmmrkennedy; game imagery Activision and the relevant game studio · Source ↗ Alley return portalmmmrkennedy; game imagery Activision and the relevant game studio · Source ↗ - Collect scrap from Cargo Bay’s lowest level left of the stairs, Medical Bay right of Blue Bolts and the theater street’s burning car right of the portal. Each pickup can spawn cryptids. Fit three pieces to the Exterior’s broken bridge and enter the projector portal across it. Its first return can spawn the Phantom needed for a disk.
Cargo scrapmmmrkennedy; game imagery Activision and the relevant game studio · Source ↗ Medical scrapmmmrkennedy; game imagery Activision and the relevant game studio · Source ↗ Burning-car scrapmmmrkennedy; game imagery Activision and the relevant game studio · Source ↗ Broken Exterior bridgemmmrkennedy; game imagery Activision and the relevant game studio · Source ↗
Earn the Entangler through Skullbreaker’s first two skulls
- Grenade the skull power box at one active candidate: Flooded Room above the Medical stairs, Ops above Bombstoppers or Cargo above P-LAW’s stairs. Shoot the revealed skull.
- Stand each player on a different Cargo red X: upper P-LAW catwalk, lower P-LAW stairs, beneath the theater-portal catwalk and near X-Eon. Stay on the resulting circles during lockdown until the central skull rises to the top. Leaving fails and requires the next round. Quickly jump into the moved skull before it disappears; a missed pickup also retries next round. Take the Entangler appearing in the center.
Cargo X: upper catwalkmmmrkennedy; game imagery Activision and the relevant game studio · Source ↗ Cargo X: stairsmmmrkennedy; game imagery Activision and the relevant game studio · Source ↗ Cargo X: below theater portalmmmrkennedy; game imagery Activision and the relevant game studio · Source ↗ Cargo X: X-Eonmmmrkennedy; game imagery Activision and the relevant game studio · Source ↗ Rising lockdown skullmmmrkennedy; game imagery Activision and the relevant game studio · Source ↗ Skull pickup after lockdownmmmrkennedy; game imagery Activision and the relevant game studio · Source ↗ Entangler pickupmmmrkennedy; game imagery Activision and the relevant game studio · Source ↗
Recover four symbols and insert them in order
- Recover the disk from the first killed Phantom after projector access, and the fixed disk in the snow at the pillar left of the projector portal. Only one disk is held at a time; record its visible symbol before carrying it to N31L.
Fixed projector-pillar diskmmmrkennedy; game imagery Activision and the relevant game studio · Source ↗ - At the Proteus hallway’s fenced red room, Entangle the floor disk and launch it into the vent while smoke is visible. A miss respawns it for immediate retry. After the successful suction, look at lower vents near Spawn’s Wheel, cafeteria freezer, both Cargo-door hall sides, red-room fence, stair top and Ops door. The relocated disk stays there.
Red-room fencemmmrkennedy; game imagery Activision and the relevant game studio · Source ↗ Ventmmmrkennedy; game imagery Activision and the relevant game studio · Source ↗ Smoke timingmmmrkennedy; game imagery Activision and the relevant game studio · Source ↗ Red-room diskmmmrkennedy; game imagery Activision and the relevant game studio · Source ↗ Exit: Spawnmmmrkennedy; game imagery Activision and the relevant game studio · Source ↗ Exit: cafeteriammmrkennedy; game imagery Activision and the relevant game studio · Source ↗ Exit: Cargo hallmmmrkennedy; game imagery Activision and the relevant game studio · Source ↗ Exit: stair topmmmrkennedy; game imagery Activision and the relevant game studio · Source ↗ Exit: Ops doormmmrkennedy; game imagery Activision and the relevant game studio · Source ↗ - Entangle a hallway space helmet and shoot it through the Medical forcefield at the active monitor above the microscope. A miss allows another helmet attempt. Take the disk on the table left of the broken monitor.
Space helmetmmmrkennedy; game imagery Activision and the relevant game studio · Source ↗ Medical forcefieldmmmrkennedy; game imagery Activision and the relevant game studio · Source ↗ Target monitormmmrkennedy; game imagery Activision and the relevant game studio · Source ↗ Medical diskmmmrkennedy; game imagery Activision and the relevant game studio · Source ↗ - Select all four actual disk glyphs in the helper. Insert its agreed sequence into slots 1–4 in front of N31L. The modern chart is read left to right. Success flashes the HUD yellow/red and makes N31L evil; wrong insertion can return disks with changed glyphs, so clear stale observations and record the new set.
Modern disk reference ordermmmrkennedy; game imagery Activision and the relevant game studio · Source ↗
N31L disk order Open helper
Select the four symbols photographed on your disks. All matching rows are checked. Do not reverse this chart using an older right-to-left reference.
Open illustrated reference
Move the button and hack N31L’s board
- Take an initial 4×4 snapshot and freeze it before flipping. Interact with every handle initially horizontal even if it rotates while other handles are used. After completing that set, take a fresh snapshot and repeat for any remaining horizontals until all are vertical. The recorder preserves observations and actions separately; no unverified neighbor-toggle formula is used.
Physical handle boardmmmrkennedy; game imagery Activision and the relevant game studio · Source ↗
N31L handle snapshots Open helper
Record the initial 4×4 board. Freeze the snapshot, then mark only initially horizontal handles as flipped. Make a fresh pass if handles remain horizontal; this is an observation recorder.
Open illustrated reference
Carry and install the hacked head
- N31L’s hacked window is limited; Entangle him and carry him to the projector room. Closed doors follow the direction he is looking; orient the carried head toward a required doorway and continue through the map. If his window expires and he becomes evil again, revisit the handle panel to hack him again.
- Shoot him into the computer right of the projector. Prepare and synchronize before interacting with the installed computer: this begins the cryptid arena. Optional source-described movement exploits are not necessary to follow the normal gaze route.
Projector-room N31L computermmmrkennedy; game imagery Activision and the relevant game studio · Source ↗
Survive the portals and terminal countdown
- In the alternate Cargo arena, identify the unlimited yellow ammo box and the sloped roofed crate before fighting. The laser opens four Rhino crates, followed by alternating portal waves and then all portals. Keep a path to ammo and use solid cover against the targeting laser.
- When three monitors illuminate, use all three promptly to shut the portals: behind/left of ammo, behind/right of ammo and below the sloped crate. A reactivated monitor needs another interaction. The laser then opens the opposite crate’s terminal.
- Interact with the exposed terminal and survive its displayed countdown from 99. It is not a 99-second stopwatch. When it reaches zero, its display scrambles and sparks; interact again to despawn the wave and expose the Mammoth crate.
Defeat both Mammoths and confirm the ending
- Attack both blue Mammoths, using the refill box whenever needed. Their charges are severe and their persistent blue fire can block a choke point; avoid damaging them in the only remaining passage. Preserve space to evade instead of anchoring the fight on the ammo doorway. Damage-oriented card/variant combinations are optional.
Mammoth crate above ammunitionmmmrkennedy; game imagery Activision and the relevant game studio · Source ↗ - Ordinary completion plays the ending and records the Soul Key automatically; there is no ground key/talisman pickup on Beast. Director’s Cut with the four earlier talismans continues into Mephistopheles. The standard quest itself is complete only after both Mammoths are defeated.
Side Quests
Double Pack-a-Punch
- Shoot the power box near Proteus outside Cargo and take its fuses. Place them in the theater Sasquatch cutout’s hand. Take the concession film reel, replace the projector reel so it shows Spaceland, then return to the theater with the Entangler.
Fuse power boxmmmrkennedy; game imagery Activision and the relevant game studio · Source ↗ Opened fuse boxmmmrkennedy; game imagery Activision and the relevant game studio · Source ↗ Sasquatch fuse positionmmmrkennedy; game imagery Activision and the relevant game studio · Source ↗ Concession reelmmmrkennedy; game imagery Activision and the relevant game studio · Source ↗ Projector reelmmmrkennedy; game imagery Activision and the relevant game studio · Source ↗ - Activate the Movie Wormhole trap and Entangle the Brute helmet out of its screen vortex. Drop/recover it and fit it to the Brute cutout; its beam charges the Sasquatch fuses. Recover and install them in the projector. Director’s Cut already has its upgraded-projector benefit.
Venom-X · button and maze apparatus
- Trap a zombie in the Medical chamber by using the nearby panel while it stands in the floor circle. Its displayed 300-second chamber window starts. At the upper Bombstoppers room, use the middle console to bypass permissions and activate the two maze screens.
Containment chambermmmrkennedy; game imagery Activision and the relevant game studio · Source ↗ Chamber controlmmmrkennedy; game imagery Activision and the relevant game studio · Source ↗ Chamber floor circlemmmrkennedy; game imagery Activision and the relevant game studio · Source ↗ Middle consolemmmrkennedy; game imagery Activision and the relevant game studio · Source ↗ - Move each red square to the blue diamond while avoiding the maze’s invisible walls, using the supplied maze reference and observed yellow-square/diamond layout. Solve four screens (three on one console, one on the other). Inputs are deliberately paced. PC movement uses bindings for Use Souvenir=Left, Toggle Kung-Fu=Right, Next Card=Up, Previous Card=Down. A failed maze kills the captive and spawns a Phantom; use a fresh captive next round.
Venom-Y / Venom-Z · separate Morse reference
- With Venom-X, read the terminal right of Bang Bangs: ARCHER is .- .-. -.-. .... . .-. ; CROSS is -.-. .-. --- ... ... . At the terminal below the Bang Bangs stairs, listen past the key-dependent message opening and identify its encrypted number pattern below. This is a Vigenère message, so ordinary digit Morse does not decode it. Then input the corresponding plain-number Morse at the upper control-room panel (left=short, right=long).
- ARCHER opening: -.- --.. -. ... ... -- . .. . Number starts: Fifteen .... .--. ; Eighteen --. .--. ; Thirty ...- --- .
- ARCHER Twenty: ...- -.. .. . - .--. . Twenty-Five adds .... .--. --.. ...- after that full pattern.
- CROSS opening: -- --.. --.. -.. --. -..- ...- ..-. . Number starts: Fifteen -..- .- ; Eighteen .-- .- ; Thirty .-.. --.. .
- CROSS Twenty: .-.. --- --. . .... --.- . Twenty-Five adds -..- -.- -- ... after that full pattern.
- Input 15 as ..-. .. ..-. - . . -. .- .-. (FIFTEENAR); 18 as . .. --. .... - . . -. ; 30 as - .... .. .-. - -.-- .
- Input 20 or 25 as - .-- . -. - -.-- (TWENTY). If the success cue has not played, append ..-. .. ...- . (FIVE). Failed input is rejected at round end and can be retried.
ARCHER/CROSS key terminalmmmrkennedy; game imagery Activision and the relevant game studio · Source ↗ Encrypted number terminalmmmrkennedy; game imagery Activision and the relevant game studio · Source ↗ Short/long input panelmmmrkennedy; game imagery Activision and the relevant game studio · Source ↗ - After accepted input, kill the indicated number of cryptids using Venom-X; scoreboard progress confirms the route. Projector returns can provide cryptids. At completion, Pack-a-Punch to Venom-Y. For Venom-Z, use the opposite key, repeat the corresponding number/input stage and make the required nonstandard-enemy kills with Venom-Y until the scoreboard stops at 50%.
- At 50%, use the exterior Wheel-side machine until its display reads 195#. Run its floating ghosts toward the projector portal and shoot the decoded number while standing there, all in one round. At 100%, use the upgraded projector to convert Venom-Y to Venom-Z. These observations must not overwrite main-quest disk/handle records.
Skullbreaker · remaining skulls and eight queens
- After the first two skulls/Entangler, inspect four spawned glyphs and aim at the one from a different reference-sheet row. Candidates: lower Cargo container, cafeteria freezer window, Spawn window, under Medical cryptid, Ops hole top, theater alley window, arcade booth and theater Wheel. Wrong aiming replaces the set next round.
Skullbreaker odd-row glyph referencemmmrkennedy; game imagery Activision and the relevant game studio · Source ↗ - From the Bang Bangs walkway drop toward Spawn’s red X and activate it. Read whether the first skull is pink or green; walk the matching floor symbols without sprinting and watch for swapped colours. The blue progress bar supplies the deadline. Wrong step/timeout retries next round.
- On the cafeteria board, preserve its one queen and collect seven more. Candidate pickups: cafeteria couch/freezer counter; Cargo lower stairs; two Proteus hallway sites; Ops pillar, Bombstoppers corner and upper room; Medical cryptid underside/scale; Flooded stairs; Spawn ladder. Use the photographed board orientation and the queen helper, then place its nonattacking completion. Confetti and the sound confirm success.
Cafeteria chessboard orientationmmmrkennedy; game imagery Activision and the relevant game studio · Source ↗ - Find three arrow papers from cafeteria’s freezer-side counter, Medical green-monitor counter, Medical disk room, projector toolbox, theater bathroom sink or concession popcorn. Match each paper’s group on the arrow reference: Group 1 first, Group 2 middle, Group 3 last. At the theater cabinet enter the combined arrows promptly; PC uses the souvenir/Kung-Fu/card direction bindings. A rejected cabinet input can be retried.
Skullbreaker arrow-paper groups and ordermmmrkennedy; game imagery Activision and the relevant game studio · Source ↗ - In the cabinet, colour skulls with Entangled cubes so neighboring/diagonal matching skulls connect. Shoot a matching nuke at each group. A wrong nuke makes red escapees; a red nuke can destroy that connected group before escape. Clear three rounds; after failure reuse the same arrow code.
Skullbreaker eight queens Open helper
Orient the board to the photograph. Lock the existing queen, add any confirmed placements, then use a completion that avoids shared columns and diagonals.
Open illustrated reference
Scattered Lies and Message Sent
- After opening the theater/projector, shoot fifteen astronaut dolls. Main-map candidates: Flooded stairs/window, Ops stairs/pit, Exterior Change Chews/acid-window/glacier/chasm rock, Proteus floor grate/red room and Cargo ceiling. Theater: alley window, bathroom trash, street booth and upper fire escape. The actor’s celebration and music confirm completion.
- With the Entangler, interact with the Exterior Wheel-side console until it shows 197# and opens a vortex beside it. Grab the turnstile behind the theater street’s KBS dumpster and carry it back to fire into that vortex. If the vortex closed, select 197# again and retry the throw. Director’s Cut’s Scene 1 shooting-gallery white mask grants separate lobby music and only one attempt per match.
Sources and review
Source-reviewed on 8 October 2026, using the references below and the research handoff. These instructions and puzzle calculations have software checks; they have not been verified in a complete in-game playthrough. Record symbols, sequences and completion cues from your match. Screenshot and community-chart creators are credited with each illustration.
- Illustrated quest and equipment reference · mmmrkennedy ↗
- Community guide · r/CODZombies (2) ↗
- Illustrated main quest · COD Zombies Guides (3) ↗
- Mephistopheles ritual and encounter guide · DaRkShAdOwYlaf (4) ↗
- Mephistopheles practice encounter reference (5) ↗
- Written Beast and Mephistopheles encounter reference (6) ↗
Select any reference image to enlarge it. Screenshot and symbol sources are credited in the linked walkthroughs; this guide uses local copies for reliable access.