Key Features
Open the Eastern Desert objective hub
- Use portal objectives to remove barriers into Merchant Road, East Spring, West Spring and Debris Field. Collect free first-tier perk drinks and prepare weapon, armour and artifact upgrades between objectives. This objective-based map opens areas through portals; The Archon uses a different round-based progression.
- For optional dig quests, collect a shovel from Debris Field, Market Storage, Outpost Courtyard or Derailment. Check available pickups and dig mounds throughout Eastern Desert; digging can supply the pages, antenna, corrupted heart and red orb.
Eastern Desert dig mound: interact after collecting a shovelCOD Zombies Guides; game imagery Activision · Source ↗
Main Quest
Begin freeing the Decimator Shield
- After opening Merchant Road, approach the trapped Decimator Shield to begin its conversation. Open East Spring, then use the rune stone in the Tents area by Demonic Frenzy. Wait for the dialogue to finish and the portal to appear behind the stone.
- Enter that new portal and complete the Augmentor task shown in the Dark Aether. Its rune/capture prompts are the objective; returning to the hub enables the crystal stage.
Tents prerequisite portalmmmrkennedy; game imagery Activision and the relevant game studio · Source ↗
Destroy the four hub crystals
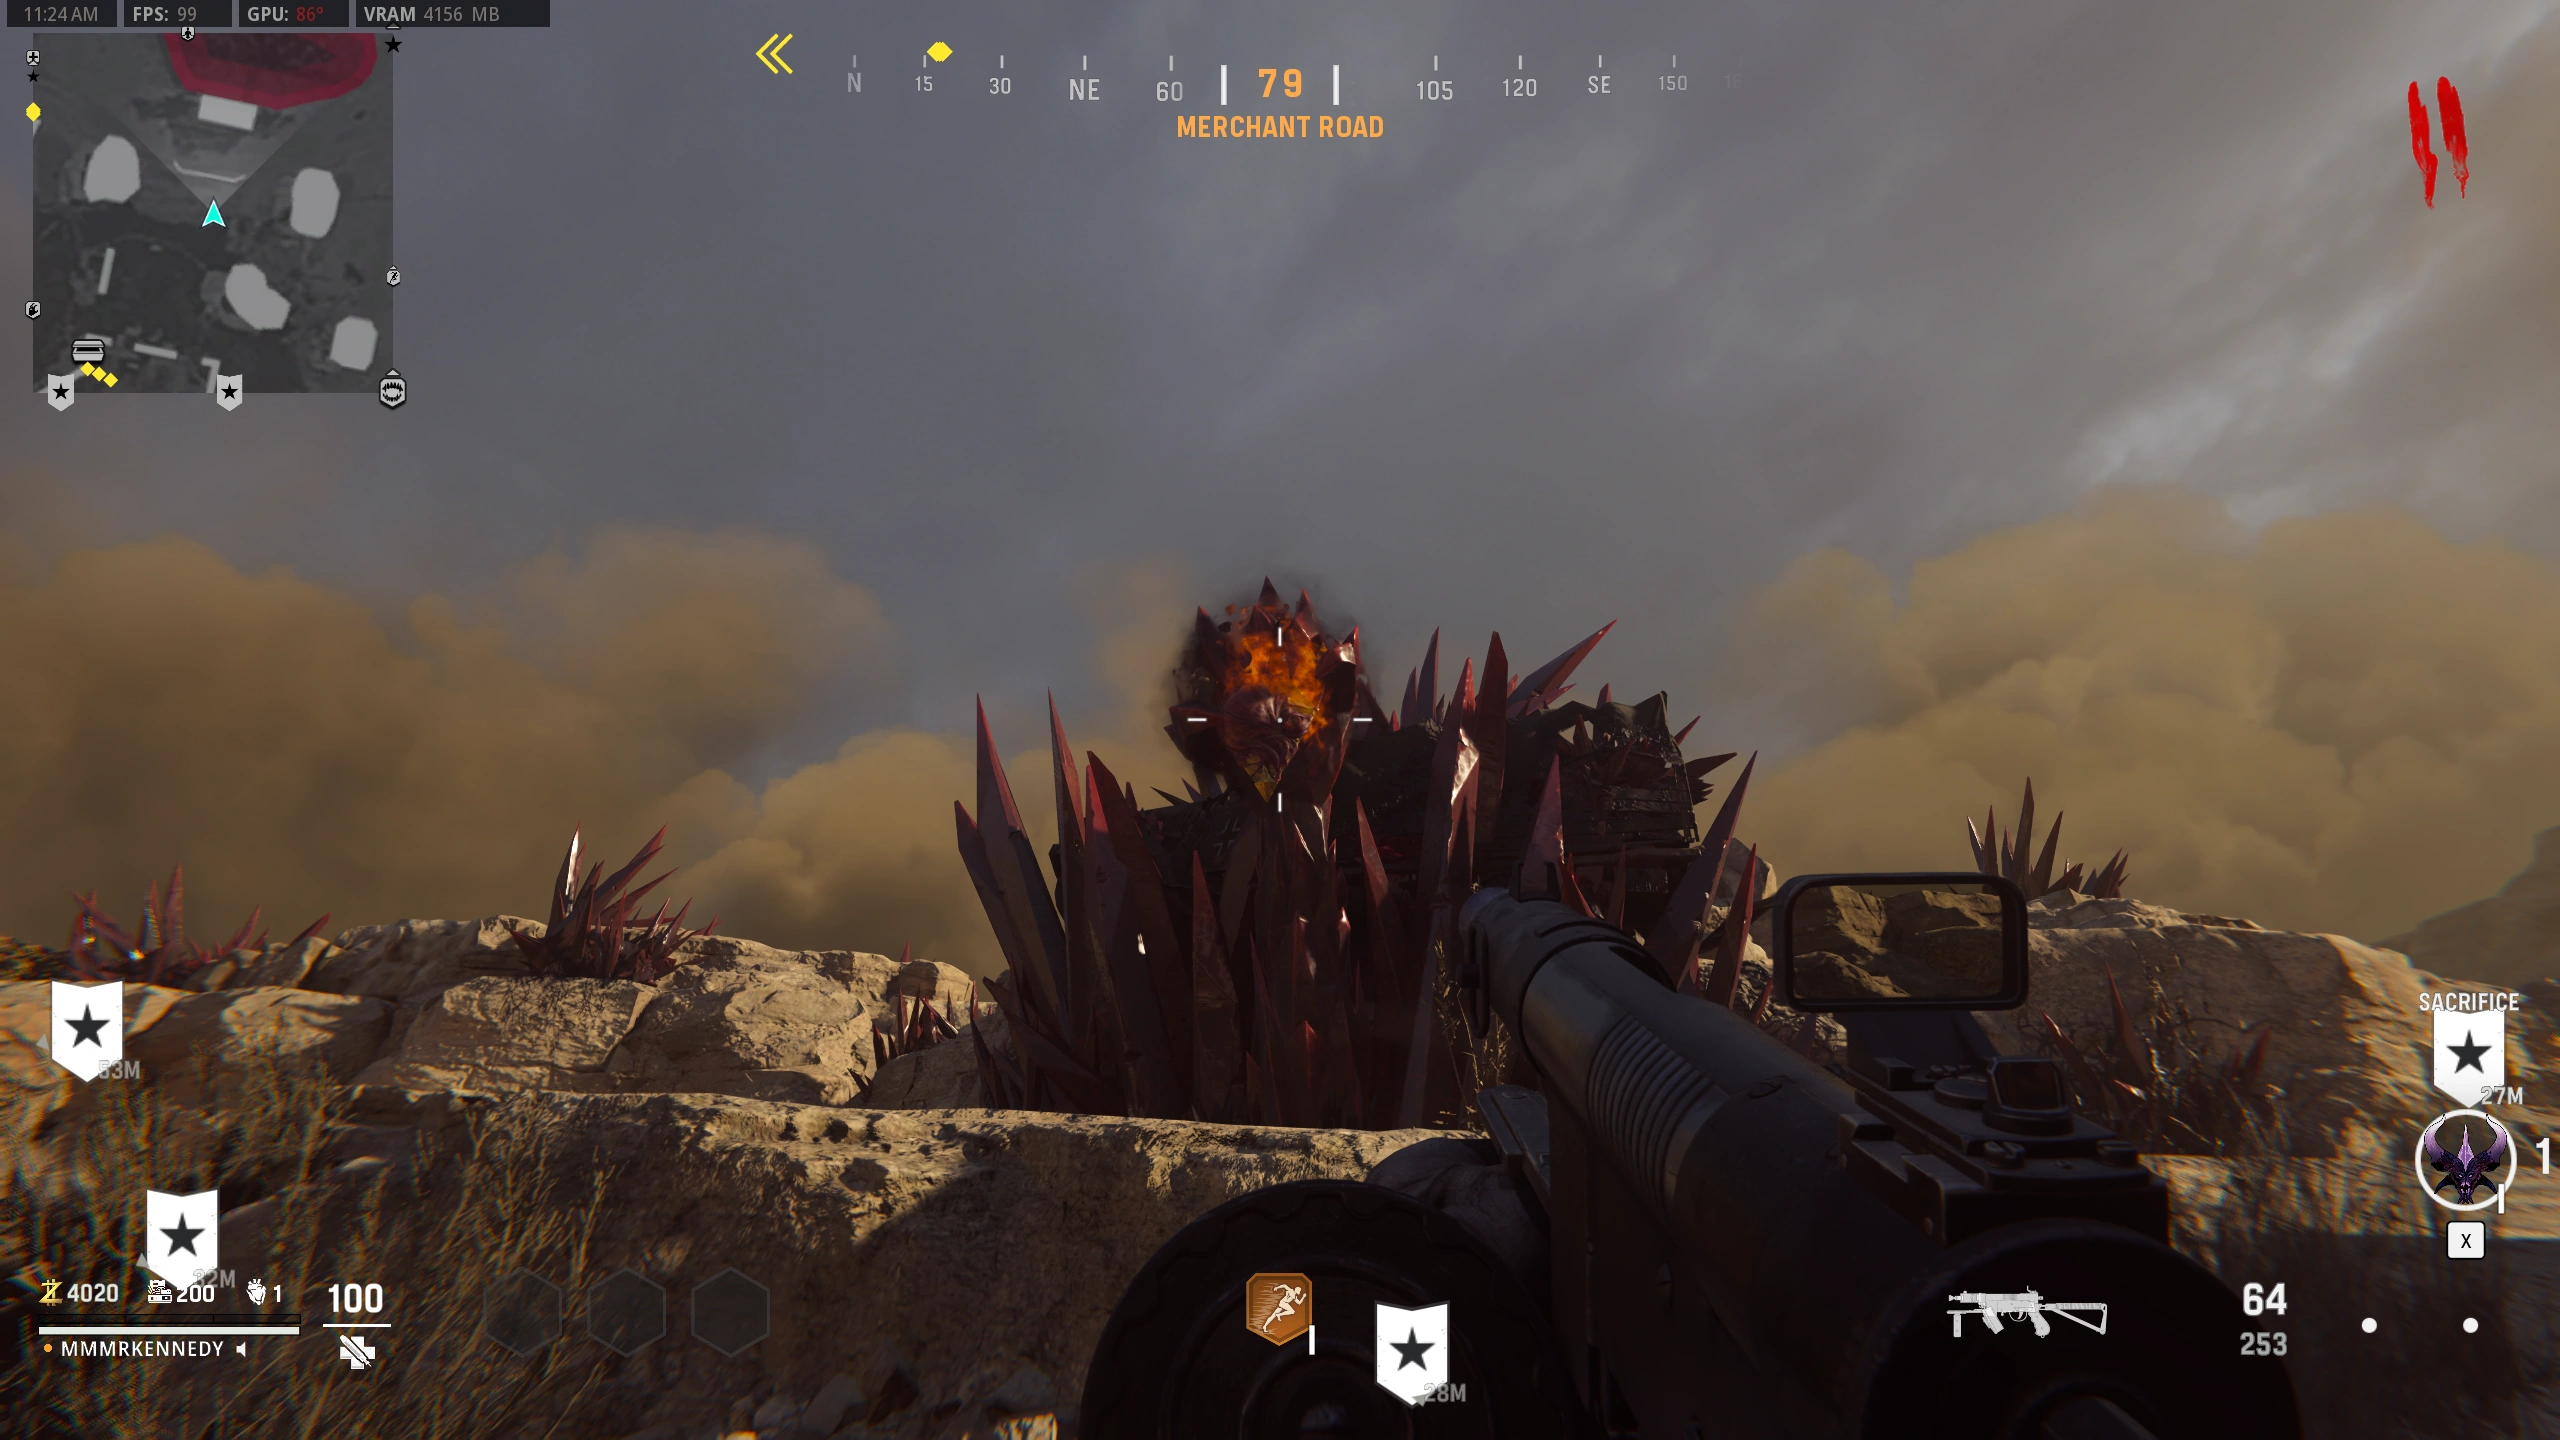
- After returning, shoot the four glowing crystals: East Spring’s building wall, West Spring’s building wall, the Temple above spawn, and the Temple wall behind the Altar of Covenants. All four are required, in any order.
East Spring crystalmmmrkennedy; game imagery Activision and the relevant game studio · Source ↗ West Spring crystalmmmrkennedy; game imagery Activision and the relevant game studio · Source ↗ Temple crystal above spawnmmmrkennedy; game imagery Activision and the relevant game studio · Source ↗ Temple crystal beyond the Covenant altar wallmmmrkennedy; game imagery Activision and the relevant game studio · Source ↗
Finish Sacrifice and collect the shield
- Return to the shield for its next conversation. Open West Spring and use the Bazaar rune stone below Diabolical Damage. Wait for the new portal beside it, then enter.
Bazaar rune stone below Diabolical Damagemmmrkennedy; game imagery Activision and the relevant game studio · Source ↗ - Complete the portal’s Sacrifice defense objective and return to Eastern Desert. Let the shield dialogue/release finish; collect it once it breaks free and lands. It cannot be Pack-a-Punched.
Enter Debris Field’s Void route
Break the four Tome Page seals
- Find the suspended Tome Page and follow each energy beam to its wall arm. Use the Decimator’s charged special slam on all four arms. Wait for the shield’s actual readiness cue between attacks; an uncharged hit does not remove a seal.
- Stygian Heights arm.
- Vercanna’s Home Soil arm.
- The Shattered Land arm.
- Isle of Blight arm.
Stygian Heights sealing armmmmrkennedy; game imagery Activision and the relevant game studio · Source ↗ Vercanna’s Home Soil sealing armmmmrkennedy; game imagery Activision and the relevant game studio · Source ↗ Shattered Land sealing armmmmrkennedy; game imagery Activision and the relevant game studio · Source ↗ Isle of Blight sealing armmmmrkennedy; game imagery Activision and the relevant game studio · Source ↗
Take the Tome Page and return
- After all four arms break, collect the released Tome Page and use the portal to its right. Back in Eastern Desert, collect the quest’s points, loot and chests. The Void portal remains usable; ordinary play continues until you choose to leave or the match ends.
Released Tome Page on the groundmmmrkennedy; game imagery Activision and the relevant game studio · Source ↗
Side Quests
Lost Tome page door and Death Machine
- Dig up four Lost Tome pages in Eastern Desert. Take them to the magical barrier on the small Outpost Courtyard building. Its four attachment positions are Top, Bottom, Left and Right.
- Place pages one at a time. A correct placement stays attached; a wrong placement makes the attached pages disappear and resets the physical attempt. Record accepted prefixes and each failed next choice in the helper, then replay the learned prefix after a reset. The completed door grants a Death Machine.
- The modern reference documents an extra Ray Gun reward if the corrupted Ray Gun was first dug up before opening this room. Treat that separate random dig condition as a bonus; ordinary completion of the four-page door guarantees the Death Machine route, not both weapons.
Lost Tome page order Open helper
Confirm positions only when a page stays attached. For a rejection, choose the entire accepted prefix followed by the failed next position. A wrong placement resets the door; replay what you have learned. Keep this notebook until a new game.
- Top → Bottom → Left → Right
- Top → Bottom → Right → Left
- Top → Left → Bottom → Right
- Top → Left → Right → Bottom
- Top → Right → Bottom → Left
- Top → Right → Left → Bottom
- Bottom → Top → Left → Right
- Bottom → Top → Right → Left
- Bottom → Left → Top → Right
- Bottom → Left → Right → Top
- Bottom → Right → Top → Left
- Bottom → Right → Left → Top
- Left → Top → Bottom → Right
- Left → Top → Right → Bottom
- Left → Bottom → Top → Right
- Left → Bottom → Right → Top
- Left → Right → Top → Bottom
- Left → Right → Bottom → Top
- Right → Top → Bottom → Left
- Right → Top → Left → Bottom
- Right → Bottom → Top → Left
- Right → Bottom → Left → Top
- Right → Left → Top → Bottom
- Right → Left → Bottom → Top
- A failed placement clears the physical door. Replay the learned accepted prefix, then test a remaining next choice. Keep rejections only with the prefix under which they were observed.
Radio antenna and random loot
- Dig up a radio antenna and install it on Merchant Road’s radio beside the armoured vehicle. Defeat the spawned Boom-Schreiers. Continue through the two intermediate radios: Bazaar’s Diabolical Damage room and the radio beside Venomous Vigor. The sources list these two in opposite orders; follow whichever is currently interactable, finish its enemies, then check the other.
The observed radio interaction and spawned enemy wave are the progression cues. Do not repeatedly force an inactive radio based on the source-order difference.
- After both intermediate stages, use the Market Storage radio by its wooden rug rack. Defeat the Sturmkriegers and open the dropped loot chest for the random reward.
Bury the corrupted heart
Chase the red points orb
Sources and review
Source-reviewed on 8 October 2026, using the references below and the research handoff. These instructions and puzzle calculations have software checks; they have not been verified in a complete in-game playthrough. Record symbols, sequences and completion cues from your match. Screenshot and community-chart creators are credited with each illustration.
Select any reference image to enlarge it. Screenshot and symbol sources are credited in the linked walkthroughs; this guide uses local copies for reliable access.