Key Features
Assemble Temple Pack-a-Punch
- Collect the two ghostly Pack-a-Punch parts: one on a rail cart in Derailment and one on the plane wing in Spike. Return to the ghostly machine at Temple and install them.
- The surrounding ghost zombies become active. Kill them near the machine to charge it until Pack-a-Punch becomes solid and usable. Prepare upgrades and armour; this round-based map does not use Terra’s objective portals to open the same setting.
Main Quest
Place the relic and survive the introduction
- Place the relic on the stone in front of Temple Pack-a-Punch. Watch the scene, then interact with the new nearby Dark Aether portal.
- Survive the introductory Dark Aether event. Its scripted downing/return sends the squad back to Eastern Desert and enables the trial preparation; it is not an instruction to deliberately fail an ordinary round.
Collect a shovel and choose a trial
- Take a shovel from an available pickup at Derailment, Bazaar, Debris Field or Tents. All three following trials are required, and their order is your choice. Prepare a spare Pack-a-Punched weapon for Sacrifice before surrendering your only useful gun.
Derailment shovelmmmrkennedy; game imagery Activision and the relevant game studio · Source ↗ Bazaar shovelmmmrkennedy; game imagery Activision and the relevant game studio · Source ↗ Debris Field shovelmmmrkennedy; game imagery Activision and the relevant game studio · Source ↗ Tents shovelmmmrkennedy; game imagery Activision and the relevant game studio · Source ↗
Trial of Mindfulness
Use short names for shapes you personally observed. The source-linked preparation chart’s original pixels were unavailable; this helper makes no invented automatic glyph-to-floor assignments.
- Dig around the Merchant Road obelisk until you find the red orb. Activate it and record the wall’s displayed symbols and their matching ground-rune landmarks before moving. Step on the matching runes in the displayed order.
Merchant Road Mindfulness obeliskmmmrkennedy; game imagery Activision and the relevant game studio · Source ↗ Mindfulness red orbmmmrkennedy; game imagery Activision and the relevant game studio · Source ↗ Displayed Mindfulness symbolsmmmrkennedy; game imagery Activision and the relevant game studio · Source ↗ - Finish the resulting timed challenge. Repeat the preparation for three sequences: 3 symbols, then 4, then 5, each followed by its challenge. Keep earlier observations separate from the new display; no fixed glyph count or map mapping is inferred by the notebook.
- After all three preparations, interact with the obelisk for the formal trial. Capture its runes WITHOUT killing zombies. Evade or control pressure while avoiding accidental damage/kills from your equipment. A failed capture trial can be retried next round; the reward drops confirm completion.
Mindfulness rune sequence Open helper
Choose the 3-, 4- or 5-symbol preparation round. Give each observed symbol a memorable name and add its ground landmark. Lock the record before traversing. A website label does not identify an unobserved glyph or equip an artifact.
Open illustrated reference
Trial of Resilience and Decimator Shield
- At Debris Field, shoot the three external Dark Aether crystal candidates until one releases the red orb. Follow it to the wall near the Decimator Shield.
First external crystal candidatemmmrkennedy; game imagery Activision and the relevant game studio · Source ↗ Second external crystal candidatemmmrkennedy; game imagery Activision and the relevant game studio · Source ↗ Third external crystal candidatemmmrkennedy; game imagery Activision and the relevant game studio · Source ↗ - Return three cursed objects to that orb: Officer’s Hat at Tents, Skull on Bazaar’s second floor and the dug-up Femur in Derailment. Carry each separately and complete the challenge attached to its pickup. Sprint is disabled while carrying; use the in-game objective cue and return without failing.
Cursed Officer’s Hat in Tentsmmmrkennedy; game imagery Activision and the relevant game studio · Source ↗ Cursed Skull upstairs in Bazaarmmmrkennedy; game imagery Activision and the relevant game studio · Source ↗ Cursed Femur dug up at Derailmentmmmrkennedy; game imagery Activision and the relevant game studio · Source ↗ - After all three deliveries, collect the released Decimator Shield. Its special slam is required for the shielded Syphoncores; the shield cannot be Pack-a-Punched.
- Start the Resilience obelisk. Use charged Decimator slams to destroy the Syphoncores near the shield, Venomous Vigor and Fiendish Fortitude. Collect Demon Blood from each destroyed core and deliver it to the empty Demonic Fountain. Wait for the shield’s readiness cue between slams. Full reward drops indicate the fountain/trial is finished.
Syphoncore near the shieldmmmrkennedy; game imagery Activision and the relevant game studio · Source ↗ Syphoncore near Venomous Vigormmmrkennedy; game imagery Activision and the relevant game studio · Source ↗ Syphoncore near Fiendish Fortitudemmmrkennedy; game imagery Activision and the relevant game studio · Source ↗ Empty Demonic Fountain receiving Demon Bloodmmmrkennedy; game imagery Activision and the relevant game studio · Source ↗
Trial of Sacrifice and Ring of Fire
- Get three Molotovs from Merchant Road West or crafting. At Derailment, light the three torches in quick succession so all remain lit together: the entry boxcar, the right side of Derailment and behind that second torch. The red orb appears near the third.
Derailment boxcar torchmmmrkennedy; game imagery Activision and the relevant game studio · Source ↗ Right-side Derailment torchmmmrkennedy; game imagery Activision and the relevant game studio · Source ↗ Torch behind the second positionmmmrkennedy; game imagery Activision and the relevant game studio · Source ↗ - Offer a Pack-a-Punched weapon to the orb. It is permanently surrendered and your armour is removed; prepare a spare weapon and an escape plan first. Defeat the spawned Uberkrieger so the orb moves to the obelisk.
Permanent loss: the surrendered weapon is not returned after the trial.
Sacrifice orb requesting a packed weaponmmmrkennedy; game imagery Activision and the relevant game studio · Source ↗ - Use the nearby artifact-changing stone if needed to equip Ring of Fire IN THE GAME. Then start the Sacrifice obelisk. Five kills near the central obelisk can create Full Power; use Ring of Fire to make the required kills around each surrounding obelisk (the reference specifies six per obelisk). A beam joins each charged obelisk to the centre.
- Charge every surrounding obelisk and collect the completion rewards. The website’s artifact note does not equip Ring of Fire and ordinary kills made outside its area do not satisfy this trial condition.
Prepare for the final portal
- Confirm Mindfulness, Resilience AND Sacrifice are complete. Refill ammo, repair armour and upgrade your damage weapon. Keep the Decimator for defense, then use the portal near Temple Pack-a-Punch when the squad is ready.
Point of no return: entering commits you to Kortifex. Finish optional map tasks first.
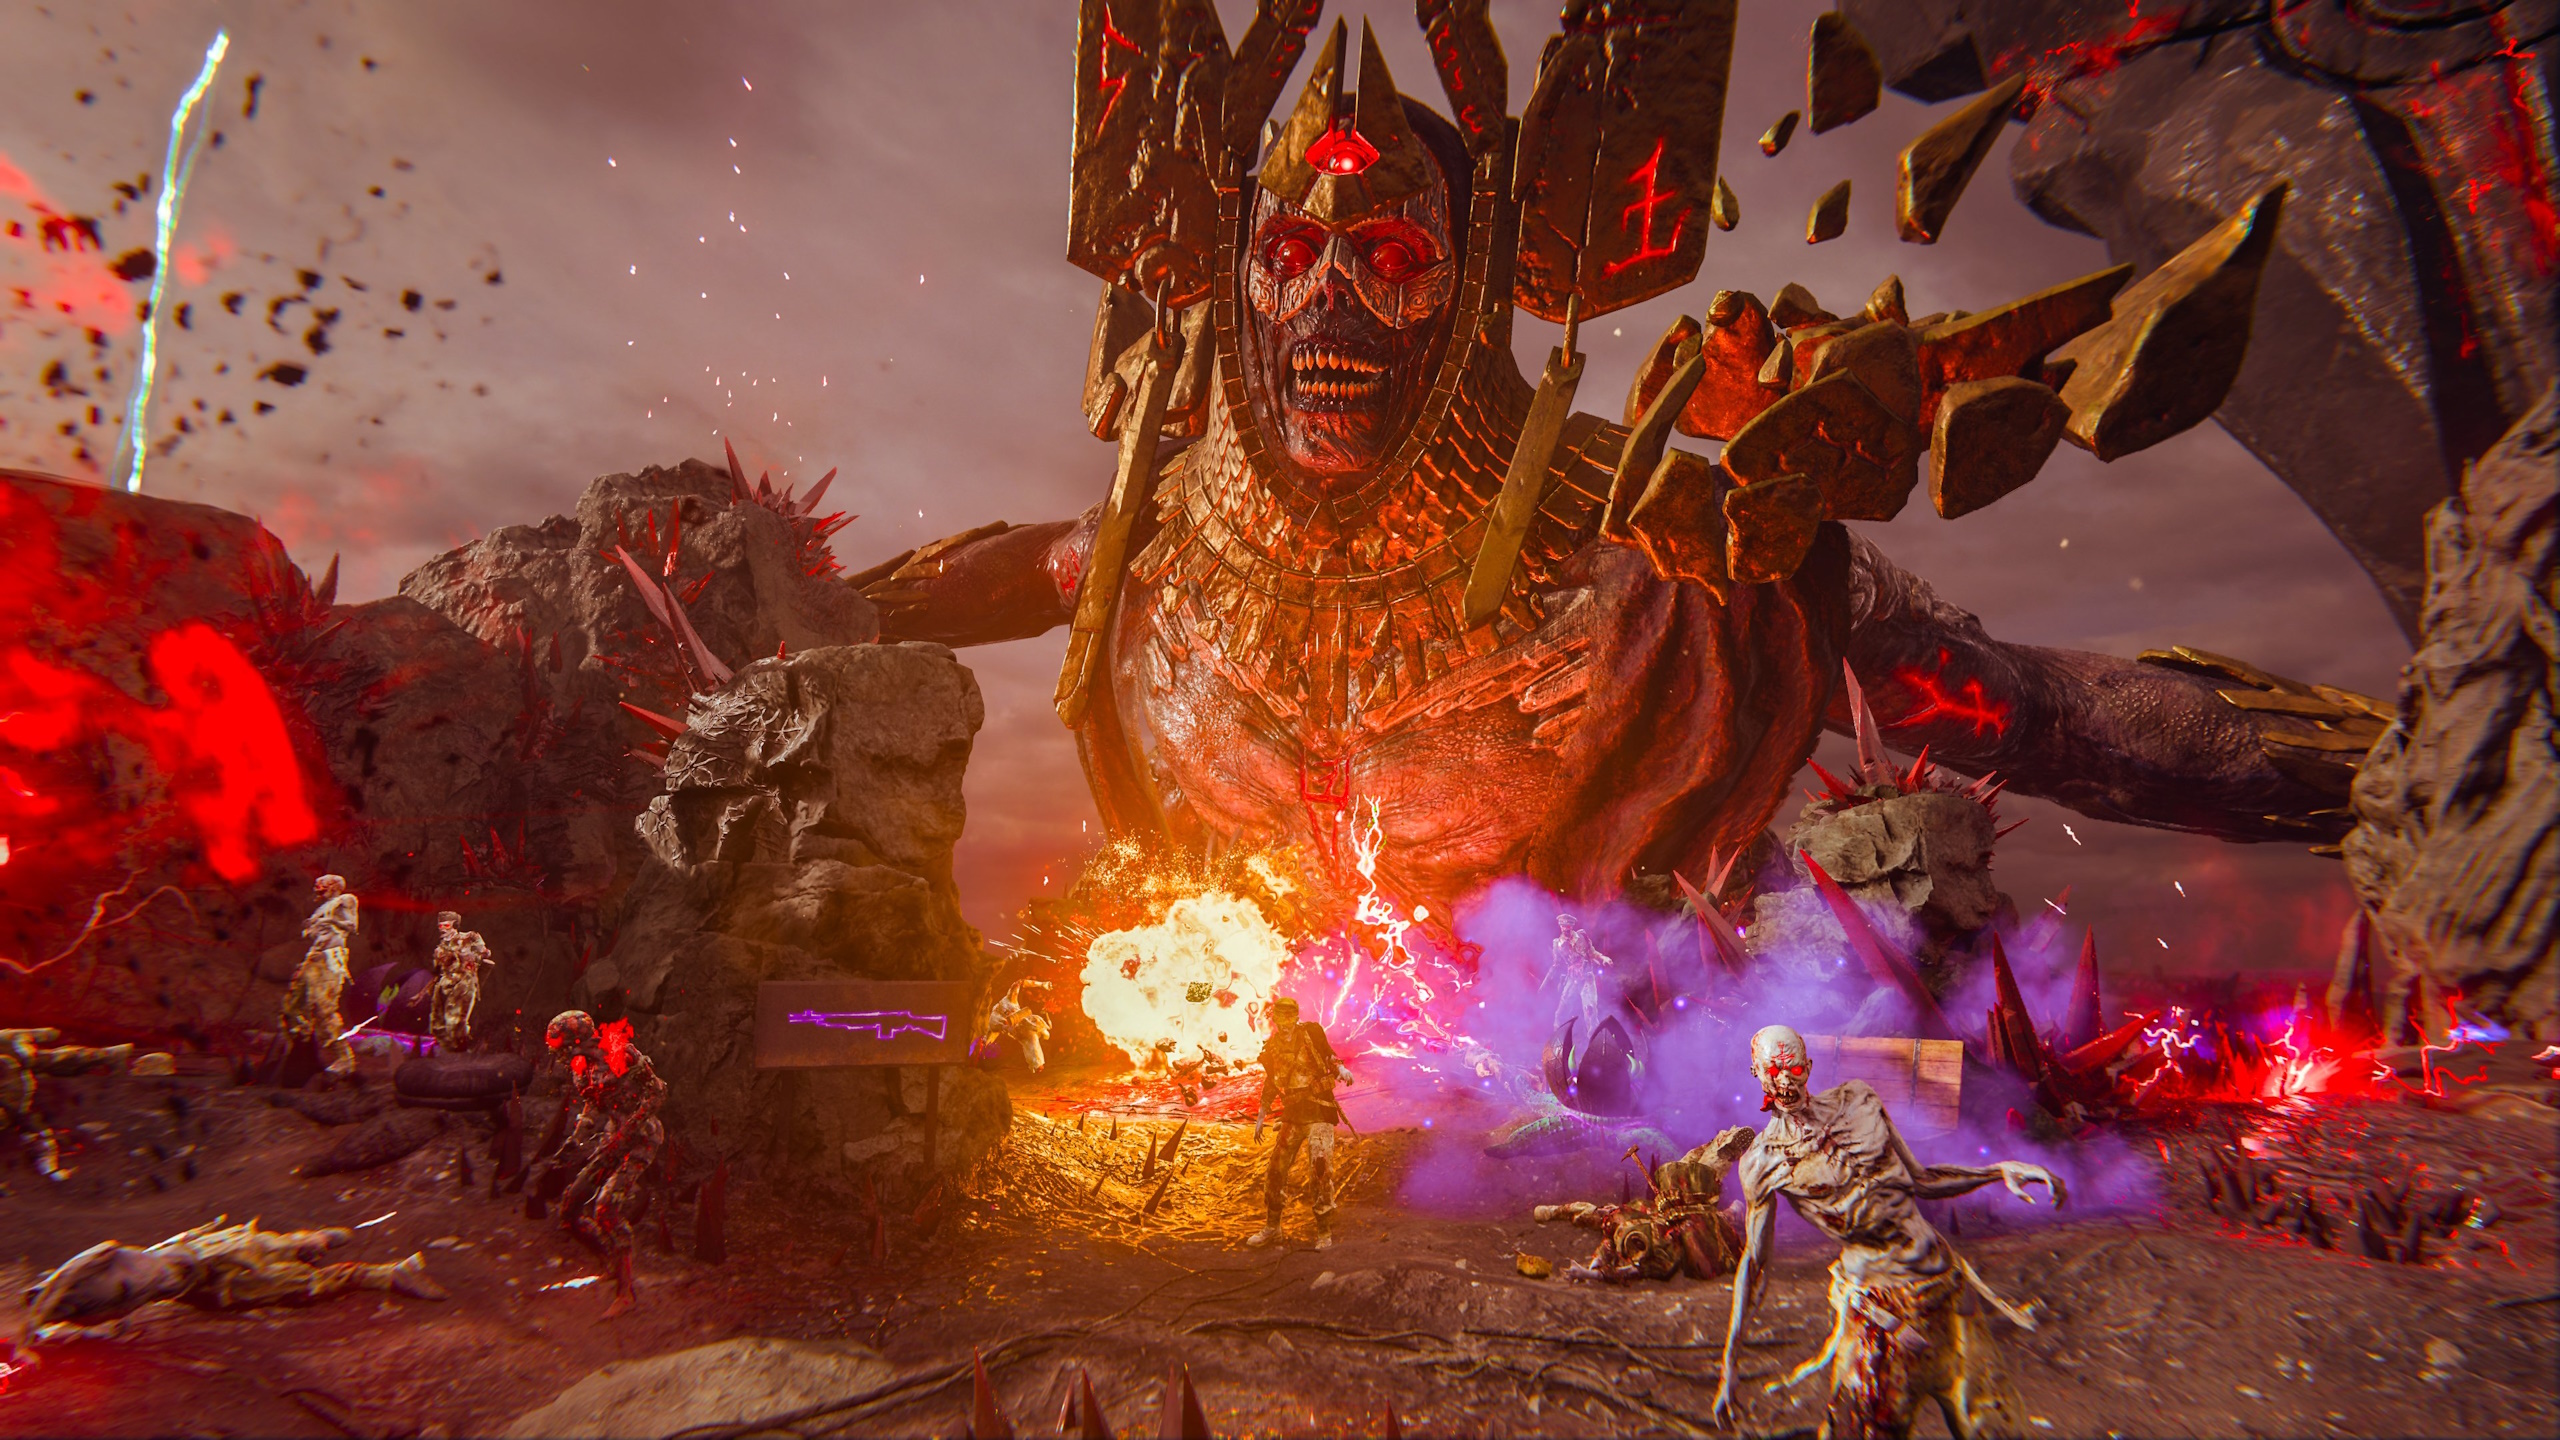
Defeat Kortifex’s three eyes
- In the first area, damage Kortifex’s upper exposed eye while evading his attacks and the enemy adds. Destroying that eye moves the fight to the next arena.
- In the later arenas, shoot ground Dark Aether crystals to obtain RED shards. Throw a red shard into a PURPLE pod and wait for its conversion cue; retrieve the BLUE corrupted shard. A normal red shard is not the shield-breaking projectile.
Red shard from a broken ground crystalmmmrkennedy; game imagery Activision and the relevant game studio · Source ↗ Purple conversion podmmmrkennedy; game imagery Activision and the relevant game studio · Source ↗ Converted blue corrupted shardmmmrkennedy; game imagery Activision and the relevant game studio · Source ↗ - Throw the blue shard at a floating sky pillar. Its impact on the Construct disables Kortifex’s bubble so you can damage the next eye. Repeat conversions/pillar strikes whenever protection returns. Destroying the second eye starts the final arena.
Floating sky pillar targeted with a converted blue shardmmmrkennedy; game imagery Activision and the relevant game studio · Source ↗ - Repeat the shard/pod/pillar cycle for the final eye. In this phase Kortifex can heal: interrupt that healing by sending more sky pillars into him. Destroy the last eye, then let the closing conversation/rewards complete.
- Collect the concluding rewards: the There Archon Be Only One calling card, Wunderwaffe, Sacrificial Hearts and the fight’s held-perk tier reward. Completion follows the final eye and dialogue, not the first shield break.
Side Quests
Rampage Inducer skull order
Mister Peeks free Ray Gun
- First activate the Rampage Inducer and get a shovel. A periodic scream (the references describe every five rounds) signals a bunny part at a dark dig mound. Search and dig the signaled parts; collecting all three awards a Ray Gun and bonus points. The sound is your search cue, not a guaranteed drop from every mound.
Vanishing Shore music
Sources and review
Source-reviewed on 8 October 2026, using the references below and the research handoff. These instructions and puzzle calculations have software checks; they have not been verified in a complete in-game playthrough. Record symbols, sequences and completion cues from your match. Screenshot and community-chart creators are credited with each illustration.
- mmmrkennedy illustrated guide ↗
- codzombieguides.com reference (2) ↗
- charlieintel.com reference (3) ↗
- youtube.com reference (4) ↗
Select any reference image to enlarge it. Screenshot and symbol sources are credited in the linked walkthroughs; this guide uses local copies for reliable access.