Chapter 1 Setup
Story edition, lobby continuity and PaP schedule
- Story chapter edition: the ordinary ten-wave objectives and the hidden sword-part route share a match. Pack-a-Punch batteries become available on waves 1, 4 and 7; the corresponding survival map uses 1, 5 and 10. Maintain the same returned lobby through all three hidden chapter routes. For the complete I Have the Power route, finish Into the Storm, select Across the Depths from the same lobby, then select Beneath the Ice after it. Leaving that lobby breaks continuity. Completing each chapter normally beforehand is the source author’s preparation recommendation, not a proven universal prerequisite.
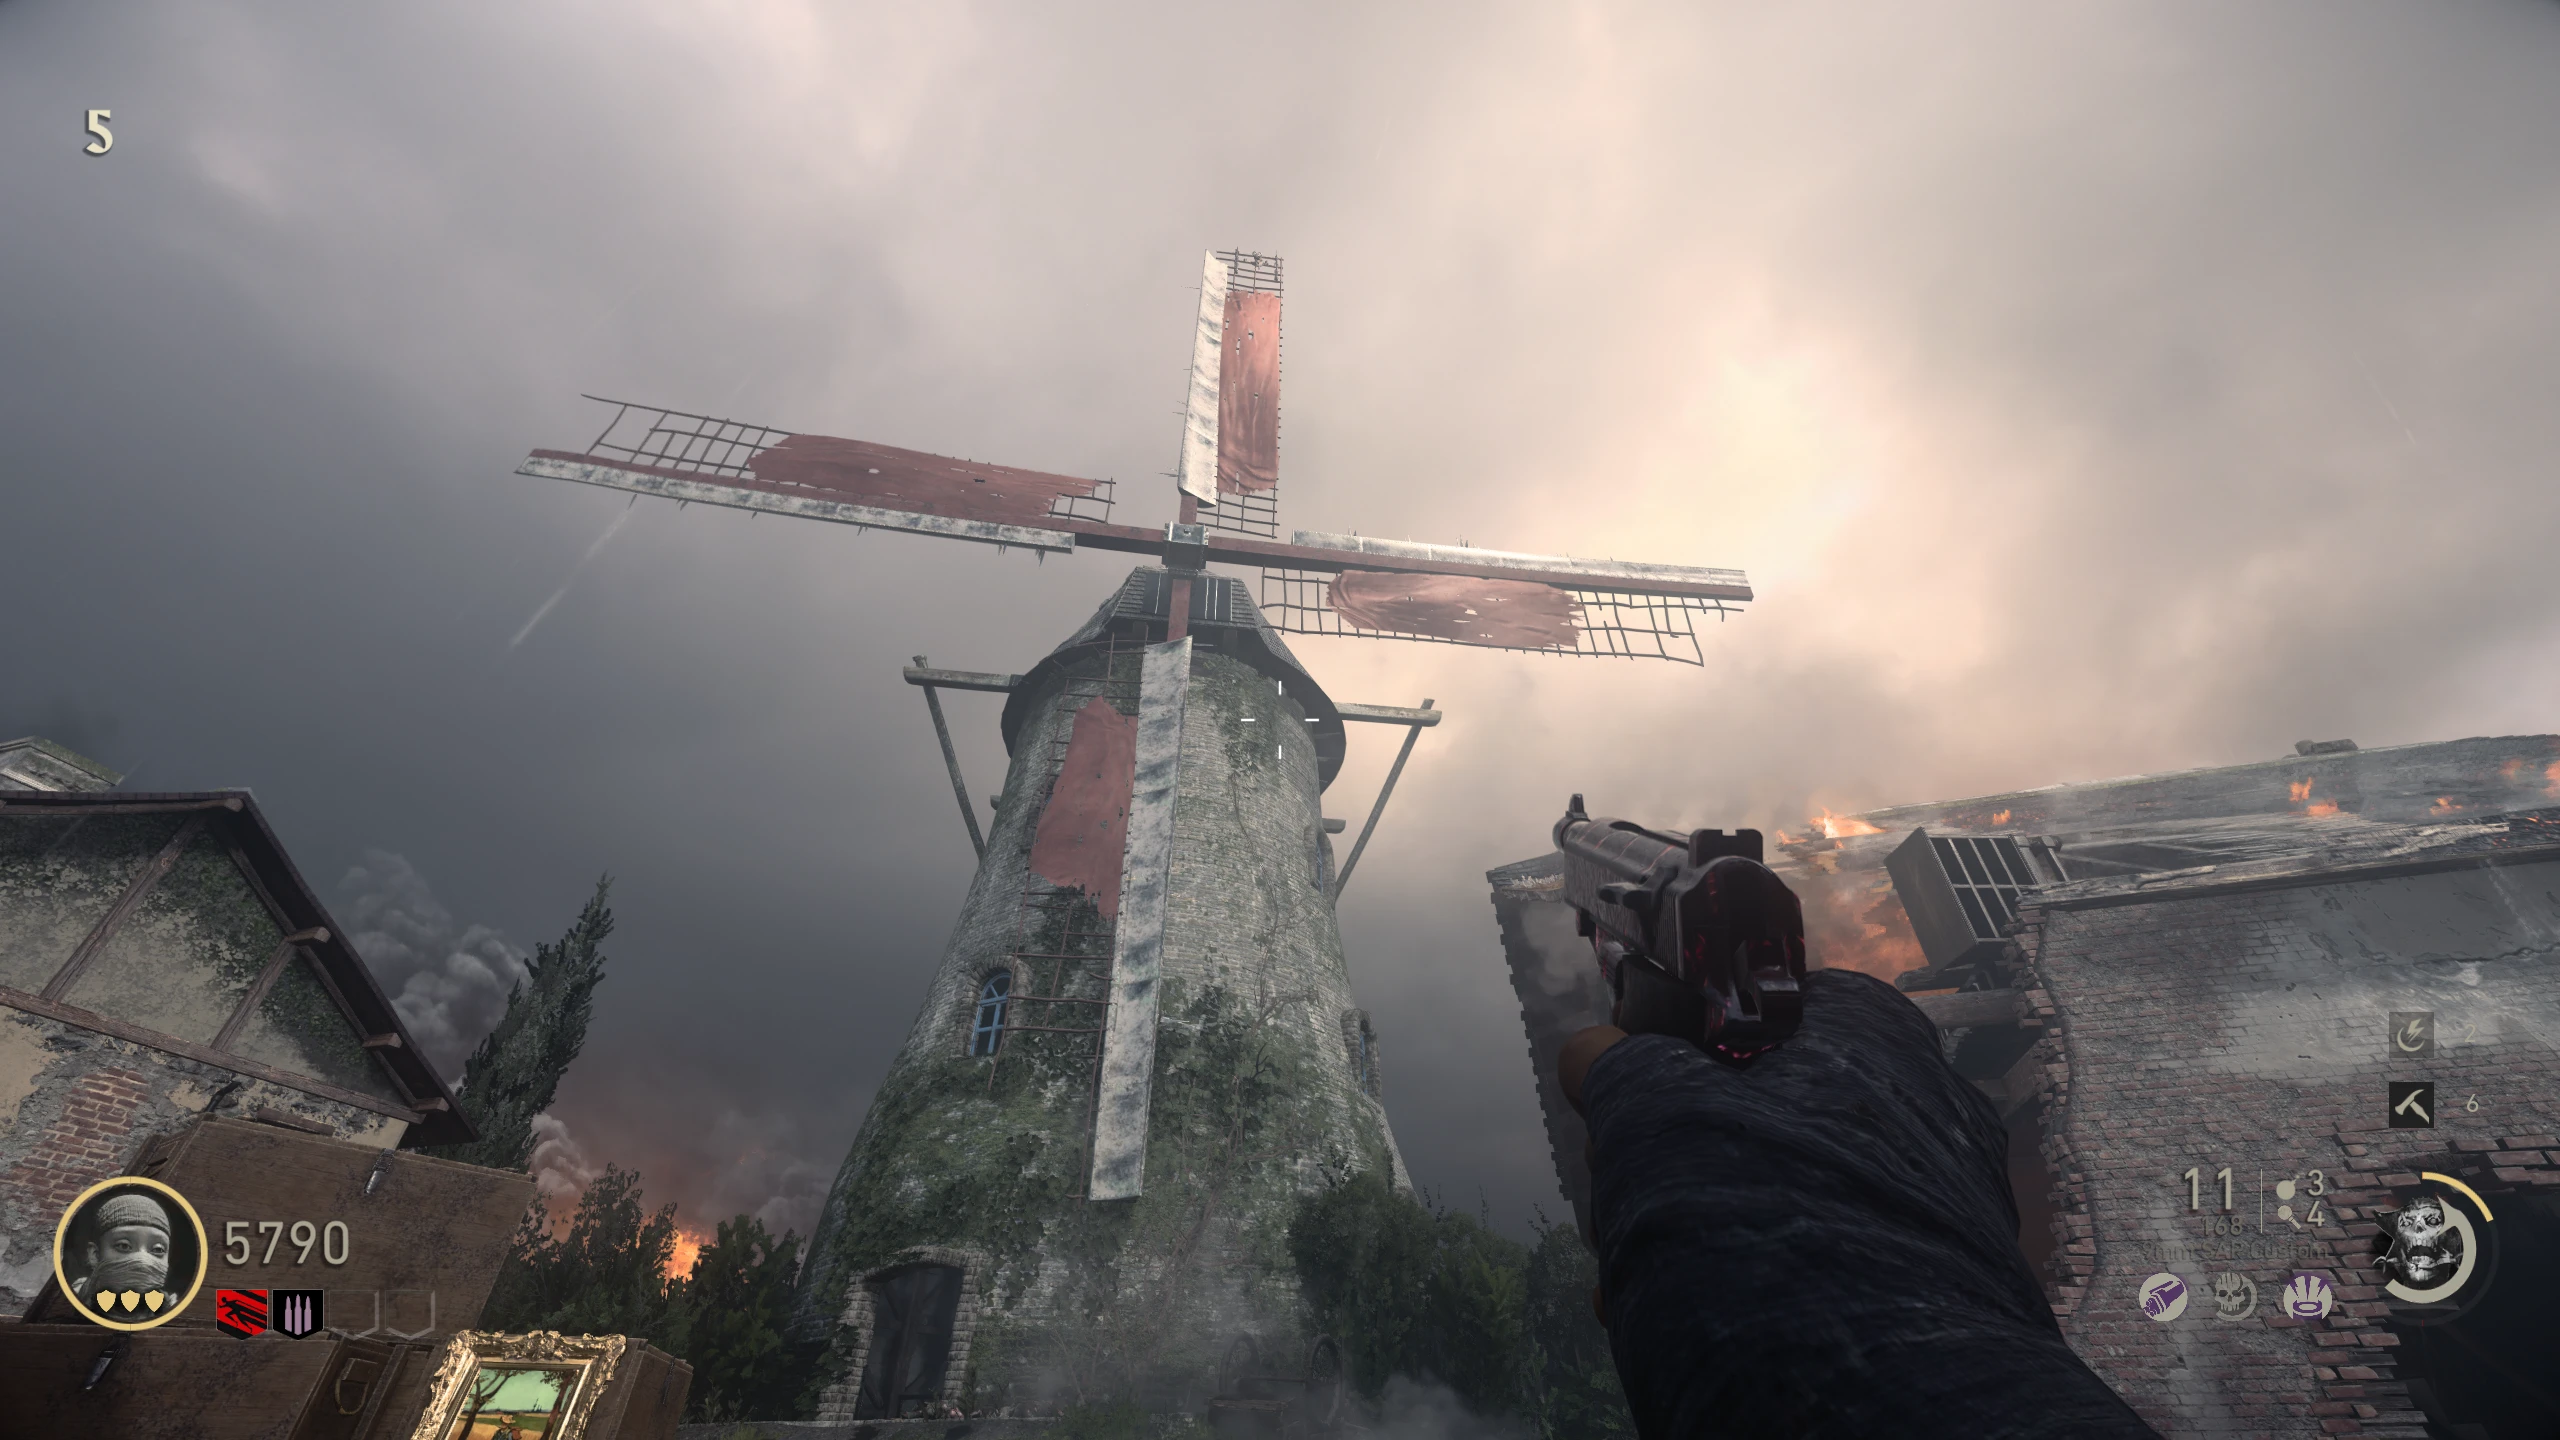
- Charge the ordinary Ubersprengen batteries with nearby kills: wave 1 at behind Windmill, wave 4 at intact-house Wine Cellar and wave 7 at across from the broken-house sniper wallbuy. Each green light goes out and stops accepting energy when charged. These are separate from the hidden quest’s carried batteries. All three expose Pack-a-Punch.
Wave 1 PaP battery: behind Windmillmmmrkennedy; game imagery Activision and the relevant game studio · Source ↗ Wave 4 PaP battery: intact-house Wine Cellarmmmrkennedy; game imagery Activision and the relevant game studio · Source ↗ Wave 7 PaP battery: across from the broken-house sniper wallbuymmmrkennedy; game imagery Activision and the relevant game studio · Source ↗ - Keep checking the current wave’s objective and HUD deadline while following the secret route. Complete repair, defend, escort or marked-enemy tasks exactly as requested; failing an ordinary objective can end the run. The resupply drops after waves 3, 6 and 9 offer equipment and armour. Save enough Jolts to upgrade and refill before the wave-10 final enemy.
Hilt Route
Waves 1–3: body parts, ropes and rods
- Wave 1: shoot the rope hanging from the tree left of the battery behind Windmill. Find one head, one torso, two arms and two legs. Body parts are random among the candidate photographs; the item’s silhouette is the cue, not just reaching the location.
Tree rope behind Windmillmmmrkennedy; game imagery Activision and the relevant game studio · Source ↗ - Head candidates: Windmill rear fence, SMG-house cabinet, intact-house kitchen sink, truck beside Quick Revive and broken-house bookshelf. Torso candidates: Windmill overturned cart, broken-house rear wheelbarrow, crate by sniper wallbuy, window above PaP and intact-house fireplace.
Head candidate locationmmmrkennedy; game imagery Activision and the relevant game studio · Source ↗ Head candidate locationmmmrkennedy; game imagery Activision and the relevant game studio · Source ↗ Head candidate locationmmmrkennedy; game imagery Activision and the relevant game studio · Source ↗ Head candidate locationmmmrkennedy; game imagery Activision and the relevant game studio · Source ↗ Head candidate locationmmmrkennedy; game imagery Activision and the relevant game studio · Source ↗ Torso candidate locationmmmrkennedy; game imagery Activision and the relevant game studio · Source ↗ Torso candidate locationmmmrkennedy; game imagery Activision and the relevant game studio · Source ↗ Torso candidate locationmmmrkennedy; game imagery Activision and the relevant game studio · Source ↗ Torso candidate locationmmmrkennedy; game imagery Activision and the relevant game studio · Source ↗ Torso candidate locationmmmrkennedy; game imagery Activision and the relevant game studio · Source ↗ - Arm candidates include the cellar stair pallet, broken-house planter/fireplace/debris/logs, canned-goods crate behind Windmill, intact-house basket, Windmill radio fence, Windmill Stamin-Up and SMG-house fireplace. Find two actual arms; collecting one does not satisfy both slots.
Arm candidate locationmmmrkennedy; game imagery Activision and the relevant game studio · Source ↗ Arm candidate locationmmmrkennedy; game imagery Activision and the relevant game studio · Source ↗ Arm candidate locationmmmrkennedy; game imagery Activision and the relevant game studio · Source ↗ Arm candidate locationmmmrkennedy; game imagery Activision and the relevant game studio · Source ↗ Arm candidate locationmmmrkennedy; game imagery Activision and the relevant game studio · Source ↗ Arm candidate locationmmmrkennedy; game imagery Activision and the relevant game studio · Source ↗ Arm candidate locationmmmrkennedy; game imagery Activision and the relevant game studio · Source ↗ Arm candidate locationmmmrkennedy; game imagery Activision and the relevant game studio · Source ↗ Arm candidate locationmmmrkennedy; game imagery Activision and the relevant game studio · Source ↗ Arm candidate locationmmmrkennedy; game imagery Activision and the relevant game studio · Source ↗ - Leg candidates include the Windmill PaP-side wooden sheet, broken-house ceiling/fence/hanging baskets, cellar wine rack, blue truck fender, ground left of Double Tap and the holes/floor near Electric Cherry. Find two actual legs.
Leg candidate locationmmmrkennedy; game imagery Activision and the relevant game studio · Source ↗ Leg candidate locationmmmrkennedy; game imagery Activision and the relevant game studio · Source ↗ Leg candidate locationmmmrkennedy; game imagery Activision and the relevant game studio · Source ↗ Leg candidate locationmmmrkennedy; game imagery Activision and the relevant game studio · Source ↗ Leg candidate locationmmmrkennedy; game imagery Activision and the relevant game studio · Source ↗ Leg candidate locationmmmrkennedy; game imagery Activision and the relevant game studio · Source ↗ Leg candidate locationmmmrkennedy; game imagery Activision and the relevant game studio · Source ↗ Leg candidate locationmmmrkennedy; game imagery Activision and the relevant game studio · Source ↗ Leg candidate locationmmmrkennedy; game imagery Activision and the relevant game studio · Source ↗ Leg candidate locationmmmrkennedy; game imagery Activision and the relevant game studio · Source ↗ - Wave 2: hold interact on the river branch left of Double Tap until it fully rises, then pick up its rope. Wave 3: the supply pod near the dead cow by Quick Revive drops two rods—one behind the cow and one in front of the truck. Collect both.
Wave 5: Wustling club and exact blade alignment
- Keep two Wustlings for wave 5. Line them up and shoot the rear one to make it charge into the front one. Collect the dead front Wustling’s arm club. If the required pair has not appeared by this window, restart the hidden-route attempt rather than advancing and hoping to recover it later.
Wustling club pickupmmmrkennedy; game imagery Activision and the relevant game studio · Source ↗ - Use the club in Windmill’s gears to stop the longest blade exactly at the bottom. Correct alignment allows the body parts to mount on it. If the placement prompt is unavailable, remove the club, adjust the blade and try again. After mounting the zombie, release and stop that blade at its highest point.
Windmill gears club controlmmmrkennedy; game imagery Activision and the relevant game studio · Source ↗ Longest blade at the bottommmmrkennedy; game imagery Activision and the relevant game studio · Source ↗ Mounted body at highest pointmmmrkennedy; game imagery Activision and the relevant game studio · Source ↗
Waves 6–7: charge the fallen body and protect its route
- During the wave-5 to wave-6 transition, lightning strikes the raised body and drops it. On wave 6, kill nearby enemies to charge and strengthen it. If the ordinary objective is non-kill-based, delay completing that objective until the body has been charged; a kill objective may finish as you charge.
- Wave 7: protect the reanimated zombie through Windmill to the broken house until it crawls into fireplace debris. Prioritize Wustlings attacking it; a distraction ability does not guarantee those enemies stop attacking the escort.
Escort enters fireplace debrismmmrkennedy; game imagery Activision and the relevant game studio · Source ↗
Wave 8: charge its battery before allowing death
- Wave 8: the zombie emerges carrying a battery. Get kills near it until that battery glows green, then let hostile enemies kill the escort. An escort killed before green cannot supply the required charged battery and needs a new map attempt.
- Collect the dropped green battery and fit it in the Wine Cellar generator. Enter the opened door and take the Hilt; the pickup awards all Blitz for the remainder of the chapter. The hidden route is done, but the ordinary chapter still needs its wave-10 ending.
Chapter Ending
Wave 10: Raketenbrenner and next-chapter lobby
- On wave 10, lure the bubble-shielded Raketenbrenner into the red marked ground circle. The incoming airstrike removes its shield; shoot during the exposed window. Repeat those strike windows until it dies and the chapter ends.
- After the return to lobby, select Across the Depths without leaving that lobby. Changing loadout there is permitted; starting from a different lobby breaks the combined secret route.
Side Quests
Optional: The Classic from the random SMG wallbuy
- On any chapter, drop 1,750 Jolts onto the flare where a resupply crate falls after wave 3, 6 or 9. The Classic enters the random SMG wallbuy pool for this match; it remains a possible result, not a guaranteed purchase.
Optional: Darkened Path difficulty
- At Shattered Rank 50, the red skull at spawn offers Darkened Path: faster and tougher enemies with harder objectives. Activate that challenge only if intended before beginning the chapter’s timed secret route. Completing the full three-chapter quest in that mode awards the Sanguine Skull charm.
Sources and review
Source-reviewed on 8 October 2026, using the references below and the research handoff. These instructions and puzzle calculations have software checks; they have not been verified in a complete in-game playthrough. Record symbols, sequences and completion cues from your match. Screenshot and community-chart creators are credited with each illustration.
Select any reference image to enlarge it. Screenshot and symbol sources are credited in the linked walkthroughs; this guide uses local copies for reliable access.