Setup
Island power, minecarts and fog
- Escape the initial Beach attack and open the U-Boat Pens. Activate its power switch, then activate the separate minecart-power switch in the Artillery Bunker. Minecart routing switches at each station choose the destination.
U-Boat Pens power switchmmmrkennedy; game imagery Activision and the relevant game studio · Source ↗ Artillery Bunker minecart powermmmrkennedy; game imagery Activision and the relevant game studio · Source ↗ Minecart destination switchmmmrkennedy; game imagery Activision and the relevant game studio · Source ↗ - After opening the first exit, fog can begin rolling in. Later fogs bring hostile Meuchlers, which hit hard and can relocate through holes. Listen for clicking and keep an escape route; these ordinary fog enemies are separate from the friendly ritual Meuchler.
Collect all three minecart batteries
- Ride all three different connections, in either direction: Bunker 1 ↔ Beach, Beach ↔ U-Boat Pens and U-Boat Pens ↔ Bunker 1. Interact with the green battery halfway through each first successful route. The first ride of a round includes Bombers standing on the track.
Battery halfway through minecart tunnelmmmrkennedy; game imagery Activision and the relevant game studio · Source ↗ Bunker 1 stationmmmrkennedy; game imagery Activision and the relevant game studio · Source ↗ Beach stationmmmrkennedy; game imagery Activision and the relevant game studio · Source ↗ U-Boat stationmmmrkennedy; game imagery Activision and the relevant game studio · Source ↗ - Fit the three Elektroschnalles into the Bunker 3 machine down the slope from Double Tap. Its elevator rises and exposes Ubersprengen.
Main Quest
Build Ripsaw and give it ranged fire
- Collect the saw blade right of Bunker 3’s MP-40 and the handle from Artillery Bunker: bunk beds beside power, right of Armour or the table right of Faustblitz. Fit both at the U-Boat Pens bench right of the stairs and buy Ripsaw for 2,500 Jolts.
Saw blade at Bunker 3 MP-40mmmrkennedy; game imagery Activision and the relevant game studio · Source ↗ Handle by bunksmmmrkennedy; game imagery Activision and the relevant game studio · Source ↗ Handle by Armourmmmrkennedy; game imagery Activision and the relevant game studio · Source ↗ Handle by Faustblitzmmmrkennedy; game imagery Activision and the relevant game studio · Source ↗ Ripsaw workbenchmmmrkennedy; game imagery Activision and the relevant game studio · Source ↗ - Heavy-melee an enemy by sprinting or aiming while meleeing, then press interact during the locked animation to extract its spine. Special-enemy spines are usually charged; normal ones may not be. Check the glowing battery and charge meter, then quickly fit a charged spine at the Ripsaw bench before its charge drains.
Spine charge meter on HUDmmmrkennedy; game imagery Activision and the relevant game studio · Source ↗ - Kill 25 enemies near the bench to charge the installed spine. When it finishes, purchase the 500-Jolt ranged upgrade. Sawblade fire is required for the corpse, ritual and radio interactions; ordinary Ripsaw melee alone cannot perform those shots.
Corpse head, gas valves and fighter planes
- Shoot the head off Bunker 3’s hanging corpse with the ranged Ripsaw. Collect it and attach it to the headless U-Boat Pens corpse gate. Get about ten nearby kills to charge it and start the lockdown.
- During lockdown the floor burns. Watch the three valves—either side of the corpse gate and left of the stairs. A gas-cutoff sound marks one valve tile temporarily going safe; hold its interaction then. If that window is missed, move away and wait for its next safe interval. Complete all three.
U-Boat gas valvemmmrkennedy; game imagery Activision and the relevant game studio · Source ↗ - When the fire stops, interact with the corpse gate to open the Freezer. Kill the spawned Brenner; its Max Ammo can be saved for later. Outside, use an AA gun to destroy fighter-plane waves until “Shot down the German Fighter Planes” appears. Protect the gun from zombies while firing.
AA gun used against fighter planesmmmrkennedy; game imagery Activision and the relevant game studio · Source ↗
Ritual Branch
Secret room and three Sons of Nerthus
- On a first cart ride of the round between Bunker 1 and Beach, use a track Bomber explosion to break the damaged tunnel wall. Interact there to enter the hidden room. Collect the Monk Head beside the ancient door, exit through the opposite crack and fit it on the Freezer’s left machine.
Breakable tunnel wallmmmrkennedy; game imagery Activision and the relevant game studio · Source ↗ Monk Head by ancient doormmmrkennedy; game imagery Activision and the relevant game studio · Source ↗ Secret-room exit crackmmmrkennedy; game imagery Activision and the relevant game studio · Source ↗ Freezer Monk Head machinemmmrkennedy; game imagery Activision and the relevant game studio · Source ↗ - At the Overlook AA gun, shoot the marked cliff rock. Collect the Son statue that drops onto the Beach.
- Extract a normal zombie spine and give it to the Monk machine. Defend the friendly zombie as it runs to Beach, enters the water and returns with a Son. It dies on the sand after returning; pick up the statue.
- Ripsaw-shoot mossy cliff rocks until one drops the remaining Son. Check above Beach Quick Revive/Machine Pistol, Bluffs door/SVT-40/Waffe 28 and high rocks around Bunker 3’s doors and Pack-a-Punch stairs. Fit all three statues into the secret ancient door; the praying Meuchlers behind it may be killed or left to despawn.
Moss rock above Beach Quick Revivemmmrkennedy; game imagery Activision and the relevant game studio · Source ↗ Moss rock above Beach Machine Pistolmmmrkennedy; game imagery Activision and the relevant game studio · Source ↗ Moss rock above Bluffs doorwaymmmrkennedy; game imagery Activision and the relevant game studio · Source ↗ Moss rock above Bunker 3 doorwaymmmrkennedy; game imagery Activision and the relevant game studio · Source ↗
Meuchler sacrifice: find the friendly target three times
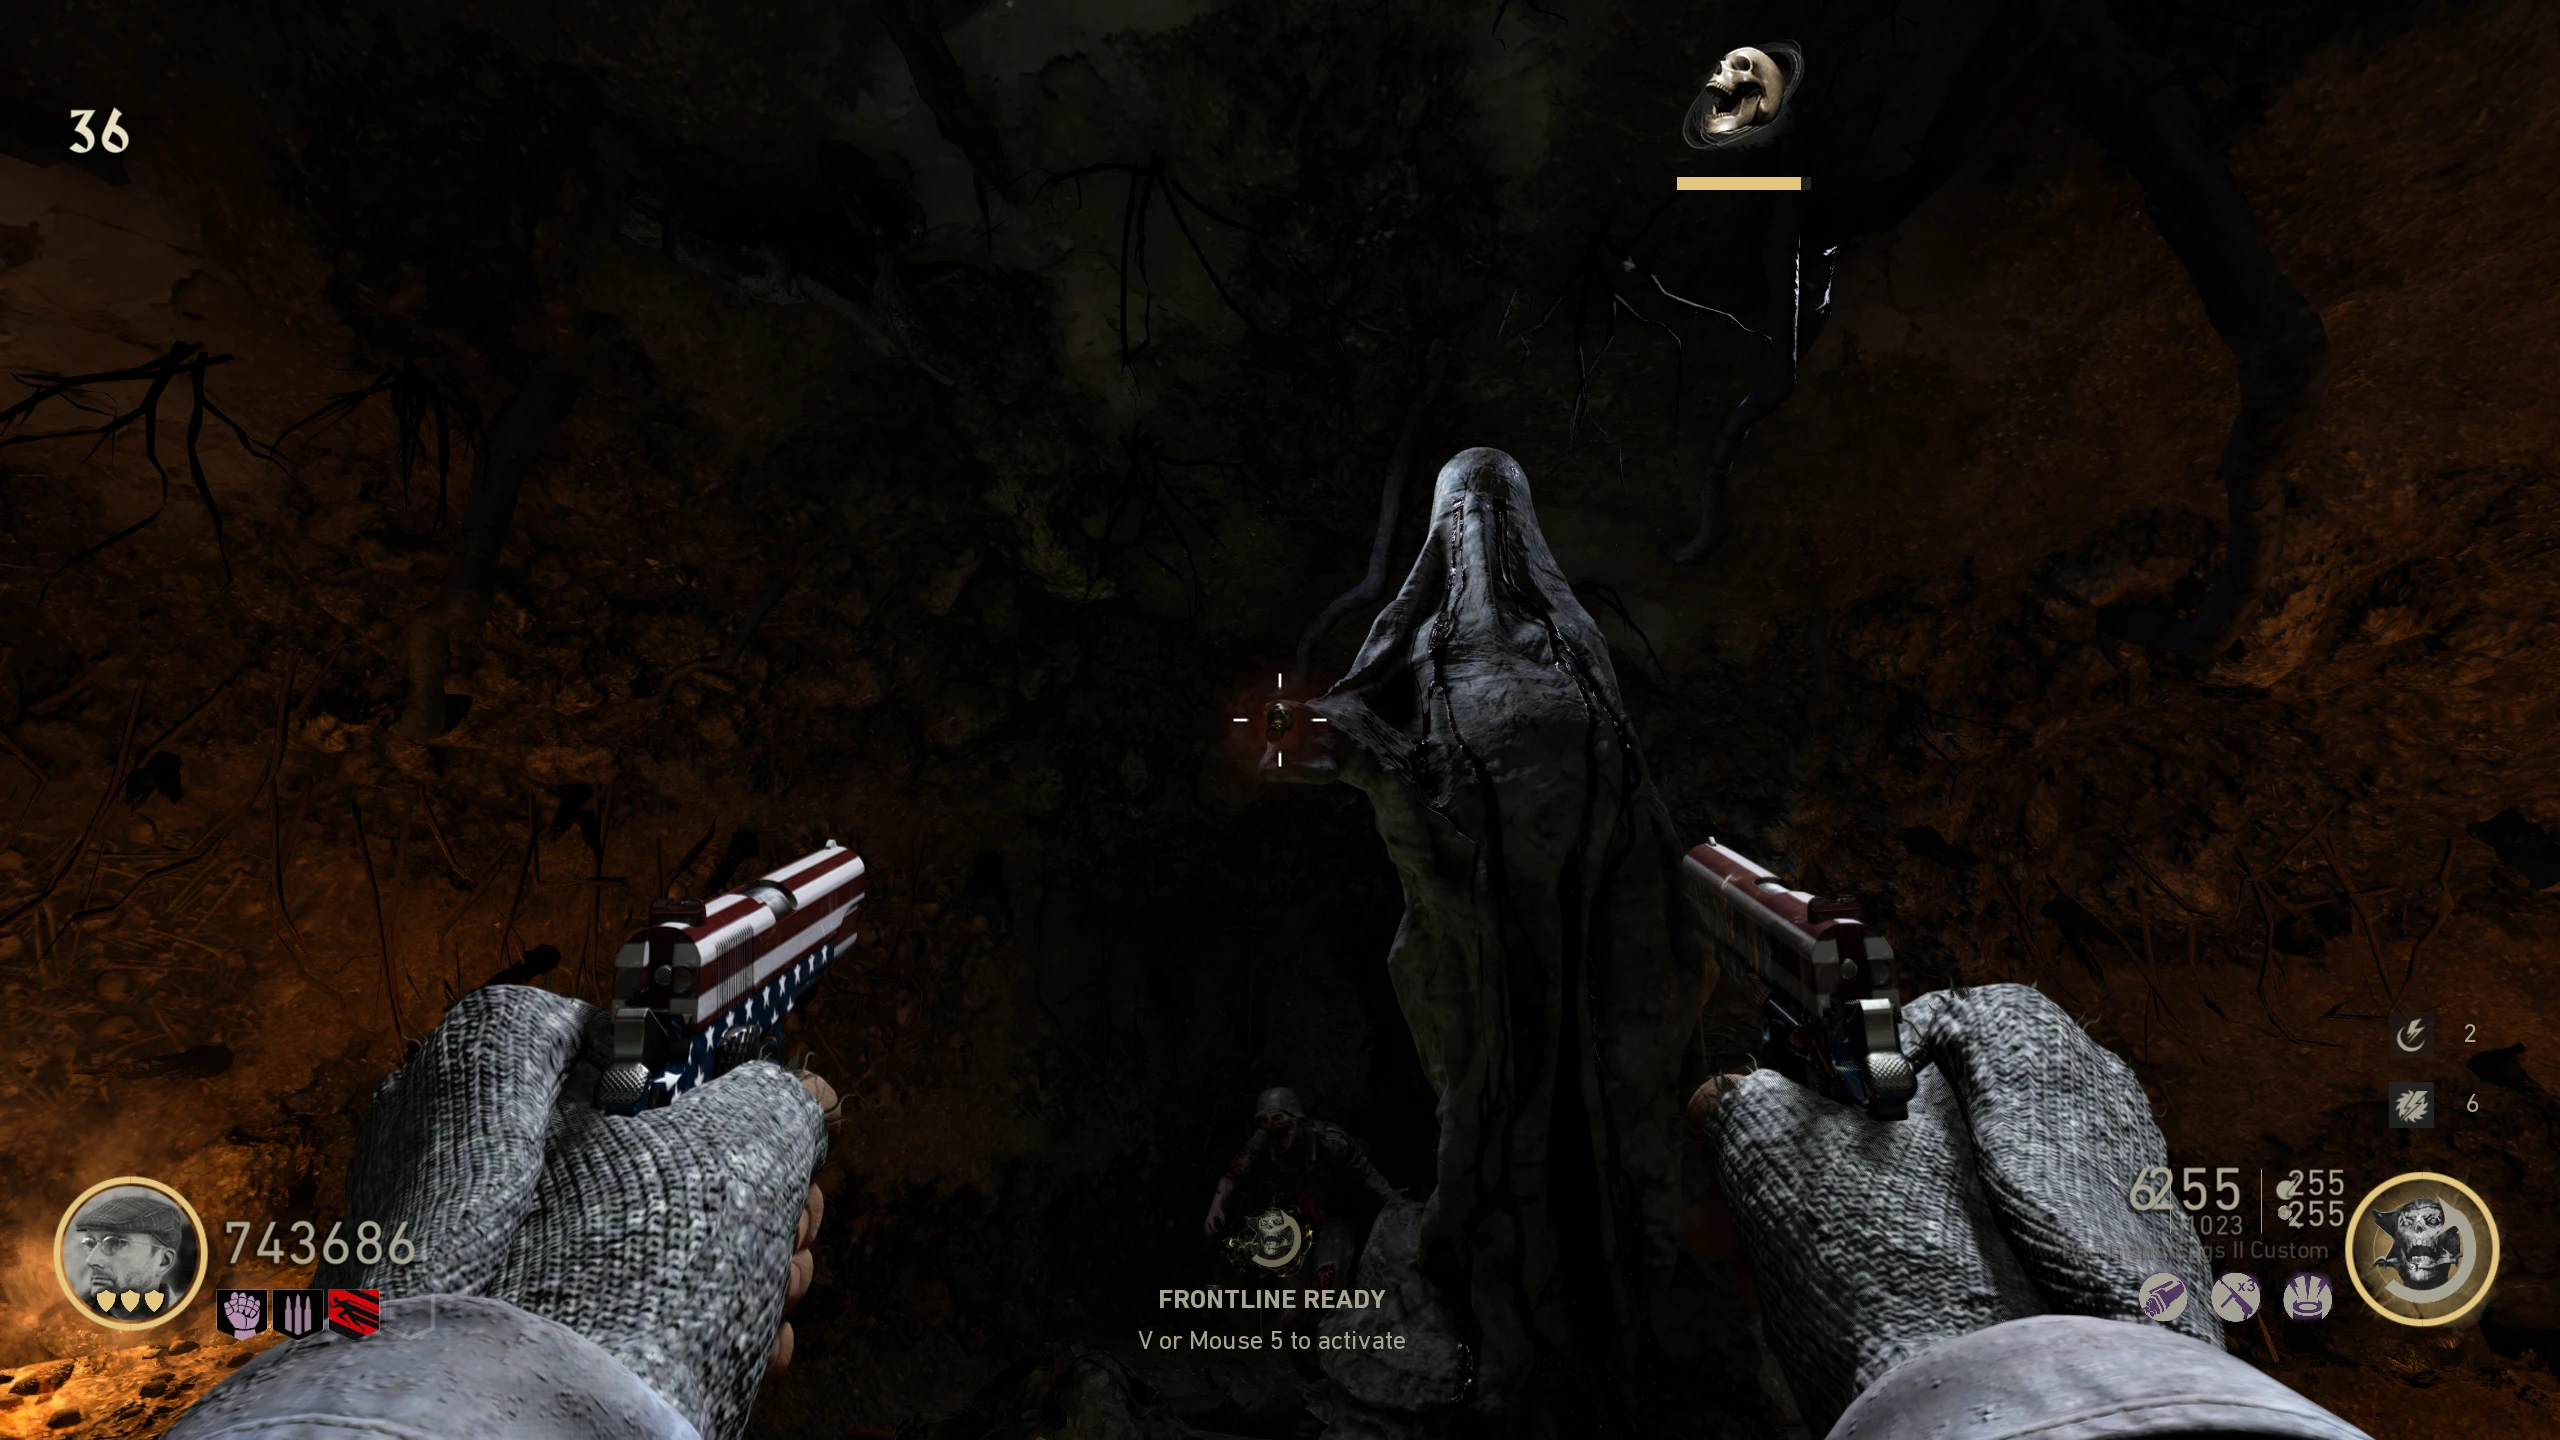
- Extract a charged Meuchler spine and bring it to the Freezer Monk Head. Its friendly Meuchler runs away and fog covers the island. Listen for its screams and follow zombies converging on it; a separate hostile Meuchler can still appear.
- Find and shoot the curled-up friendly Meuchler before enemies kill it. It flees and relocates; repeat until you have found and shot it three times. Candidate areas include Beach whale, Bunker 3 ledge/PaP, Bunker 1 AA gun/Lee Enfield and Bluffs SVT-40. A timeout or death requires another charged spine.
Meuchler Beach candidatemmmrkennedy; game imagery Activision and the relevant game studio · Source ↗ Meuchler Bunker 3 ledgemmmrkennedy; game imagery Activision and the relevant game studio · Source ↗ Meuchler PaP candidatemmmrkennedy; game imagery Activision and the relevant game studio · Source ↗ Meuchler Bunker 1 AA candidatemmmrkennedy; game imagery Activision and the relevant game studio · Source ↗ Meuchler Bluffs candidatemmmrkennedy; game imagery Activision and the relevant game studio · Source ↗ - After the third target the fog lifts. Bring every player into the secret room. The door seals and a tougher Meuchler descends; kill it and collect its ritual head.
Wustling sacrifice: correct perk order
- Give the Monk Head a charged Wustling spine. The friendly Wustling follows its nearest player unless a perk machine is closer. Shoot it to temporarily make it follow you; its friendly version does not charge.
- Guide it through Kugelblitz/Double Tap → Faustblitz/Melee → Laufenblitz/Stamin-Up → Lebenblitz/Quick Revive. Keep it locked onto you when passing Stamin-Up on the way to Melee, so it does not grab that perk early. A wrong perk means allowing this enemy to die and obtaining a new charged spine.
First: Kugelblitzmmmrkennedy; game imagery Activision and the relevant game studio · Source ↗ Second: Faustblitzmmmrkennedy; game imagery Activision and the relevant game studio · Source ↗ Third: Laufenblitzmmmrkennedy; game imagery Activision and the relevant game studio · Source ↗ Fourth: Lebenblitzmmmrkennedy; game imagery Activision and the relevant game studio · Source ↗ - Correct completion makes the Wustling jump through the wall hole by Quick Revive. Every player returns to the secret room; kill the three Wustlings that drop in and collect the ritual head.
Wustling exit hole by Quick Revivemmmrkennedy; game imagery Activision and the relevant game studio · Source ↗
Pest sacrifice: five coil ricochets
- Grenade-open all seven coil panels: U-Boat power, U-Boat M1928, U-Boat stairs, Bunker 3 inside door, Overlook M1941, Artillery side wall and Overlook Mystery Box. Give the Monk Head a charged Pest spine.
U-Boat power panelmmmrkennedy; game imagery Activision and the relevant game studio · Source ↗ U-Boat M1928 panelmmmrkennedy; game imagery Activision and the relevant game studio · Source ↗ U-Boat stair panelmmmrkennedy; game imagery Activision and the relevant game studio · Source ↗ Bunker 3 panelmmmrkennedy; game imagery Activision and the relevant game studio · Source ↗ Overlook M1941 panelmmmrkennedy; game imagery Activision and the relevant game studio · Source ↗ Artillery wall panelmmmrkennedy; game imagery Activision and the relevant game studio · Source ↗ Overlook Mystery Box panelmmmrkennedy; game imagery Activision and the relevant game studio · Source ↗ - Wait for the Pest near U-Boat M1928. Stand to its left and fire a Ripsaw blade at the blue coil outside the map near that wallbuy, so the ricochet hits it. Correct positioning of both you and the enemy matters.
- For the Pest in front of the U-Boat walkway, stand beside it toward the cart station. Fire at the yellow coil high on the wall right of that station.
- Open the Bluffs doorway. When the Pest is in that doorway, stand on the ledge above the first stairs and fire at the blue coil above the Bluffs door.
- Wait for the Pest right of the STG-44 wallbuy. Stand by the barrels between the Faustblitz-side door and AA gun, then shoot the yellow coil over M1941.
- For the Pest along the long propeller walkway, stand in front of the Ripsaw bench and shoot the yellow coil beside power. Wait until the enemy crosses the ricochet line; a dead or incorrectly charged Pest requires a new spine.
Charge 5 Pest positionmmmrkennedy; game imagery Activision and the relevant game studio · Source ↗ Charge 5 Ripsaw-bench player positionmmmrkennedy; game imagery Activision and the relevant game studio · Source ↗ Charge 5 yellow coilmmmrkennedy; game imagery Activision and the relevant game studio · Source ↗ - After the fifth valid charge the Pest dies. Gather every player in the secret room, clear the dropped Pests and collect their ritual head.
Fit four heads and claim Pommel
- When all three sacrifice heads are collected, retrieve the Monk Head from its Freezer machine and place all four heads on the secret-room ceiling hooks. The room seals. Kill the spawning enemies to fill its sunken floor with blood.
Four secret-room ceiling hooksmmmrkennedy; game imagery Activision and the relevant game studio · Source ↗ - When the statue’s animal skull breaks, take the Pommel of Barbarossa. It occupies tactical equipment and regenerates. Keep it until you have thrown it at the repaired radio; replacing it with Jack-in-the-Boxes too early removes the needed final interaction.
Pommel exposed in the statuemmmrkennedy; game imagery Activision and the relevant game studio · Source ↗
Artillery Branch
Escort Bomber, repair radio and sink two ships
- Use the Freezer’s right machine to summon a friendly Bomber. Protect it on the route to Artillery Bunker; it has low health, though your own fire cannot hurt it. It deposits a battery and dies on reaching the cannon.
Friendly Bomber summoning machinemmmrkennedy; game imagery Activision and the relevant game studio · Source ↗ - Kill enemies close to the deposited battery to load the cannon. About five kills load one shot; prepare at least two shots and replenish after misses. The device can store up to six. If pursuing the optional R.I.P. Saw fuse, use its six dial coordinates separately.
- Collect the radio part by the corpse right of the Combat Shotgun in Bunkers. Ripsaw-shoot the hanging man’s arm above the Bluffs-to-Bunker 3 door to drop its radio. Repair the table radio at Overlook right of the Mystery Box and listen through the dialogue.
Radio part beside Bunkers corpsemmmrkennedy; game imagery Activision and the relevant game studio · Source ↗ Hanging arm/radio above Bluffs doormmmrkennedy; game imagery Activision and the relevant game studio · Source ↗ Overlook radio tablemmmrkennedy; game imagery Activision and the relevant game studio · Source ↗ - Destroy the two ships one at a time. Compare the actual ship position with the aiming sheet; left cannon panel sets elevation, right sets angle and centre fires. Read the chart’s signed pair in its pictured context; do not reuse the R.I.P. Saw fuse coordinates for a ship. Recharge ammunition after misses.
NinjaNationGaming eleven-example cannon aiming sheetNinjaNationGaming (visible creator credit); hosted by mmmrkennedy · Source ↗ Left cannon elevation controlmmmrkennedy; game imagery Activision and the relevant game studio · Source ↗ Right cannon angle controlmmmrkennedy; game imagery Activision and the relevant game studio · Source ↗ Middle firing buttonmmmrkennedy; game imagery Activision and the relevant game studio · Source ↗
Cannon coordinates & destroyer chart Open helper
Keep the six fuse characters independent from the moving-ship aiming examples.
Open illustrated reference
Boss Preparation
Pommel unlock and final radio commitment
- With rituals and destroyers complete, throw Pommel at the Overlook radio. This reveals the final interaction prompt. After this Pommel action it is safe to obtain Jack-in-the-Boxes if desired. Refill armour, upgraded ammunition and abilities before proceeding.
- When every player is ready, interact with the radio together. A cutscene moves the squad into the Meistermeuchler sequence. The four arenas are consecutive; the last opportunity to buy armour is before leaving the third arena.
Point of no return: the synchronized final radio starts four consecutive boss arenas.
Boss Fight
Four consecutive Meistermeuchler arenas
- Beach in fog: fight one Meistermeuchler at a time until each is knocked out and stops taking damage. A boss fleeing because its time expired is not a knockout; it returns after the others. Once all four are knocked out the fog lifts. Take the cart for a Max Ammo and the next arena.
- U-Boat Pens: a Brenner and burning floor join two simultaneous bosses. Knock all four out, then use the opened exit, Full Meter and Armour by Ripsaw bench. Ride the cart onward for ammunition.
- Bunker area in fog: three bosses attack together. Use Artillery Bunker Armour while access remains. After all knockouts the fog lifts. Refill armour before the next cart ride; the final Beach has no armour purchase.
- Final Beach: all four attack together without fog. They now die permanently; focus a target when safe while avoiding bouncing saws, stun attacks and the blind/buff effects. Killing the fourth boss starts the ending cutscene.
Side Quests
Optional: R.I.P. Saw fuse
- Read the six broken coordinate machines with a scope if needed. Each has a single dial whose physical position gives its place in the six-character code. Dial positions 1 and 4 are signs, the others digits. Candidates: Beach Passage stair window, Bluffs wood pile, U-Boat power-side cell, Bunker 1 AA gun, Artillery bunk locker and the cart outside its BAR window.
- With the friendly Bomber’s cannon battery charged, set the fuse coordinates and fire. Collect the fuse dropped onto the cannon support. Ranged Ripsaw can now be Pack-a-Punched, with ammunition available at the machine.
R.I.P. Saw fuse dropmmmrkennedy; game imagery Activision and the relevant game studio · Source ↗
Cannon coordinates & destroyer chart Open helper
Keep the six fuse characters independent from the moving-ship aiming examples.
Open illustrated reference
Optional: The Classic PPSh
- During the friendly Bomber escort, drop 1,000 Jolts total on its route for it to collect. It stops taking payment once satisfied and The Classic joins the Mystery Box pool. This changes eligibility, not the chance of the next box roll.
Sources and review
Source-reviewed on 8 October 2026, using the references below and the research handoff. These instructions and puzzle calculations have software checks; they have not been verified in a complete in-game playthrough. Record symbols, sequences and completion cues from your match. Screenshot and community-chart creators are credited with each illustration.
Select any reference image to enlarge it. Screenshot and symbol sources are credited in the linked walkthroughs; this guide uses local copies for reliable access.