Setup
Gas valves, bunker power and Salt Mine
- Follow the three pipes from the Village Square valve indicator. Hold each valve until its dial turns green at 60: behind Armour, left of the Bunker entrance and Riverside near the Pub. Releasing early drops its pressure.
Valve behind Village Square Armourmmmrkennedy; game imagery Activision and the relevant game studio · Source ↗ Valve left of the Bunker entrancemmmrkennedy; game imagery Activision and the relevant game studio · Source ↗ Riverside valve near Pubmmmrkennedy; game imagery Activision and the relevant game studio · Source ↗ - Activate the Pilot Light in the square, clear the Pests, drop through its hole and climb the slope to the generator. Turn that generator on, then purchase access to the Bunker, Morgue and Laboratory.
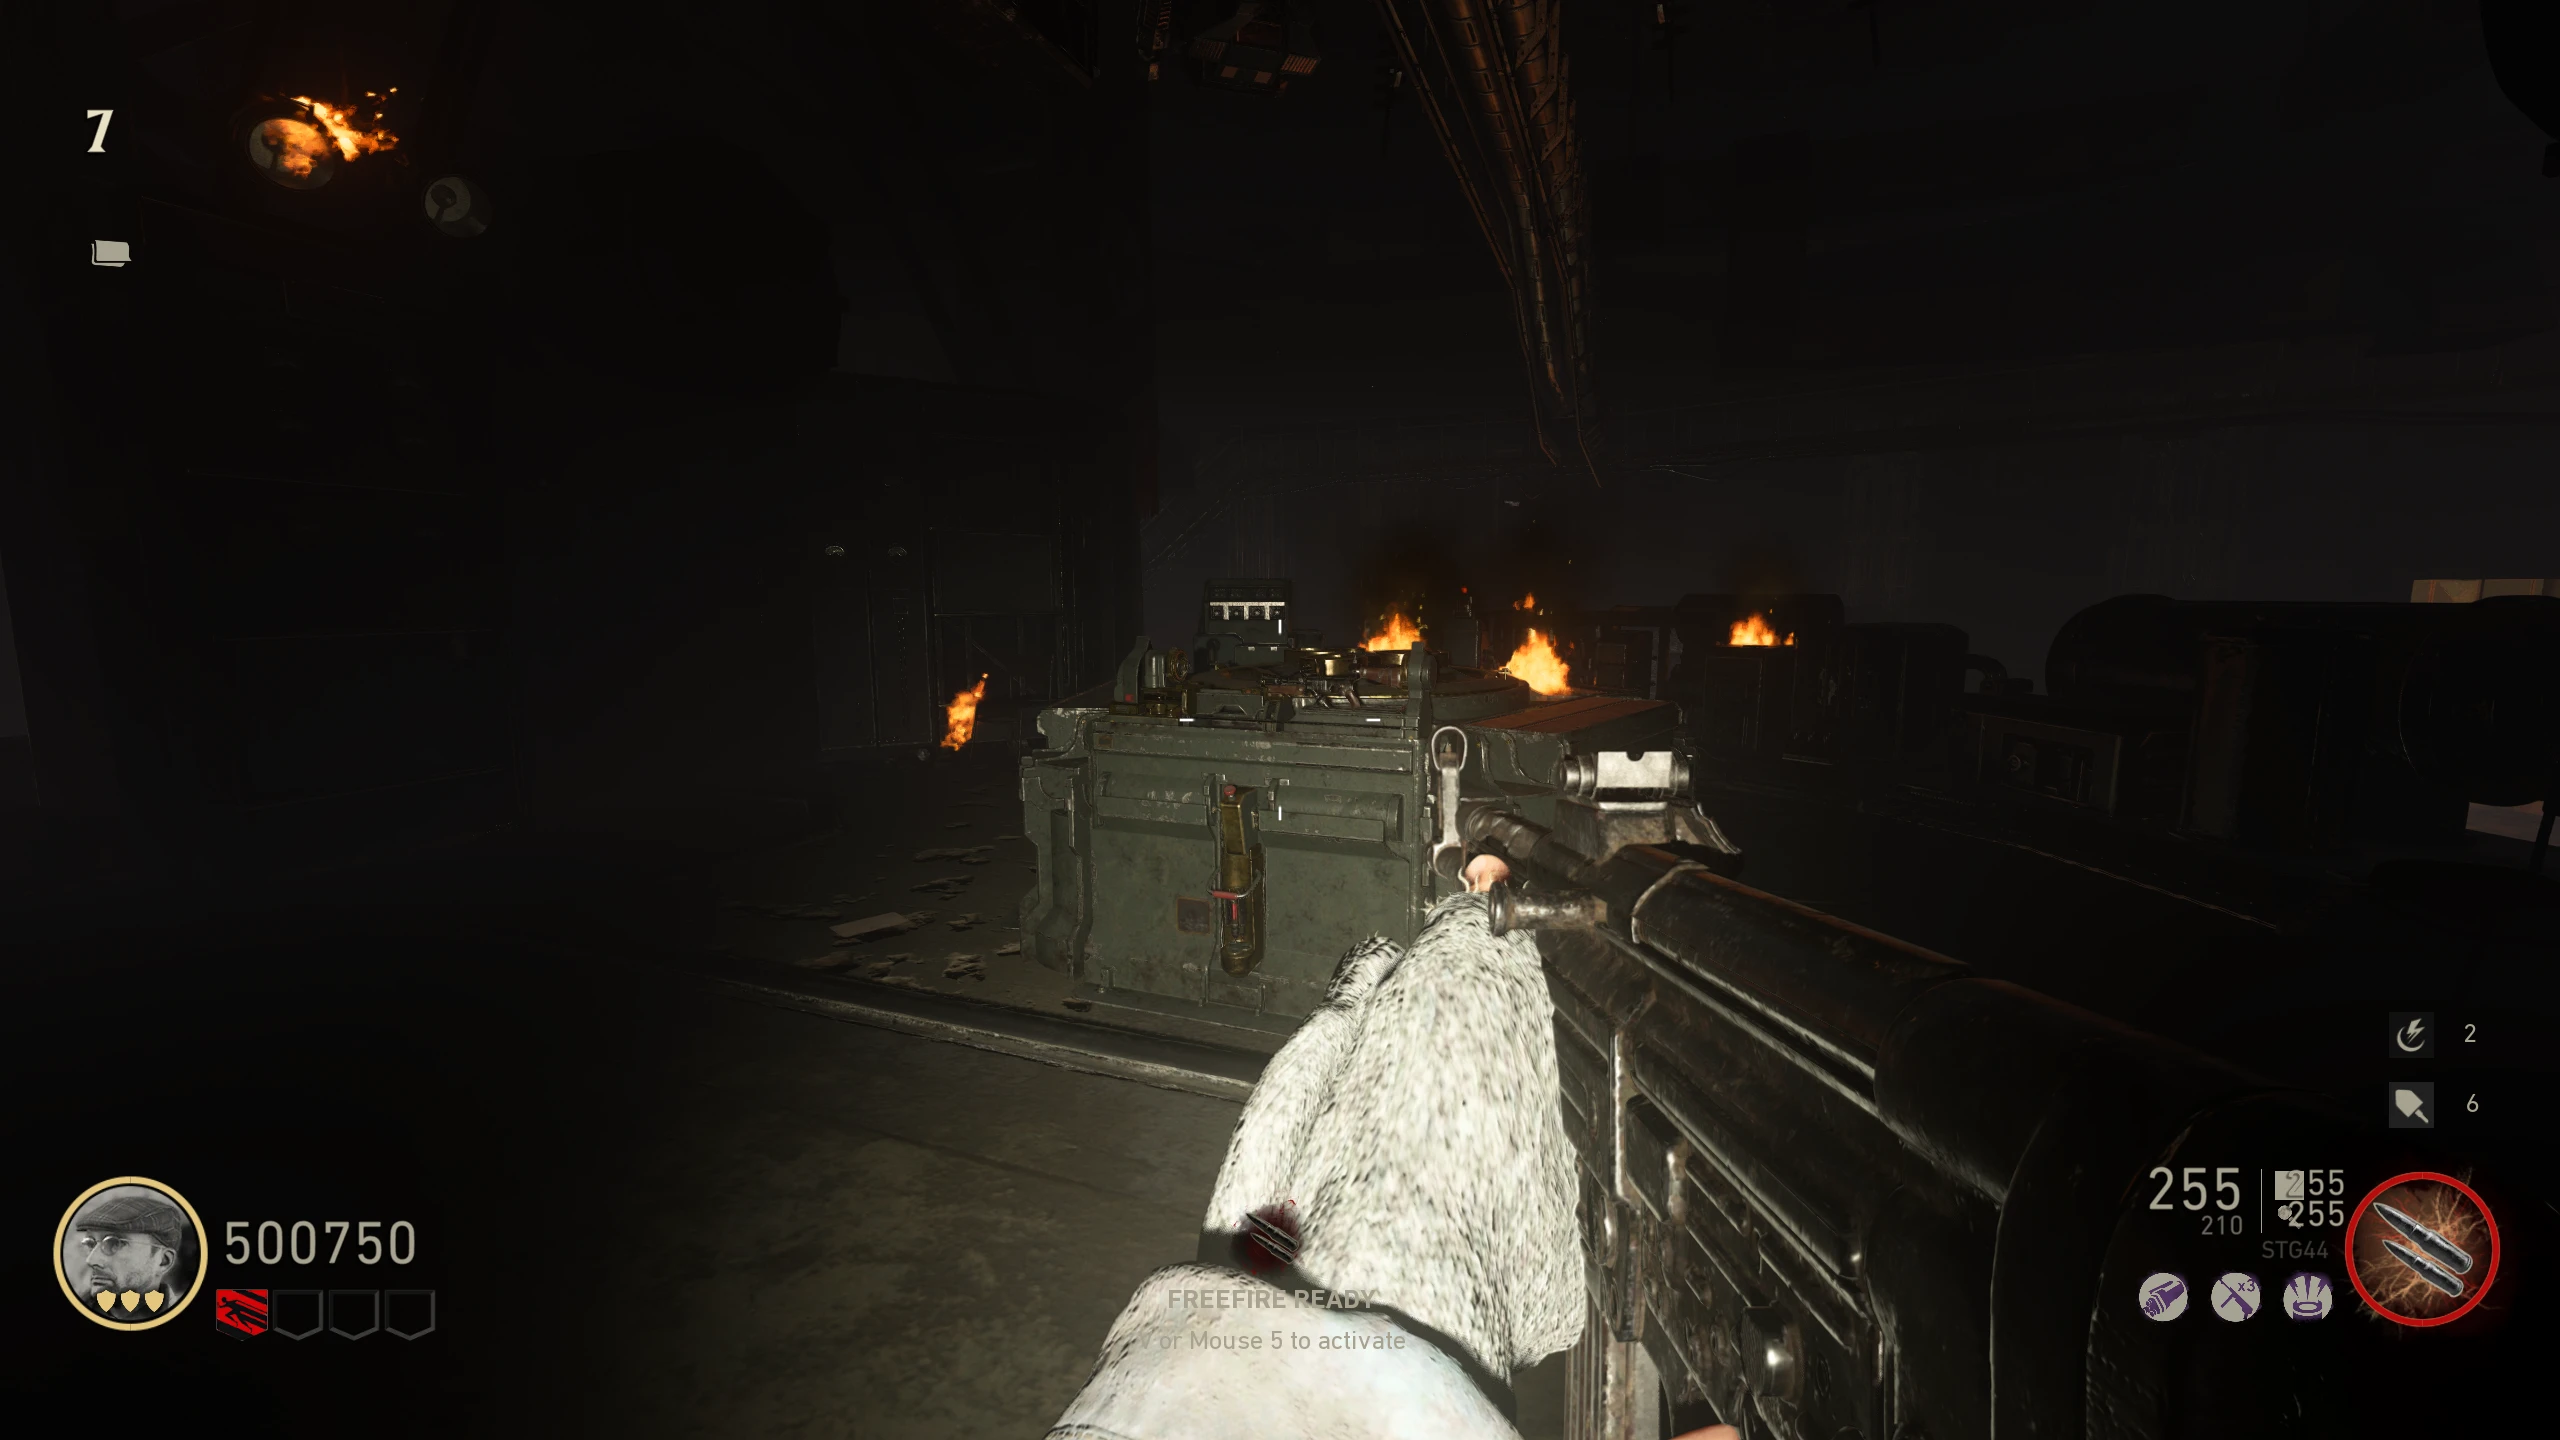
- Activate the Laboratory upper-level switch and Morgue switch near STG-44 within roughly a minute of one another. If the pair expires, reactivate both. Open the Salt Mine once the power connection succeeds.
Unlock Ubersprengen
- After all three buttons, the cage rises around Ubersprengen. Upgrade an ordinary weapon for 5,000 Jolts; upgraded ammunition costs 4,000. The Tesla part forge in Command Room is a separate machine.
Main Quest
Charge and escort the Tesla device
- Turn the Command Room crank until it stops. In the Emperor’s Chamber, interact with the hilt device and kill zombies inside its floor circle until the Geistkraft device rises.
- Press the upper-platform button in Command Room. Follow the device into the Laboratory and, whenever it stops, kill zombies inside its red circle. Let it enter the generator near Schnellblitz, then collect the ejected Tesla part.
- Follow the device into the Morgue and repeat its red-circle charge stops. Wait for the generator to release the second part. Returning to Command Room spawns a Brenner on the upper platform; kill it and keep its head for the later bird readings.
Morgue Tesla partmmmrkennedy; game imagery Activision and the relevant game studio · Source ↗ - Fit both parts on the upper-platform forge and wait for assembly. Take the Tesla Gun. Each player can claim it from the forge; its electricity is needed for the quest interactions.
Tesla Gun assembly pointmmmrkennedy; game imagery Activision and the relevant game studio · Source ↗
Power grid and lightning rods
- Activate the grid machine behind the Tesla forge. Read the four lit colours left to right and record them in the tool. Under the timed activation, set box 1 in Command Room, box 2 at the Sewers fire-trap side, box 3 at the Riverside end of Sewers and box 4 at the back of Pub by the Tower door. Rot = red, Grün = green, Blau = blue.
- Pull the Tower’s central lever to start raising the lightning rod. Defend it until its health bar disappears. A damaged rod descends; wait for it to reset, then restart its lever.
Central Tower rod levermmmrkennedy; game imagery Activision and the relevant game studio · Source ↗ - Activate and defend the two outer Tower levers. When all three rods are raised, interact with the Right Hand of God in the Emperor’s Chamber; it is the hand on your left when facing the statue.
Power-grid route Open helper
Read the four columns left to right; box locations stay fixed, colours come from your match.
Open illustrated reference
Deliver three Zeppelin batteries
- Outside, wait for the Zeppelin’s electrical attack to expose yellow lights underneath it. Shoot a lit generator until it turns red and falls; follow its landing position.
- Kill zombies close to the fallen generator until it explodes and leaves a battery. Carry it to the Left Hand of God in the Emperor’s Chamber, on your right when facing the statue. Drop and retrieve the battery if you need to fight.
Left Hand battery placementmmmrkennedy; game imagery Activision and the relevant game studio · Source ↗ - Repeat for three delivered batteries. On the third attempt the Zeppelin recalls a dropped generator; shoot another one down rather than waiting at the empty landing point. After delivering all three, interact with the Left Hand.
Match painting numerals to the bird dials
- Aim the Brenner head’s purple light at the four paintings: upstairs Pub, Courtyard S-Mine area, Sewers by Riverside door and Morgue spike-trap room. Each shows a bird and Roman numeral. Record the numeral against that bird’s matching machine symbol, rather than the order in which you visited paintings.
Pub paintingmmmrkennedy; game imagery Activision and the relevant game studio · Source ↗ Courtyard paintingmmmrkennedy; game imagery Activision and the relevant game studio · Source ↗ Sewers paintingmmmrkennedy; game imagery Activision and the relevant game studio · Source ↗ Morgue paintingmmmrkennedy; game imagery Activision and the relevant game studio · Source ↗ - At the Emperor’s Chamber machine, identify the bird above each dial and enter its painting numeral. Press the large red button after all four are correct. The resulting sound and exposed energy around the hilt show that the first voice step registered.
Voice of God bird dialsmmmrkennedy; game imagery Activision and the relevant game studio · Source ↗
Bird numerals & second voices Open helper
Match each painting to the actual bird on the machine. Green-flash groups belong to the separate hardcore record sequence.
Open illustrated reference
Hardcore Requirements
Casual: enter the boss arena
- Prepare armour, perks and upgraded weapons. Tesla-shoot the hilt’s surrounding energy orb, then interact with the hilt. This commits the squad to the Panzermörder arena; taking it now follows the Casual ending.
Point of no return: hilt interaction starts the boss.
Energy orb around the hiltmmmrkennedy; game imagery Activision and the relevant game studio · Source ↗
Boss Fight
Panzermörder: attach three charged batteries
- Keep moving around the modified Village and avoid the boss’s charging swings. Shoot the Zeppelin’s currently lit underside generator down, then charge it with nearby zombie kills. Keep track of where its battery drops.
- Lure Panzermörder close to the charged battery and shoot it until it kneels. Pick up the battery and interact on the stunned boss to attach it. Coordinate the stun and carrier in co-op; Hardcore permits a shorter attach window.
- After an attachment the boss leaves and zombies spawn. Survive until it returns, then repeat the generator, charging and attachment loop until three batteries are attached. The third completes the boss fight.
Ending
Side Quests
Optional: add The Classic PPSh to the box
- Drop Jolts into each of four bowls: right of the Morgue Tesla machine, burned ground left of Village Square SVT-40, Riverside sandbags in front of the M1928 building and upstairs Pub right of Kugelblitz. A money response follows each. After all four, The Classic joins the Mystery Box pool; this does not guarantee the next box roll.
Optional: spot Dr. Straub
- After opening a route to Command Room/Morgue/Courtyard, watch the remote spawn windows for the man in a lab coat and shoot him for Lurking Around. Search Riverside windows, Laboratory hanging-body windows and Morgue barred/spawn areas. Looking directly at him makes him leave, and he stops appearing after the boss starts.
Straub location photographs and character challenge reference ↗
Optional challenges: keep restrictions separate
- Check Soldier → Dossier → Challenges before selecting a restricted run. No-perk, no-upgrade, no-down and timed Klaus/Panzermörder challenges have different conditions. A Casual boss clear is not a Hardcore Klaus rescue. Prologue survival tasks use the Prologue edition, not this map’s ordinary survival match.
Sources and review
Source-reviewed on 8 October 2026, using the references below and the research handoff. These instructions and puzzle calculations have software checks; they have not been verified in a complete in-game playthrough. Record symbols, sequences and completion cues from your match. Screenshot and community-chart creators are credited with each illustration.
Select any reference image to enlarge it. Screenshot and symbol sources are credited in the linked walkthroughs; this guide uses local copies for reliable access.