Setup
Charge the Crash Site door plate
- Kill five zombies close to the Crash Site pressure plate beside the underground entrance. When charged, the door opens into Thule. Learn the Passage, Overlook, Phylactery, Blood Altar, Morgue, Ice Caves and Archives connections before starting timed weapon transfers.
Stone switch and three Thulian Transports
- Push the Passage wall stone in front of its transport until it turns red. This routes transport rides through Lost In Blood, the Pack-a-Punch room. Open the destination areas if a transport remains unavailable.
Passage PaP-routing stonemmmrkennedy; game imagery Activision and the relevant game studio · Source ↗ - Use all three transports once: Passage → Blood Altar, Crash Site → Passage and Blood Altar below Double Tap → Crash Site. Each PaP detour raises Ubersprengen a little; the third exposes it. Turning the stone off returns transports to ordinary travel.
Required Raven Weapons
Thulian Scythe and Fang of An’heist
- Interact with Phylactery’s shrine and survive its short lockdown. Take the Scythe when it appears in front of the shrine.
- Kill a Corpse Eater with Scythe to obtain its spine; unlike Darkest Shore’s Ripsaw extraction, no additional interact is needed. Take the wire from the crashed drop pod at Crash Site. Fit spine, wire and Scythe on the Phylactery stair-top altar.
- Get fifteen kills near the altar until “Ignited the Forge” and the end of energy collection. Wait two complete rounds, then retrieve the quest Scythe item. Use a Thulian Transport to enter the Deathraven trial. Finish its prompted weapon tutorial and take the upgraded Fang of An’heist on return.
- The upgraded Scythe can store a cheat-death charge by killing a fully empowered red-glowing Corpse Eater with it. Its charged gem is the cue. A lethal blow while actively holding the Scythe spends that protection; it is not a permanent passive invulnerability effect.
Thulian Hammer: runes, base pillars and prone approach
- Take the battery from Crash Site debris left of M30 Luftwaffe Drilling and fit it in the Overlook bowl right of Stamin-Up. Charge with roughly fifteen to twenty nearby kills until purple and no more energy is accepted.
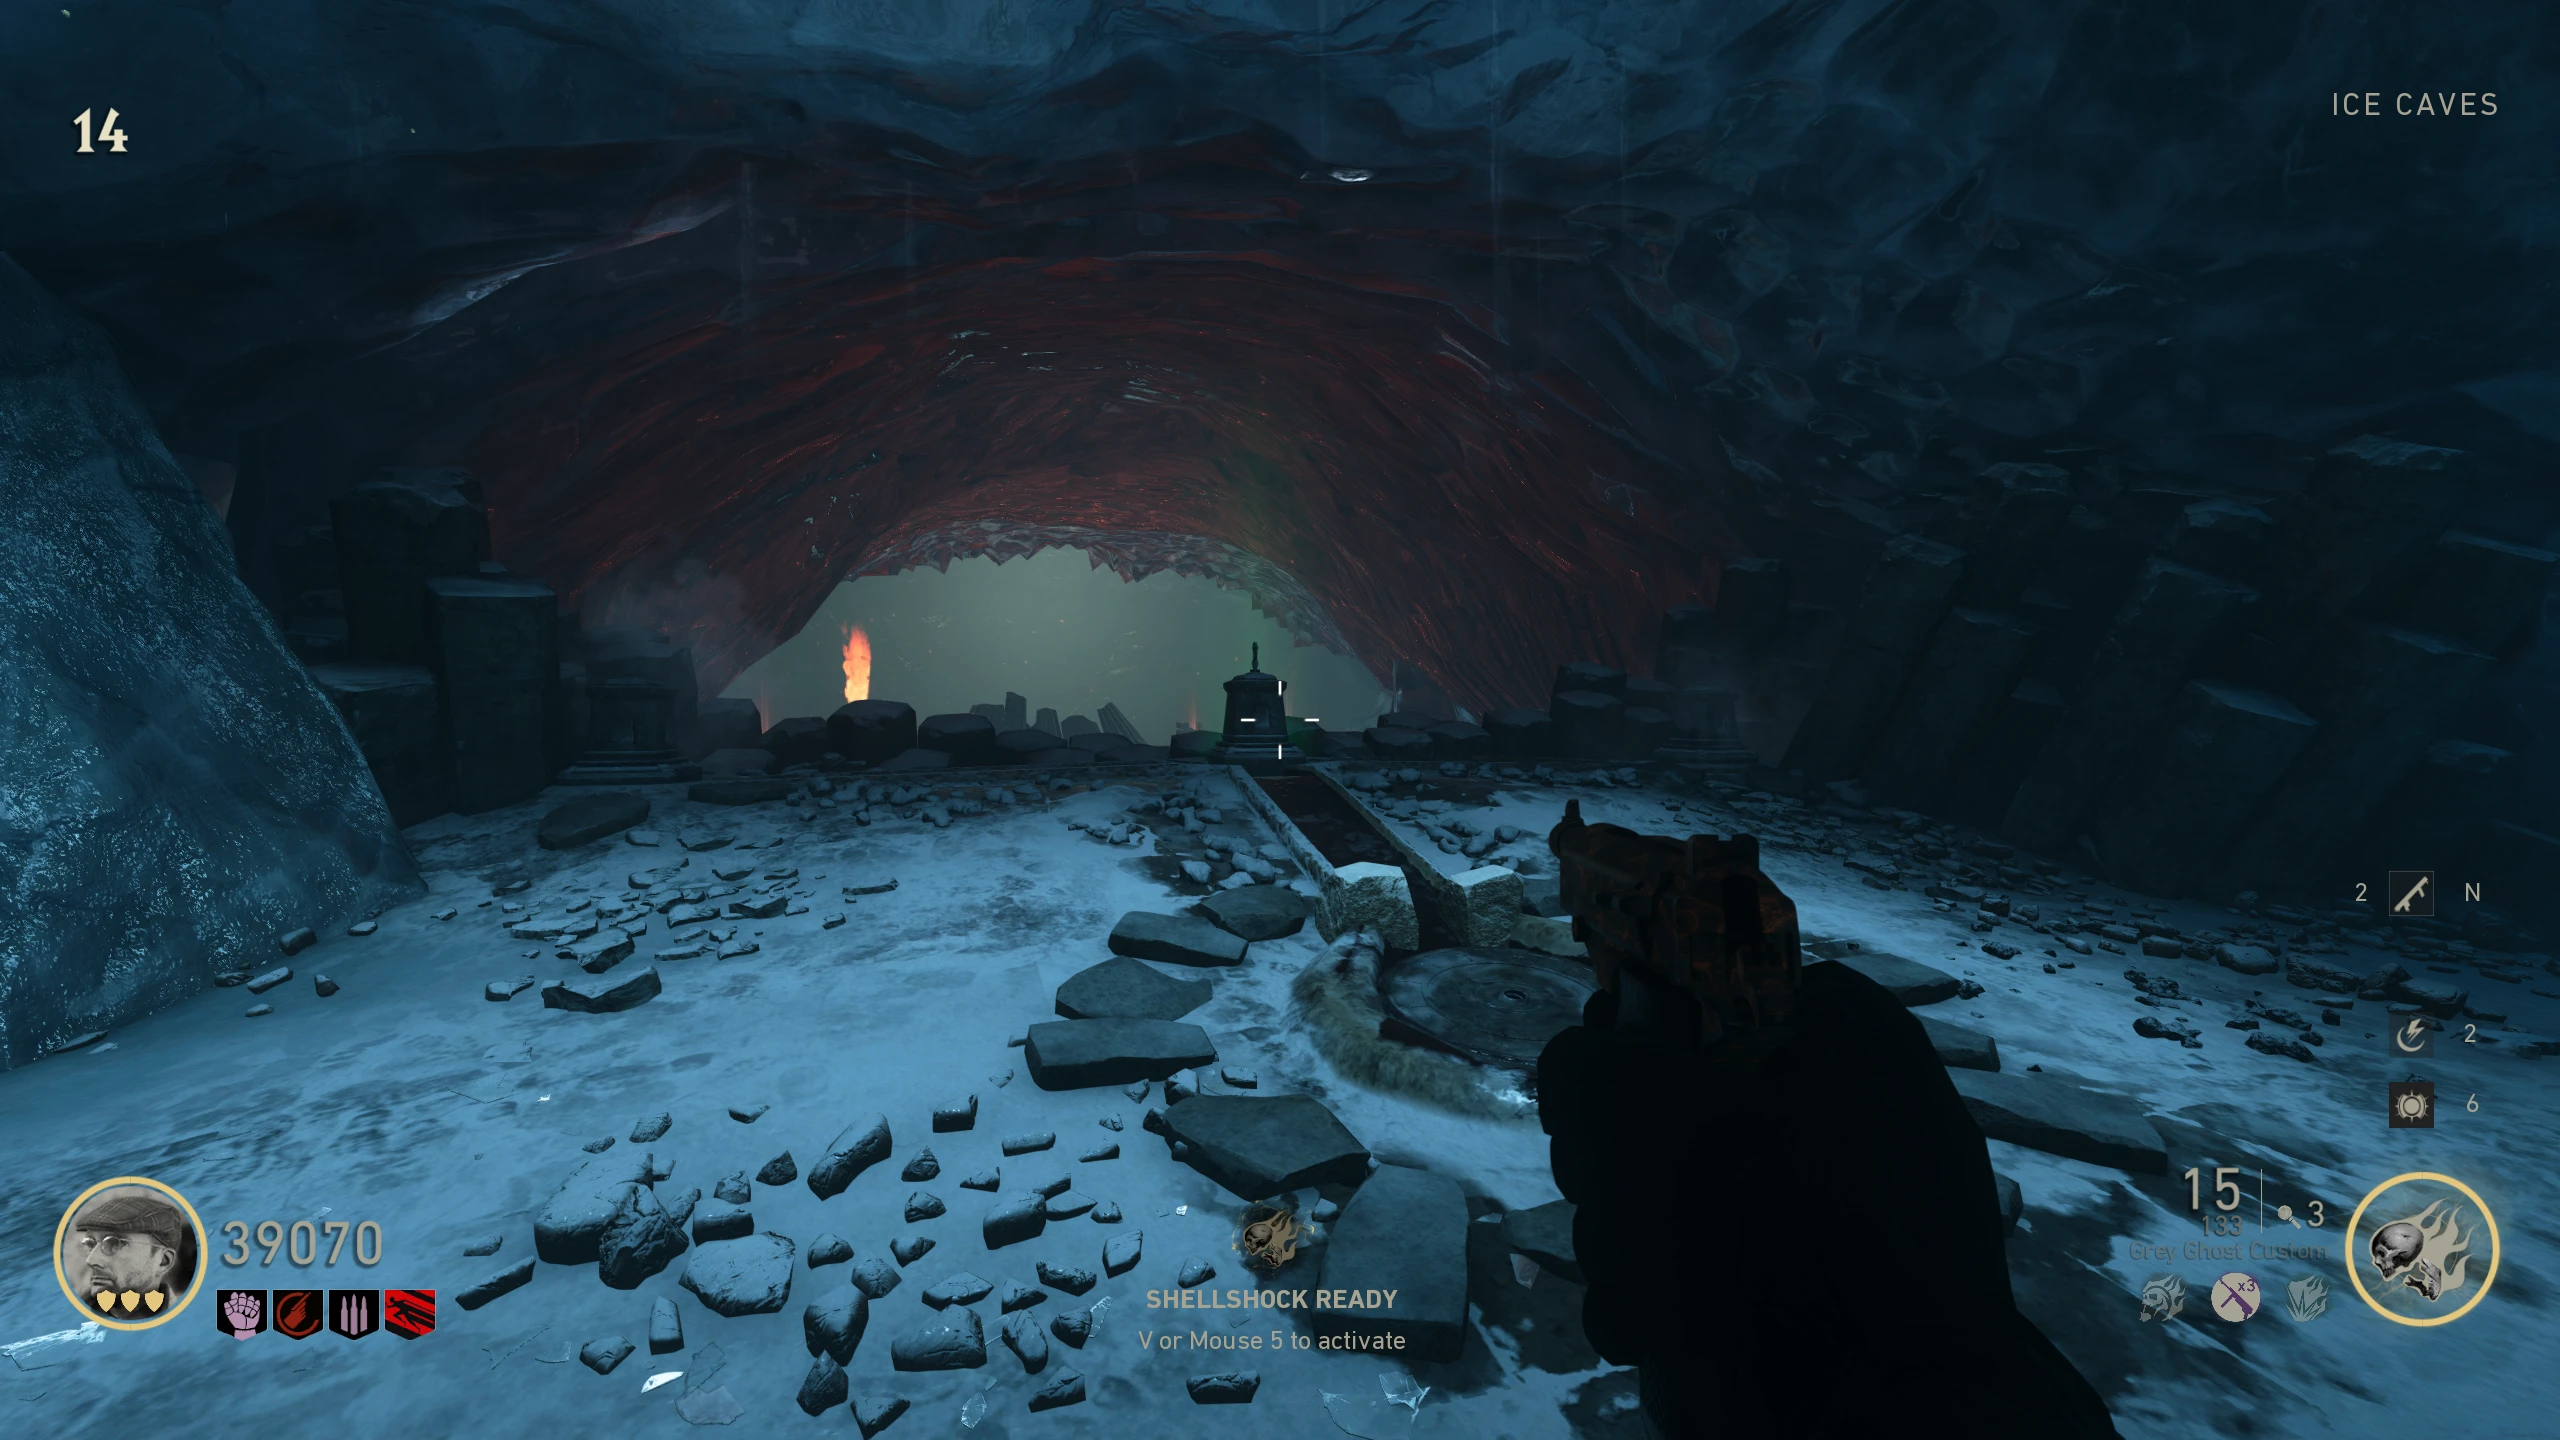
- Collect four stones: Archives right of Schnellblitz, Ice Caves right cliff, Morgue column behind Armour and Blood Altar ledge opposite Double Tap. Fit them across from the bowl to stop the bloodfalls and reveal four runes.
Archives stonemmmrkennedy; game imagery Activision and the relevant game studio · Source ↗ Ice Caves stonemmmrkennedy; game imagery Activision and the relevant game studio · Source ↗ Morgue stonemmmrkennedy; game imagery Activision and the relevant game studio · Source ↗ Blood Altar stonemmmrkennedy; game imagery Activision and the relevant game studio · Source ↗ Hammer stone socketsmmmrkennedy; game imagery Activision and the relevant game studio · Source ↗ - From beside Armour, read the bloodfall rune sequence left to right. The four ground runes resemble F, R, S and M. Kill a zombie at each matching ground rune in that order; repeats require repeated kills at the same rune. An extra or wrong-location kill needs a brief pause, then restart from the first rune. Lightning and the appearing Hammer confirm success.
Bloodfall rune observationsmmmrkennedy; game imagery Activision and the relevant game studio · Source ↗ Ground runes around Armourmmmrkennedy; game imagery Activision and the relevant game studio · Source ↗ Hammer appearing by the bowlmmmrkennedy; game imagery Activision and the relevant game studio · Source ↗ - Approach the Hammer to make it teleport. Four pillars rise at Overlook. On every pillar, record its four bolt directions top to bottom and use the base-pillar solver. Point all bolts toward the original Hammer bowl; a completed pillar lights up.
- Find the Hammer underground. Go prone before crawling close and interacting; approaching upright makes it teleport elsewhere. Once it lies horizontal and begins moving, you can stand. Guide it back to Overlook; correctly set pillars trap it and permit pickup.
Approach the Hammer while pronemmmrkennedy; game imagery Activision and the relevant game studio · Source ↗
Base Hammer pillar solver Open helper
Four separate pillars; A is top and D is bottom. Front points toward the bowl where the Hammer appeared. The upgrade apparatus has different rules.
Open illustrated reference
Fist of Tal’rek: electrical relay and apparatus
- Hammer-melee the glowing Crash Site rune right of transport, quickly carry its electricity to the Ice Caves wall rune, then repeat from Ice Caves to the Morgue rune above the Shield pool. A timeout returns charge to the previous rune for an immediate retry.
- Take Morgue charge to Phylactery and kill a zombie in the Morgue doorway with the electrified Hammer to charge the rune above that door. This uses a kill, not a melee swing at an unreachable overhead rune. Prepare a following enemy before taking the tight timed route.
Phylactery above Morgue doormmmrkennedy; game imagery Activision and the relevant game studio · Source ↗ - Bring a Corpse Eater or Wustling below the now-charged Phylactery rune so it becomes electrified. Kill it with Hammer to take the electricity, then melee the Blood Altar rune below the block apparatus.
Blood Altar beneath apparatusmmmrkennedy; game imagery Activision and the relevant game studio · Source ↗ - Solve each of the apparatus’s three stages by shooting its blocks until every lit face points forward. Use the separate three-stage instruction plate in the image viewer. Shooting a skull block, where available, resets only the current stage. The base four-block pillar solver does not model this device.
- With Hammer held, walk the invisible path in front of Overlook Armour toward the pyramid until you are lifted into the Stormraven trial. Clear chasing enemies first or use a distraction; they can follow onto the path. Complete the trial and claim Fist of Tal’rek, whose grenade action throws Hammer and retrieves it.
Invisible path from Overlook toward pyramidmmmrkennedy; game imagery Activision and the relevant game studio · Source ↗
Thulian Shield: three blood pools
- Fill the Ice Caves pool left of Type 100 and Morgue pool left of M1928 with about six kills in each. Take the Bloodraven Stone near Morgue’s body jars and fit it on Overlook’s pool, then charge that third pool with kills.
Ice Caves Shield poolmmmrkennedy; game imagery Activision and the relevant game studio · Source ↗ Morgue Shield poolmmmrkennedy; game imagery Activision and the relevant game studio · Source ↗ Morgue Bloodraven Stonemmmrkennedy; game imagery Activision and the relevant game studio · Source ↗ Overlook Shield poolmmmrkennedy; game imagery Activision and the relevant game studio · Source ↗ - The completed pools spawn a shield-carrying Wustling in Blood Altar’s large pool. Kill it and pick up the dropped Shield. Its block only protects while aiming with the Shield actively equipped; it does not passively protect your back.
Blood Altar large poolmmmrkennedy; game imagery Activision and the relevant game studio · Source ↗
Roar of Sang’Ket: activated pool order and radio
- Hold the Shield and find which small pool emits red smoke. Allow a Corpse Eater to consume about three to four zombies until it glows red, then kill it while standing inside that smoking pool. Record the resulting numbered pattern and pool as activation 1. Repeat at the next smoking pool, then the last. Pattern shapes and activation order come from your match.
Smoking pool visible while holding Shieldmmmrkennedy; game imagery Activision and the relevant game studio · Source ↗ Observed pool patternmmmrkennedy; game imagery Activision and the relevant game studio · Source ↗ Seven-pattern comparison sheetmmmrkennedy; game imagery Activision and the relevant game studio · Source ↗ - Make a Bomber explode at Crash Site’s metal door to reveal radio and speaker. Fit both by Blood Altar’s large pool. Cycle the radio to the first recorded pattern and get one kill in the pool; repeat for activation 2, then 3. Use activation order, rather than a geographical pool order.
- Correct entry makes the large pool flash through patterns rapidly. While holding Shield, deliberately allow a down in that blood. The scripted revive supplies full armour and does not consume Quick Revive; it takes you to the Bloodraven trial. Complete the trial for Roar of Sang’Ket.
Intentional quest down: perform only after the rapid-flashing completion cue.
Shield pool pattern memory Open helper
Record first, second and third activation, including which pool produced each of the seven pictured patterns.
Open illustrated reference
Broken Flail: books, gears and observed orb stops
- Collect the two books present in your match from the four pictured candidates. Fit both on the Archives pedestal near M1 Garand; it opens the adjacent Cypher Room.
Overlook: behind bowl right of Stamin-Upmmmrkennedy; game imagery Activision and the relevant game studio · Source ↗ Passage: ground right of transportmmmrkennedy; game imagery Activision and the relevant game studio · Source ↗ Morgue: above Phylactery dropmmmrkennedy; game imagery Activision and the relevant game studio · Source ↗ Blood Altar: left of pool from box sidemmmrkennedy; game imagery Activision and the relevant game studio · Source ↗ Archives book pedestalmmmrkennedy; game imagery Activision and the relevant game studio · Source ↗ Opened Cypher Roommmmrkennedy; game imagery Activision and the relevant game studio · Source ↗ - Collect the three present gears from seven candidates: Cypher Room, Passage nook, Overlook stairs, Phylactery doorway, Blood Altar box, Ice Caves Morgue door and Crash Site transport. Fit all three in Gearworks below Archives and charge with about fifteen kills to start the Orrery.
Cypher Room gearmmmrkennedy; game imagery Activision and the relevant game studio · Source ↗ Passage nook up Gearworks rampmmmrkennedy; game imagery Activision and the relevant game studio · Source ↗ Overlook left of Phylactery stairsmmmrkennedy; game imagery Activision and the relevant game studio · Source ↗ Phylactery right of Overlook doormmmrkennedy; game imagery Activision and the relevant game studio · Source ↗ Blood Altar right of Mystery Boxmmmrkennedy; game imagery Activision and the relevant game studio · Source ↗ Ice Caves right of Morgue doormmmrkennedy; game imagery Activision and the relevant game studio · Source ↗ Crash Site left of transportmmmrkennedy; game imagery Activision and the relevant game studio · Source ↗ Gearworks mechanismmmmrkennedy; game imagery Activision and the relevant game studio · Source ↗ - Observe the red, green and purple target positions on Cypher Room’s wall and compare its perspective with the landmark chart. Stop the matching Orrery orbs by interacting with their stationary controls. Stop red first because it moves fastest; input just after the preceding stop position as the orbit approaches your target. A distinct sound indicates a correct stop. If wrong, stop the remaining orbs to reset the apparatus.
Your match’s Cypher wall orb targetsmmmrkennedy; game imagery Activision and the relevant game studio · Source ↗ Wall-to-Orrery landmark perspectivemmmrkennedy; game imagery Activision and the relevant game studio · Source ↗ Orrery stop controlsmmmrkennedy; game imagery Activision and the relevant game studio · Source ↗ - All three correct stops produce Broken Flail in front of the Orrery. Its orb replaces the grenade action while Flail is held: throw, then press the grenade action again after landing to teleport to it.
Broken Flail rewardmmmrkennedy; game imagery Activision and the relevant game studio · Source ↗
Orrery target memory Open helper
Record targets as seen on the Cypher Room wall, using the top-of-reference Schnellblitz landmark for orientation. This records positions; it cannot time moving orbs.
Open illustrated reference
Talon of Lu’roth: three stones and constellations
- Throw the Flail orb into the room above the Orrery and teleport inside. Find its three Moonraven stones. Start with the right stone, nearest Combat Shotgun wallbuy, and get three Flail kills beside it until a rune appears overhead.
- Aim with Flail to reveal the spawned constellation. Search the six pictured sightlines. Connect its stars with your crosshair while still aiming; “Beheld the First Message” confirms completion. Old completed constellations remain visible, so look for the newly active message on later stages.
Crash Site above Thule entrancemmmrkennedy; game imagery Activision and the relevant game studio · Source ↗ Archives above purple Orrery orbmmmrkennedy; game imagery Activision and the relevant game studio · Source ↗ Overlook behind Shield poolmmmrkennedy; game imagery Activision and the relevant game studio · Source ↗ Phylactery window behind Schildblitzmmmrkennedy; game imagery Activision and the relevant game studio · Source ↗ Blood Altar toward pyramidmmmrkennedy; game imagery Activision and the relevant game studio · Source ↗ Blood Altar behind Mystery Boxmmmrkennedy; game imagery Activision and the relevant game studio · Source ↗ - Return and charge the middle stone, find and trace its constellation, then repeat with the remaining stone. After all three, throw the Flail orb into the Orrery’s glowing ball to enter the Moonraven trial. Complete it for Talon of Lu’roth; its tactical action can possess a zombie struck by the orb.
Orrery glowing orb trial entrymmmrkennedy; game imagery Activision and the relevant game studio · Source ↗
Boss Preparation
Place every upgraded weapon and enter the arena
- Check that Fang of An’heist, Fist of Tal’rek, Roar of Sang’Ket and Talon of Lu’roth upgrades are complete. In Ice Caves, place Scythe, Hammer and Flail in the standing cliff pedestals; Shield fits the stone circle on the ground in front. The three standing weapon pedestals are interchangeable.
- Refill weapons, armour, perks and tactical equipment. Every player enters the newly opened Ice Caves transport left of Morgue’s door. Uncarried Raven weapons appear on the arena floor for swapping. Entering commits the squad to the God King.
Point of no return: the new transport begins the boss fight.
God King transport entrymmmrkennedy; game imagery Activision and the relevant game studio · Source ↗
Boss Fight
God King: blood plates, weapon counters and final shot
- Shoot the God King while avoiding electrical bolts and delayed bombs. When he moves to centre and “begins to consume blood,” shoot all three glowing pressure plates: centre below him and one on either side of the transport. Each must stop glowing. This breaks the drain and staggers him; damage the staggered boss, then take the spawned ammunition/ability drops.
God King pressure platemmmrkennedy; game imagery Activision and the relevant game studio · Source ↗ - From phase 2, he can fly high and charge a wipe. Hide behind an ice pillar or actively aim/block with Shield. Continue the damage-and-three-plate loop after surviving it.
- From phase 3, purple shields make some zombies invulnerable. Throw the upgraded Hammer into their shields to break them. Keep a route clear while continuing the boss’s blood-drain plate loop.
- In phase 4 he moves to the throne and pushes a lethal fire wall across the arena. The Flail carrier teleports beyond that wall to the boss and damages him to stun and stop it. Touching the wall immediately downs a player. Co-op adds a later phase combining wipe, shields and fire.
- After the final kneeling sequence and cutscene, the match resumes with God King on his throne. Immediately shoot until he dies; watching the cutscene alone is not completion and delaying permits a final team wipe. After the kill, the transport can return you to the map and armour regenerates for the rest of the match.
The ending cutscene is followed by a required lethal attack.
Side Quests
Optional: Raven’s Claw pistol and charged Corpse Eaters
- Interact with Overlook’s Golden Raven beside its blood pool. Find the four squawking ravens around the map and shoot each with a pistol; a non-pistol shot moves the bird to another location. A valid shot summons a fully charged Corpse Eater. Kill it to add a Golden Raven on the ramp down from Blood Altar Double Tap.
- Search Crash Site plane/transport, Archives stone ledges, Overlook/Stamin-Up and Phylactery beams/windows, plus Blood Altar pillars/scaffolds. After all four, claim Raven’s Claw beside the gathered statues. Its upgraded headshot kills refund a bullet and spawn a raven attack. These charged Corpse Eaters are also useful for Shield and Scythe interactions.
Optional: choose Classic PPSh or Vintage MG42
- Choose one reward for this match: Classic uses the bottom Morgue’s right open corpse container, Vintage the left. Drop Jolts in front of the chosen container to begin its shooting game. The two routes are mutually exclusive.
- Classic: shoot only red-eyed heads and ignore blue. Vintage: shoot only blue-eyed heads and ignore red. Hit before the heads go dark. A wrong-colour shot fails; pay again to retry. Pay between completed stages, finish all three stages and interact with the original container to claim the weapon. The claimed variant also enters the box pool.
Optional: Dark Room all-perk route
- With Broken Flail, charge the Crash Site entrance plate, Blood Altar Double Tap plate and Overlook plate behind the Shield pool until red. Reach the last one by Flail teleport. A new transport opens between Overlook and Phylactery.
- Save at least 10,000 Jolts before activating that transport; the referenced entry takes about 6,916. In the dark room collect four metal nails, three on short pedestals and one in a skeleton skull. Fit them at the tall “Blood is Power” pedestal and interact to receive all six perks and leave.
Optional: transport possession reward
- With upgraded Flail, disable the Passage PaP-routing stone. Bring a zombie or Pest into a transport, activate it and use the Flail tactical action to turn it friendly while the doors close. The possession view ends when a Corpse Eater kills it, then awards Jolts, a perk and challenge credit. This is available once per match.
Sources and review
Source-reviewed on 8 October 2026, using the references below and the research handoff. These instructions and puzzle calculations have software checks; they have not been verified in a complete in-game playthrough. Record symbols, sequences and completion cues from your match. Screenshot and community-chart creators are credited with each illustration.
Select any reference image to enlarge it. Screenshot and symbol sources are credited in the linked walkthroughs; this guide uses local copies for reliable access.