Setup
Contact the Russians and build Wunderbuss
- Read the two-letter/number code above Main Street’s radio. In Church, find the pinned map region and use the adjacent frequency chart—or the tool—to obtain its letter band and model-number frequency. Enter band on the left dial and number frequency on the right. Green light and “Contacted the Russians” confirm success.
Code on top of Main Street radiommmrkennedy; game imagery Activision and the relevant game studio · Source ↗ Pinned Church region mapmmmrkennedy; game imagery Activision and the relevant game studio · Source ↗ Church frequency chartmmmrkennedy; game imagery Activision and the relevant game studio · Source ↗ - Shoot the lock on the Plaza box left of the Museum door, then shoot the opened flare to launch it. When the Zeppelin fires Geistbolt at an undamaged zombie, it becomes a fast Sizzler. Melee-kill one to obtain Geistbolt.
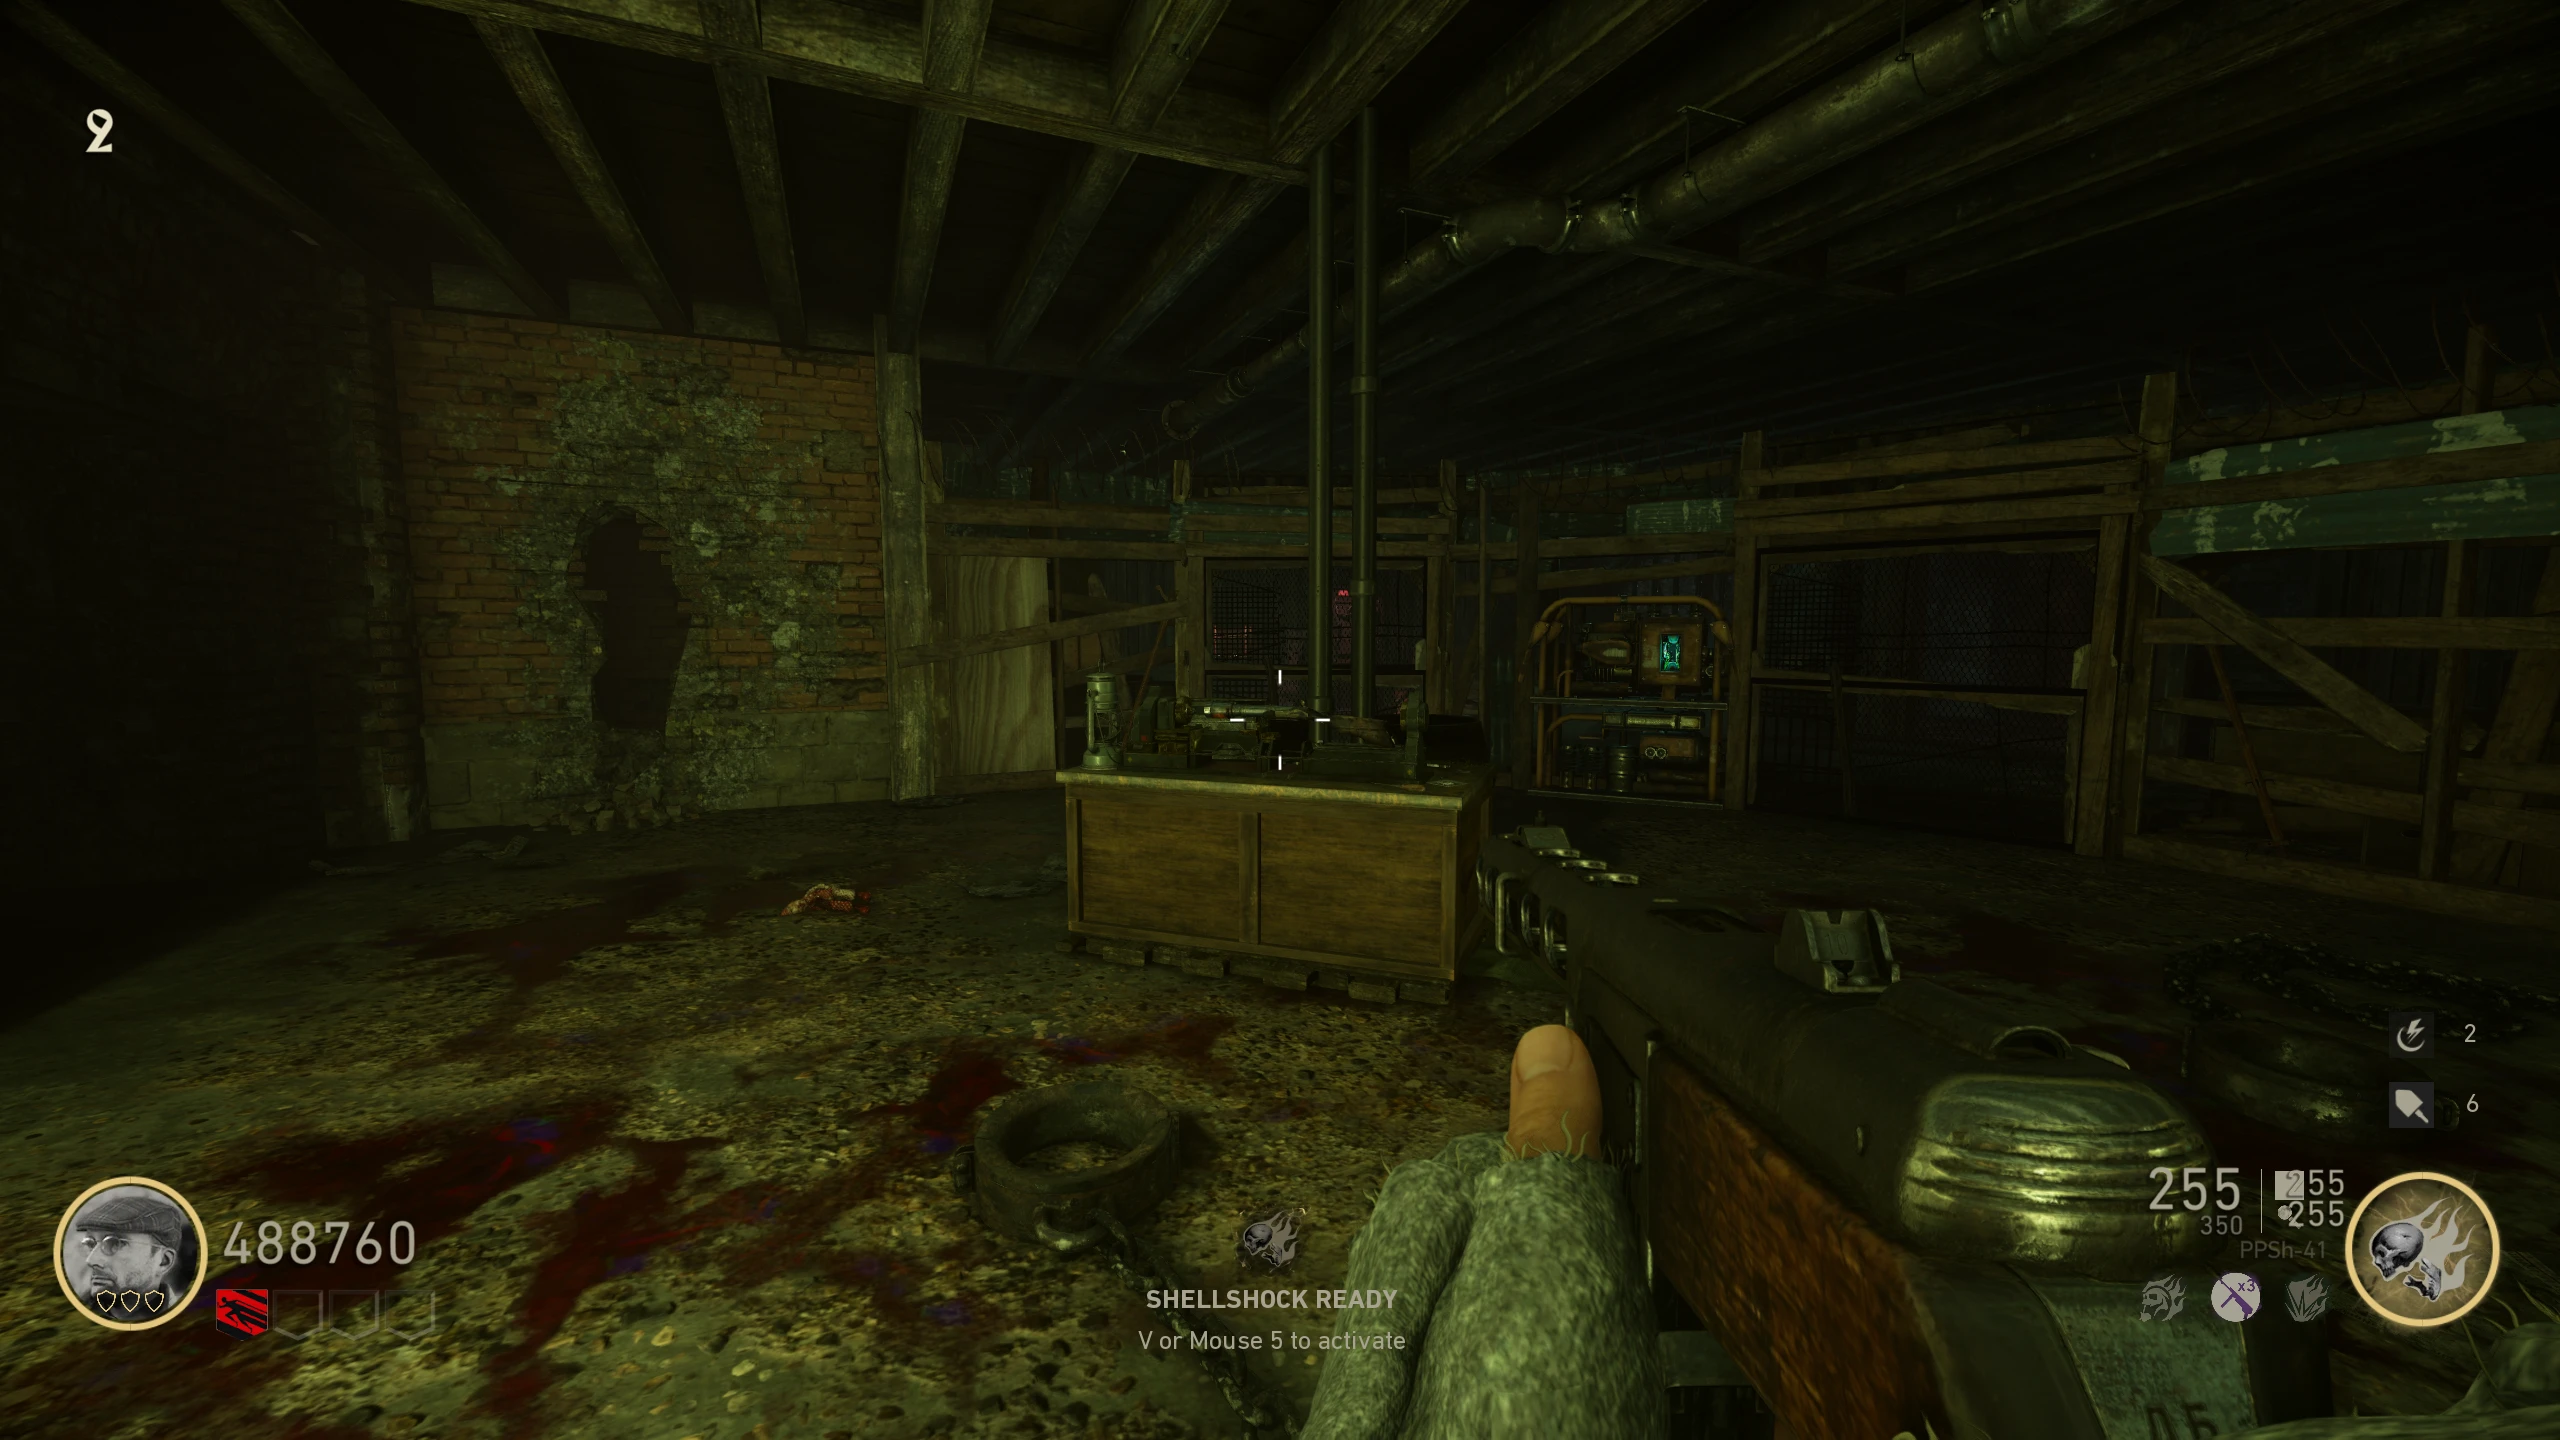
- Find the battery on a broken wallbuy box: Museum left of Armour, Museum right of Faustblitz or Cabaret right of M1928. Fit it into the fenced Apartments-basement generator. Enter, then remove the battery inside; the gate closes. Fit the battery and Geistbolt on the Wunderbuss table and claim the weapon.
Museum Armour battery candidatemmmrkennedy; game imagery Activision and the relevant game studio · Source ↗ Museum Faustblitz battery candidatemmmrkennedy; game imagery Activision and the relevant game studio · Source ↗ Cabaret battery candidatemmmrkennedy; game imagery Activision and the relevant game studio · Source ↗ Apartments gate generatormmmrkennedy; game imagery Activision and the relevant game studio · Source ↗ Wunderbuss workbenchmmmrkennedy; game imagery Activision and the relevant game studio · Source ↗ - Wunderbuss-shoot the gate generator to reopen it. To replenish the weapon, aim its energy siphon into a zombie and allow it to drain energy; ordinary shooting alone does not refill its reserve.
Church radio-frequency lookup Open helper
Choose the pinned region and the code printed on the Main Street radio.
Open illustrated reference
Expose and charge both elevator panels
- Use throwable explosives to blow open two metal panels: left of the Destroyed Building Waffe 28, and behind Underbelly bars right of the Destroyed Building door. S-Mines and Throwing Knife cannot expose these panels.
- Fire approximately ten Wunderbuss ammunition into each exposed panel until charged. The Destroyed Building elevator falls, exposing Ubersprengen.
Pack-a-Punch behind lowered elevatormmmrkennedy; game imagery Activision and the relevant game studio · Source ↗
Required Weapons
Smuggler’s Bat / Nachtmahr
- In the Wunderbuss room, shoot the cash register with Wunderbuss to reveal its frequency picture under the drawer. Read the ammunition type on the table separately. Enter the drawer’s numbers at the Main Street radio to contact the Smuggler.
Wunderbuss-room cash registermmmrkennedy; game imagery Activision and the relevant game studio · Source ↗ Drawer frequency picturemmmrkennedy; game imagery Activision and the relevant game studio · Source ↗ Ammo types on the tablemmmrkennedy; game imagery Activision and the relevant game studio · Source ↗ - Shoot open the Plaza sewer panel near Cabaret’s rear door and give the weapon class matching the table ammunition: shotgun (Sawed-Off or Combat Shotgun), pistol/SMG (P08, 9mm SAP or MP-40), or rifle (FG42). “Armed the Smuggler” confirms acceptance. An upgraded donation changes the story outcome, not the required reward.
Plaza sewer weapon donationmmmrkennedy; game imagery Activision and the relevant game studio · Source ↗ - Wait two complete rounds, then open the Main Street sewer in front of Cabaret; if it remains closed, advance another round. Drop 1,500 Jolts until “Paid the Smuggler” appears and it stops taking money.
Main Street sewer paymentmmmrkennedy; game imagery Activision and the relevant game studio · Source ↗ - Wait roughly 45 seconds, then melee the Wunderbuss room’s wooden door three times. Once it breaks, enter and pick up Smuggler’s Bat from the floor. Keep it for the Church weapon pedestal.
Dancer’s Dagger / Perchta
- Take the large woman’s painting in Apartments and fit it in front of Cabaret’s rear projector. Shoot down the reel above the projector, collect it and insert it. Charge the projector with Wunderbuss to reveal a map with one green active district.
Apartments woman paintingmmmrkennedy; game imagery Activision and the relevant game studio · Source ↗ Cabaret projectormmmrkennedy; game imagery Activision and the relevant game studio · Source ↗ Reel above the projectormmmrkennedy; game imagery Activision and the relevant game studio · Source ↗ Active-clown district on projected mapmmmrkennedy; game imagery Activision and the relevant game studio · Source ↗ - Find the active district’s clown using the location cards. Count the kills needed until its energy stops; each is 1–9. Record and confirm that count, then return to the map for the next clown. Complete four activations in order. If a number is lost, the clowns cycle from the beginning after the fourth so you can recount.
Church: pod door near M1941mmmrkennedy; game imagery Activision and the relevant game studio · Source ↗ Plaza: hole by BARmmmrkennedy; game imagery Activision and the relevant game studio · Source ↗ Plaza: Kugelblitz machinemmmrkennedy; game imagery Activision and the relevant game studio · Source ↗ Cabaret: backstage floormmmrkennedy; game imagery Activision and the relevant game studio · Source ↗ Museum: chandelier left of Ice Pickmmmrkennedy; game imagery Activision and the relevant game studio · Source ↗ Main Street: hole near Stamin-Upmmmrkennedy; game imagery Activision and the relevant game studio · Source ↗ Apartments: elevator by Bedroommmmrkennedy; game imagery Activision and the relevant game studio · Source ↗ Apartments basement: Wunderbuss floormmmrkennedy; game imagery Activision and the relevant game studio · Source ↗ Underbelly: right of Sawed-Offmmmrkennedy; game imagery Activision and the relevant game studio · Source ↗ Destroyed Building: Armour stand floormmmrkennedy; game imagery Activision and the relevant game studio · Source ↗ - At the Apartments safe, reset with three full clockwise rotations, counting a rotation each time you pass the first recorded number. Stop clockwise on number 1, counterclockwise on number 2, clockwise on number 3 and counterclockwise on number 4. Hold interact to exit the dial and claim the Dagger after it opens.
Clown counts → safe directions Open helper
Count each active clown until it stops accepting kills, then confirm. Store activation order even if a location repeats.
Open illustrated reference
Nazi Axe / Holda
- Search etched radio frequencies at Apartments elevator/ceiling beside Main Street door, Cabaret backstage cabinet/box behind purple dress, or Museum M1 Garand granite/upper stair pillar. Tune those numbers at Main Street radio and record its two Morse digits. Short beep is dot; long is dash; pauses separate digits.
Apartments elevator frequenciesmmmrkennedy; game imagery Activision and the relevant game studio · Source ↗ Apartments ceiling frequenciesmmmrkennedy; game imagery Activision and the relevant game studio · Source ↗ Cabaret backstage frequenciesmmmrkennedy; game imagery Activision and the relevant game studio · Source ↗ Cabaret stage frequenciesmmmrkennedy; game imagery Activision and the relevant game studio · Source ↗ Museum wallbuy frequenciesmmmrkennedy; game imagery Activision and the relevant game studio · Source ↗ Museum pillar frequenciesmmmrkennedy; game imagery Activision and the relevant game studio · Source ↗ - Take Cabaret’s magnifying glass beside the hat on the couch left of M1928. Interact with Church’s map and move the glass to the decoded clue’s position, using the numbered reference. Exit the map at the chosen spot; correct placement opens the cabinet with the bowl. Fit the bowl on the Museum upper-floor scale left of Combat Shotgun.
Cabaret magnifying glassmmmrkennedy; game imagery Activision and the relevant game studio · Source ↗ Axe map clue positionsmmmrkennedy; game imagery Activision and the relevant game studio · Source ↗ Bowl cabinetmmmrkennedy; game imagery Activision and the relevant game studio · Source ↗ Museum scalemmmrkennedy; game imagery Activision and the relevant game studio · Source ↗ - Melee-kill a Sizzler beside an Armour stand so its head sticks on the stand. Purchase Armour there to collect it. Fit the head into the bowl and kill enemies close to the rabbit model until the drawer opens. Collect the Axe.
Sizzler head attached to Armourmmmrkennedy; game imagery Activision and the relevant game studio · Source ↗ Rabbit model charging areammmrkennedy; game imagery Activision and the relevant game studio · Source ↗ Nazi Axe rewardmmmrkennedy; game imagery Activision and the relevant game studio · Source ↗
Axe Morse decoder & map Open helper
Short beep = dot, long beep = dash. Separate the two five-signal digits with a space or /. Keep the etched tuning frequencies separate.
Open illustrated reference
Main Quest
Place weapons and charge Barbarossa’s Refuge
- Fit Bat, Dagger and Axe into the three stone slots right of the large red door beside Church. Charge them in the required enemy stages: twenty ordinary zombies, then ten Sizzlers, then ten Pests. The red door opens to Barbarossa’s Refuge after completion.
Church melee weapon slotsmmmrkennedy; game imagery Activision and the relevant game studio · Source ↗ - Prepare before charging the internal ceiling anchor with 150 Wunderbuss ammunition until yellow. Players inside will be locked in until the statue and Blade sequence is complete. Replenish Wunderbuss by siphoning enemies rather than spending its reserve blindly.
Temporary lock-in: finish statues, ravens and Blade to reopen the exit.
Internal Refuge anchormmmrkennedy; game imagery Activision and the relevant game studio · Source ↗
Four statue walls and the Blade
- The three-statue wall left of the stairs is wall 1; count walls counterclockwise. Record each statue’s current facing in the solver: down means facing you, up means away. Shoot the returned minimum route for that wall. Shooting affects neighbours at the affected statue’s own rate, so changing walls requires fresh input.
First wall left of stairs; three statuesmmmrkennedy; game imagery Activision and the relevant game studio · Source ↗ - Collect the raven that appears near the centre of each completed wall. After all four, place each at its matching mount on the base of Barbarossa’s centre statue, following the original short placement demonstration. Correct placement lights the birds green and breaks the dummy blade. A wrong arrangement lights red and scatters the birds into the nearby grass; retrieve them and retry their positions.
Original four-raven placement clip ↗ · Backup raven placement demonstration ↗
- Pick up the Blade and fit it in the stone slot at the top of the stairs. The exit opens. Refill the squad before committing to the Zeppelin.
Blade slot beside the exitmmmrkennedy; game imagery Activision and the relevant game studio · Source ↗
Raven statue wall solver Open helper
Walls are counterclockwise from the three-statue wall left of the stairs. Down means facing you. Record observations before shooting.
Open illustrated reference
Wall 1 has A–C only; D is ignored.
Lower the Zeppelin pod
- Charge the three external anchors: Destroyed Building ceiling across from PaP, Museum ceiling and Plaza near Double Tap. Wunderbuss anchors need 150 ammunition each and turn yellow. Plaza permits nearby kills instead, but its first charge method locks that choice; do not mix kill and weapon charging there.
- After all three anchors are yellow, the Drop Pod hangs over Main Street. Upgrade a gun whose arena wallbuy can refill it—MP-40 or FG42 are available—and stock armour, perks and full Wunderbuss reserve. Dagger heavy attacks restore armour when already at full health.
Lowered Drop Podmmmrkennedy; game imagery Activision and the relevant game studio · Source ↗
Boss Preparation
Board together and charge the cable
- Every player enters the pod with full Wunderbuss ammunition. Shoot the overhead cable together to ascend. You remain aboard until the boss is finished; check equipment before starting.
Point of no return: the pod takes the squad to the Zeppelin.
Cable above the Drop Podmmmrkennedy; game imagery Activision and the relevant game studio · Source ↗
Route power and open all five gates
- Use Zeppelin terminals to move the power ball through the connected floor nodes. A green wire is usable; if a needed path is absent from this terminal, inspect another nearby terminal. This route comes from your live terminal state, not a universal guessed sequence.
- Open all five gates before delivering the ball to Straub. At the upstairs fork, use the upper branch to open its gates first, then return for the lower intended approach. Completing the delivery ends the wave and brings Stadtjäger into the arena.
Boss Fight
Use the three different damage windows
- Phase 1: aggravate Stadtjäger until its chest engine glows orange during its charge. Shoot that glowing engine. The usual hitmarker indicators may be absent; the first self-injected Geistbolt marks the next phase.
- Phase 2: damage it while it throws Geistbolts to create Sizzlers, rather than during ordinary charging. Keep the spawned Sizzlers from cutting off your retreat. A second self-injection ends this stage.
- Phase 3: when it stands in its gas cloud, shoot the cloud to electrify it—Wunderbuss is convenient, other weapons work. Keep the cloud charged during that window. After it dies, return to the original Drop Pod to descend and trigger the ending.
Side Quests
Optional: Cabaret Hangman rewards
- On Main Street’s Cabaret sign, shoot arrows to cycle the letter and the middle selector dot to submit it. Correct guesses reveal letters; wrong ones add a body part to the noose. A full body resets that game. Use the helper’s positional pattern and wrong letters to filter seven reviewed reward words; it keeps all candidates until the clues identify one.
Cabaret Hangman candidates Open helper
Filter all seven reviewed reward words; unknown positions stay _ and confirmed wrong letters eliminate words.
Optional: five hats on the stage cheetah
- Fit hats on Cabaret’s cheetah in this order: Fedora → Pilot Cap → Garrison Cap → Officer Hat → Red Hat. Fedora candidates are Church’s broken spawn wall or Cabaret statue feet; Pilot is Underbelly briefcase/Church bench; Garrison is Museum model head/Cabaret guitar; Officer is Museum Faustblitz table/Apartment flowers; Red is Museum skull/Main Street tram. Only one hat can be carried at a time. The completed order awards Jolts and power-ups.
Optional: The Classic and Thule’s Errand
- Drop Jolts at the left backstage mirror and interact when its travelling light returns to bottom-middle. Repeat at the centre and right mirrors; later lights move faster. A miss can be retried with another payment. Completing all three adds Classic PPSh to the box pool. Separately, tuning Main Street radio to 39 / 39 awards Thule’s Errand camo.
Sources and review
Source-reviewed on 8 October 2026, using the references below and the research handoff. These instructions and puzzle calculations have software checks; they have not been verified in a complete in-game playthrough. Record symbols, sequences and completion cues from your match. Screenshot and community-chart creators are credited with each illustration.
Select any reference image to enlarge it. Screenshot and symbol sources are credited in the linked walkthroughs; this guide uses local copies for reliable access.