Key Features
Prepare the resort and scheduled encounters
- Collect an Exo Suit from Galleria and open routes to Lounge, Reception and Tidal Generator. Prepare upgrades and decontamination access. Exo Slam is specifically required for the later number panel.
Galleria Exo Suit stationmmmrkennedy; game imagery Activision and the relevant game studio · Source ↗ - Oz interrupts the match at round 5 for a preview, round 12 (or 13 after a dog-round clash) for the window fight, and round 20 for Mutated Oz. Follow the encounter instructions below, then return to your current Reunion step after teleporting back. These fights do not replace the quest challenges.
Main Quest
Open Tidal Generator’s secret room
- Shoot the three valves along Tidal Generator’s spiral staircase until each shows a BLUE lamp: left of its power generator, above the right yellow door, and right of the AMR9 wallbuy. The room halfway up the staircase opens.
Valve left of the power generatormmmrkennedy; game imagery Activision and the relevant game studio · Source ↗ Valve above the right yellow doormmmrkennedy; game imagery Activision and the relevant game studio · Source ↗ Valve beside the AMR9 wallbuymmmrkennedy; game imagery Activision and the relevant game studio · Source ↗ - Enter the exposed room and use its terminal. Use it again when Angie asks about overriding encryption; Access Denied acknowledges the start of the power-reroute sequence.
Reunion terminal in the opened staircase roommmmrkennedy; game imagery Activision and the relevant game studio · Source ↗
Depressurize and reroute underwater power
- Hold interact at Lounge’s underwater door to depressurize it. This takes a sustained hold, but its progress persists if you leave to retrieve equipment. Obtain a Goliath suit from a supply drop; it is a random reward rather than a guaranteed round spawn.
Lounge underwater door to depressurizemmmrkennedy; game imagery Activision and the relevant game studio · Source ↗ - Wearing Goliath, interact with the prepared door and walk through the underwater passage. Melee the blocking floating zombie and use the red switch at the end until it turns blue. Return by the same route and wait for Oz’s next-round challenge announcement.
Destroy five empty challenge drones
- At the next round’s start, locate and destroy the empty treasure drone, then repeat at each new spawn until five are destroyed. An activated drone heads for an exit; if it escapes, or the round ends before all five are destroyed, the challenge retries next round. Filled drones are incidental. Look for green Challenge Success text before continuing.
Charge Galleria’s capacitor
- Bring electrical enemies to the Galleria capacitor and allow their electrical hits to charge it. Other electric variants also work. Remove ordinary attackers and leave an escape route: losing Exo movement in this space can trap you. Continue until its display reads 100% and Angie confirms power diversion; use the display instead of counting guessed hits.
Complete the Contact Grenade round
- The following round grants unlimited Contact Grenades. Finish the zombies with that granted equipment; ordinary guns, tacticals and offensive scorestreaks are unavailable for this challenge. Wait for its completion before starting the platform puzzle.
Finish the platforms and movement round
- At spawn, cross each blue-platform pattern using Exo movement and reach its final platform. It bounces you back and changes the pattern; complete nine. A platform disappears shortly after being stood on, then returns, so pause safely when an upcoming platform is absent.
Blue jumping-platform pattern at spawnmmmrkennedy; game imagery Activision and the relevant game studio · Source ↗ - Next round, movement drains points. Preserve a points reserve and kill for income while limiting unnecessary movement; reaching zero prevents movement. Finish the challenge round to advance.
Reception Simon Says
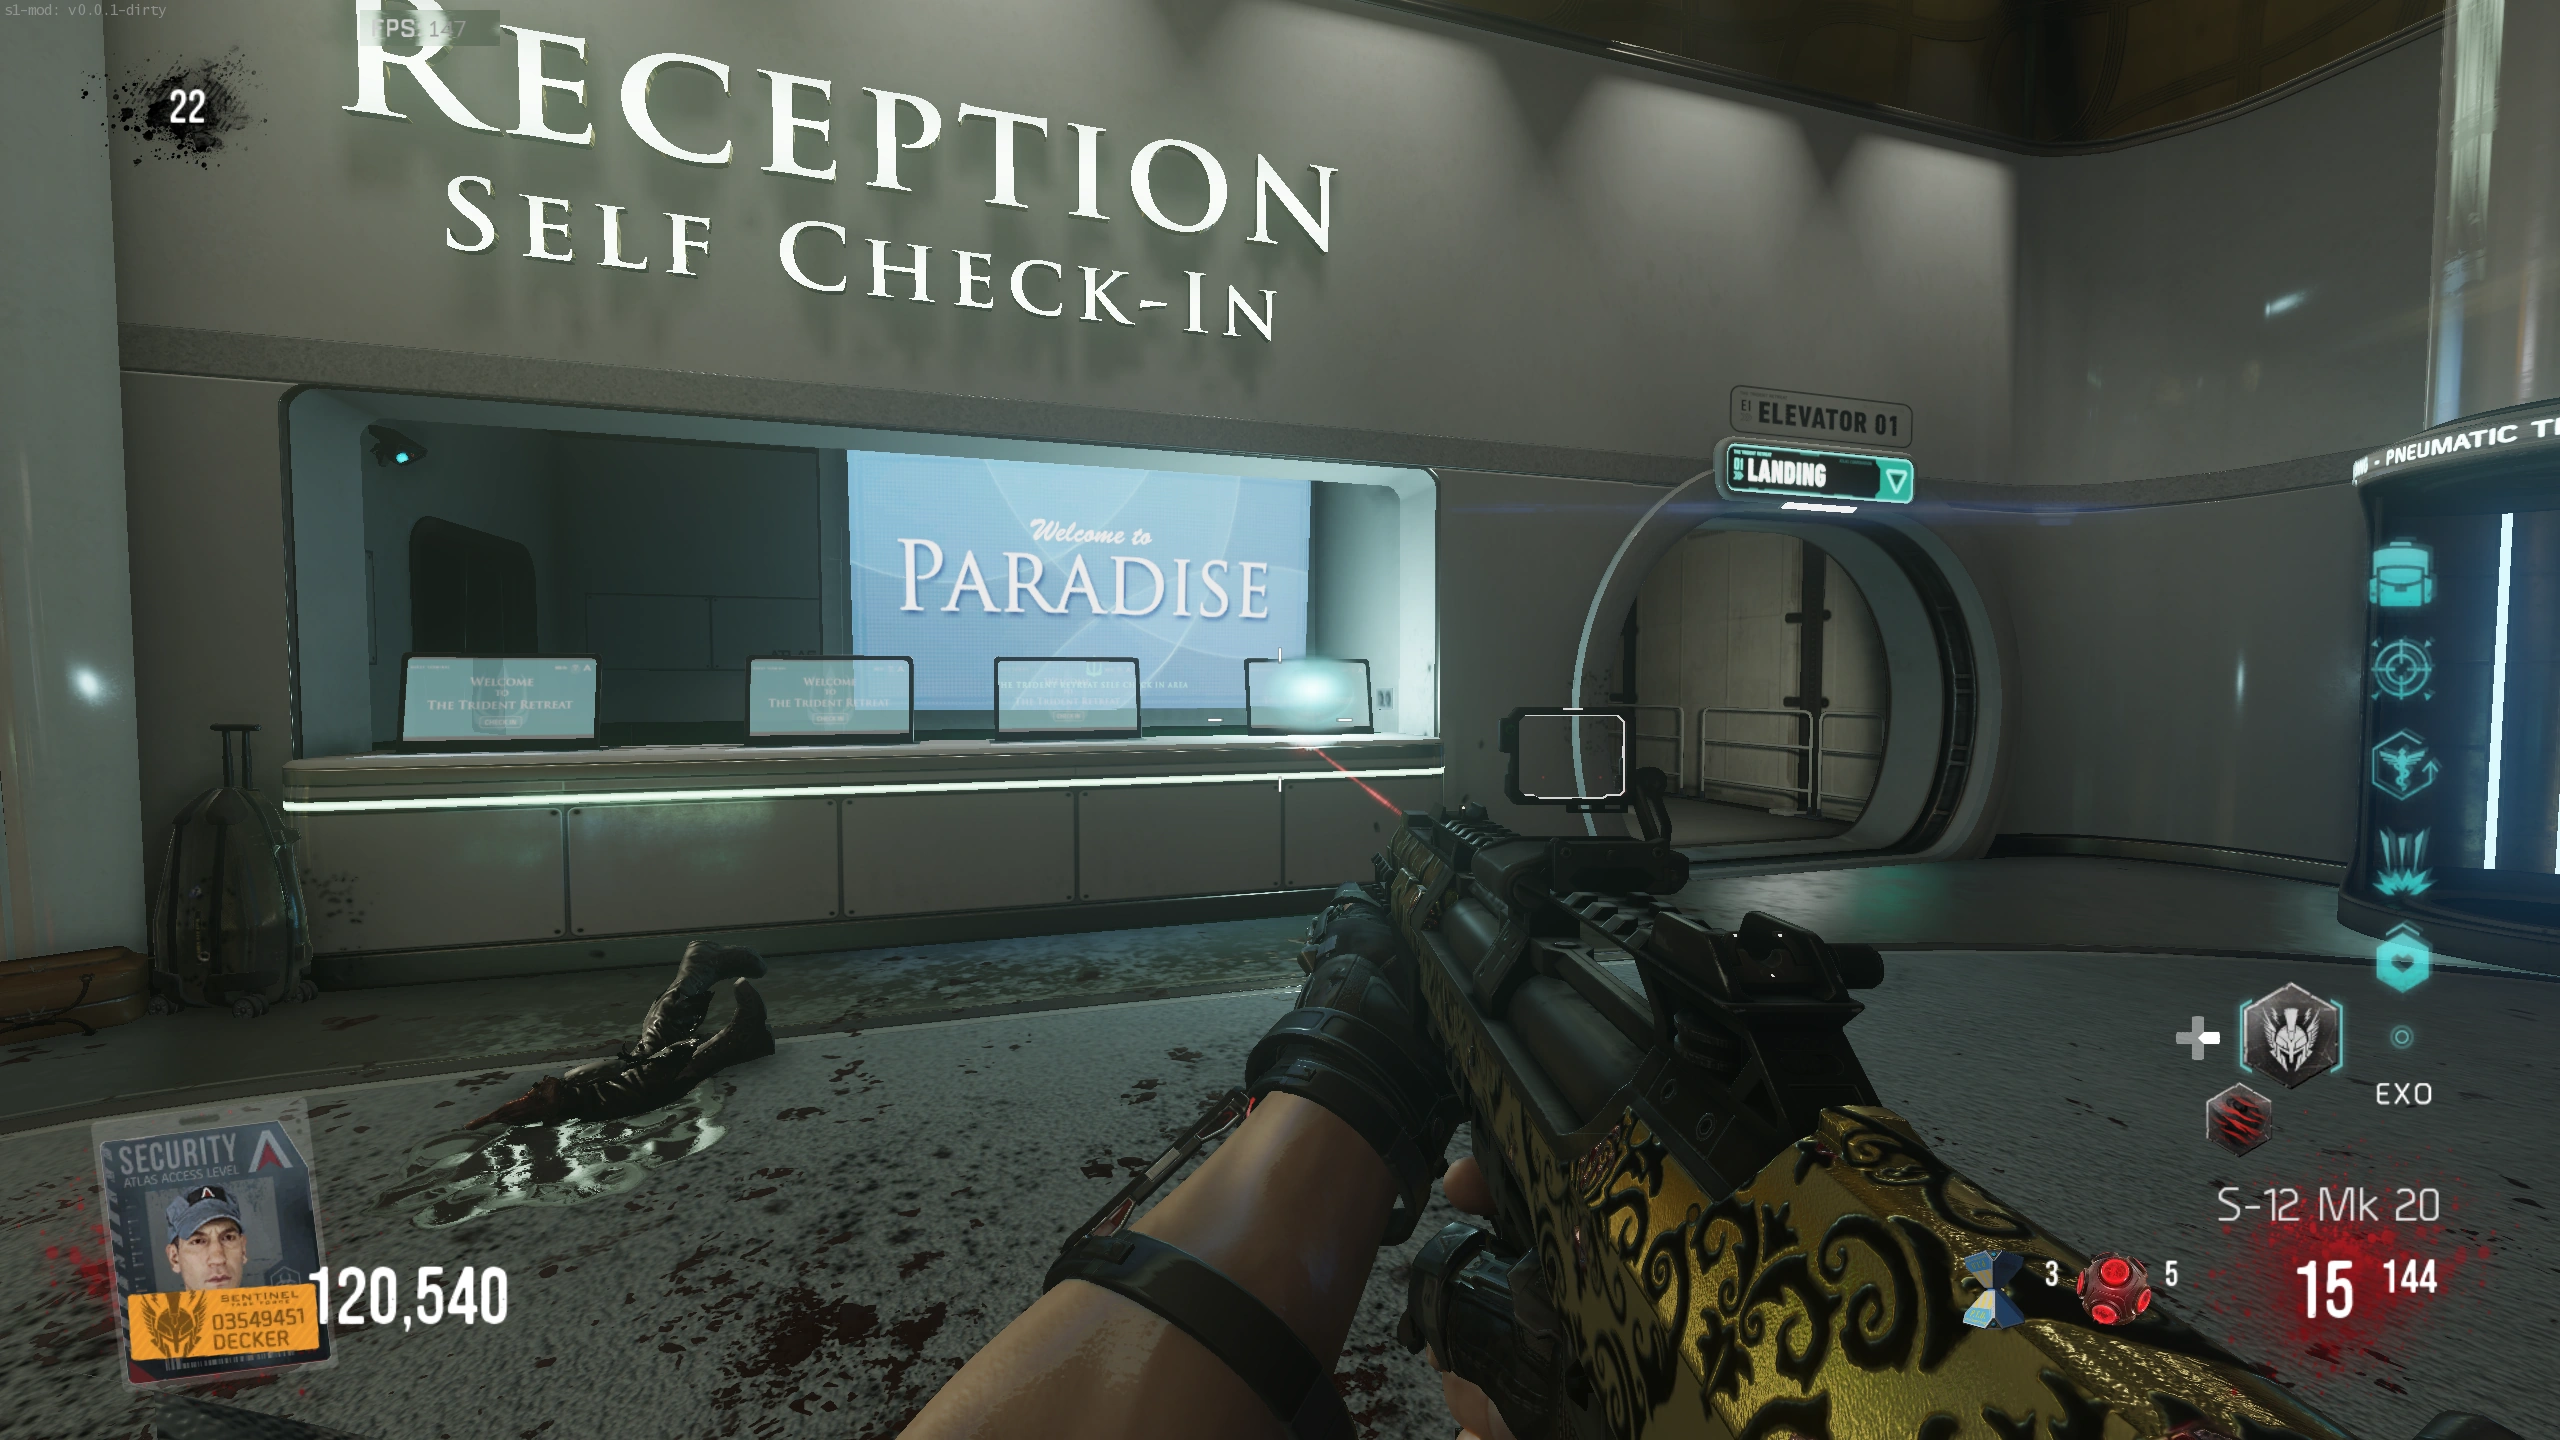
- At Reception, interact with the glowing right-hand monitor. First record which colour occupies each physical screen from LEFT to RIGHT; the arrangement varies. Record the flashing colours in order, including repeats, and interact with their corresponding screens. A cheerful tone and power-diversion line confirm success.
Reception’s four Simon monitorsmmmrkennedy; game imagery Activision and the relevant game studio · Source ↗ - The next round enables friendly fire. Finish it without any friendly-fire casualty. Solo games supply AI allies who can shoot you; keep them out of your firing line and survive the round. A casualty fails the challenge.
Reception Simon Says Open helper
Arrange the four monitors from left to right as seen at Reception. Record each flash, including repeats; replay the resulting screen positions. Clear flashes between sequences while keeping the monitor arrangement.
Open illustrated reference
Match Tidal Generator’s number rows
- Read the target TOP row and current BOTTOM row near the upstairs terminal. Match all four digits using the actions below. Digits wrap through 0–9; the first counts zombie hits, so a single multi-target slam can advance it several times.
- Digit 1: zombies HIT by Exo Slam; buy the Exo Slam perk.
- Digit 2: jumps.
- Digit 3: wall purchases; buying ammunition does NOT count.
- Digit 4: zombie kills by any means.
Number panel: target above, current values belowmmmrkennedy; game imagery Activision and the relevant game studio · Source ↗ - Adjust slam hits first, then reread the entire current row because slams can also jump or kill. Adjust counted purchases and ordinary kills next; reread, then finish jumps last. The panel completes automatically when the rows match and unlocks the Tidal Generator Mk 25 station.
Mk 25 station unlocked by the matched number panelmmmrkennedy; game imagery Activision and the relevant game studio · Source ↗ - The next challenge grants a Mk 25 MAHEM with unlimited ammunition. Complete that round using the supplied MAHEM for zombie kills and wait for Oz’s success line.
Number panel action planner Open helper
Read target and current rows left to right. The first digit counts zombies hit, not slam activations. Slams, jumps and kills can overlap; reread the current row after combat. Wall-ammunition purchases do not count.
Open illustrated reference
- 1. Zombies hit by Exo Slam: record both digits.
- 2. Jumps: record both digits.
- 3. Wall purchases excluding ammunition: record both digits.
- 4. Zombie kills: record both digits.
- First adjust slam hits; one slam may hit several zombies and also change jumps or kills. Then reread ALL four current digits.
- Adjust wall purchases and ordinary kills next. Buy a wall weapon or counted equipment; buying its ammunition does not advance digit 3.
- Reread again and adjust jumps last. Any further action can change a matched digit. The panel confirms success automatically when both rows match.
Enter Oz’s memories and complete Reunion
- Return to the upstairs Tidal Generator terminal. Activate it for the power-diversion line and red machine state; use it again to turn the machine blue and enter the Outbreak-like memory.
Red power-diversion machine beside the terminalmmmrkennedy; game imagery Activision and the relevant game studio · Source ↗ - Survive two waves in the memory. Absent characters appear as friendly AI and dialogue plays between waves. After the second wave, you return, Reunion completes, and the match ends/restarts in Double Feature. This unlock does not itself award the separate Double Feature round-20 gold trophy.
Oz Encounters
Round 5: Oz’s preview
- Round 5 teleports you to Oz’s arena for a short window-side introduction, then returns you to the resort. Use the preview to locate the centre pad, four corners and window positions. Resume the Reunion step you were doing.
Oz behind an arena window during the introductionmmmrkennedy; game imagery Activision and the relevant game studio · Source ↗
Round 12/13: Oz’s window fight
- When Oz’s window opens, shoot him until the window explodes. He relocates between arena windows and activates progressively more hazards before the next damage opening. Follow the open-window cue rather than shooting his closed protection.
Open Oz window indicating the damage opportunitymmmrkennedy; game imagery Activision and the relevant game studio · Source ↗ - Avoid the currently active main hazard and destroy small sentry guns/wall turrets promptly. The centre decontamination pad cleanses gas infection and remains usable during this fight.
- Yellow overhead lasers become red when active; contact disrupts Exo movement.
- Gas around pillars infects you; use the centre decontamination pad.
- Electricity marks the floor side about to activate; cross to safe flooring.
Central arena decontamination pad used to cleanse gas infectionmmmrkennedy; game imagery Activision and the relevant game studio · Source ↗ - After the final window, collect Full Reload and DNA Bomb if needed. Angie counts down before returning the squad; collect bonus credit crates only while there is time and resume your current Reunion challenge afterward.
Round 20: Mutated Oz
- Power the centre decontamination pad using its four corner generators. Bait Mutated Oz onto the pad and activate it while he is standing on it to remove his shield.
Mutated Oz in the round-20 arenammmrkennedy; game imagery Activision and the relevant game studio · Source ↗ - Damage Oz until his shield returns. Every pad use consumes its charge, even if it missed him; restore all four generators and repeat. Each successful damage window is capped, so continue the cycle while avoiding the returning window-fight hazards.
- Once Oz is defeated, collect the reward power-ups and return on Angie’s countdown. In a normal run, resume any unfinished Reunion steps. In a qualifying Double Feature run, this round-20 defeat is the gold-trophy objective.
Side Quests
Optional Double Feature and gold trophy
- Complete Reunion once to unlock Double Feature. In a subsequent game, use the keypad directly behind the spawn position to select it. The mode uses a black-and-white view, no HUD, points for kills rather than hits and no revives; weapon upgrades cost 1,500 rather than 2,500.
Double Feature selection keypad directly behind the spawn positionmmmrkennedy; game imagery Activision and the relevant game studio · Source ↗ - Reach round 20 in Double Feature and defeat Mutated Oz using the same generator/pad loop. The gold trophy appears in Reception in the next Descent game. Finishing normal Reunion or simply activating Double Feature does not complete this condition.
Dies irae music
Sources and review
Source-reviewed on 8 October 2026, using the references below and the research handoff. These instructions and puzzle calculations have software checks; they have not been verified in a complete in-game playthrough. Record symbols, sequences and completion cues from your match. Screenshot and community-chart creators are credited with each illustration.
- mmmrkennedy illustrated guide ↗
- playstationtrophies.org reference (2) ↗
- r/CODZombies community guide (3) ↗
Select any reference image to enlarge it. Screenshot and symbol sources are credited in the linked walkthroughs; this guide uses local copies for reliable access.