Main Quest
World tier 3 — Maxis radio and amplifiers
- Before searching, prepare armor, perks, a reliable ranged weapon and a crowd-control option. Open the region finder below and choose Radio for your current region. Quest objects do not depend on whether that region is your third unique location; the world tier must be at least 3.
The earliest typical route is radio on tier 3, microfilm/projector on tier 4, bunker on tier 5. Extra warps can raise this, especially if the projector phase lands on Ruka.
- Interact with the quest radio and defeat the enemies it calls. Listen to the target signal, or read its static-frequency subtitle with subtitles enabled. Find the three nearby amplifiers on the annotated map and cycle each to the same signal. An interference selection can spawn another wave; clear it, recheck the target radio and finish the matching.
Do not use a fixed number from a screenshot. The live signal is your answer, and a normal music-radio event cannot advance this quest.
Main-quest radio: use the region map to find this specific device Tune each of the three smaller amplifiers near the radio - Return to the main radio, interact again and pick up the Beacon Listening Device. Complete the region’s normal objective, select Respond at the beacon to contact Maxis, and then warp. Ordinary Warp alone, before the contact, does not advance the quest to its monkey phase.
Take the Beacon Listening Device released by the quest radio
Outbreak quest location finder Open helper
Choose your quest, region and objective for annotated maps, object photographs and availability checks.
Choose your quest, current region and objective to reveal its location reference.
Inputs are shared with the inline guide on this device. Photos: mmmrkennedy · game imagery: Activision / Treyarch.
Microfilm, projector and the forced Ruka warp
- In the next region, use the finder’s Monkeys objective. Search the four small stone monkey sites and look for the M marking behind the correct statue. Shoot it and pick up its Microfilm Slides. Shooting an incorrect monkey does not fail the quest. If the region is Ruka, plan to move on: it has no projector.
Collect the microfilm dropped by the marked stone monkey - Find the projector using the region reference and insert the slides. Interact through its three narrative sequences, allowing the dialogue between interactions. Once the final instruction has been delivered, the next warp sends you to Ruka. Finish your upgrades and supplies before taking that forced warp.
If you already have microfilm when you encounter Ruka, keep it and warp onward for a projector. Do not mistake the later forced Ruka visit for an ordinary region rotation.
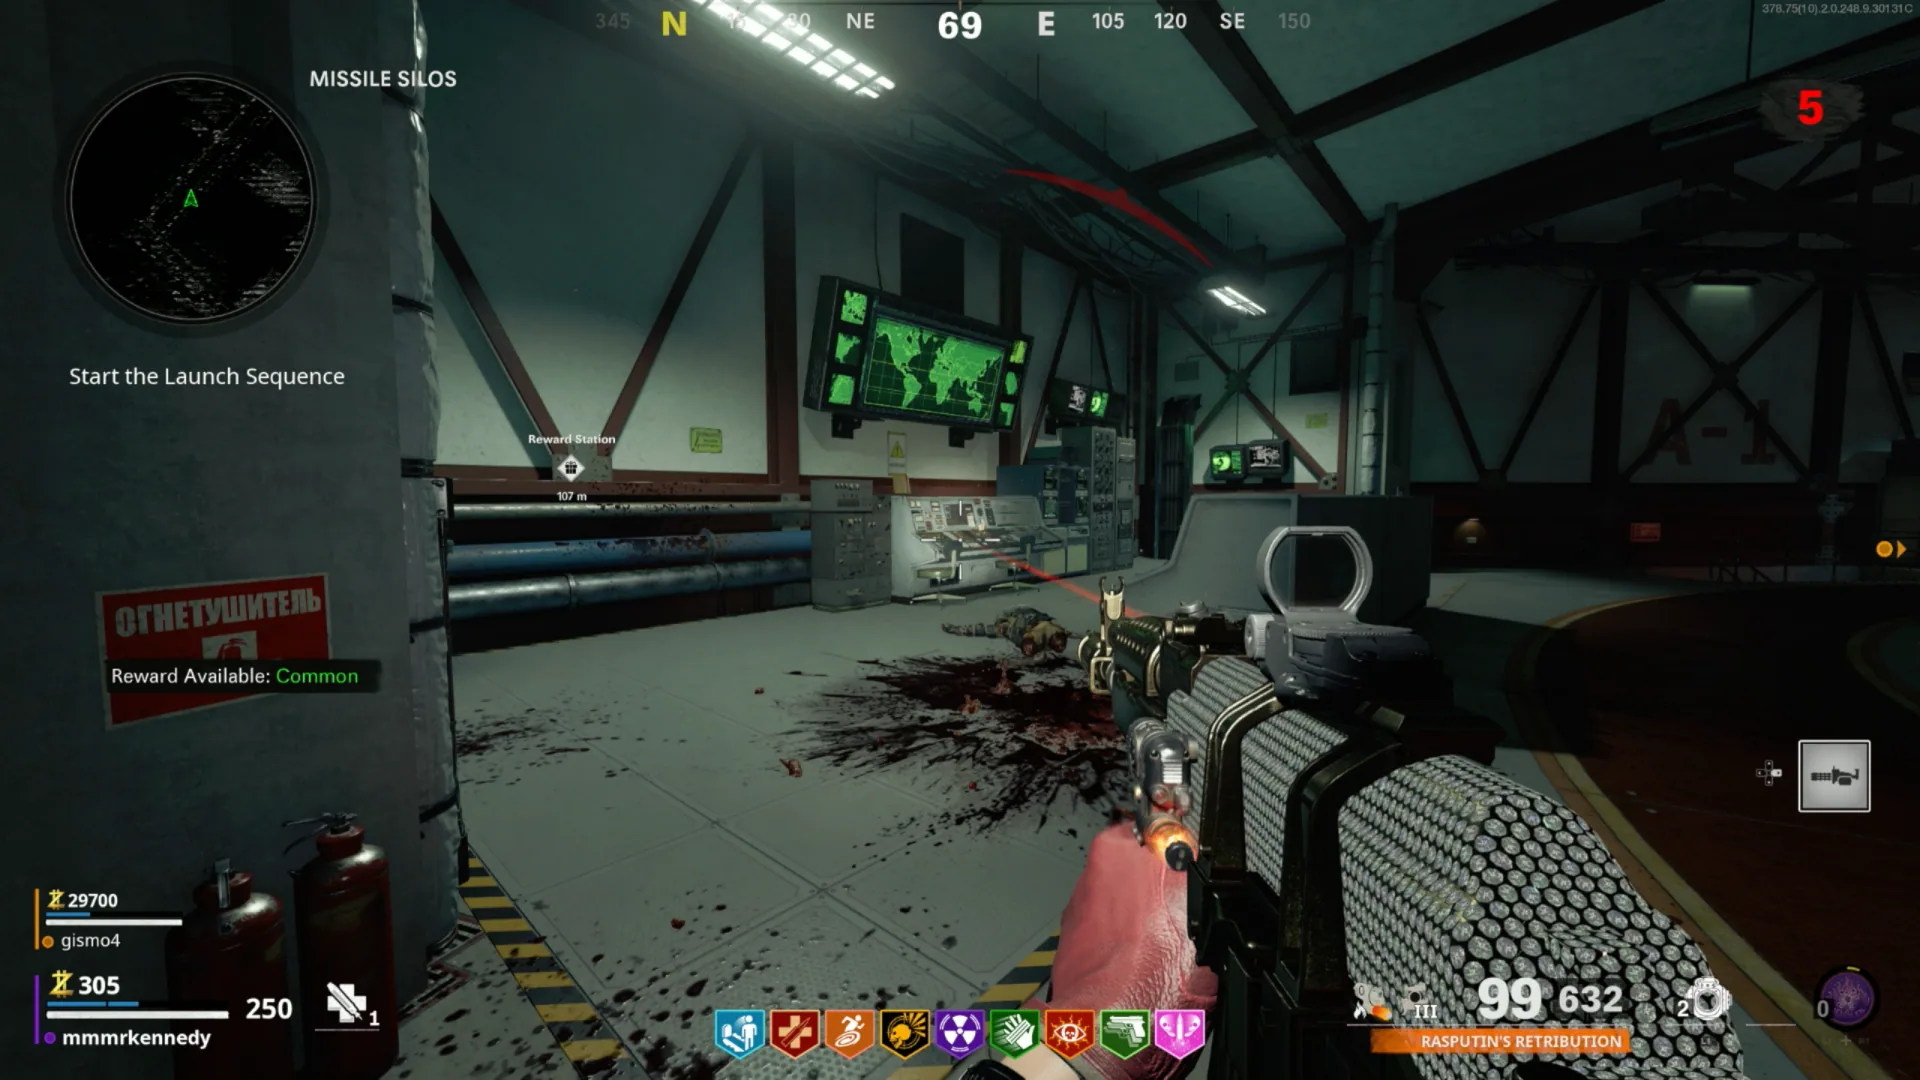
Use the projector repeatedly until the final Ruka instruction plays - In the quest-forced Ruka, do final shopping before entering the marked missile-silo elevator. Inside, learn the central hub and three accessible silos A, B and D; C is blocked. Reach Silo A’s lower control and choose Lift the Lockdown. After the scene, collect three launch keys in any order.
Entering the bunker commits this run to the final quest area. Bring a fully prepared ranged damage weapon, armor, self-revive if available, and a defensive Field Upgrade. The keys can be worked in parallel in co-op.
Three launch keys — monkey, canister and Mimic
- Silo A: take the Essence Trap from the dead-end lower tunnel. Listen for the monkey in a wall vent and spot its blue glow. Place the trap just below/near the vent, then back away so the monkey comes out. Once it is above the trap, double-tap interact to capture it and recover the key from the trap.
Crowding the vent makes the monkey hide. If it disappears, give it space; do not stand beside the trap waiting for it to approach.
Take the Essence Trap from this Silo A dead-end tunnel Look for the glowing monkey in a Silo A wall vent - Silo B: activate the Aetherium Harvesting Unit on the bottom floor. Shoot the purple crystals around the silo and pick up 20 chunks; the count is shared by the team. Deposit them at the unit, clear its enemy wave and collect the charged canister. Carry it to the giant jellyfish in Silo D, stand on the nearest staircase beside its body and trigger the canister’s Field Upgrade. While pulled inside, interact with the floating key.
Collecting the canister replaces your Field Upgrade. Save a charge for entering the jellyfish rather than spending every pulse on the horde.
Silo B harvesting unit: deposit the 20 collected chunks Shoot these crystals and pick up the fallen chunks Use the charged canister from the stairs alongside the jellyfish - At the central junction, clear the ordinary Mimics disguised as objects so they cannot swarm the coming fight. Interact with the corpse in the blocked Silo C corridor to summon Ruzarkon the Twisted, a red HVT Mimic. Kill it and take its launch key. Check the quest inventory confirms all three keys before moving to the consoles.
The HVT trigger is in the blocked Silo C corridor, not an accessible fourth silo
Read the console lights and defeat Legion
- At the upper launch console in each of A, B and D, inspect the three small horizontal lights directly below the key switch. The green light marks that silo’s position: left first, middle second, right third. Record them in the helper. Insert the three keys in that resulting order within the sequence countdown; assign one console per teammate or learn the hub route first when solo.
This order changes between matches. A wrong order or timeout requires a fresh attempt; recheck the lights. There is no console C to activate. Do not confuse the large green key button with the three order indicators.
Read these three SMALL lights; this example console is third - After the sequence is accepted, exit up the central hub stairs to the surface fight. Use the displayed countdown as the time limit; time spent leaving the bunker also matters. Keep distance from Legion and move around the arena perimeter to prevent enemies surrounding you.
- Focus ranged fire on Legion’s glowing chest until it breaks and the boss kneels, exposing three energy orbs. Concentrate your strongest damage on one orb until it is destroyed. The remaining orbs retract; break the chest again for another opening. Destroy all three before time expires. Use a defensive Field Upgrade or distraction during orb damage windows and clear dangerous specials between openings.
Armor damage alone does not finish the boss. The three orb destructions remove its health stages. Choose a firing position with a clear sightline and a retreat route; do not stand still under a full horde for an entire chest phase.
Outbreak launch-light solver Open helper
Read the three small indicator lights below each A, B and D key switch. Green left is first, middle second, right third.
In the Ruka bunker, look below the key switch at consoles A, B and D. Of the three small lights, the green light marks that console’s place in the sequence. Silo C has no launch console.
Read the green-light position at two or three consoles.
Where to look: three small indicator lights
Previous attempt notes / alternate elimination method
Your older accepted and rejected console observations are kept here. They are separate from the green-light solver above.
6 possible orders: A → B → D · A → D → B · B → A → D · B → D → A · D → A → B · D → B → A
Inputs are shared with the inline guide on this device. Photos: mmmrkennedy · game imagery: Activision / Treyarch.
Side Quests
Optional preparation before entering the bunker
- Use world-event rewards for weapon rarity, armor and perks while still in the open regions. A D.I.E. elemental crate or a random wonder weapon can help control crowds, but the boss still needs an effective ranged damage plan. The hub includes the optional events and region crate locations.
World events and reward routes ↗ · D.I.E. elemental crate locations ↗
Sources and review
Walkthrough adapted from the community and illustrated references below, with AI-assisted source checks on 3 October 2026. Gameplay photographs: mmmrkennedy; game imagery: Activision / Treyarch. Match-specific numbers and sequences must come from your game. Source and software checks do not replace an in-game playthrough; a full in-game walkthrough has not been performed.
- r/CODZombies community guide ↗
- mmmrkennedy illustrated guide (2) ↗
- gamesradar.com reference (3) ↗
- Steam Community walkthrough (4) ↗
- r/CODZombies community guide (5) ↗
Select any reference image to enlarge it. Screenshot and symbol sources are credited in the linked walkthroughs; this guide uses local copies for reliable access.