Key Features
Open the swamp and weapon routes
Build or obtain the Wunderwaffe DG-2
- Take the weapon barrel from Fishing Hut’s shelf near its door. Put it on the radio tower outside Comms. At the NEXT round’s start, defend the tower after its lightning strike. Retrieve the charged barrel and take the first charged vacuum tube from the radio inside Comms.
Fishing Hut weapon-barrel pickupmmmrkennedy; game imagery Activision and the relevant game studio · Source ↗ Comms radio tower receiving the barrelmmmrkennedy; game imagery Activision and the relevant game studio · Source ↗ Charged first tube at the Comms radiommmrkennedy; game imagery Activision and the relevant game studio · Source ↗ - Collect the electrical fuse from Comms’ table. Activate Storage’s trap and let it short out; when its red box opens, fit the fuse and restart it. Feed the repaired trap zombie kills until the tube on the Storage workbench lights, then collect it.
Comms electrical-fuse pickupmmmrkennedy; game imagery Activision and the relevant game studio · Source ↗ Opened Storage trap fuse boxmmmrkennedy; game imagery Activision and the relevant game studio · Source ↗ Second charged vacuum tubemmmrkennedy; game imagery Activision and the relevant game studio · Source ↗ - From round 15, lure Zaballa into the Excavation/War Room and stand by its Tesla coil to bait her energy mines into it. After the coil has received enough hits (the reference specifies five), take the charged tube from the adjacent table.
- With the barrel and all three charged tubes, craft the Wunderwaffe at Storage’s workbench. A mystery-box Wunderwaffe is an alternative acquisition and satisfies the weapon need without these build tasks. Upgrade it and keep ammunition ready before the ceremony.
Storage Wunderwaffe crafting workbenchmmmrkennedy; game imagery Activision and the relevant game studio · Source ↗
Main Quest
Clear the monolith and read the three papers
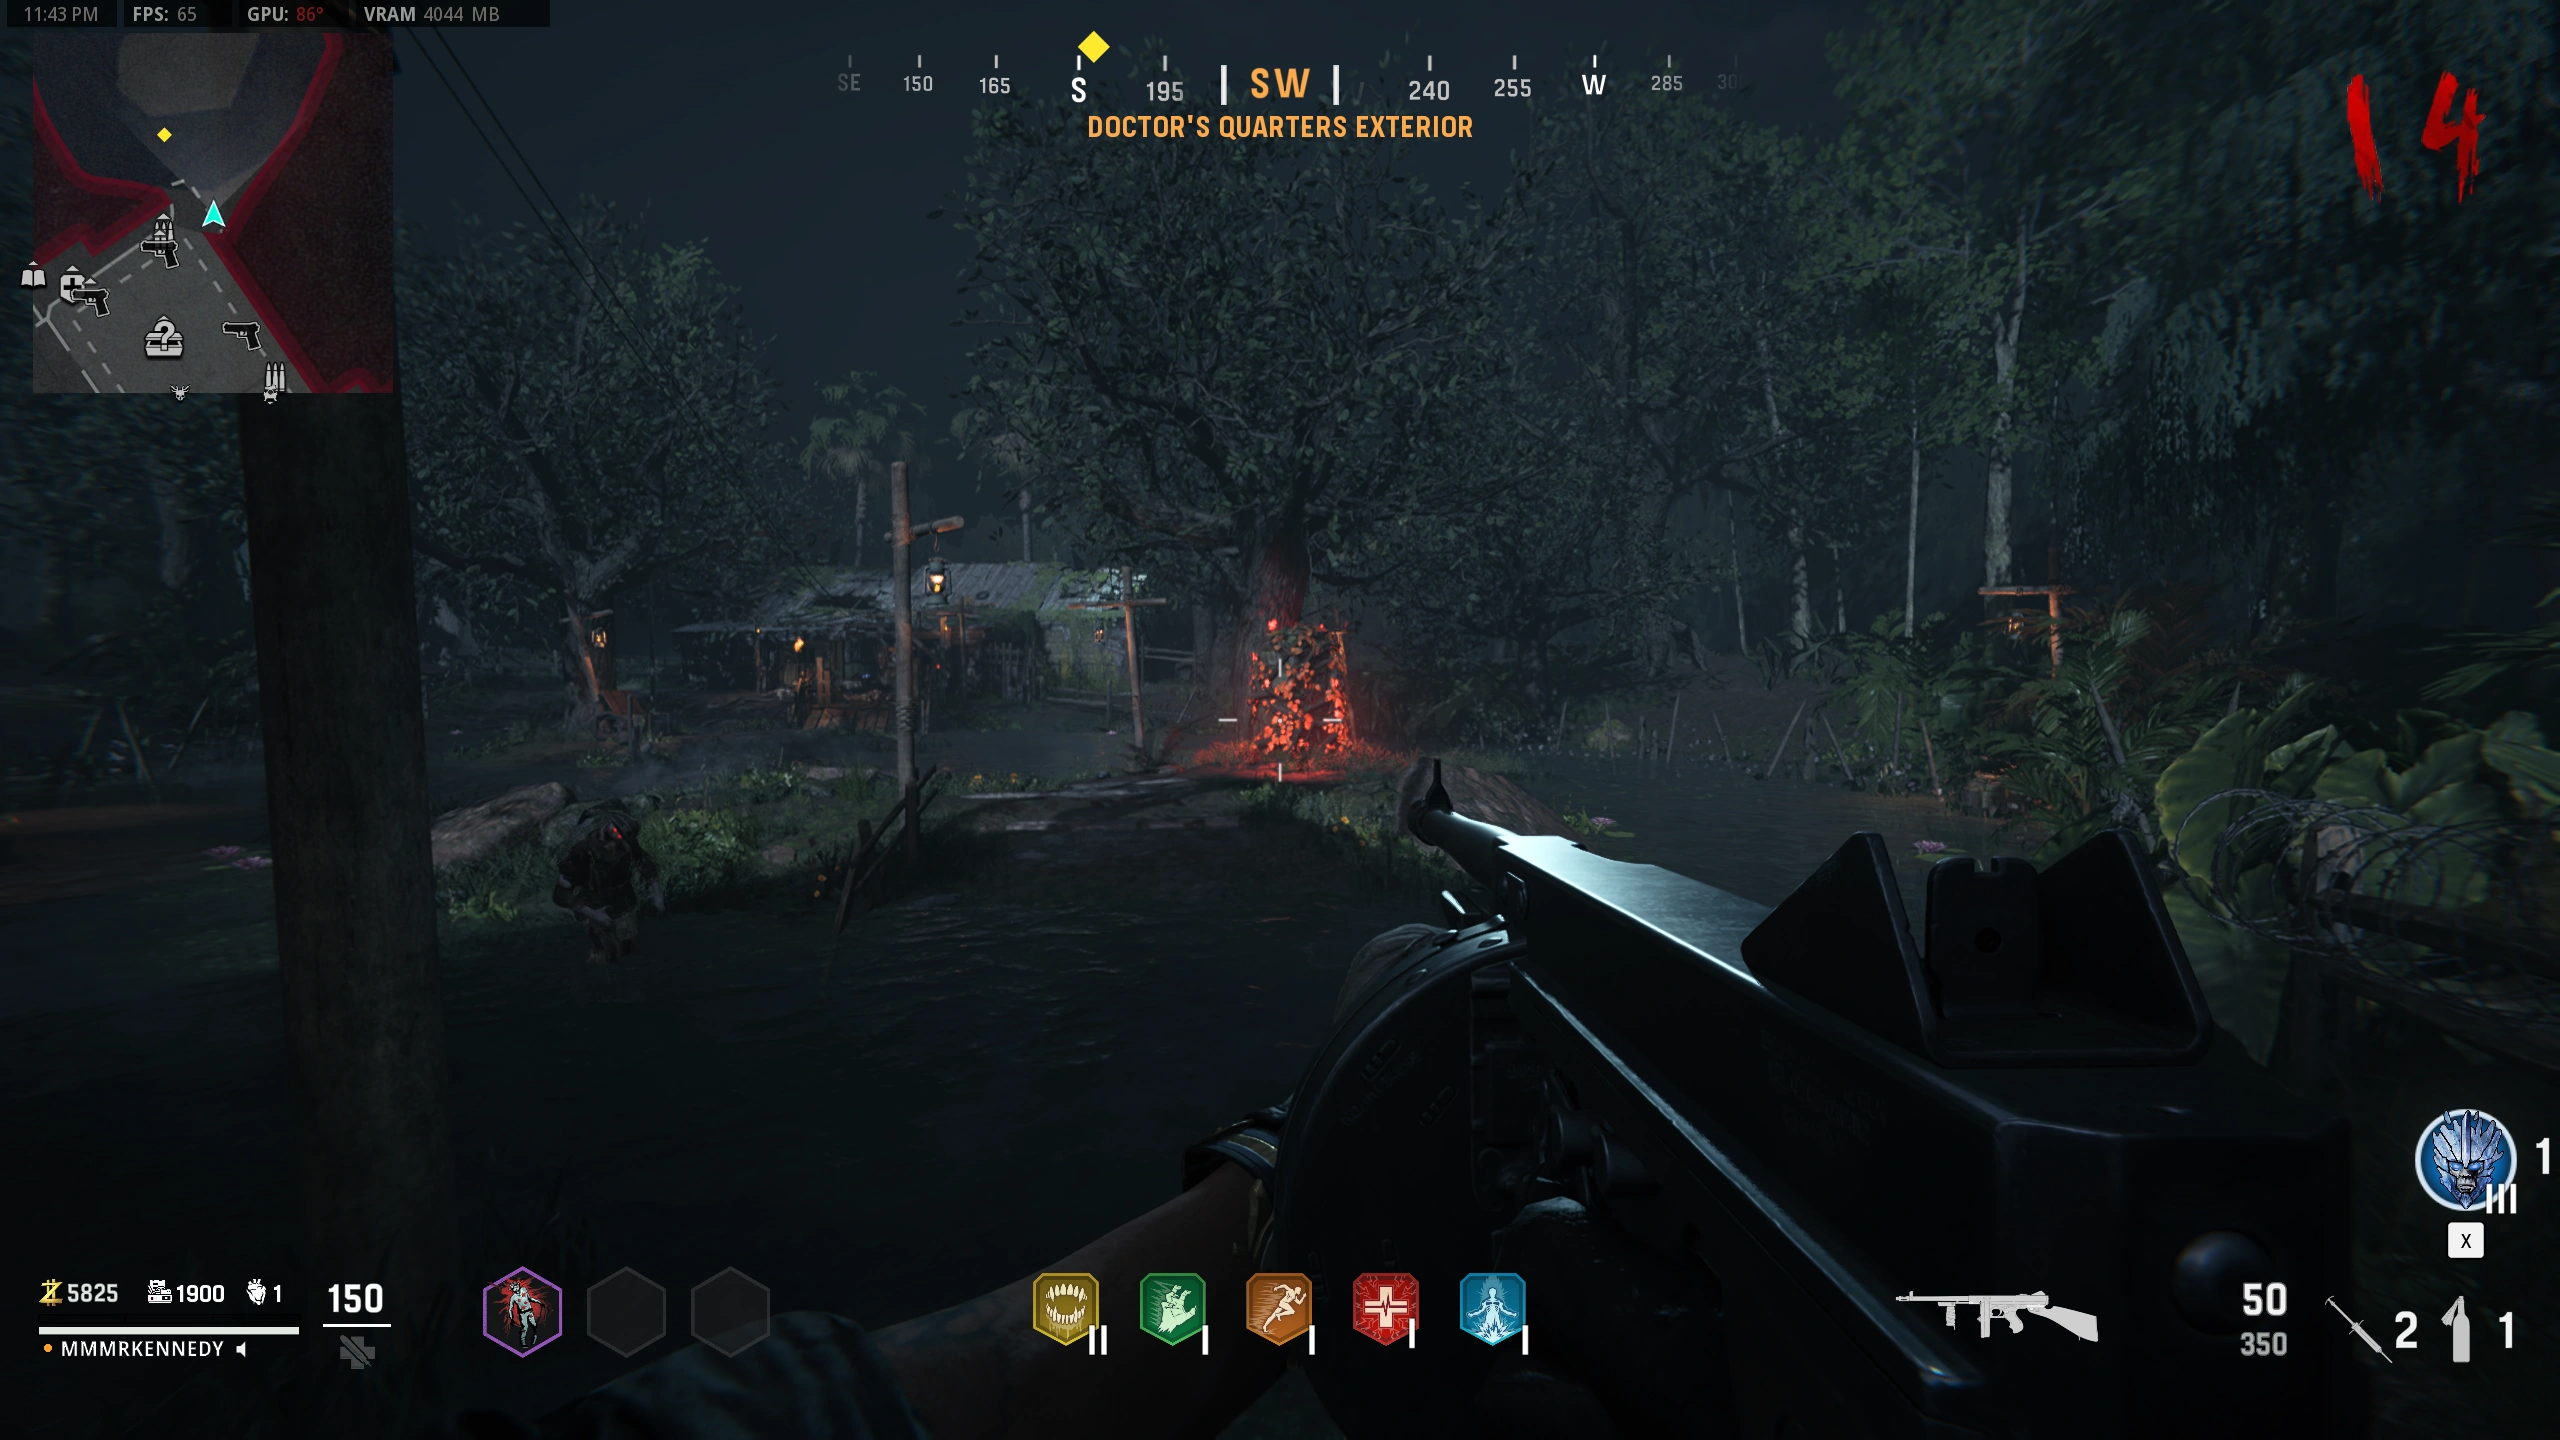
- At Doctor’s Quarters Exterior, lure three Boom-Schreier explosions next to the vine-covered monolith. Clear the vines before interacting with its wheel assembly.
Vine-covered Doctor’s Quarters monolithmmmrkennedy; game imagery Activision and the relevant game studio · Source ↗ - Collect the three wheel PARTS: Dormitory’s table to the right of M1 Garand, Doctor’s Quarters’ room to the right of its Demonic Fountain, and Dig Site’s table in front of Pack-a-Punch. Install them on the cleared monolith. These parts are not the answer papers.
Dormitory cipher-wheel partmmmrkennedy; game imagery Activision and the relevant game studio · Source ↗ Doctor’s Quarters cipher-wheel partmmmrkennedy; game imagery Activision and the relevant game studio · Source ↗ Dig Site cipher-wheel partmmmrkennedy; game imagery Activision and the relevant game studio · Source ↗ - Read the three variable paper glyphs: Excavation/War Room’s table (shoot away covering books if needed), the Dig Site workbench, and Comms’ table to the left of its connecting doorway. Keep each observation labelled by location.
Excavation paper beneath destructible booksmmmrkennedy; game imagery Activision and the relevant game studio · Source ↗ Dig Site workbench papermmmrkennedy; game imagery Activision and the relevant game studio · Source ↗ Comms table papermmmrkennedy; game imagery Activision and the relevant game studio · Source ↗ - Use the paired reference plate below, or reveal the complete in-game Doctor’s Quarters translation sheet with a Molotov/thermite. Translate each PAPER glyph to its paired wheel marking. Align the three required markings at the top of the wheel and lock it; red lighting and the appearing ceremony stones confirm acceptance. Do not assume hut visit order supplies ring order.
All fifteen paper-to-wheel pairs; each cell has paper left and wheel marking rightmmmrkennedy; game imagery Activision and the relevant game studio · Source ↗
Monolith paper translator Open helper
Record each paper and assign its target ring from your wheel observation. Each plate cell pairs a paper symbol on the left with the actual wheel marking on the right. Names below are memory labels; do not enter the Chinese paper character on the wheel.
Open illustrated reference
- Excavation Room: paper not recorded.
- Comms Room: paper not recorded.
- Dig Site: paper not recorded.
Complete the Wunderwaffe ceremony
Fill and drink the blood fountain
- Use Flogger kills in its Courtyard to fill the empty Demonic Fountain. Once filled, drink for the temporary Zombie Blood vision. Zombies still see and attack you during this effect; refill/drink again when you need another clue window.
Blood fountain in Flogger Courtyardmmmrkennedy; game imagery Activision and the relevant game studio · Source ↗
Find both mirror fragments in vision
- While in vision, read War Room’s map for the red X. Go to its indicated hut, shoot the fragment in the ceiling to drop it and collect it. The X varies; use the map actually shown, not a fixed hut choice.
- Find the red orb in the main building during vision and approach to start it moving. Its start identifies the eventual fragment location below; it can finish without a continuous escort. If vision expires, drink again and search its endpoint.
- Upper floor beside SVT-50 → trees left of Doctor’s Quarters.
- Lower floor by the box → Fishing Hut’s back room.
- Lower floor near the Storage door → central Dig Site by the ammo crate.
Red orb visible in blood visionmmmrkennedy; game imagery Activision and the relevant game studio · Source ↗ Doctor’s Quarters endpointmmmrkennedy; game imagery Activision and the relevant game studio · Source ↗ Fishing Hut endpointmmmrkennedy; game imagery Activision and the relevant game studio · Source ↗ Dig Site endpointmmmrkennedy; game imagery Activision and the relevant game studio · Source ↗
Restore the mirror and return blue orbs
- Install both fragments on Dig Site’s central pedestal. Interact with your blue orb’s stone; its position identifies the hut-side orb route. Find the orb and shoot its successive positions until it returns to Dig Site. The route uses three shots; an expired attempt respawns at its start stone for another try.
- Stone nearest Combat Shotgun → Fishing Hut Exterior tree left of the Tome.
- Stone nearest Pack-a-Punch → Comms back-room ceiling.
- Stone west of the mirror → bushes left of Doctor’s Quarters.
- Stone north of the mirror → Storage window right of the ammo crate.
Central Dig Site mirror pedestalmmmrkennedy; game imagery Activision and the relevant game studio · Source ↗ Fishing Hut Exterior blue orbmmmrkennedy; game imagery Activision and the relevant game studio · Source ↗ Comms back-room blue orbmmmrkennedy; game imagery Activision and the relevant game studio · Source ↗ Doctor’s Quarters blue orbmmmrkennedy; game imagery Activision and the relevant game studio · Source ↗ Storage window blue orbmmmrkennedy; game imagery Activision and the relevant game studio · Source ↗
Defeat the Echo’s three masks
- Prepare upgrades, armour, Wunderwaffe ammo and your damage weapon. All players interact with the returned blue orbs to summon the Echo, then allow its introductory dialogue to finish.
- Charge the mirror by Wunderwaffe-killing the required marked enemies near it. When the large blue dome forms, bring the Echo INSIDE it and damage its mask before it recovers. Insufficient damage resets that mask’s damage window; recharge and repeat.
- Mask 1 collection: blue-mist zombies.
- Mask 2 collection: Boom-Schreiers.
- Mask 3 collection: Sturmkriegers.
Choose an artifact for the damage window and survival. A source’s high-tier Energy Mine strategy is an option, not a guaranteed one-hit promise or a game prerequisite.
Collect the restored relic
Side Quests
Rampage Inducer
Blood-vision Mister Peeks reward
- First unlock the blood-fountain vision in the main quest. While in vision, collect three bunny parts: under the zipline platform; in water outside Fishing Hut; and at the former box position WHILE the box is moving. All three produce bonus points and a Fire Sale. These items are not visible as a fresh-spawn route.
Samantha’s Sorrow and Max Ammo
The One instrumental
Sources and review
Source-reviewed on 8 October 2026, using the references below and the research handoff. These instructions and puzzle calculations have software checks; they have not been verified in a complete in-game playthrough. Record symbols, sequences and completion cues from your match. Screenshot and community-chart creators are credited with each illustration.
Select any reference image to enlarge it. Screenshot and symbol sources are credited in the linked walkthroughs; this guide uses local copies for reliable access.